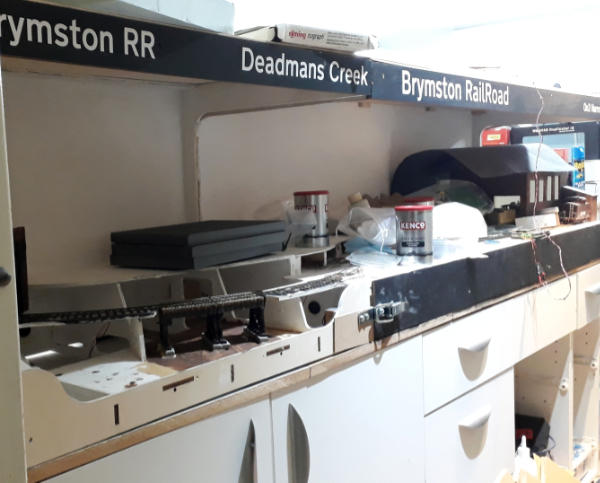
This is what all the mess in the dirty stuff workshop has been about. The two boards that are currently the Brymston Railroad are joined together and the mountain back scene is all mounted and in place and, at least from this angle, you can’t see the join.
The join is a bit more obvious when looking from this angle but I have a plan – maybe. It all looks a lot better just from the reduction in the amount of bright white primer there is on show.
The backscenes are adhesive backed vinyl and, were I doing it again, I’m not sure I’d get the adhesive backed ones again. The instant tack and a desire to stick to anything and everything barring where you want it too made getting them smooth difficult but then it wouldn’t stick at the edges.
I think a PVA giving more adjustment time would be better. I’ve had to glue the edges with a vinyl glue and tape them with low tack tape and once that’s hard I plan several layers of acrylic varnish to build up a hard edge.
Shortly the long board will go back upstairs to the model room whilst the corner board will get more foam added to build up the mountains, the tunnel mouth added and the track ballasted keeping the messy stuff downstairs. I do need to get myself a freehand hot knife foam cutter.
The cunning plan for the join is a half relief tree with its first branches high enough to let a train past and with its top somewhere in the clouds but that will be a late addition as I don’t fancy tree making.
As the layout develops the scenery and buildings will slowly hide the mountain backscene so its glimpsed through the structures, trains and trees and will merge, well, into the background.
The corner board and the fiddle board need a bit of engineering to mate them as they weren’t intended for each other. The fiddle board may just be temporary as its been repurposed from another stalled project.
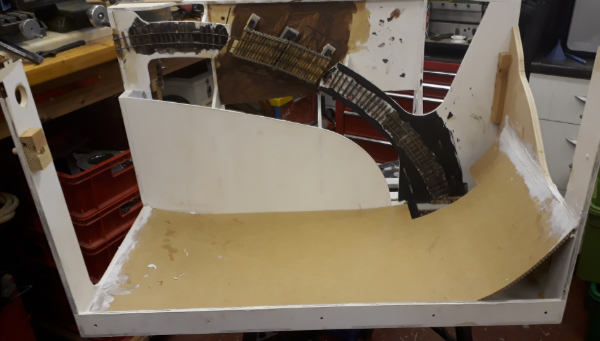
I’ve snookered myself with two ongoing projects. In the image you can see the backscene project waiting for filler to harden in a room that could do with being a bit warmer. It’s all still a bit too soft to risk moving any of it. More on boards soon.
Onward then with the bendy engine project.
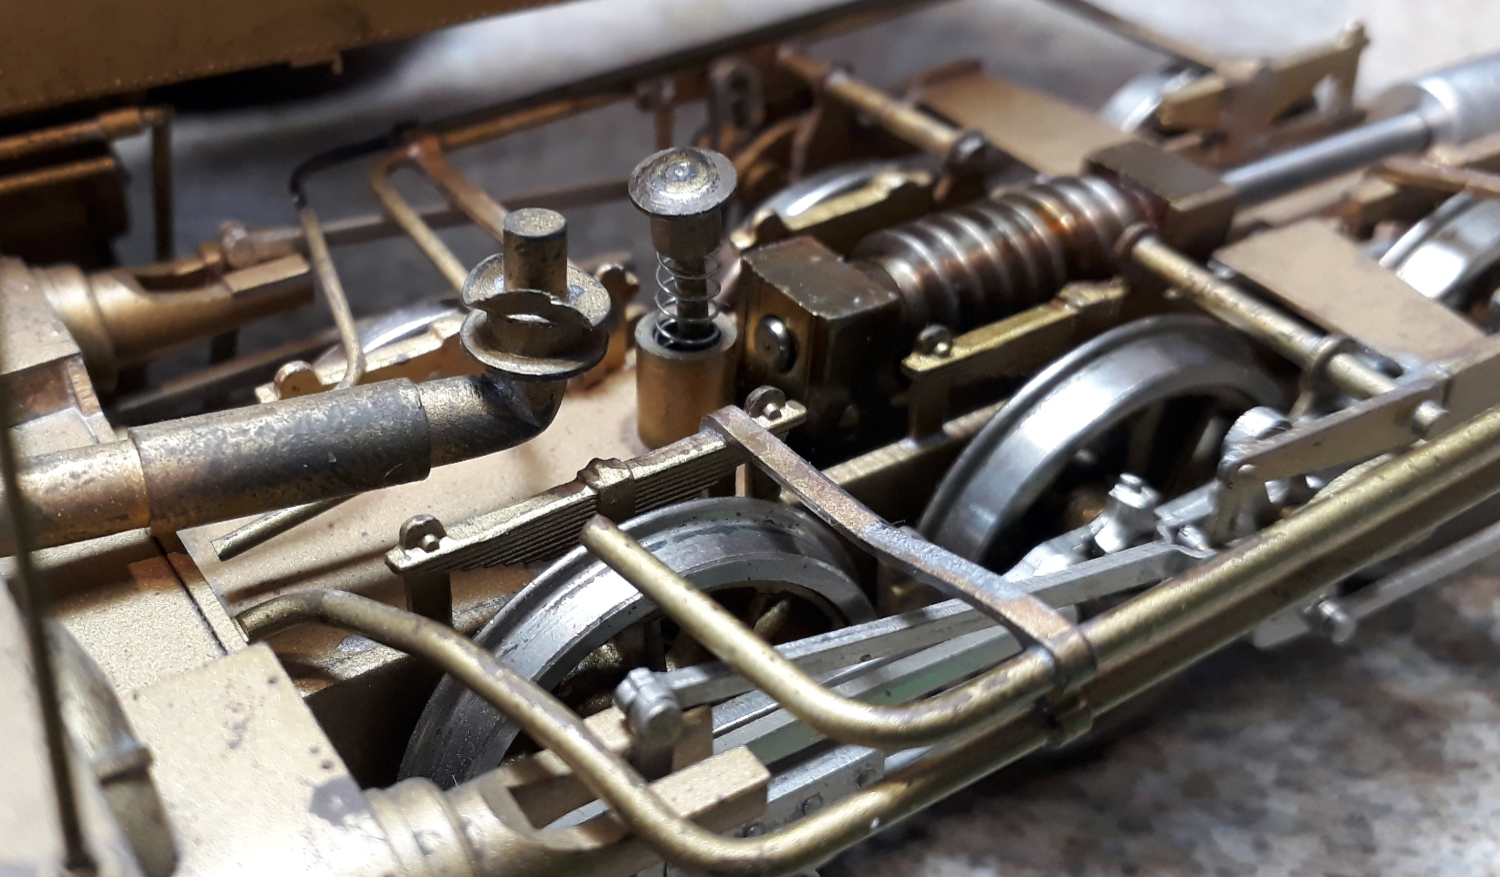
So, we had displaced springy things and disconnected U/J’s but the root of the problem is this piece of pipe detail.
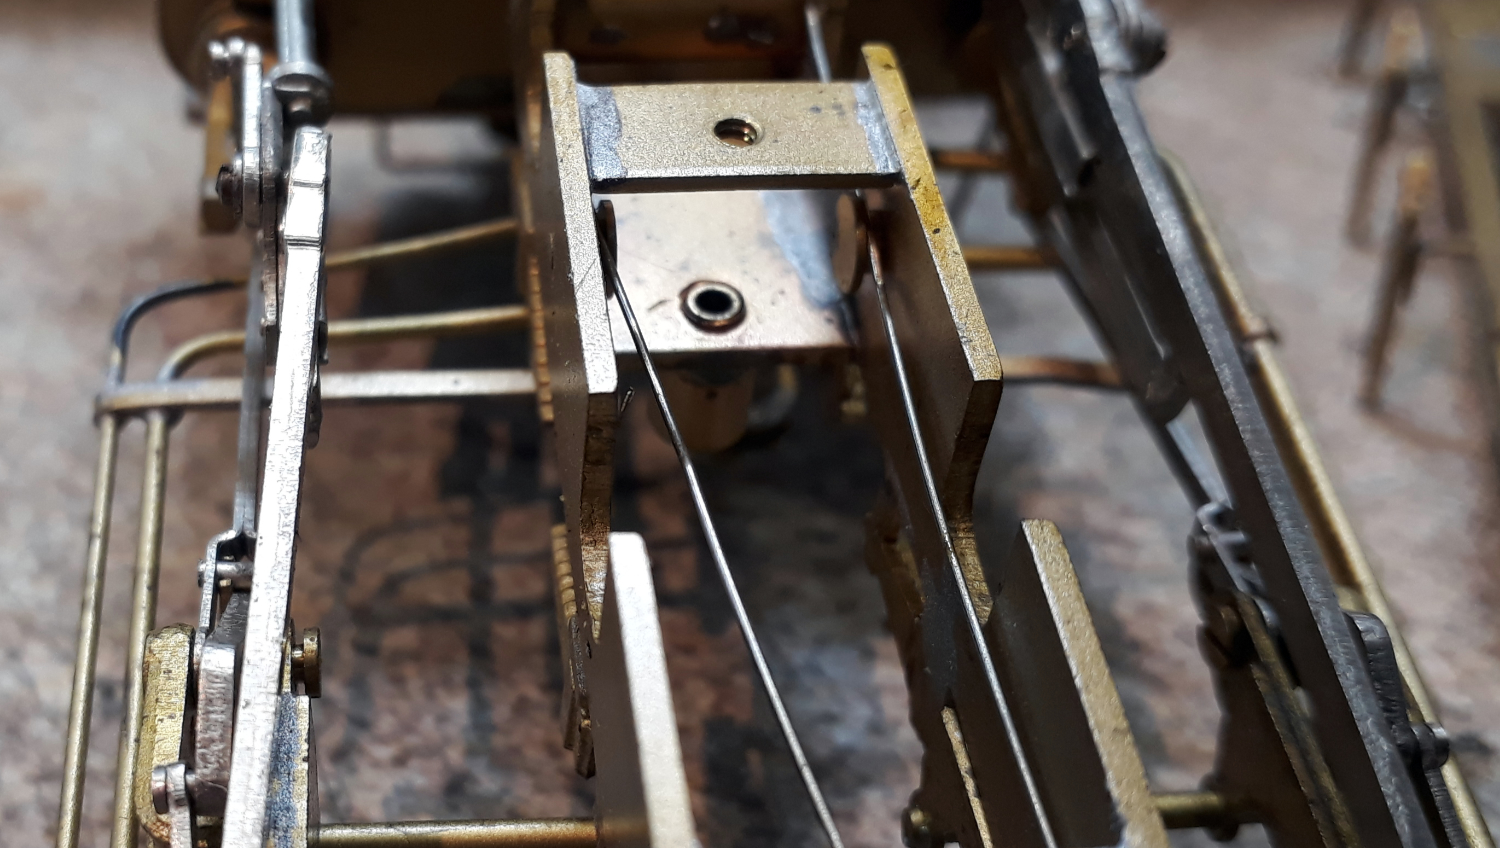
One end screws to the power bogie allowing it to swivel side to side with a small amount of up and down permitted. The other end slides in a slot in the underside of the smokebox so it can slide along the slot as the bogie swivels.
The pipe is inserted in the slot at one end as its shaped like a keyhole. Its supposed to limit the amount the bogie can drop if picked up by the body.
It didn’t which is why the sprung bearing got out and the UJ undid.
The problem can be seen in the pipe image above. The smokebox slides between the two washers so it the right hand (top) one that has to support the weight and its too twee and has bent.
When in place it should look like this.
The plan to fix it?
First job is to flatten the bent washer and of that I’ve turned a bit of brass with a hole up the middle to make a small anvil/press tool. I’m hoping a few light taps will flatten the bent washer.
A new turned washer that it s bit thicker will then be soldered to the back of the bent washer to reinforce it.
The abrasive blast cabinet? These models often had some impenetrable lacquer applied and there is other paint and contamination on the part so my plan was to give it a rough time in the blaster so I am at least trying to solder to clean brass. Its whereabouts? Behind all the boards I can’t move for awhile.
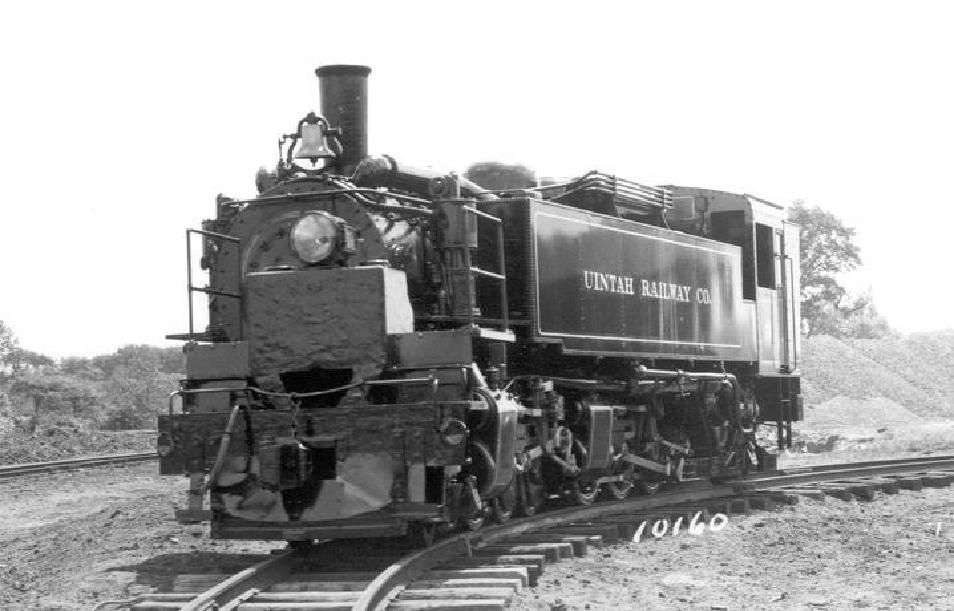
OK, in earlier episodes you’ve seen my Bendy Engine Uintah 2-6-6-2 Mallet checking the curves. I have two of these aiming to model both the Uintah engines.
One, the shiniest, did service on my sales display for many years ticking over on a rolling road. It went back in the display case due to a slipping drive shaft. In the medium term (its already past that) it’ll stay on display.
It’s the other one that’s been used for gauging trials and as I’ve just picked it up off the layout prior to moving the board to do what was to be the next instalment of the board saga the front power unit fell away and disconnected its drive shaft.
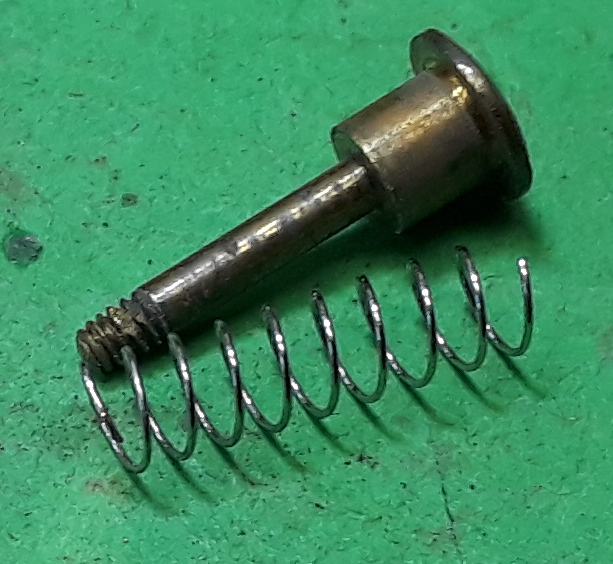
I also noticed that the sprung plunger that is supposed to transfer some weight from the body to the truck was trying to escape.
Ithought popping that back in would be a five minute job. Boy have I opened a can of worms!
It should fit in here like this but a bit further in and retained by a nut underneath.
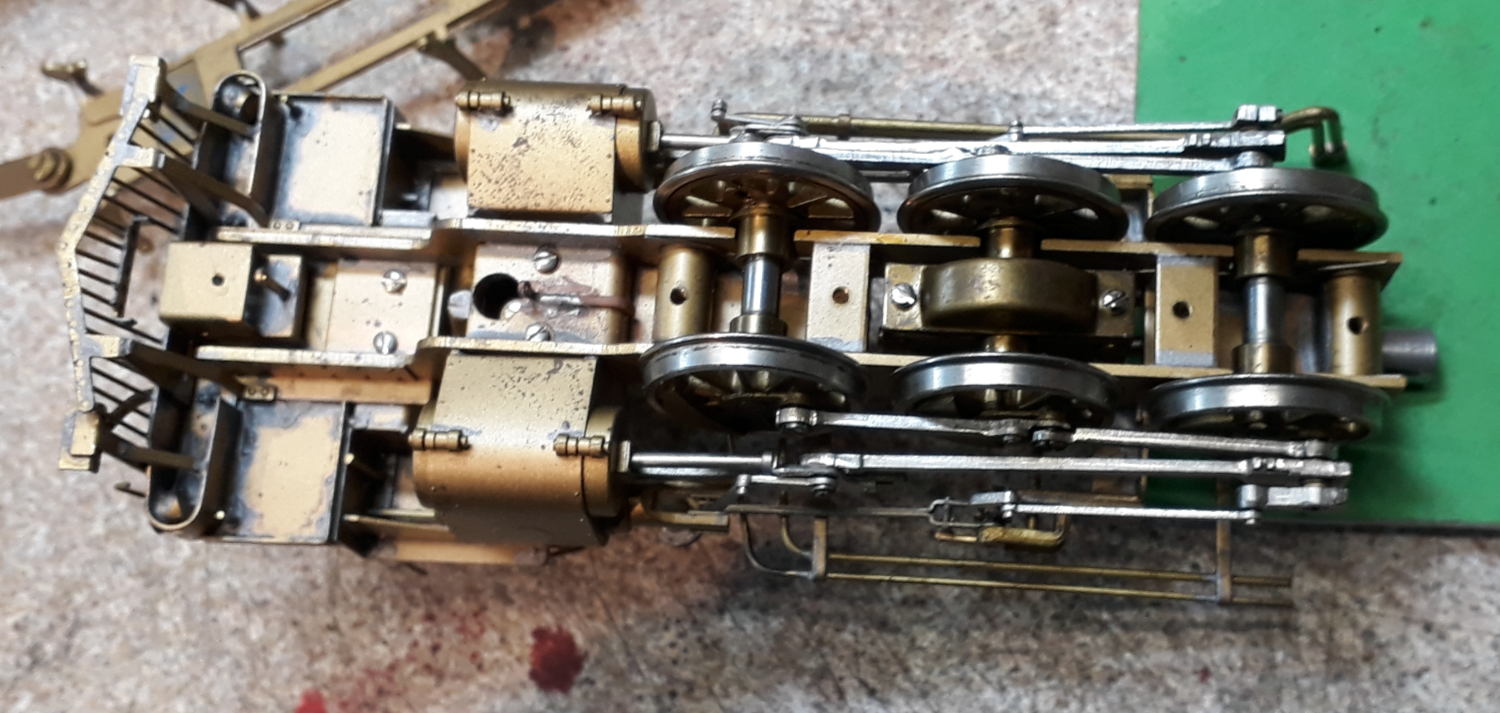
Removing the front power unit was easy by just undoing one screw. It went downhill from there. I thought “just pop the keeper plate off and put the retaining nut back on the plunger.
Nope! The bit we need access to is behind the stretcher and between the gearbox and the front axle.
The image to the right jumps ahead a bit but the plunger stem should pop through the lower hole and have a nut on it.
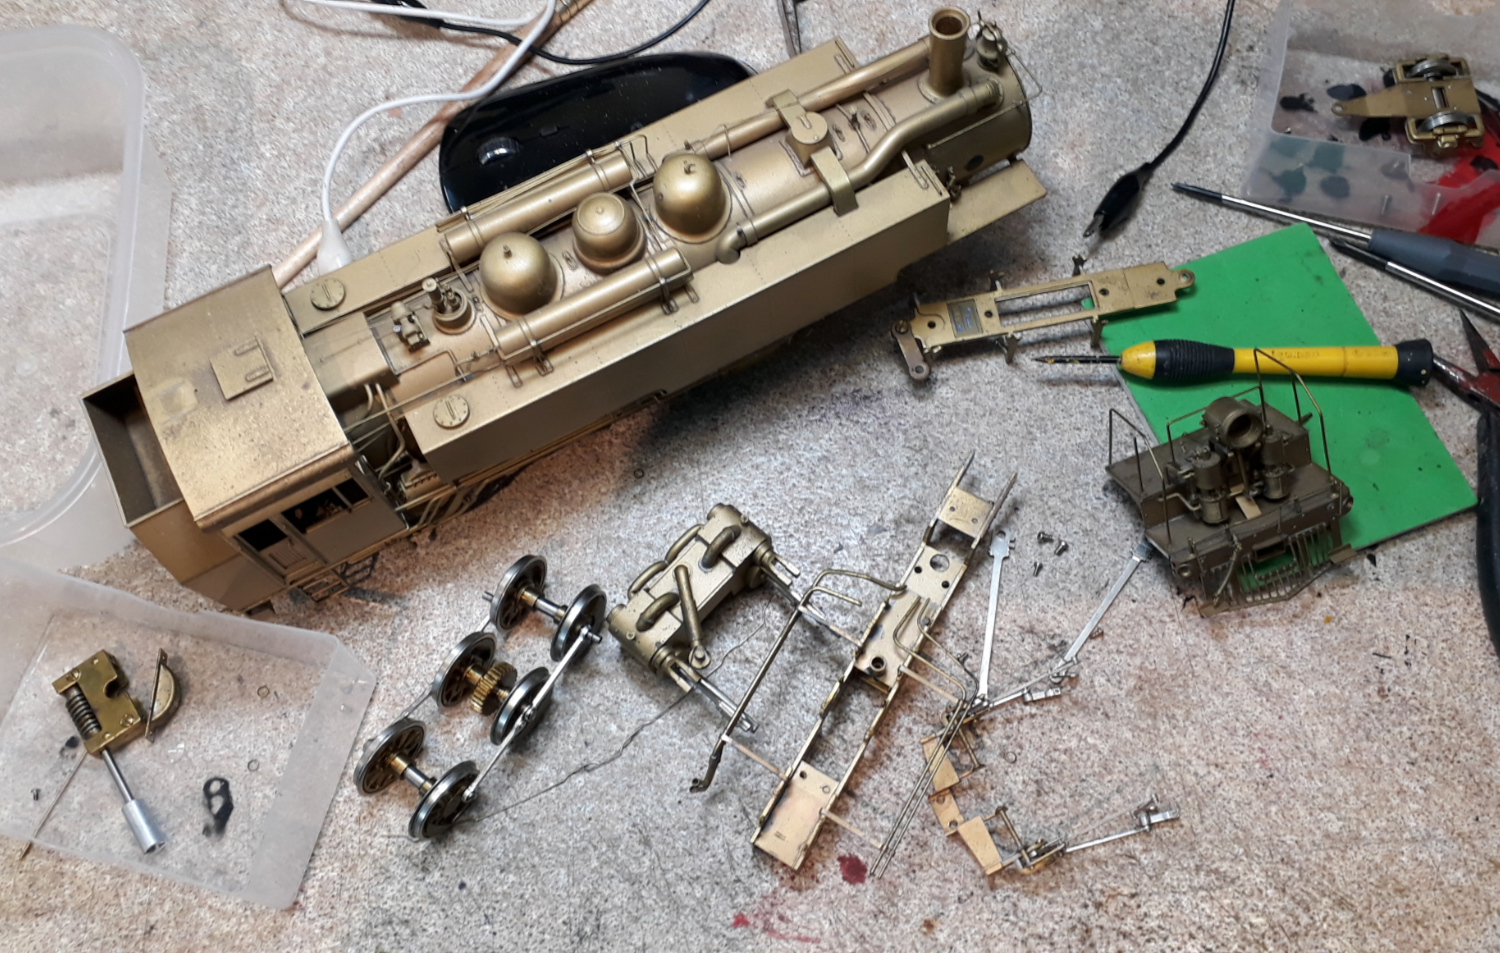
So, I thought, I’ll just undo the gearbox as it could probably do with a re-lube and drop the wheels out. It went downhill from there!
Having got so far with this dismantling now might be the time to start some of its paint job and upgrade whilst I am this far in so I went a bit mad and took the front truck as much to bits as possible.
An upgrade it needs doing are to add pickups to one side of its drivers and, if I can, to the front truck. You could argue this isn’t necessary as both sides of the rigid truck pickup and then bendy truck picks up through one side of the frames. Fitting keep a keep alive with its DCC sound install would avoid any stalling but I have two reasons for doing so.
In my opinion even with a keep alive you can’t have too many pickups and,
My layout uses DCC with position detection by sensing motor current and it’s a confined layout so this loco needs to trip the detection as it arrives at a point not after half the loco has passed the point.
The front headlight also needs converting from an ornament in to a working headlight which will mean drilling some holes and running some wires across the truck.
Almost inevitably I’ll follow this up with doing the fixed truck so it matches and I can address one of its Achilles heals. Most of the drive has universal joint but in the depths of the fixed truck there is one that is a bit of silicon tube and they’re prone to slipping on the shaft.
This episode was written whilst the trucks parts were drying following a swim in mu ultrasonic cleaner.
Episode 20 in this flurry of writing should get the story up to the point the layout is at now but it won’t be the end for long as I have
Committed to taking all or some of the layout to Mickleover Members day in January
Found my Mojo for doing the layout and aim to keep going with it.
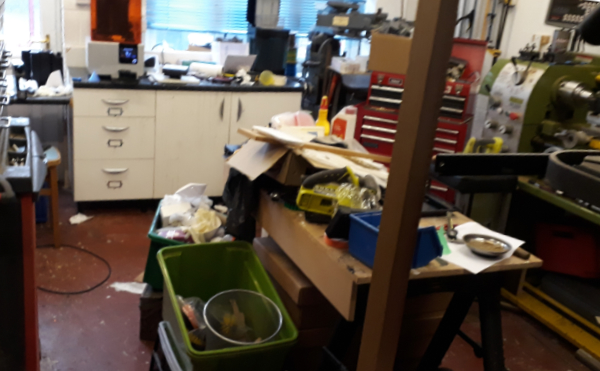
I am fortunate to have two work spaces. I have what would be the garage (if it had a garage door) downstairs and you might call this the heavy engineering workshop as it has my lathe, mill, drills, 3D printer, injection moulder and all manner of other tools. It’s the messy workshop.
Upstairs I have my model room which management reliably informs me should be the master bedroom. I had visions of a large layout but EDM Models has most of the space in a room fitted out with kitchen units to make cupboard space and worktop. As explained earlier the realisation that the big layout wasn’t going to happen led to the modules idea and episode 10 had a diagram of where it sits in the room.
Both locations have a problem. In the messy workshop there is access off the kitchen and its way too easy to do the “where shall I put this” – “stuff it in the workshop”. It’s not helped by me not being very tidy natured and the 3D printer operating on the basis of actual prints being a by product of it making a mess!
Upstairs the layout offers a way to convenient shelf and nine months of inactivity had filled the shelf up. To be fair a lot of the clutter is actually layout making stuff but I have often joked about making the top cover a sloping top so I cant put stuff on it!
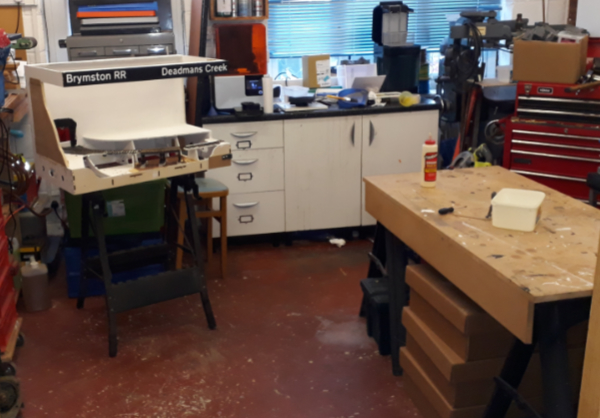
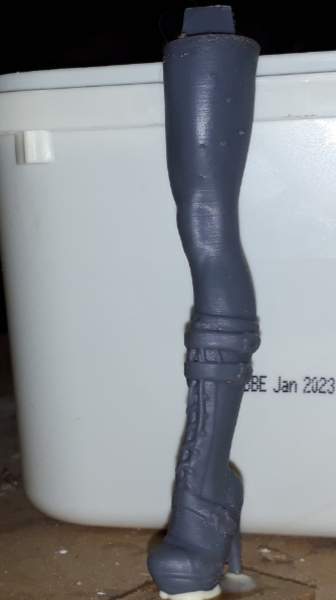
So, my modelling day started with a massive tidy up in both locations and took a good bit of the morning. The workshop now looks a lot better (with the help of selective photography). It is a constant surprise what you find. Anyone short of a leg
The reason for this tidy up in two locations is that this burst of modelling is going to be messy so the corner board of the layout needed to be in the downstairs workshop near the power tools.
The aim of the game is to remove this sharp corner by fitting a curved backscene.
This is to be a sheet of flexi MDF and the bit of forward planning I alluded to was that I had purchased a sheet in advance. The idea is to avoid a sharp corner which is very difficult to scenic convincingly.
The first job, cutting it down to size, justified the move to the messy workshop as despite PPE, extraction on the saw the main product seemed to be dust!
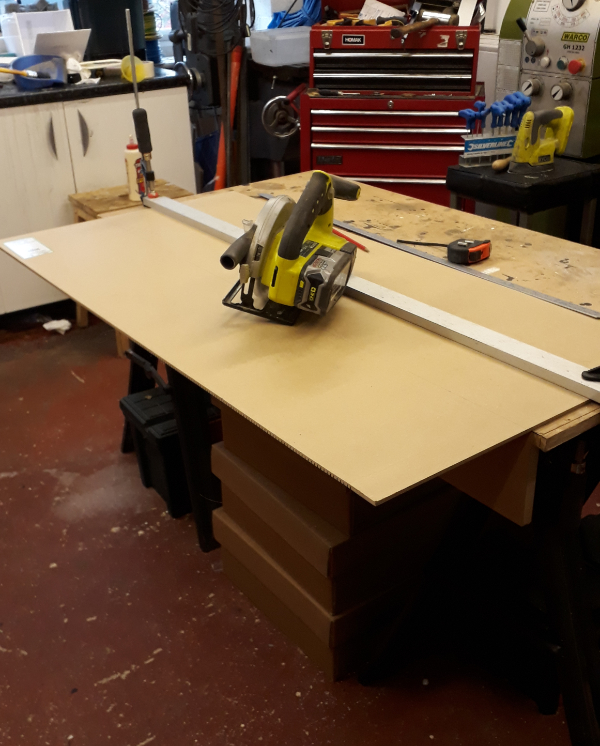
The MDF was held down and my long cutting guide fitted to guide the circular saw. Despite lots of measuring and checking I always worry that I have got the guide offset wrong before cutting.
A coffee break was declared to let the dust settle.
Having got the height right the MDF was placed on the layout to get the length right and to cut the hole for the tunnel.
At this point there was an outbreak of bad language as the MDF instead of curving smoothly kinked as one of the grooves that make it flex split. This was repaired with a glued patch and something else was done for a while whilst it stuck. I also painted round the tunnel hole with wood working glue to seal the edges a bit.
Feeling my age interlude:
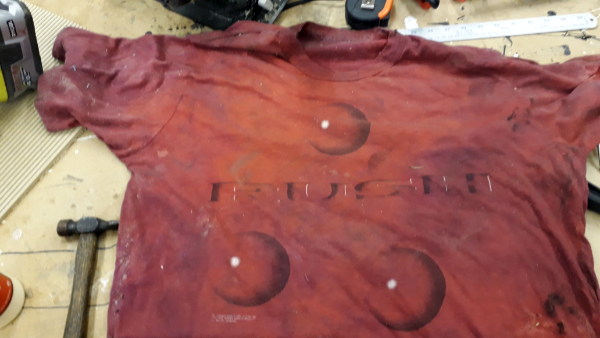
Whilst cleaning up I noticed the rag was an ancient T shirt
A Rush ‘ Hold Your Fire ‘ tour T shirt.
It doesn’t seem that long ago but it was April 1998 at the NEC I went to see them!
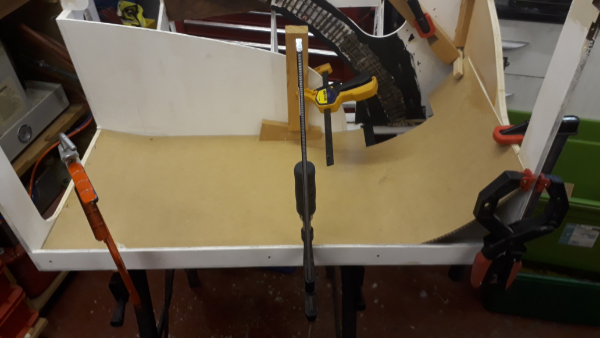
A wise man (I think it was Norm from the New Yankee Workshop) once said “There’s no such thing as too many clamps”. I agree and have deployed a fraction on mine here to hold the MDF backscene here whilst the glue dries.
If I remember rightly this was then end of day one and the glue was left to dry overnight and another baseboard project was got on with (more on that in another post soon).
Next morning it was filler time to feather the edges. Plan A didn’t work, Who’d have thought that the two part epoxy filler that’s been in the cupboard for at least ten years would have gone off.
Luckily I had some flexible decorating filler to hand that hadn’t gone off. Its downside being that it took a lot longer to harden.
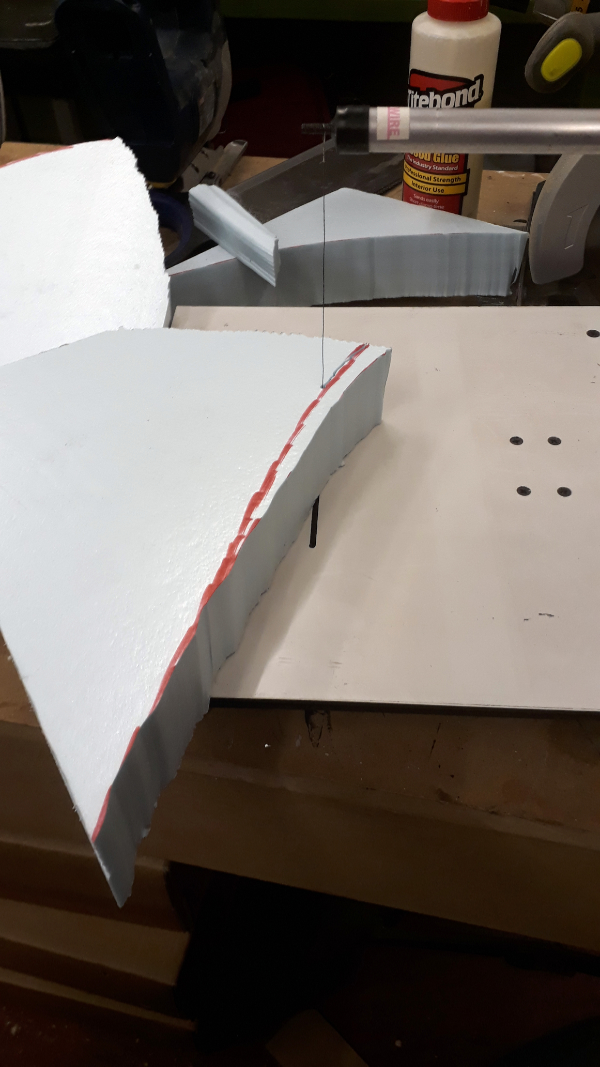
To pass the time I broke out the foam cutter. I use this about once every five years and every five years it reminds me of how crap it is but as I only use it so rarely I got justify getting a decent one.
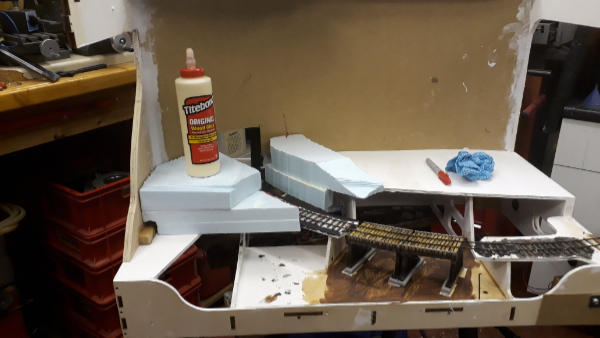
As I am aiming to keep the boards as light as possible the hills are to formed of dense foam blocks profiled to shape and glued together with PVA glue. This is another reason for being in the messy stuff workshop as this stuff goes everywhere.
The hills are starting to take shape. Next I need to find my hand held cutter (its had five years to hide) to shape them and to add the tunnel mouth mock up to position that in the contours. Once the rough contours are sorted it’ll all be covered in a hard shell coating (more mess).
That’s where we leave this episode. I have decided I like the back scene sheet idea and the other board will be getting a trip to the workshop for a similar treatment although it doesn’t have any of the tight corners on it.
As hinted at the end of the last update there is a change of subject for this one with developments on the corner board with a start made to create the hand laid track.
As is often my way I’ve made it complicated for myself but as the curve will be on the limit of minimum radius for some of the locos to go round it it I decided that I needed to ensure it was a constant curve with no kinks or tight bits in it.
It was also to be rail just glued into place initially with spikes added later so it was also important that the rail wasn’t trying to spring to straight.
Ihad two tools to help me sort this. One bought and the other designed and built by me.
The first gadget is a rail bender which allowed me to pre-bend the rail to the right radius so it laid in place without trying to straighten. This was a commercial unit I bought years ago from the people that do the fast track jigs.
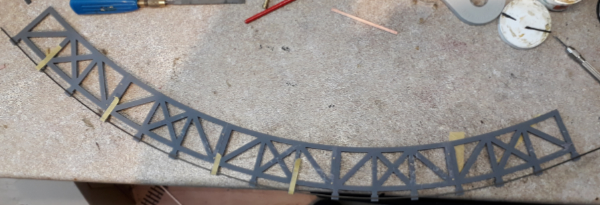
The second tool was a frame I designed and 3D printed to hold the rail at the correct radius for the inner rail of the curve and ensured it was a constant sweep through the curve. With it the rail was positioned over the ties glued down to the baseboard, weighted down and glued. It was left overnight to dry fully.
The second rail was added with the first still held in the printed frame. To do this I used two sorts of track gauges.
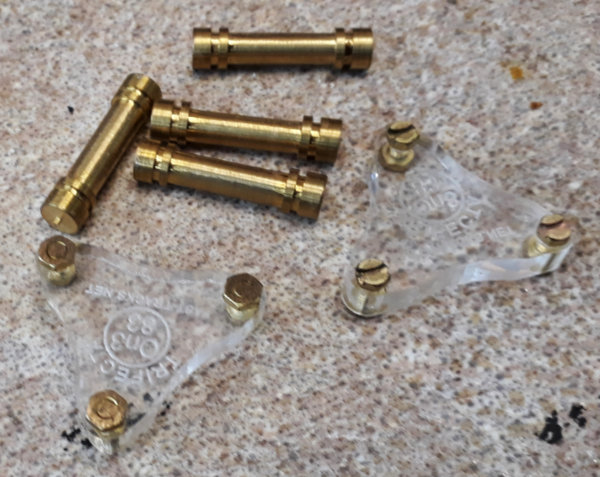
The first were roller gauges and the other were a pair of 3 point gauges. The way I did it was to hold the second rail along its length with the rollers but next to where is was soldering it – oops forgot to mention that amongst the wood ties were some PCB ones – I used the three points as this puts a little bit of gauge widening in to the outer rail. Not much but every little helps.
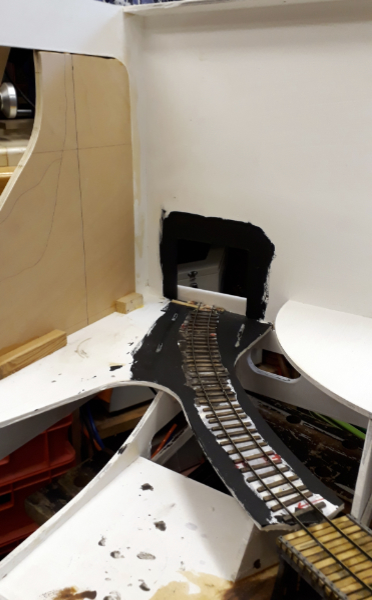
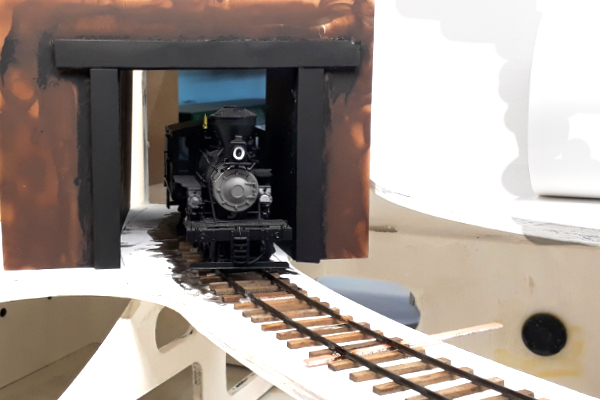
In the orgy of foam board mocking up the layout I also produced a tunnel mouth so you can begin to see what it should look like.
The next job was to cut a gap in the plywood where the bridge is to go.
The resultant gap needs a bridge
First thought were of some sort of plate girder bridge as modelled here in foam board and with my Climax posing for scale.
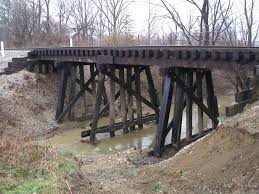
There was quite a lot of debate about bridges on one of the forums and in the end having been sent images like these I settled on a trestle
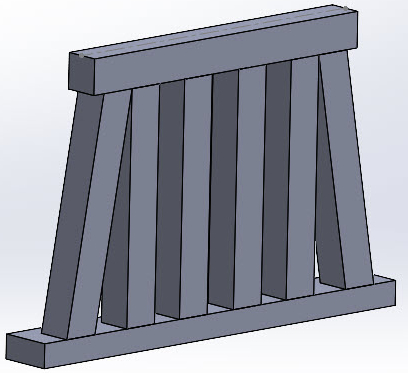
Isketched up some ideas in CAD. not detailed but enough to give me an idea
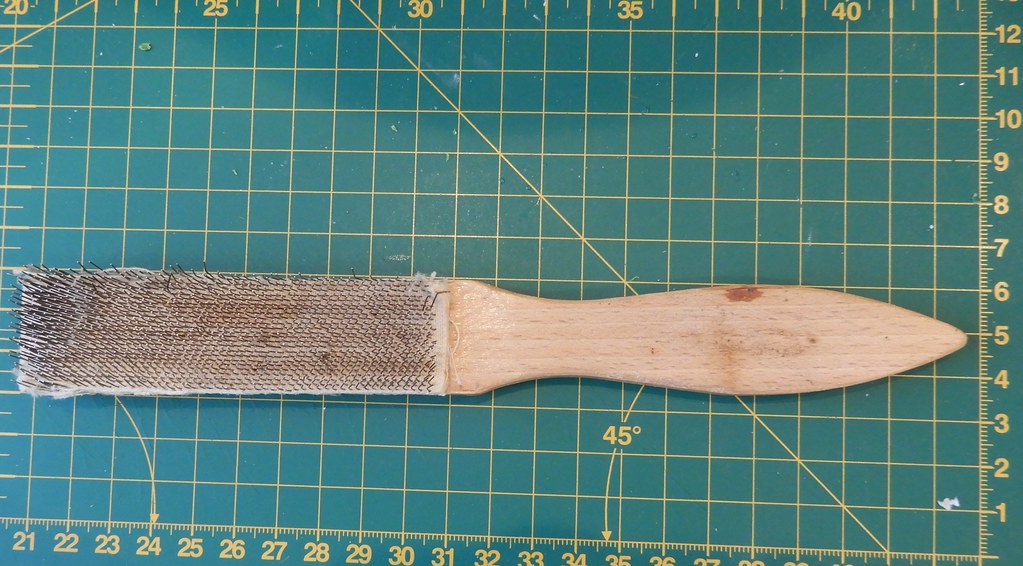
Ihad hoped to modify an Evergreen Hill Trestle kit I had but in the end it just became a source for the wood. That would was all a bit too regular so it got some abuse from a knife, wire brush and fire
With the rails unsupported and vulnerable across the gap I was keen to get a bridge in place asap. The bridge was built temporarily on a bit of plywood and was initially designed to pin together with cocktail sticks.
On its bit of ply it could then be placed under the rails and the deck timbers placed in the correct alignment. At this point I was debating whether to do timbers under the rail but in the end decided against it.
Clearly the bridge was still too low but it needed some foundations for the piers. These were cast in DAS stone compound with a very crude jig and on cling film so as to able to get it out.
These foundations were cast a smidge too thick anticipating some shrinkage and left to dry. Once dried the bridge was packed up to touch the rails and the foundations sanded until they slipped into place with some packers. With them in place they were glued to the bridge and layout and the rails glued to the deck. A bit of weathering tidied it up and the track will get more when the adjacent sections have been ballasted.
With the bridge in place and with the rail supported and protected by it towards the end of March progress pretty much fizzled out until the weekend just gone when work resumed on a different aspect which provides the ideal point at which to end this episode.
My local group of the 7mm Narrow Gauge Association declared last Saturday a modelling day. I would normally have attended for the refreshments and the banter any modelling completed being a bonus but circumstances prevented me from going.
Also with the day job being other peoples models my own stuff only gets done in fits and starts but in sympathy with the other day I declared the weekend a personal modelling day and worked on the Brymston RR even planning enough ahead for a trip to the shops to buy some stuff I needed.
Three things happened: –
I got some modelling done
I got my modelling mojo for my layout back
I had something to write up for this blog
It was that last point that caused a bit of a jolt in that I realised that it was last February when I last added something to the Brymston RR part of the blog. There is actually quite a lot to catch up on so this could turn into a bumper update. I should get yourself a coffee or something stronger.
Part 3 of the Bagnall history and design information has been sitting on my blog in draft form for many weeks now needing me finish it off and publish. It will happen soon but I feel I need to interrupt those spasmodic additions with a project update.
I’ve grossly underestimated the time it would take to get all the third party parts together whilst the need to continue to earn a living has meant that it’s not always had my full attention. There, that’s my confession in place, now to expand on that a bit.
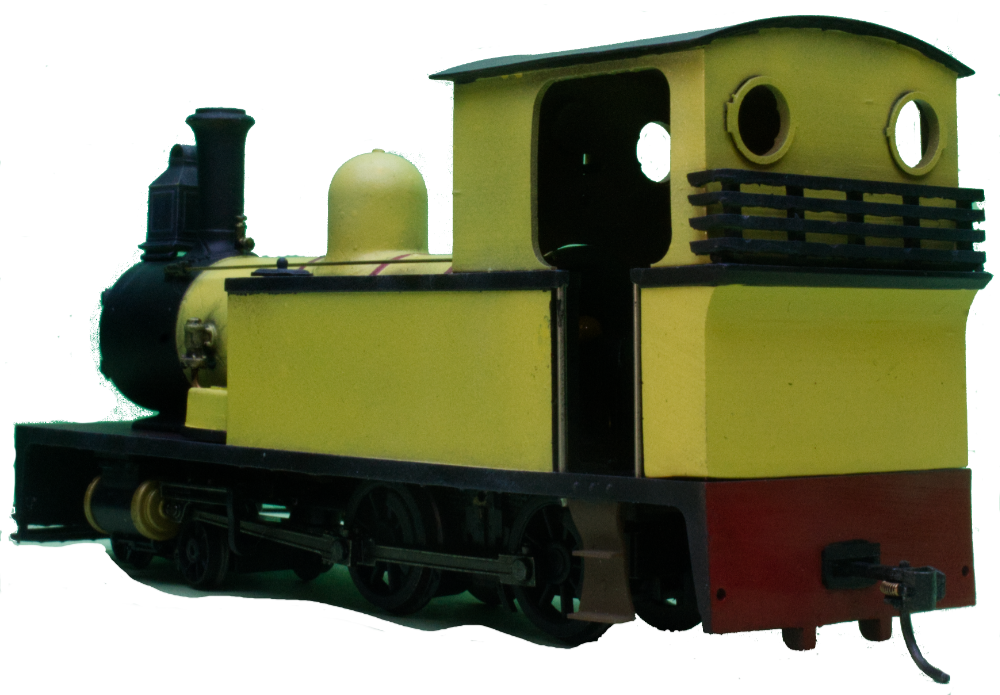
The 3D printed parts are all done – I think I may have to print the rest of the fireboxes but that’s it. That at least is something within my control. I have put a loco together for display purposes using 3D printed versions of the bits that will be brass castings.
I did this partly as a test build and because I needed pictures for adverts to go in magazines.
Whilst the 3D printing is within my power and control it’s the 3rd party items that have been a bit of a pain.
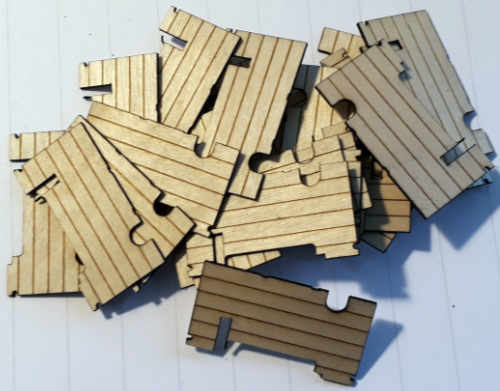
First, though I should commend Julie at York Modelmaking. Whilst I used to work there and know how to produce the artwork laser ready Julie took my e-mailed file, sent on a Saturday, turned into a pile of floors and posted to me arriving on the Tuesday.
The big delay has been the brass castings. I’m a bit annoyed about this because I think I led myself up this blind alley. For the last couple of years now I have been 3D printing patterns for other kit makers and sending them to the caster and from this I got some idea as to how long it was from sending patterns to them being castings.
I clearly got it wrong. What seems to have happened is that I took the optimistic view and didn’t account for demand pre Guildex and then post Guildex holidays!
I do hope you weren’t expecting the single piece one lump 3D print that seems to be a prevalent offering at the moment? As well as having twelve resin parts there are thirty six brass castings in the kit.
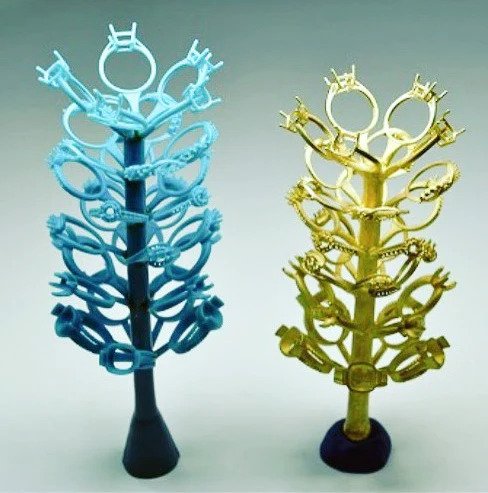
I wonder if a little diversion into the lost wax process is worthwhile here as it’s a phrase many will have heard but not know what it means. It goes like this. A pattern is made, printed in this case, which has to be designed with being able to be removed from a mould in mind*. This sometimes means things have to be made in two or more parts. This pattern is then sent to the caster who makes a split silicon rubber mould around it. This mould is then filled, multiple times, with hot wax (starting the wax part of lost wax) giving you multiple copies of the part in wax. These are then strung together in a Christmas tree of sprues with more wax (the blob you have to clean off your casting). These `trees’ are then suspended in a flask and a fine liquid ceramic goo is poured in, vacuumed to get all the air out and then warmed to make it set. Once set the temperature is increased to melt and then burn out the wax. (now that’s the lost part of lost wax). Now we have a flask containing a ceramic lump that has part shaped holes in it.
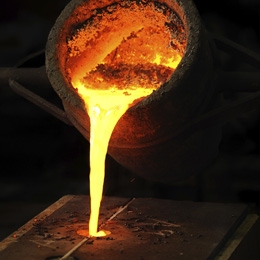
Molten brass is then poured in allowed to cool after which the ceramic is broken out leaving your brass parts. These are then cleaned to remove most of the ceramic but they don’t always get all of it out.
That massively simplifies the process and it has a large helping of art as well as engineering. There are many casters out there but many are jewellery specialists that do train bits but have no idea what the part is. I use one of the few that just does parts for trains (and does his own kits)
–*There is a way to skip the silicon mould stage now directly printing masters in castable resin bit it means a print per copy. It also needs different temperature profiles at the burnout stage
So having explained the process commercially a lap around the system is typically a three day effort. Waxes day one, moulds day two, cast day three. Also, it would be typical to have one set of castings done to check them for errors before ordering in bulk.
So, where are we with the castings for the Bagnall?
The first batch arrived in September, Generally they were fine with just two items needing further work or revision.
Then Guildex and holidays got in the way.
It was then into November before I got part two of the castings to check and they arrived when I was busy with something else so it took a few days to check them.
The current situation is that (as of Nov 29) the order is in for the production sets of castings and I await there arrival.
Once I have these I’ll get on with both assembling a final version, writing the instructions and packing kits. There is a slight thorn in the side of that plan in there i have a commission model to finish that is also top priority (isn’t everything?)
What else is happening Bagnall wise?
There’s transfers. At the moment these exist just as a one of for my loco(s) but I will investigate making them available if there is enough interest.
Due to a mistake in the printing process there is also a half size set which might do for another project below.
Having caused a drought with the supply of the 0n3o chassis and a need to do chassis for other models in house rather than rely on commercial offerings a chassis is in development for the kit. I’ve started on the wheels.
There is also a 009 version in development due to popular demand (a friend gave loaned me the chassis to put a body on). Its still a work in progress.
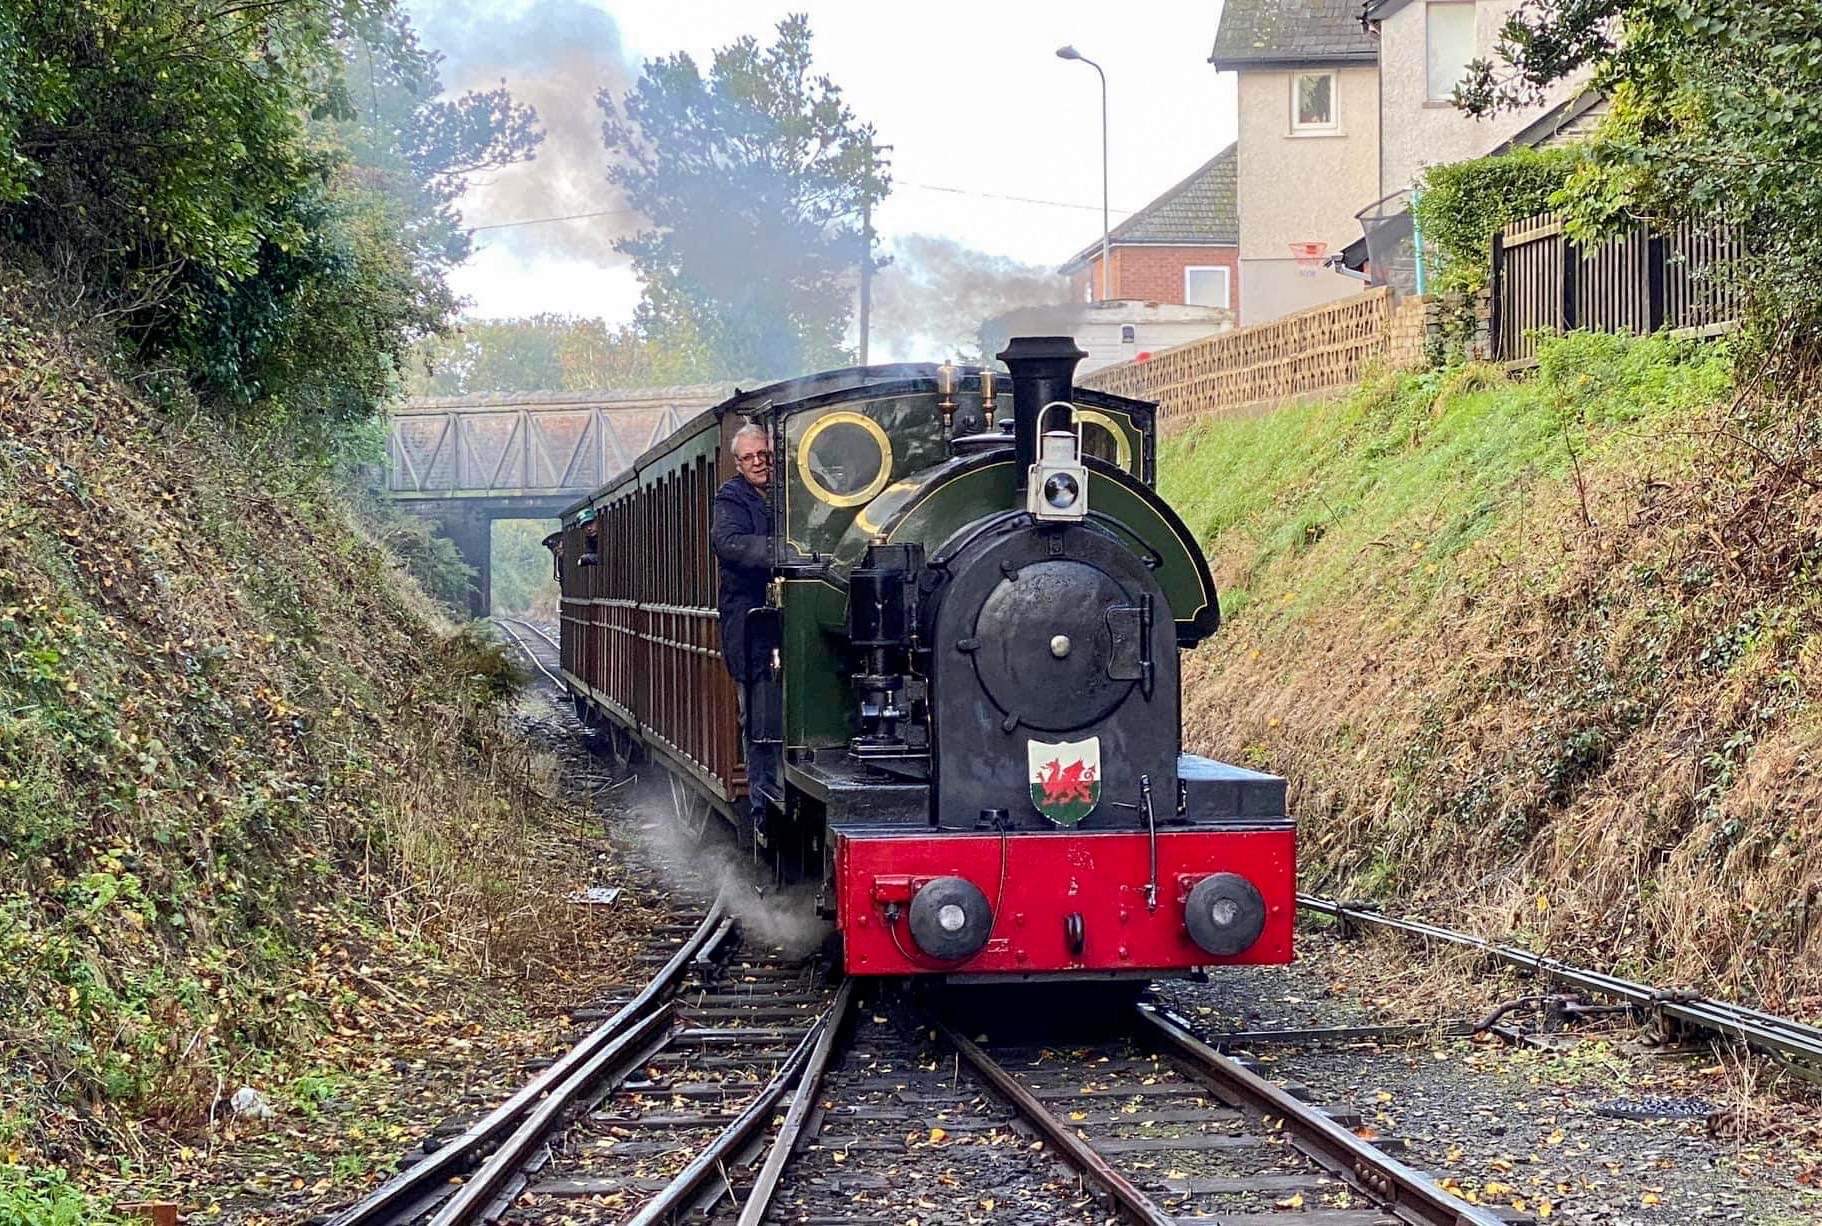
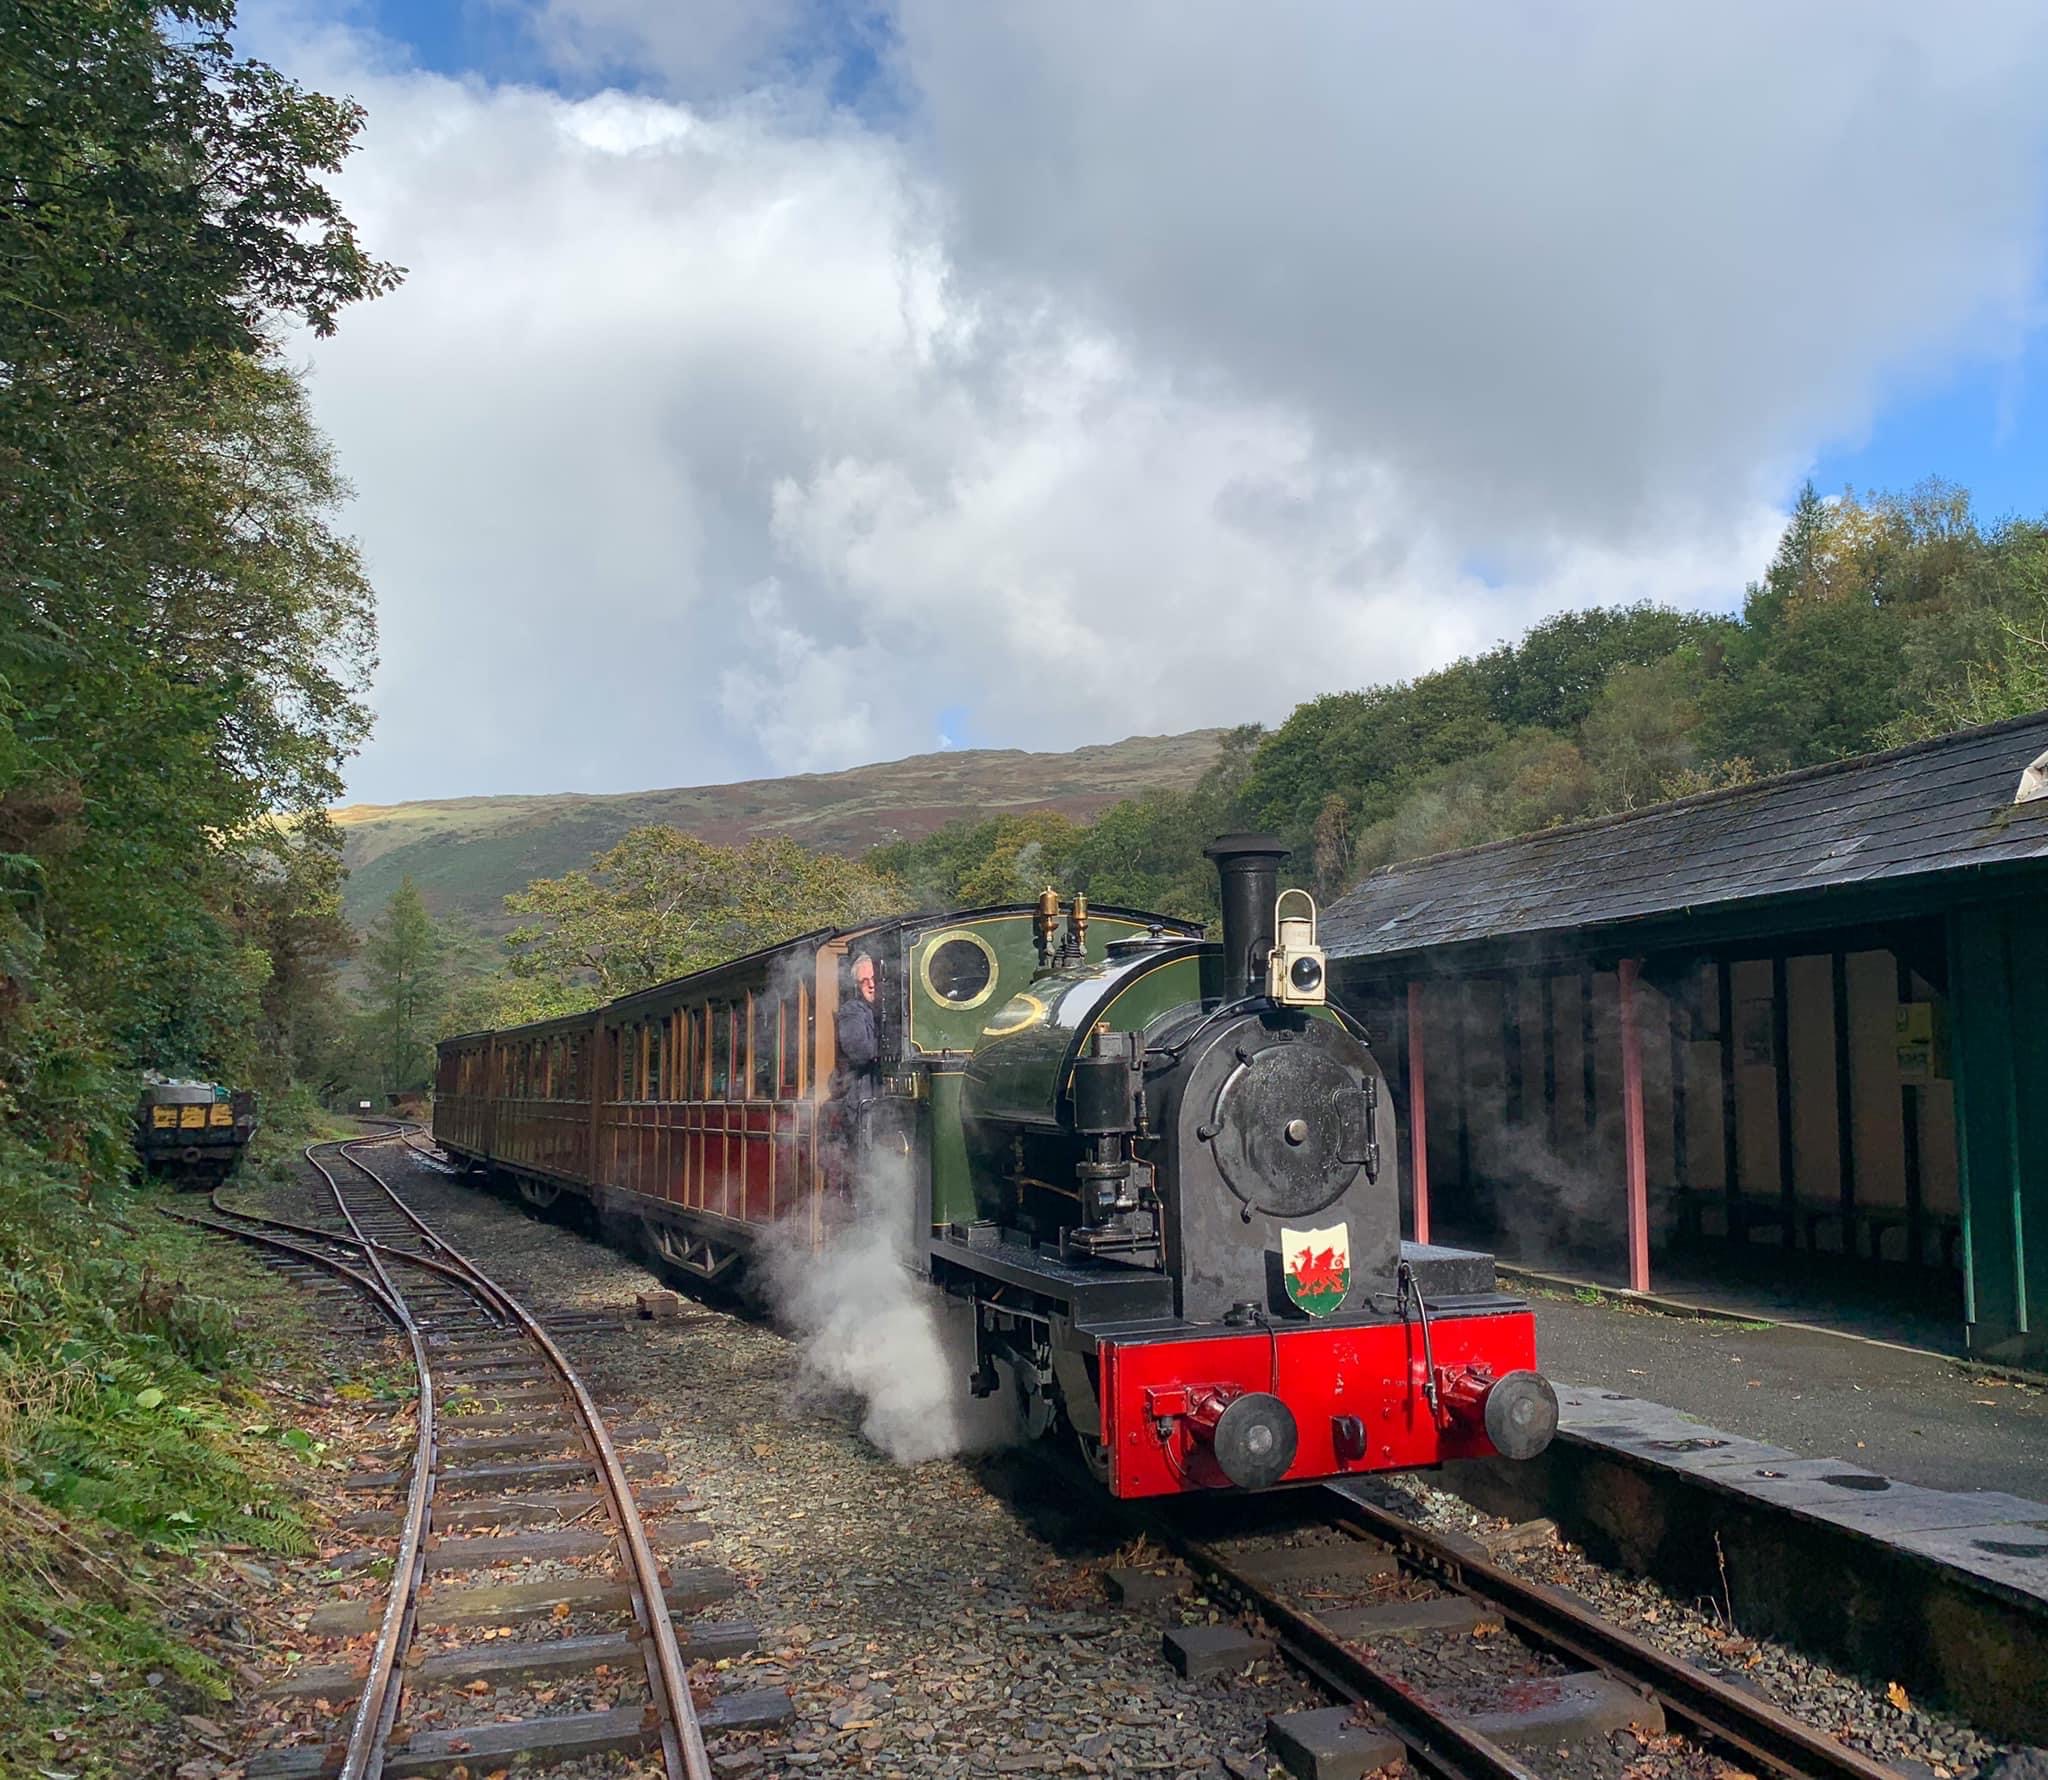
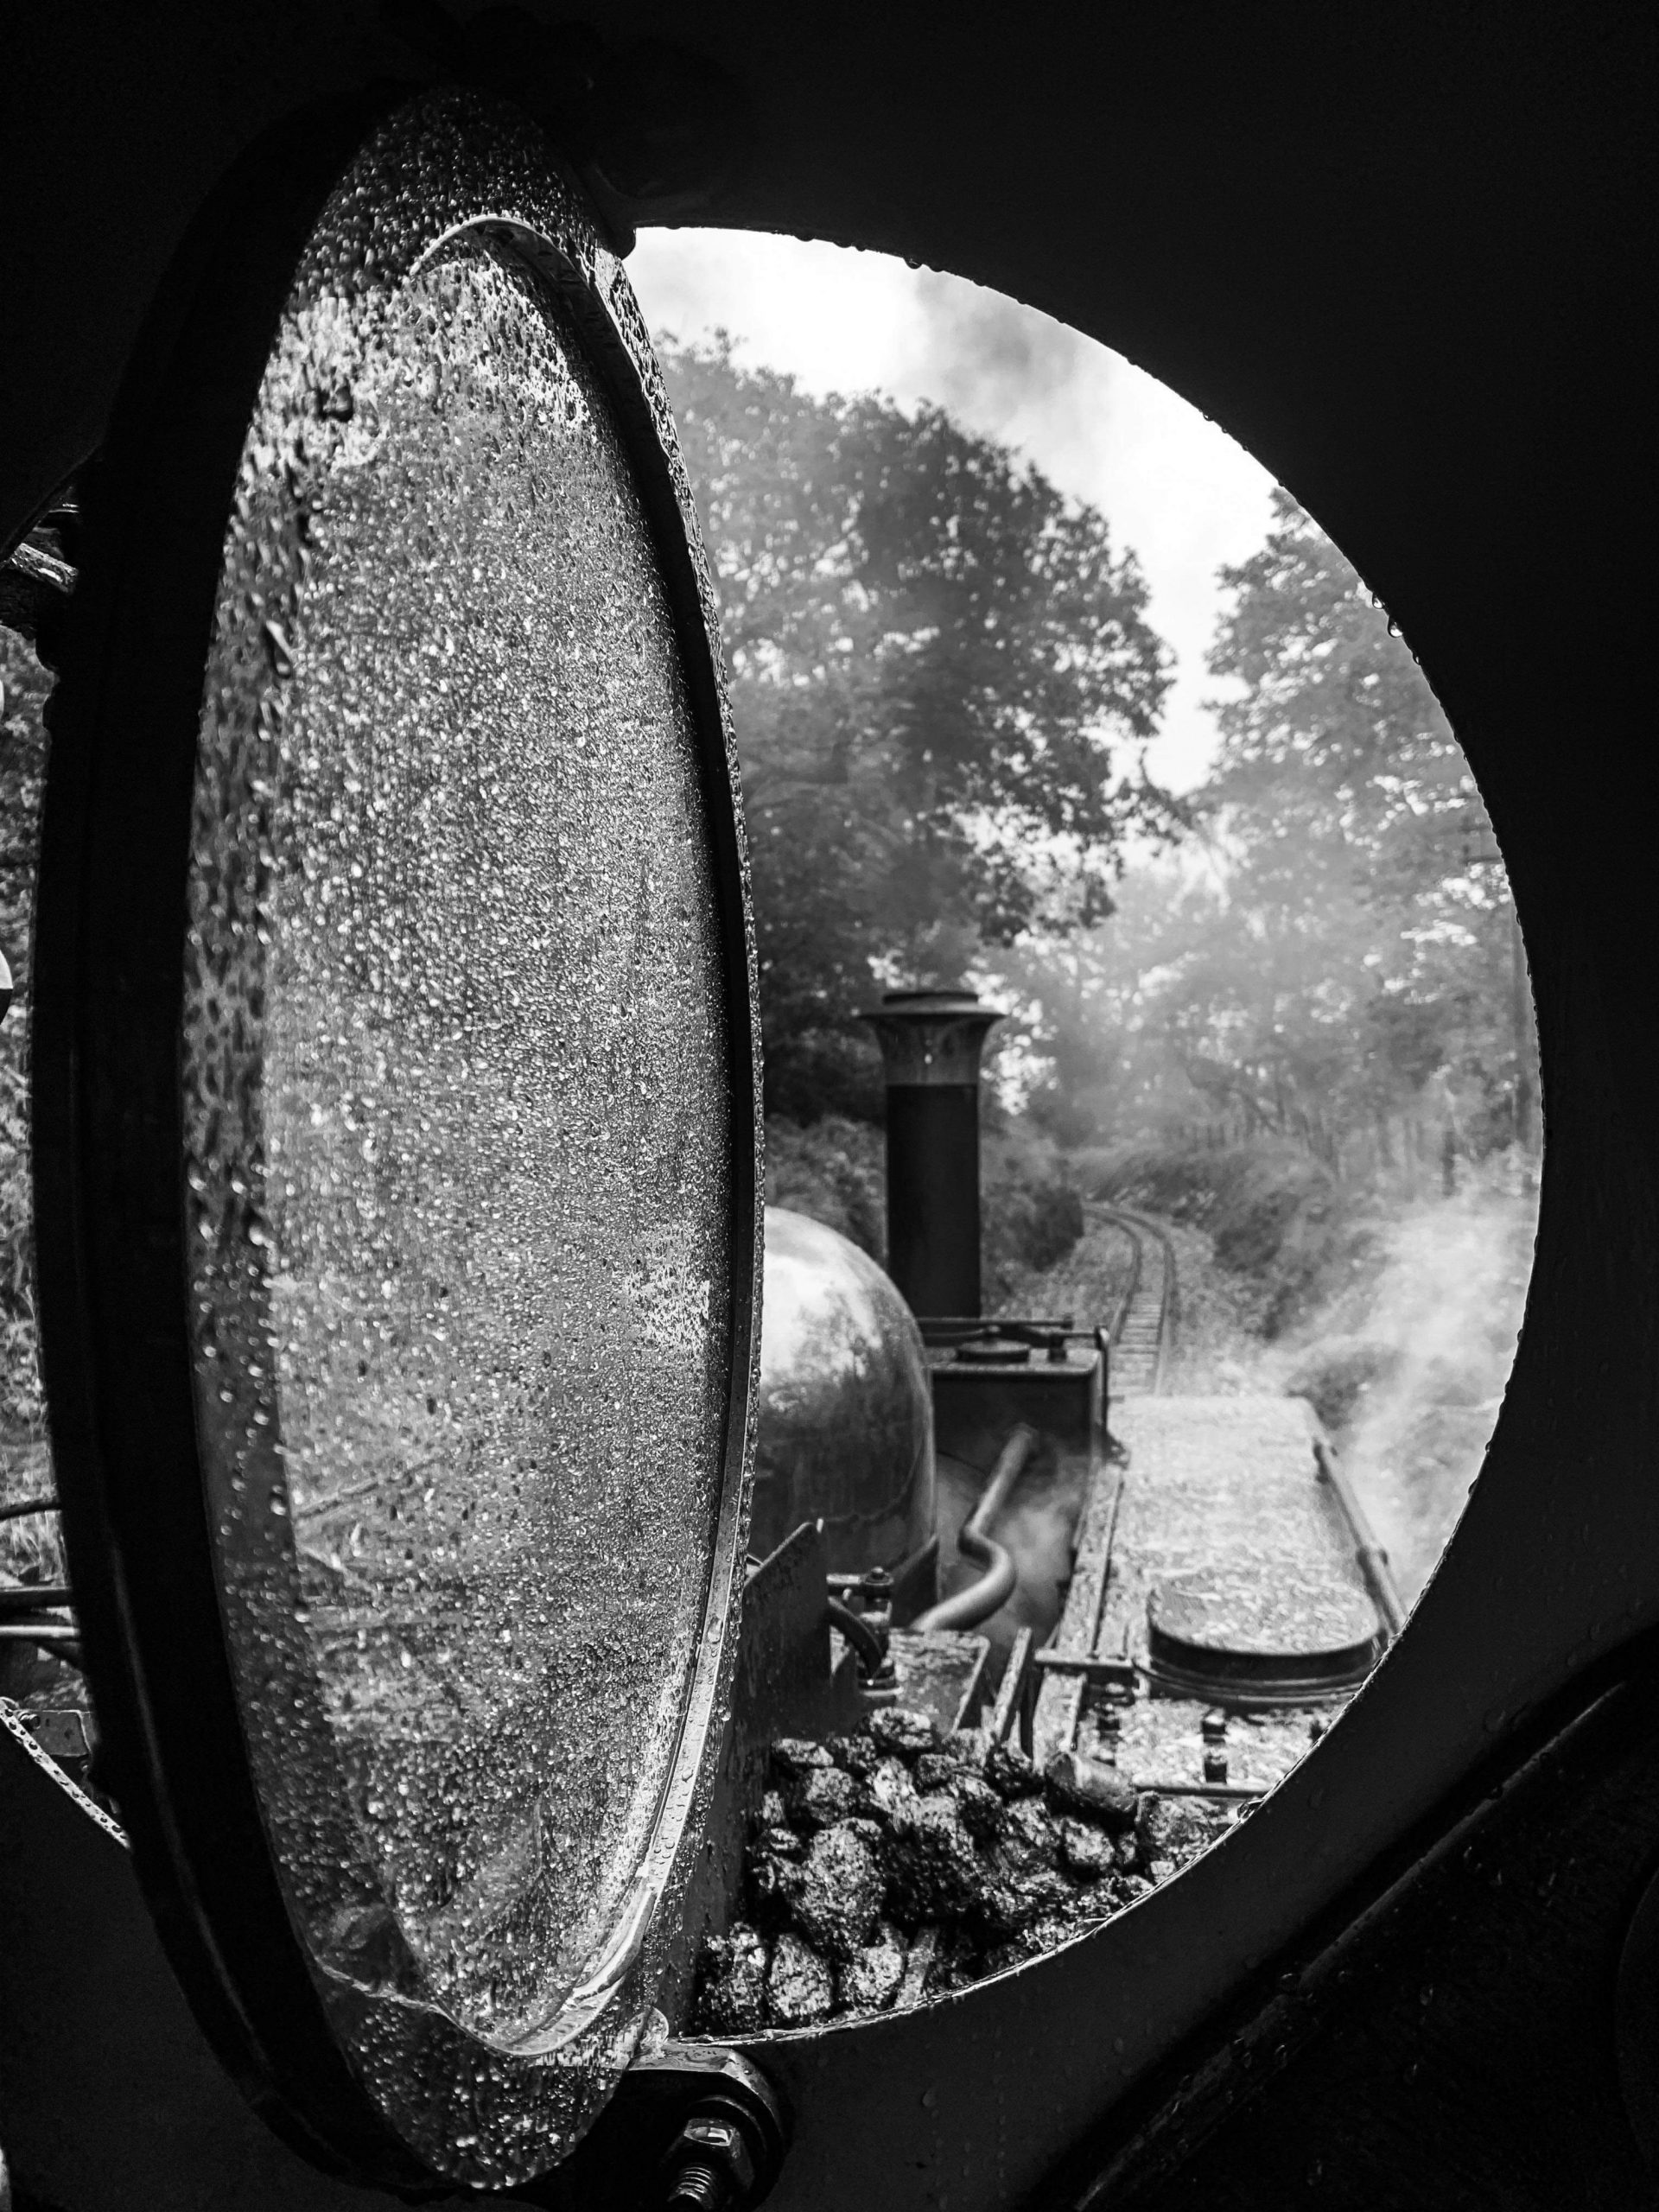
I am privileged to be a driver on the Festiniog Railway and at Beamish museum. Working in these places has the advantage of you getting to meet and make friends with people from other railways which can open opportunities for away days.
This year I’ve done 25 turns on the FR totally close to 700 miles (mileage down on earlier years as the post Covid turns are shorter in distance per day), done a weekend at Beamish and had one awayday driving someone else’s engine.
Beamish Transport Gala
This post reflects on the last turns of the year which started with a steam gala at Beamish and driving in the colliery. One day on the standard gauge driving the coffee pot and a day on the narrow gauge driving Glyder.’
This year was a but quieter than some of the previous events as Beamish feels its way out of Covid and has to be careful with what it spends on events.
All being well plans for an event on the first weekend of April 2023 should be a bit more grand and see some visiting engines for the narrow gauge.
This weekend was fun and we only got rained on a bit on the Saturday when I had the engine with no roof. Sunday, when I had a roof, was scorchio!
Festiniog Railway – Bygones/Vintage Weekend
We keep getting into trouble because we all know it as Vintage Weekend and keep calling it that. Pre Covid it was growing in to a thing not just for the railway but for the entire town and shops and residents got into the theme of it all. This resulting in large gatherings of folk in period costume around the railway and town
Bygones is supposedly the low key down played socially distanced version done with Covid in mind but also referencing that the weekend is also an end of season play with all the toys for staff and volunteers alike. We’re supposed to call it Bygones but old habits die hard. Hopefully, next year we can go back to the larger format.
As I am able I try to go down for a few days either side of the event to help set it up. Some years it means I drive the shunt engine that leaves no truck unmoved, other year I drive the service train so others can do the shunt.
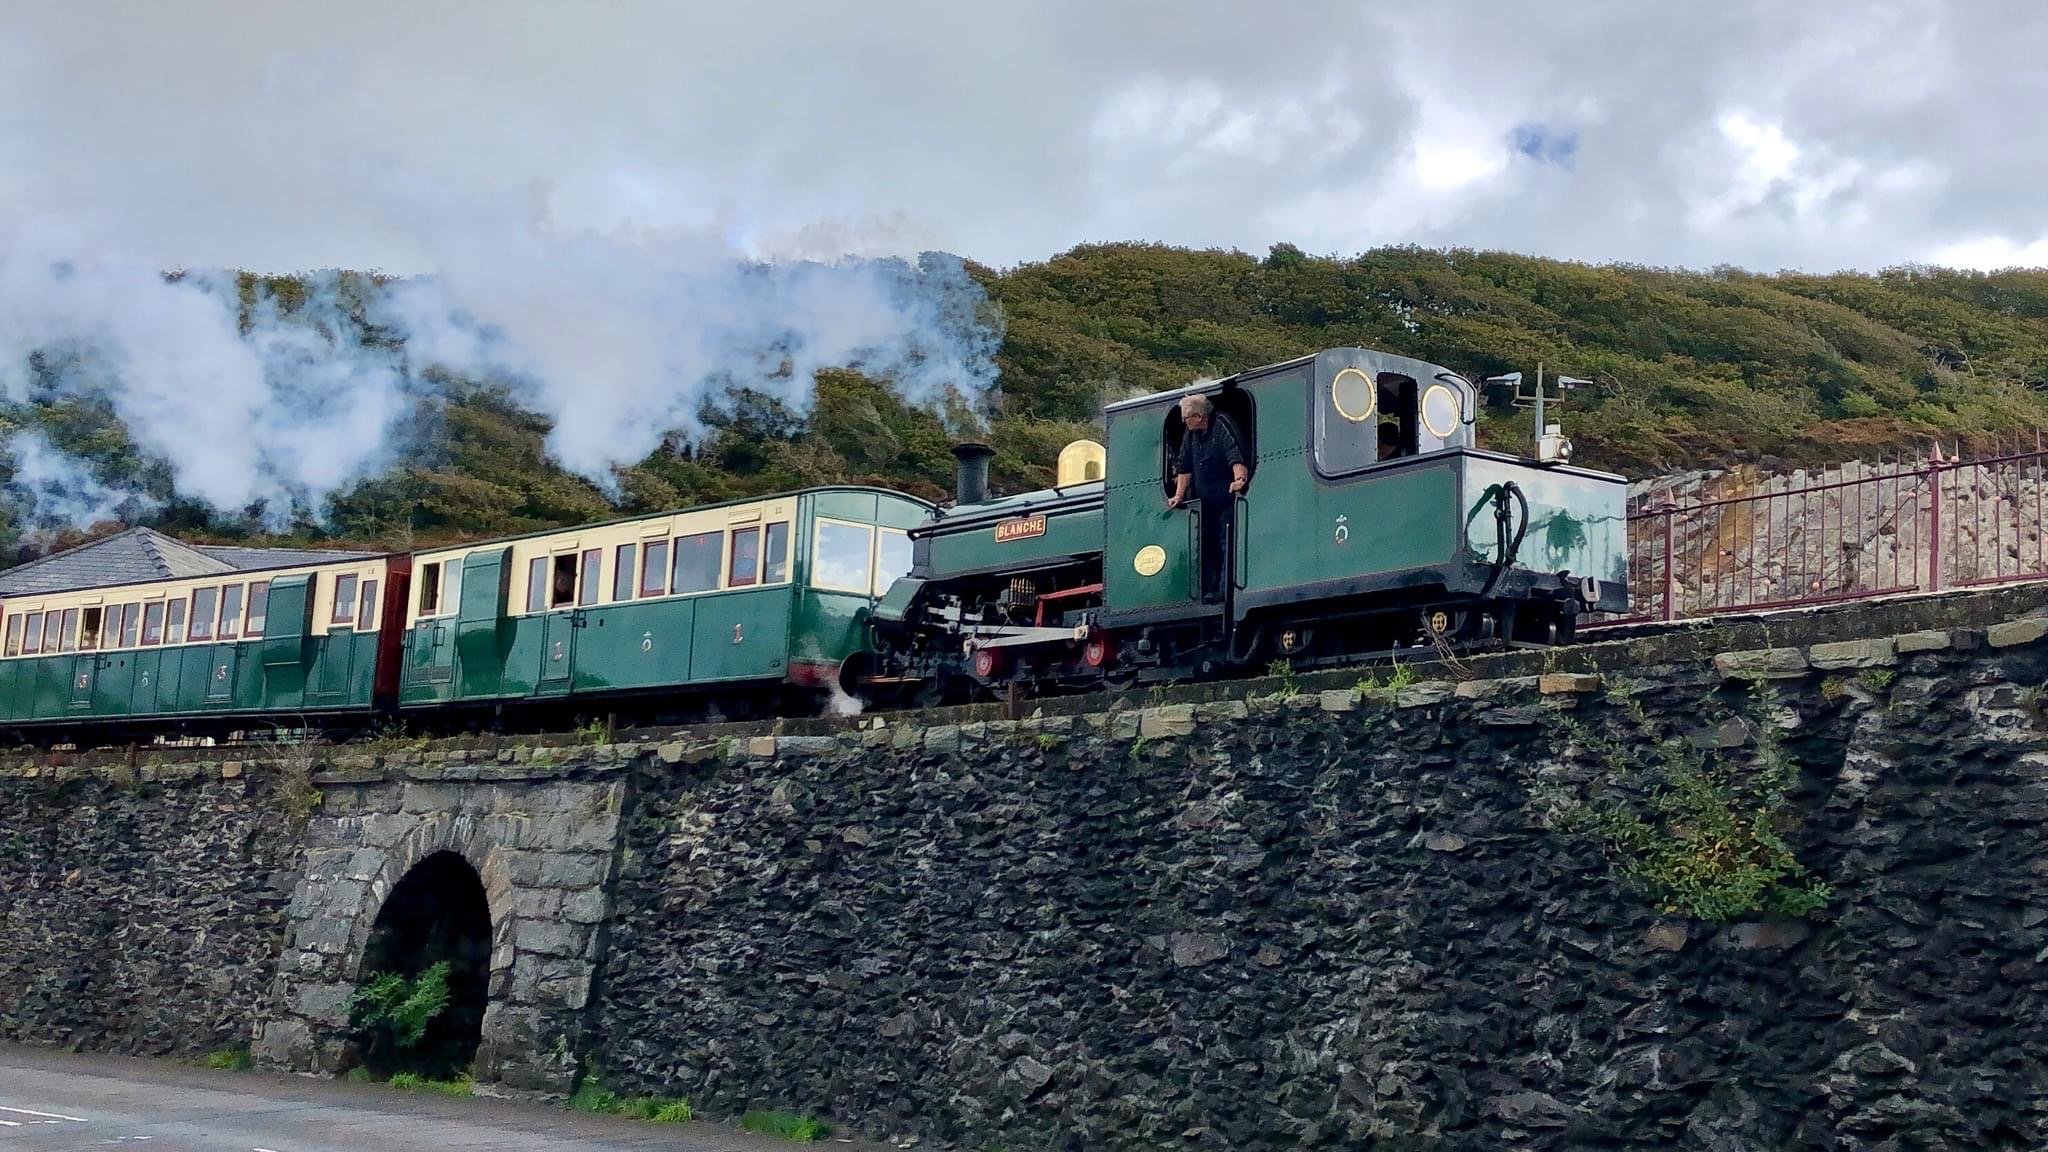
This year was a service train day so on the Thursday I went to Blaenau with the afternoon train driving Merddin Emrys.
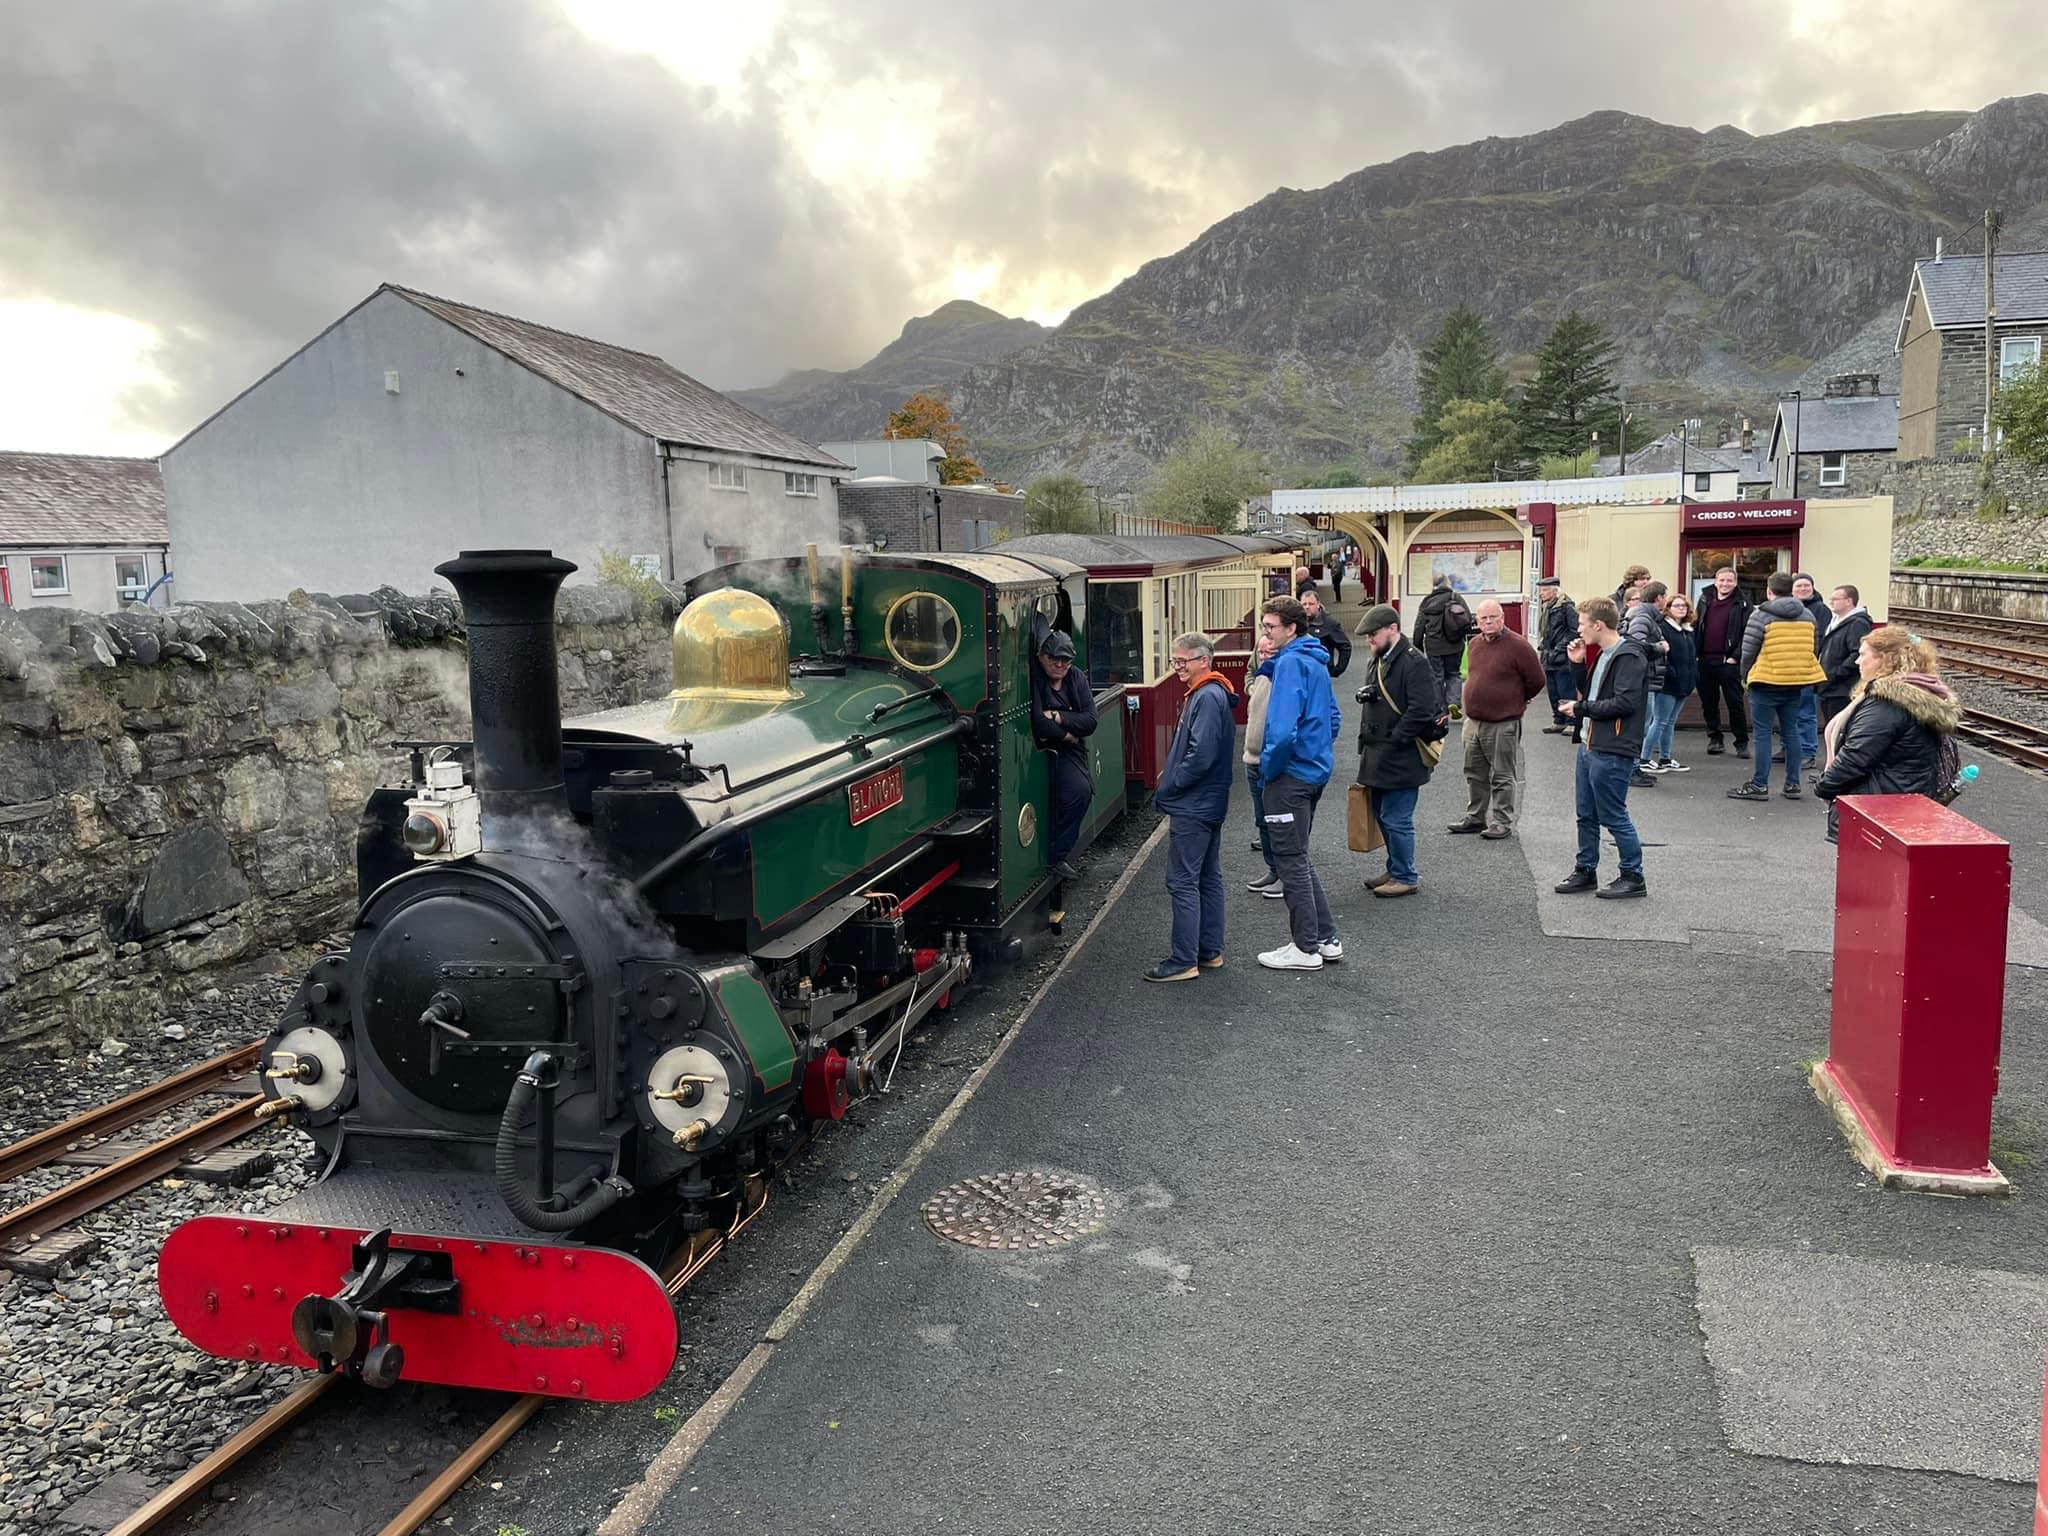
Friday was a day I could have done without. Started with a Tan-y-Bwlch and back with Blanche which went OK but then we were then the afternoon train to Blaenau and it all went wrong. We had some proper horrible coal which was initially blamed for our ills but steaming was poor and we had to stop for a blow up several times and were very late by the time we got to Blaenau. Disposing the engine took ages as the grate was encased in a mess of clinker. We had a guest from Beamish with us and I don’t think he saw Blanche in the best of light.
I was off on the Saturday. Initially I was a bit miffed by this as I don’t do being a spectator well but after our Friday I was glad of it. My friend Clare had Blanche for the Saturday and I followed her progress, or lack of it. Several blow ups and a tow home but with a top link fireman suggesting something other than coal was ailing in Blanche. That turned out to be the end of Blanche’s season as she was later diagnosed with leaking superheaters which explained a lot. With other boiler issues and an impending boiler overhaul she was stopped until repaired.
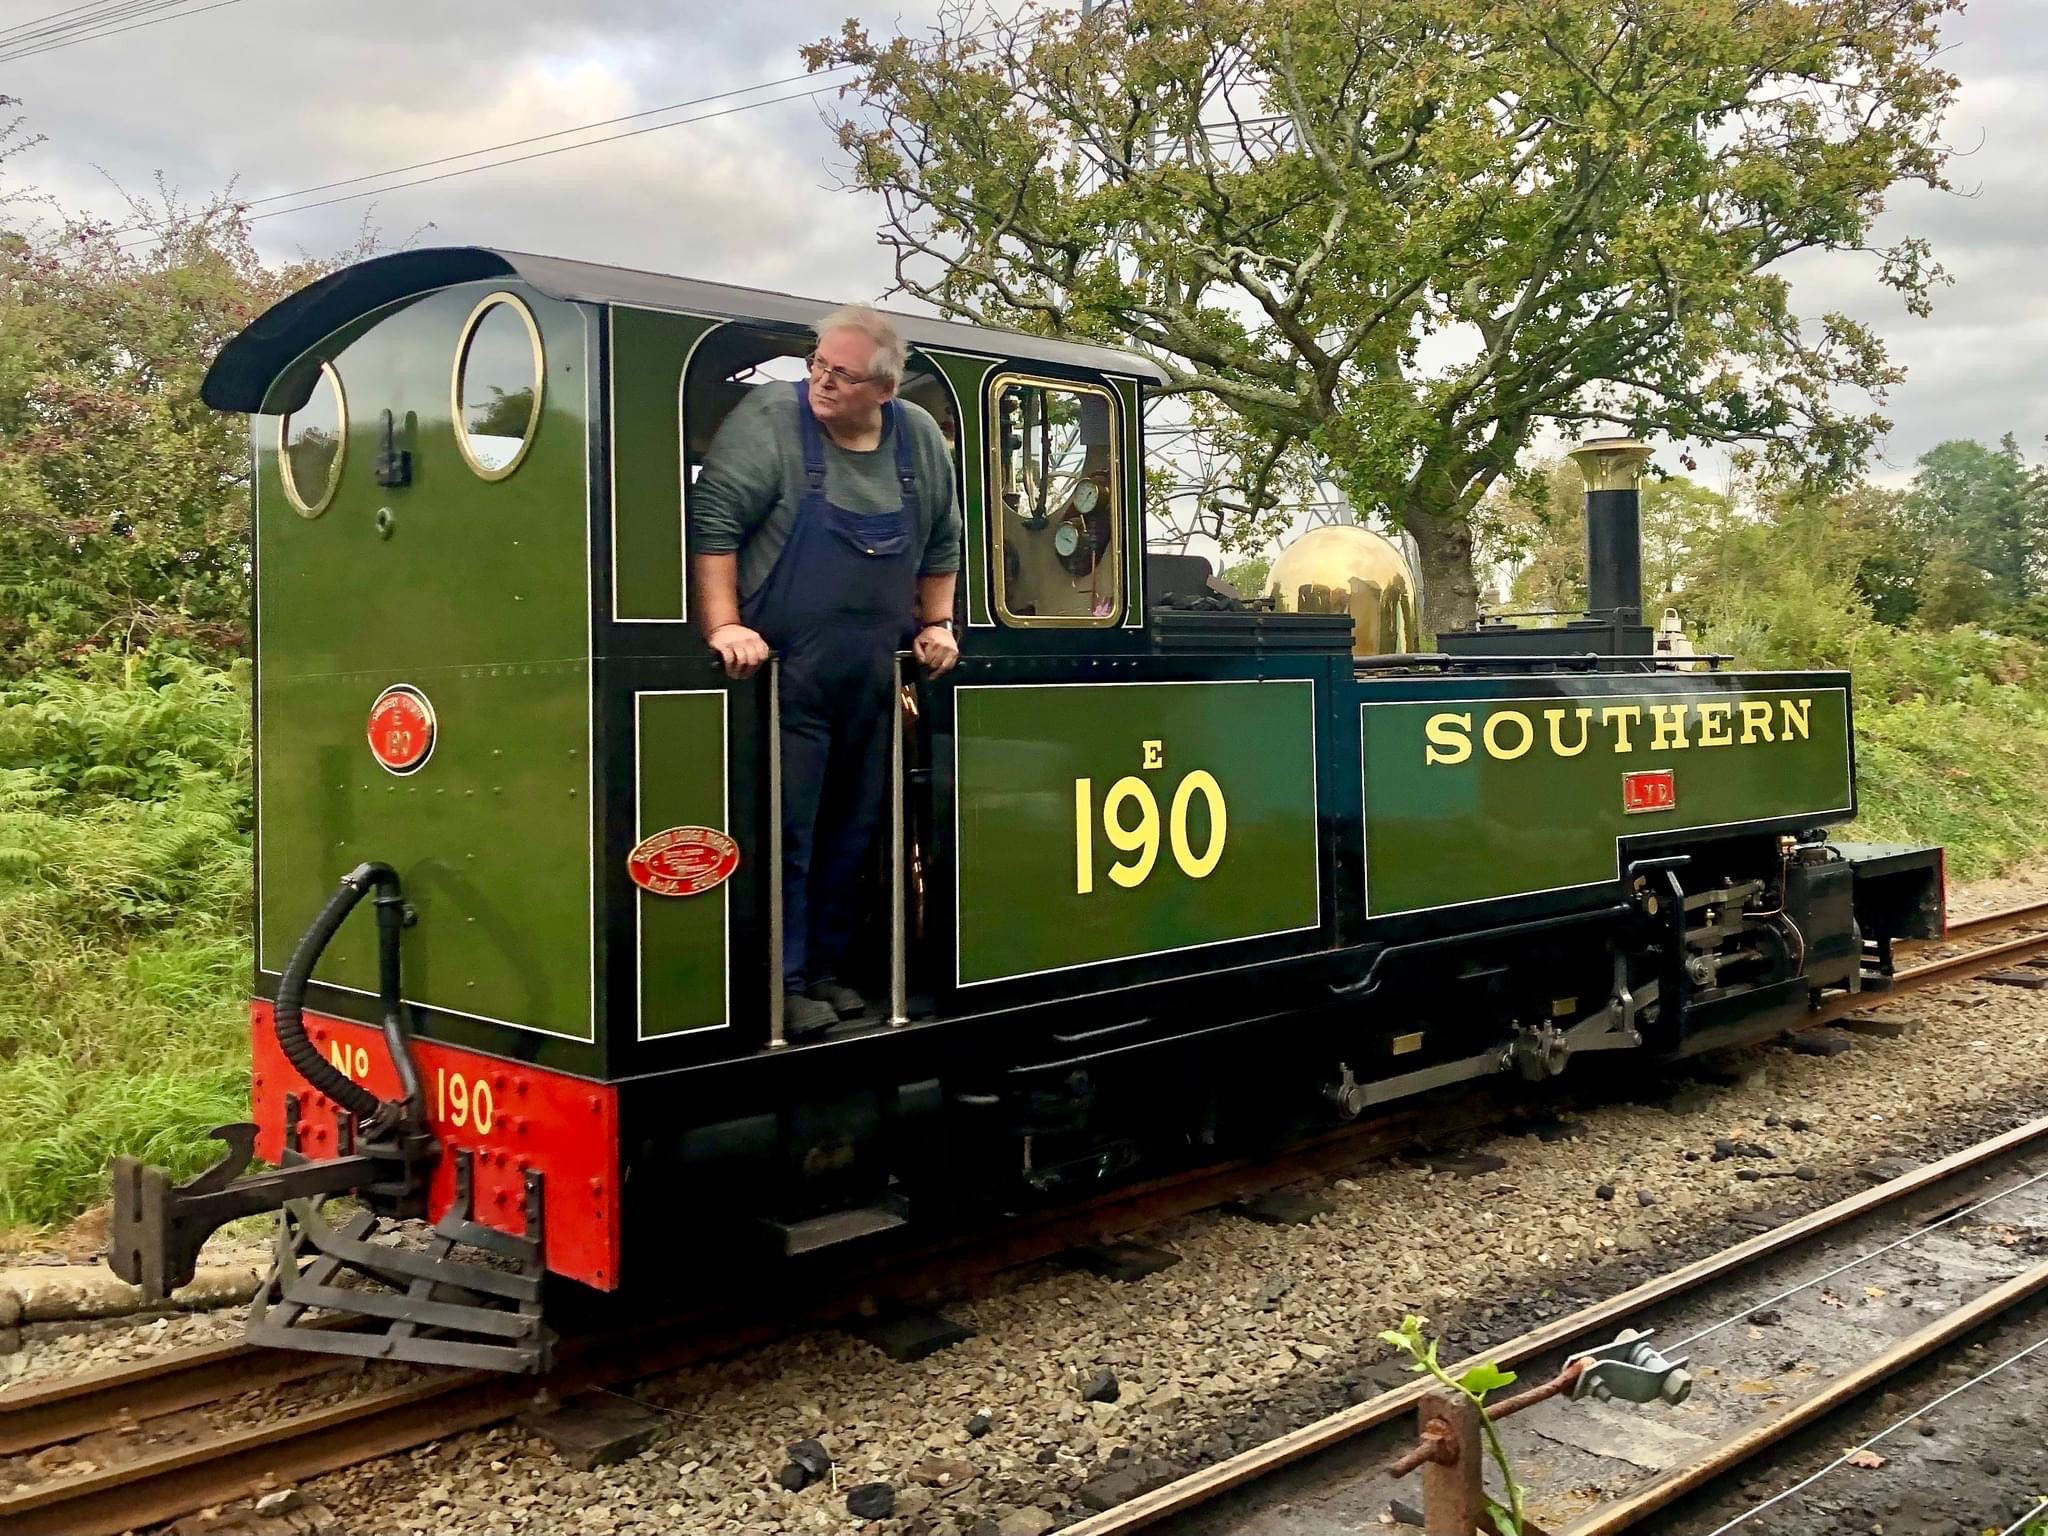
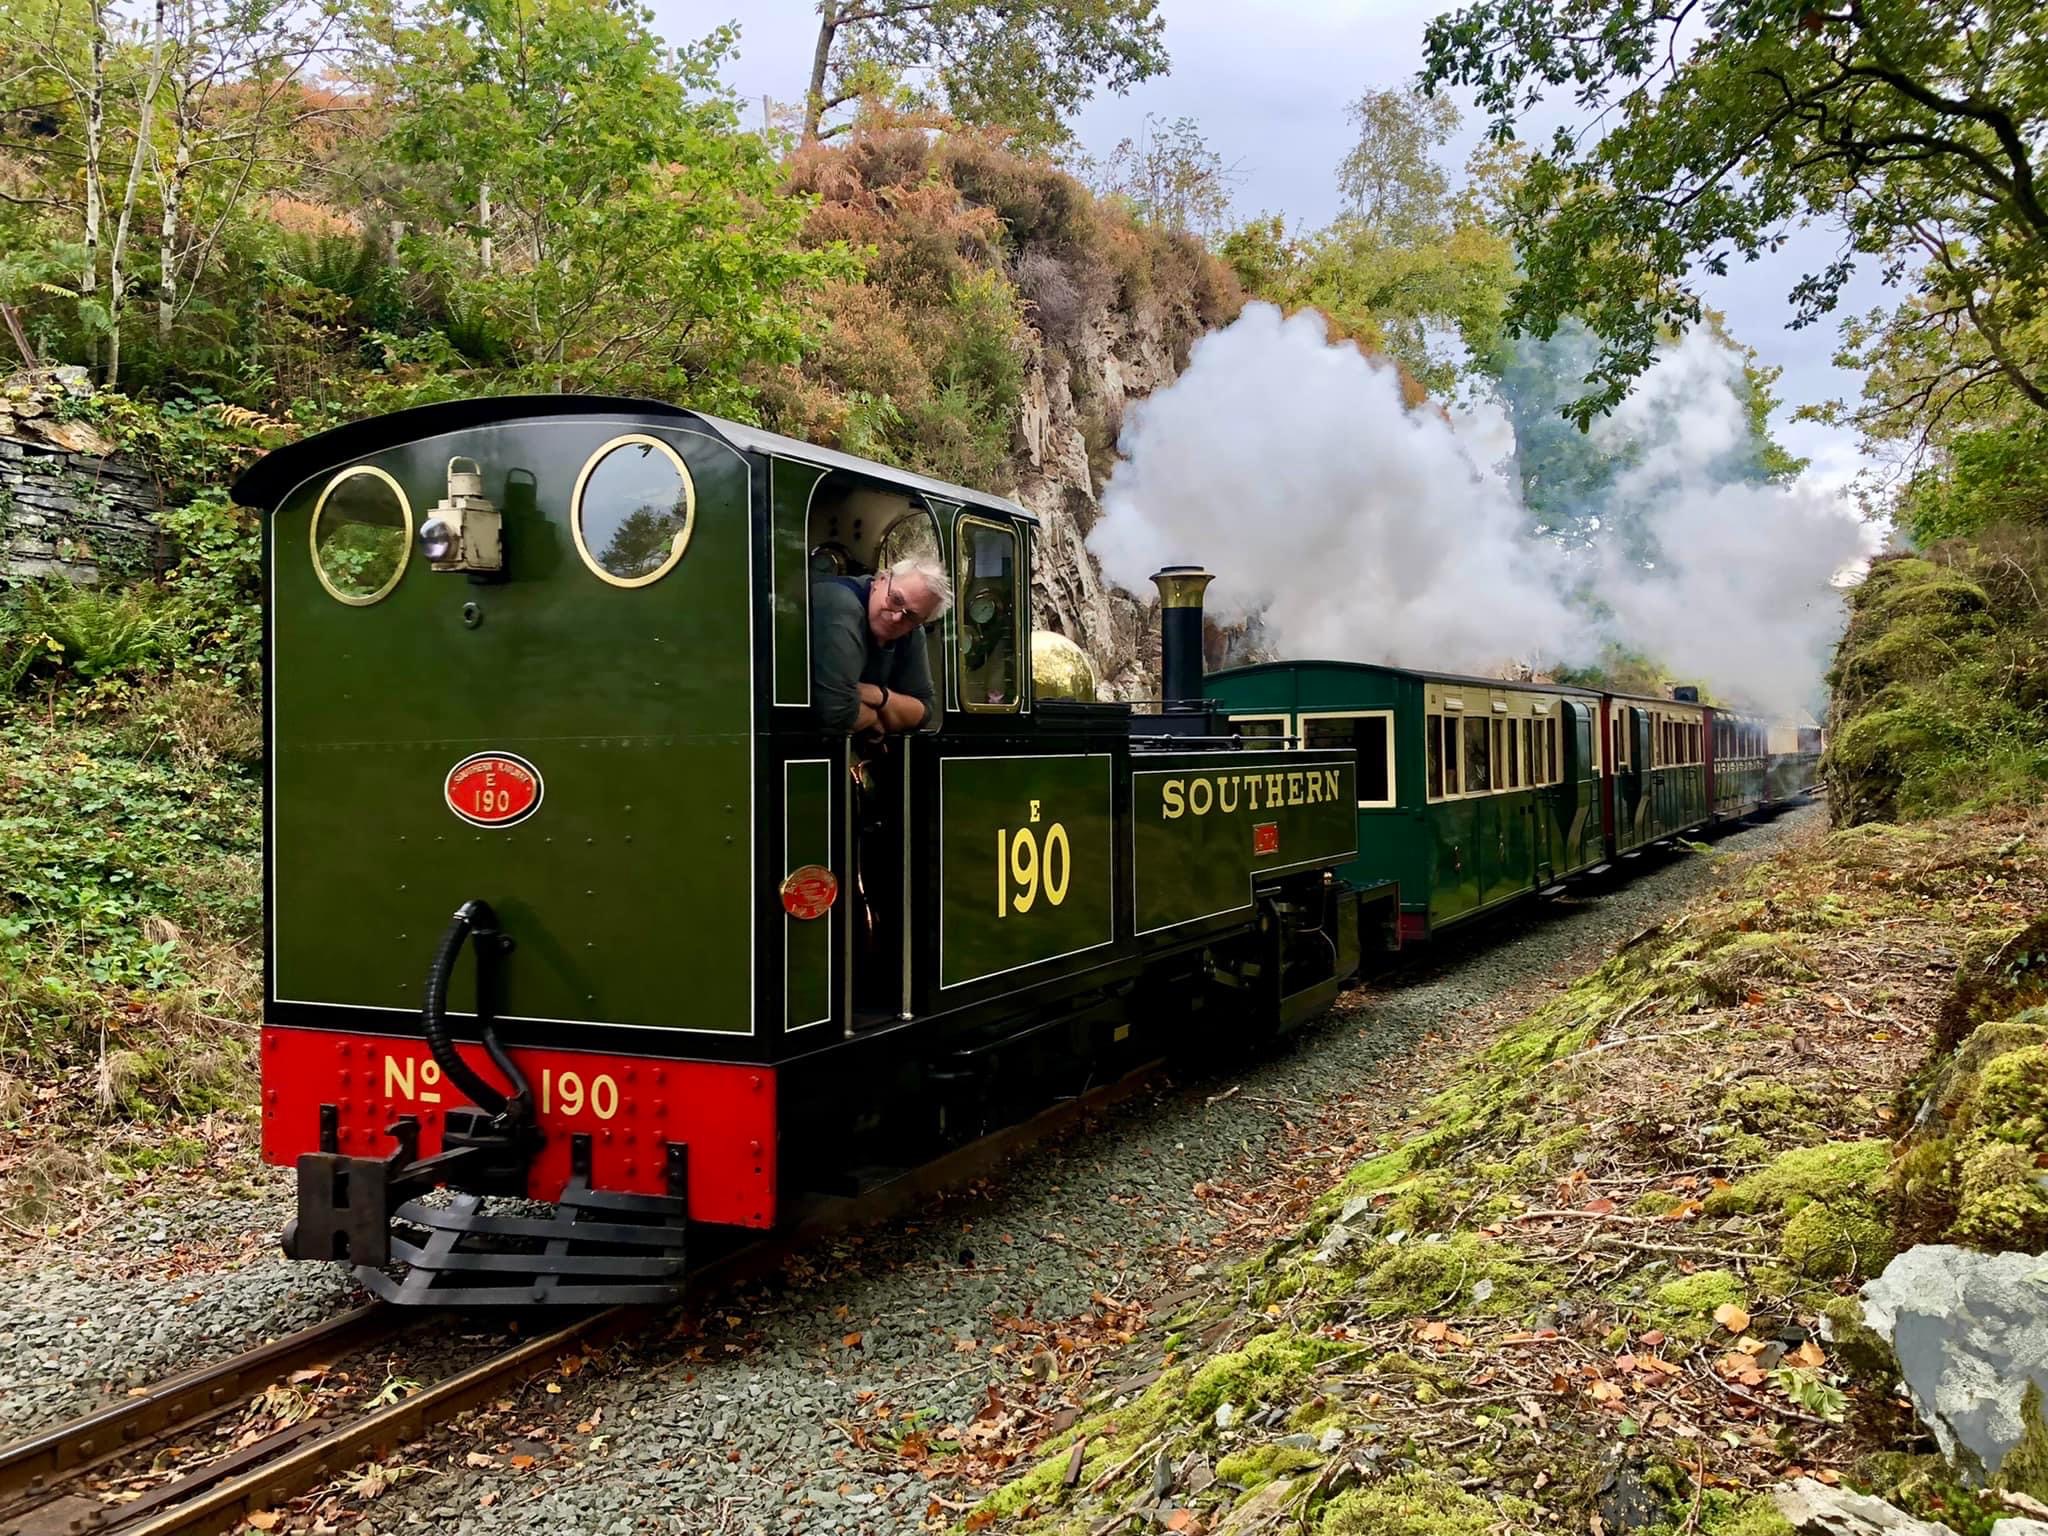
For Sunday I did a silly thing! I should have been driving Merddin on a turn at a pleasant time of the day and one which I didn’t have to prep or dispose the engine. Blanche’s failing messed that up. Clare should have been driving Blanche. Lyd moved to cover Blanche’s turn. Clare doesn’t do Lyd. I was bribed with a bacon buttie to swap and only after I had agreed was I told it was an 05:45 start. [Truth is I offered to swap but that isn’t as good a story]
It was a bit odd though as it was still dark as we rolled Lyd out of the shed to light up. The early start was for our first mission which was ECS to Minffordd (to collect our Bacon Butties) and then provide a service for the trustees down to Boston Lodge. Back at BL we swapped coach sets and then went ECS to Porthmadog to form a service to Tan-y-Bwlch.
At least after that early start we didn’t have to dispose the engine handing it over to a crew for the evening staff train.
Cultural Exchange – Part 1
I’m pretty sure you seen me mention my mate Andy before. For a day job he hides in a office whilst working for Cross Country trains. Occasionally they find him out an make him drive a Voyager or HST to somewhere. When he feels the need to drive a proper train he is a driver on the Talyllyn Railway. We’ve been mates for many years sharing an interest in model trains as well as antique kettles.
Agood few years ago we started what we dubbed a cultural exchange. Andy would spend a day with me on the FR and then retaliate with a day on the TR. It was on course to become an annual event but Covid and a daughter put paid to that (Abigail’s impact was on the accommodation in Tywyn – there are no circumstances in which I would fit in a cot!).
This year we managed to reintroduce the exchange and the Monday post Vintage Bygones saw me down in Tywyn in Pendre sheds with No4 Edward Thomas being prepared.
As is often the case once Andy had got the train out of the sheds and down to Wharf he took on the role of supervisor and I drove for the rest of the day
A TR day is characterised by the catering. Starting with a raid on the bakery as it opens, teas almost every time the train stopped with cake to soak up the tea and finishing with a meal and a couple of pints. Now Abigail has graduated to a proper bed I was able to stay the night allowing the 2 or 3 pints but with a fairly early start back to Porthmadog for a late turn book on for a trip to Blaenau.
Cultural Exchange – Part 2 – The return leg
The aim was to get Andy a go on a Penrhyn engine but Blanche clearly heard he was coming and pulled a sickie. As a result we had Lyd for the day and that last time we were out together on Lyd it was Lyd’s turn to be not very well.
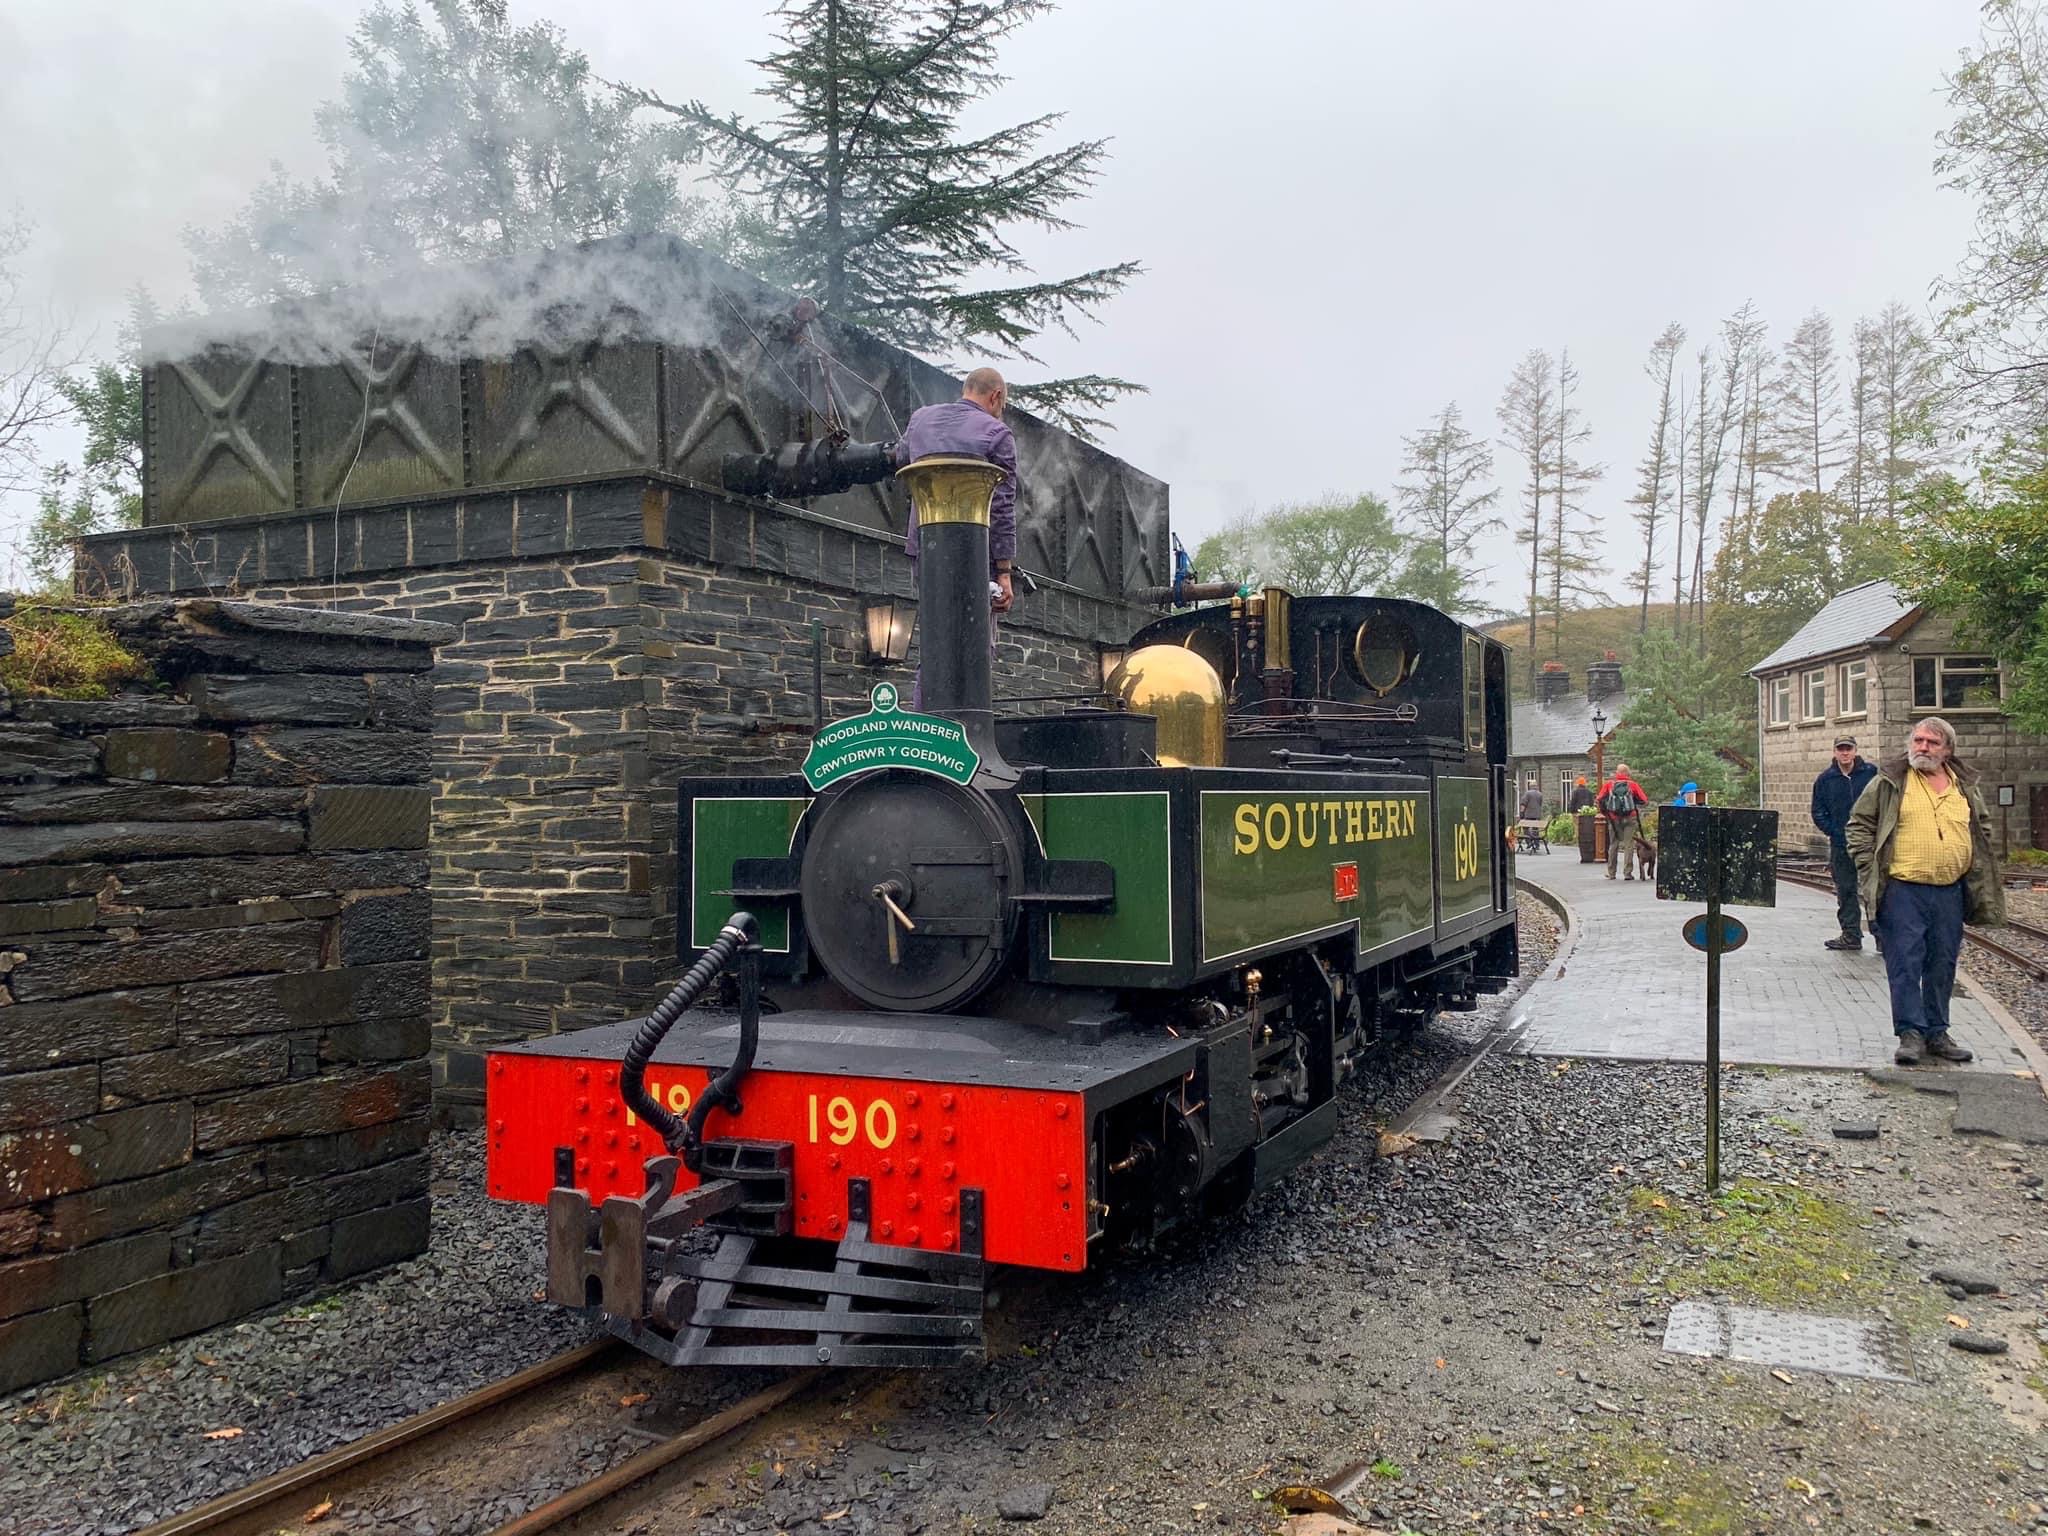
This day started very wet so most of the loco prep was done indoors before rolling it out to light it up. Our day was to be two round trips to Tan-y-Bwlch with the Woodland Wanderer (aka the Waistband Widener given it’s a train to a cake shop).
Following our Monday format Andy did most of the driving whilst I supervised and tried to keep out of the way of Tim, our fireman, as he shovelled in a confined space.
The day wasn’t plain sailing with the dodgy coal causing problems and the signalling deciding to have an off day.
It was also pretty soggy with almost continuous rain which was so persistent it defeated our waterproofs.
Once it was all put away and we managed to get dry we went for a beer and something to eat which isn’t that easy these days in Porthmadog with so many of the usual places struggling for staff post Covid.
So, Andy still hasn’t had a drive of a Penrhyn engine so the quest continues but next season should have both Linda and Blanche available,
Unless some surprise opportunity for a bit of steam pops up that’s steam engines done for this year.
Sorry if you came here for some trains sanctuary away from all the crap that is currently life in Britain. I’m afraid you’ve arrived at me having a despairing whinge about the state of the nation and wondering whether it was even worth carrying on.
I have to confess recent news have left me pretty despairing and seriously concerned about the future of my business and my therapy is to have a rant about it here on my blog.
Now, things have been going to hell in a handcart for sometime with rising prices and the scam that is the current (lack of) government. So we’ve been sold energy prices going up four fold then they borrow shit loads of money (that we’ll have to pay back ) to make us feel good that they’re only going up two fold. Fuel prices, shop prices, supply shortages & business closures all affect us.
After a bit you become almost immune to it so its easy to give it some “La La La” and go and play with your model trains.
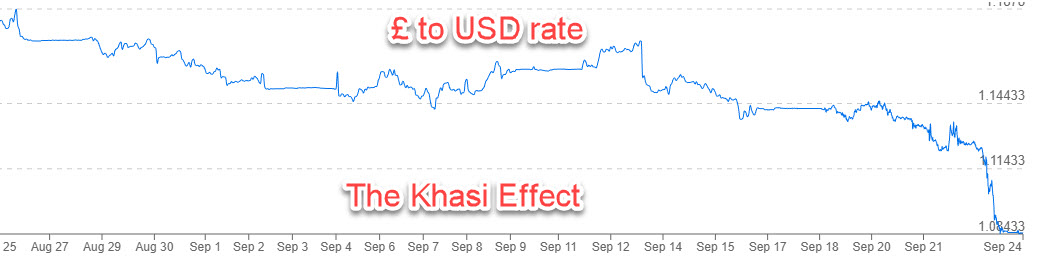
When the latest budget nightmare from Kami-Kwasi meant the USD/GBP exchange rate plummeted to a world record low the shell shocked me thought “that won’t help” and went back to spraying my model.
Then this morning…….
Customer #1 “can you get me some Banta Models stuff”
Customer #2 “Can you get me some Micro Engineering stuff”
My first thought was “Nope, not a chance” but then I thought I’d better look into it a bit more.
Now when I import stuff from the USA all sorts of cleverness happens in spreadsheets that takes the dollar cost, adds in the other cost such as currency transfer fees, customs duty, VAT and import fees. All very complex and cleverly sorted out in a spreadsheet to arrive at a UK cost price excluding VAT to which I then add a margin (my bit) and then UK VAT to arrive at a UK retail price.
There was a shortcut if someone said to me “if you ordered me such and such from the states how much would it be”. You tell them that the USD retail price was $X and the UK price would £X ie just change the sign. Pre-Brexshit when the exchange rate was 1.65 this gave a pessimistic view and you looked good when you charged them a bit less than they were expecting.
Post Brexshit the rate went to 1.25 ish and the estimation just about held good but its been under pressure.
NOW ITS BUGGERED!
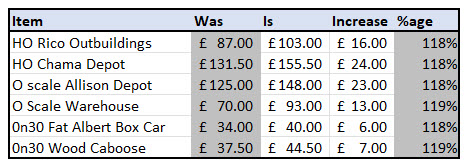
I thought I had better quantify it given the enquiries so I got the spreadsheet for my last Banta order placed when the exchange rate was 1.28 and recalculated it with todays 1.08. Still doesn’t sound that bad does it but here is what it does to a sample of those prices.
That won’t be the end of it as it doesn’t consider these factors
I haven’t increased my margins in years but all my costs are going through the roof whilst availability of items plummets.
Sales are falling as you all feel the pinch
USPS shipping costs have doubled whilst service has deteriorated. They go up again on 1st October.
All your toy trains made in China are paid for it USD so all that’s just gone up by another 20%
Watch out for lots of guaranteed prices not being so guaranteed anymore.
Businesses are failing or just calling time. One of the main etching companies, whilst apparently busy and viable quit with little notice in the face of coming energy bills.
Not a very optimistic view is it? What am I going to do about it? Well, for the moment, where’s that model I was painting…….
This won’t be news to those following the NGRM forum as progress has been reported there. Its not made to here previously because on the one hand I was hoping to report something else first and on the other hand I found I could access my blog whilst away and once back Annie and I have been quite ill.
So why now, you might ask? Well, I’ve both sorted the access issue and also got fed up of writing stuff in more than one place. I intend to moving to posting all on here and then just linking to it elsewhere.
So, this post launches the project as far at the blog is concerned.
Thanks to response to Pt1 of this saga I know have a lot more information and, unsurprisingly, more questions. However, I have enough to get one with it. So,
Planned to be available in late September 2022* is our multimedia Body Kit for The Egyptian Delta Railway 4-4-0
–* subject to parts deliveries being on time
The kit is designed to use the Bachmann 0n30 `old time’ 4-4-0 loco’s chassis which you will need to pickup on the second hand market.
The kit is available to order here with a special pre-order price Order Here
The kit will be largely 3D printed but supplied with a number for detailing parts in brass, plastic or wood. The actual spec is evolving as the design process continues.
One of the things that prompted this model was a mate and I musing about useful things to be done with the Bachmann 4-4-0 which wasn’t a very popular model (so they brought another one out) and, at that time, was readily available at marked down prices. Those discussions resulted in that the chassis and the Bagnall’s wheelbases were near enough for 0n30.
Seems word of the project has already turned a glut into a shortage so I will address one question here that I have already been asked. I was asked if it would fit on a Hornby Adams radial chassis. I haven’t a clue but it might as bashing models is supposed to be part of the 0n30 ethos. What I can say, and illustrate, is that the CAD has been tailored to the proposed chassis and designed to both hold it at the right height and mount using the three screws in the chassis.
Of course what you do with a saw and files is up to you.
I’ll discuss more about the model details and what we have learnt in the next post

 The join is a bit more obvious when looking from this angle but I have a plan – maybe. It all looks a lot better just from the reduction in the amount of bright white primer there is on show.
 Shortly the long board will go back upstairs to the model room whilst the corner board will get more foam added to build up the mountains, the tunnel mouth added and the track ballasted keeping the messy stuff downstairs. I do need to get myself a freehand hot knife foam cutter.