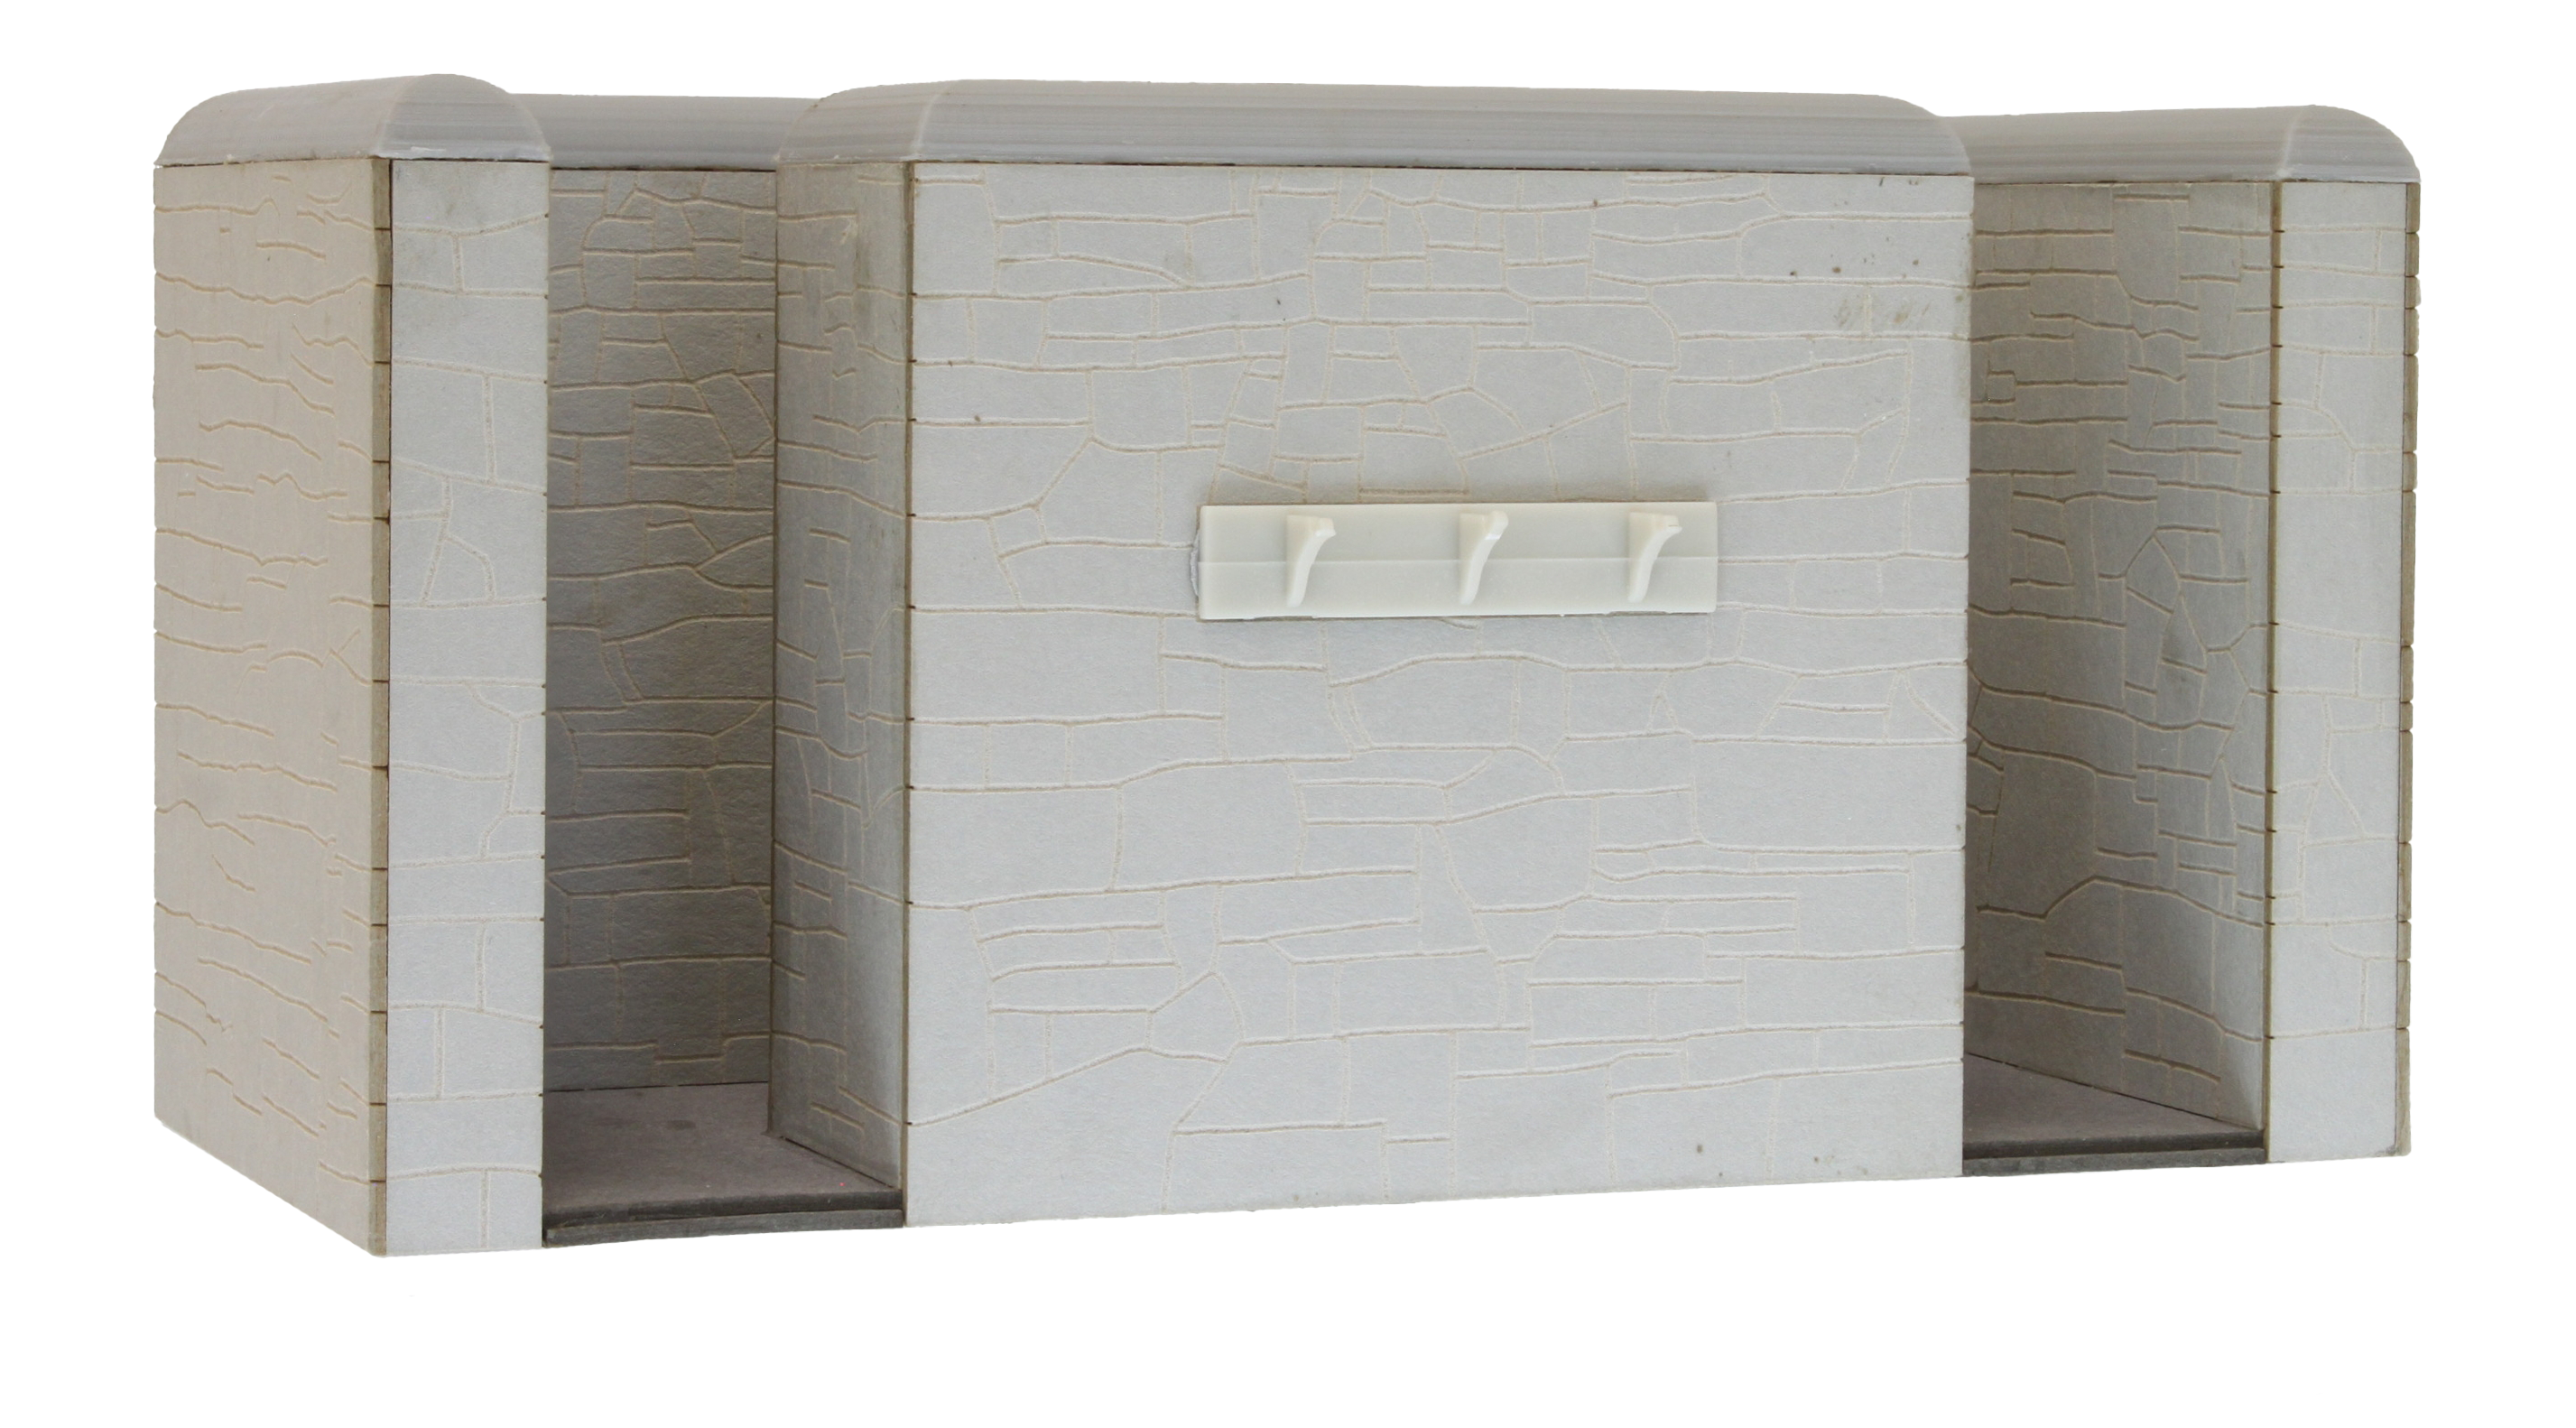
So word has leaked out I’m doing another Double Fairlie kit. Specifically, Earl of Merioneth (EofM), aka The Square and, more than that, the first version will be the f’ugly original 1979 version.
WHY? Well, because I can and because no one else has.
There is more to it than that though. Just for now sticking to the prototype, it and I have quite a bit of previous.
 When I left school I did an apprenticeship with British Rail Engineering Ltd which resulted in me, at the age of 17, in 1977 doing work experience at Boston Lodge and chain drilling four lots of holes in the then incomplete EofM and then rotary filing them round so pipes could be fitted for the drain cock operating rods to pass through. During that same visit I blagged the footplate ride that started my steam loco career.
Just a few years later I was regularly firing FR loco’s but hadn’t been on Double Engines. Back then they weren’t in everyday use. I arrived for one two week visit and was terrified to see the roster as EofM, EMD & Me two trips a day for the entire two weeks. EMD, Evan Davies, its regular driver had a bit of a reputation for being a fiery and difficult to get on with character and as a not yet very good fireman the prospect of two weeks of it was not something I was looking forward to. At this point I’d never been on a Double Fairlie.
 Luckily, Merddin Emrys came to the partial rescue. EofM was broken as it often was back then (valve gear made out of steel they were given for free?) and I had a day with someone I already knew on Merddin before going in the deep end with Evan.
It probably was a bit kill or cure but I survived and must have made the right impression as from then on for the next few years if I was at the railway I was firing for Evan. It was more than that though. Working with Evan I became a much better fireman and also learnt how to do things like lift the loco and remove a bogie (because it broke itself so often in the early days), how to mend other bits of it. I had my first goes at driving a Fairlie with Evan albeit just moving it around the yard or going home across the cob. It was so much Evan’s engine that not many others drove it and more than once I was sent to fire for a driver going on it the first time to show them its quirks of which it had plenty when new. When I qualified as a driver it was Evan that assessed me and passed me out.

Fag Packet Fairlie
Over the years I drove it a lot. Whilst my favourite to drive has always been Merddin I’d rather have The Square over Soupy (David Lloyd George). I hope that one day it comes back to life.
I’ll get on to the model in the next episode but for now I’ll just point out that this isn’t the first model of the Earl I have made.
The fag packet fairlie was made in Minffordd hostel and presented on a 30mph sign we `acquired’. Drink may have been involved. We were terrified of what Evan would think and got caught red handed by him trying to sneak it into Boston Lodge. He loved it and it spent many years on display in the den (mess room) at the works.
I’ll get on to the model in the next episode