Those that follow this blog will know two things:
- I recently designed and had laser cut parts for my own baseboard on the Brimstone RR which led to a follow up job to design, get cut and build the baseboards for the new Henmore Dale Railway.
- When I go to Wales I stay with Phil Traxson of Port Wynnstay fame and that I drive trains on the Festiniog Railway.
Both of these things have led to more designing and laser cutting.
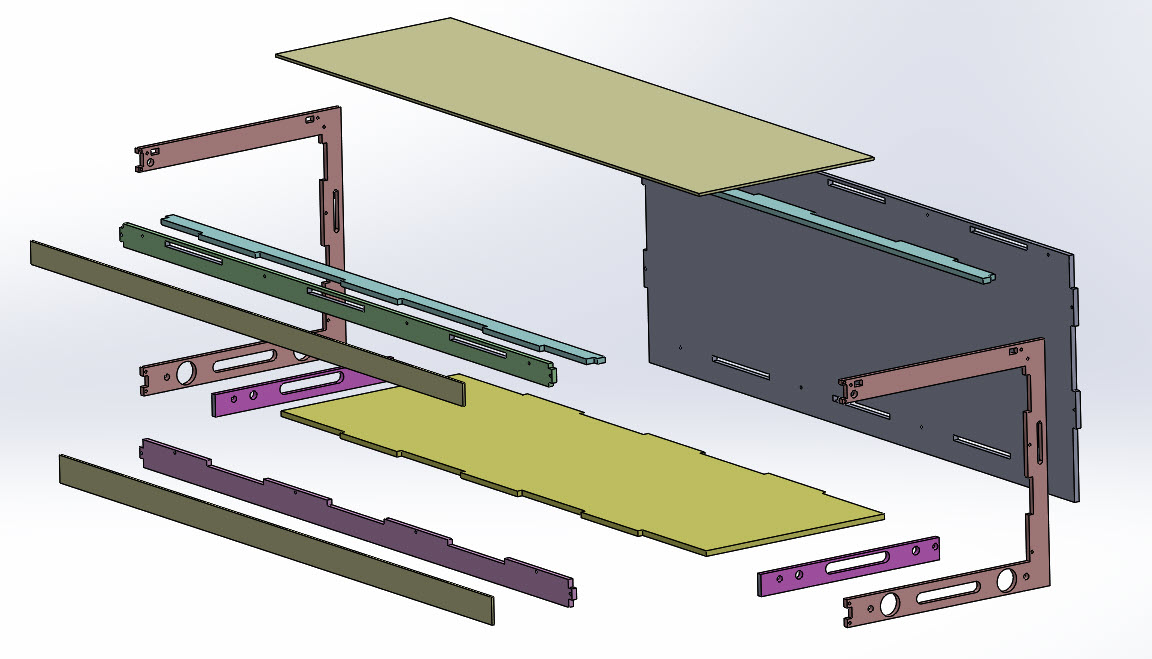 First up was my mate and FR Ops Manager, Tickle, wanting some modular boards that would fit in a Ikea Billy Book case shelf so he could display his models when the weather was too horrible for the garden railway (he hasn’t built yet).
The idea was that two of them would be stand alone units whilst the other two would have open ends and be capable of being joined when not in the bookcase.
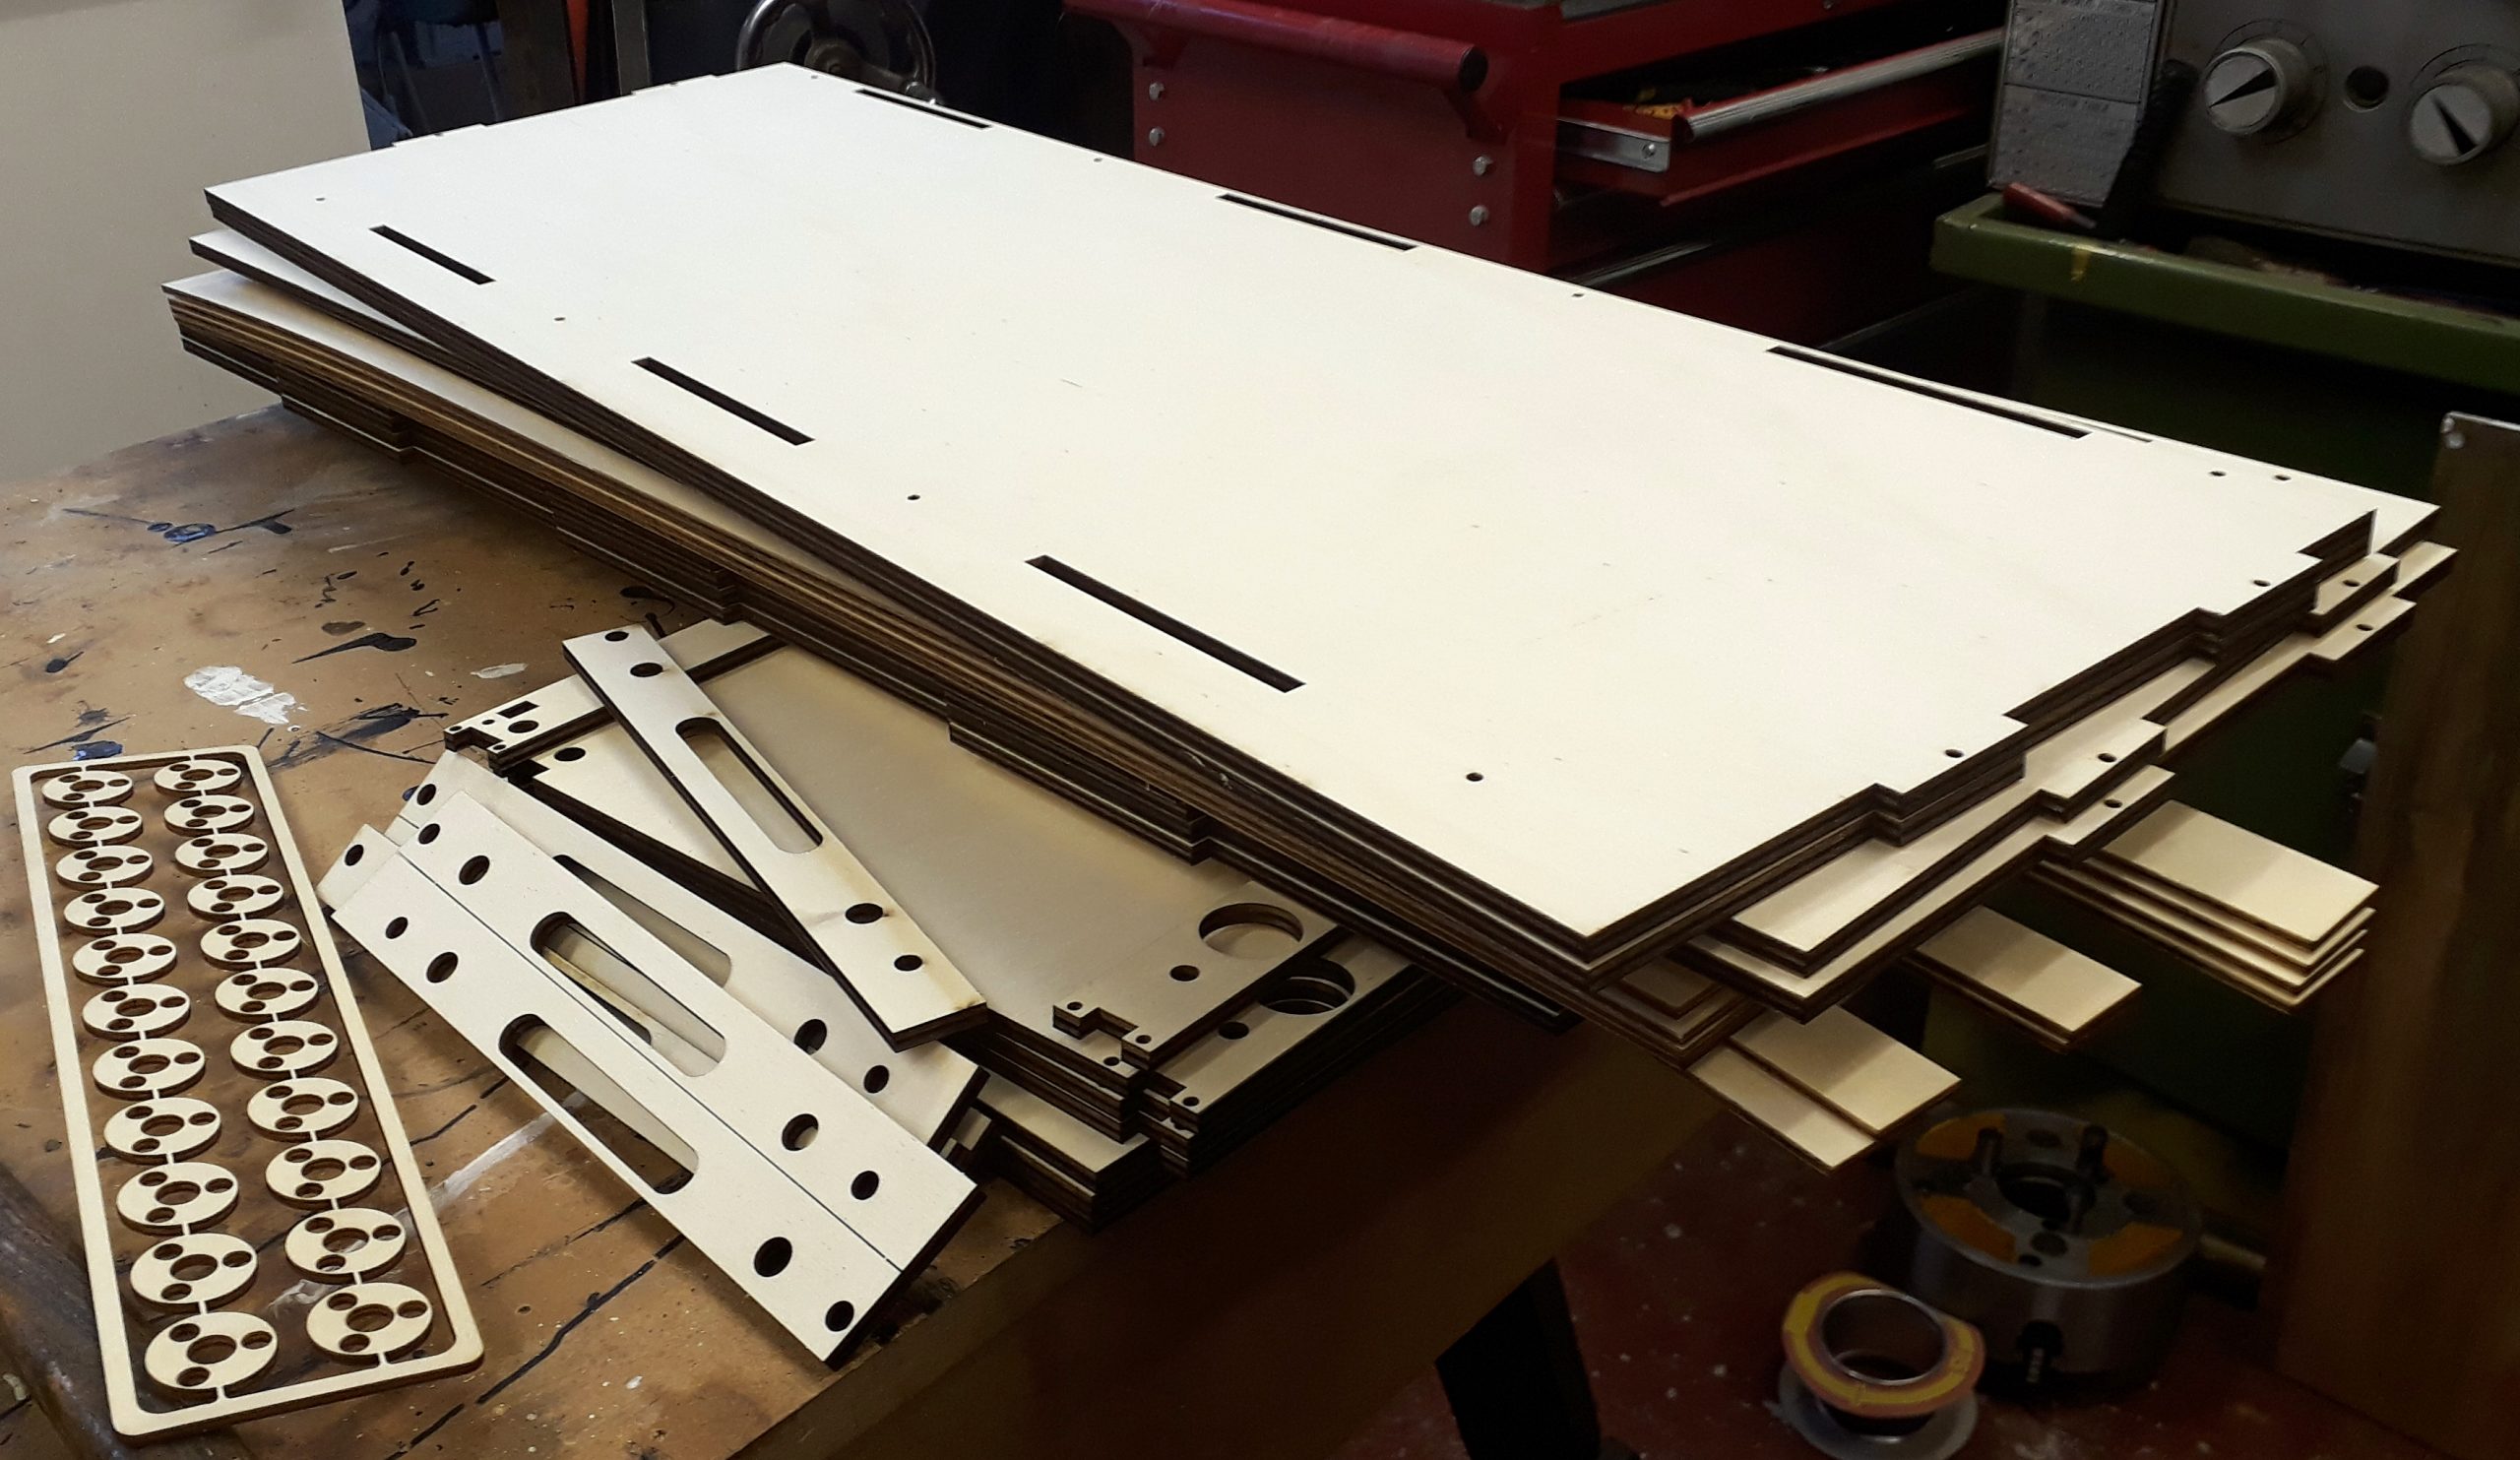 What turned up was this kit of laser cut parts and a lot of masking tape that is the same colour as the plywood.
From a design point of view the tricky bit was making them strong and rigid whilst not impinging on to the visible space too much,
The finished things looked like this in my workshop. They have since been delivered and I hope to get a picture of them in situ on my next visit to Wales.
I’ve impressed myself with these small modules and am wondering if the diorama I was thinking about in an earlier post might grow a bit to fit in one if I ever get round to it.
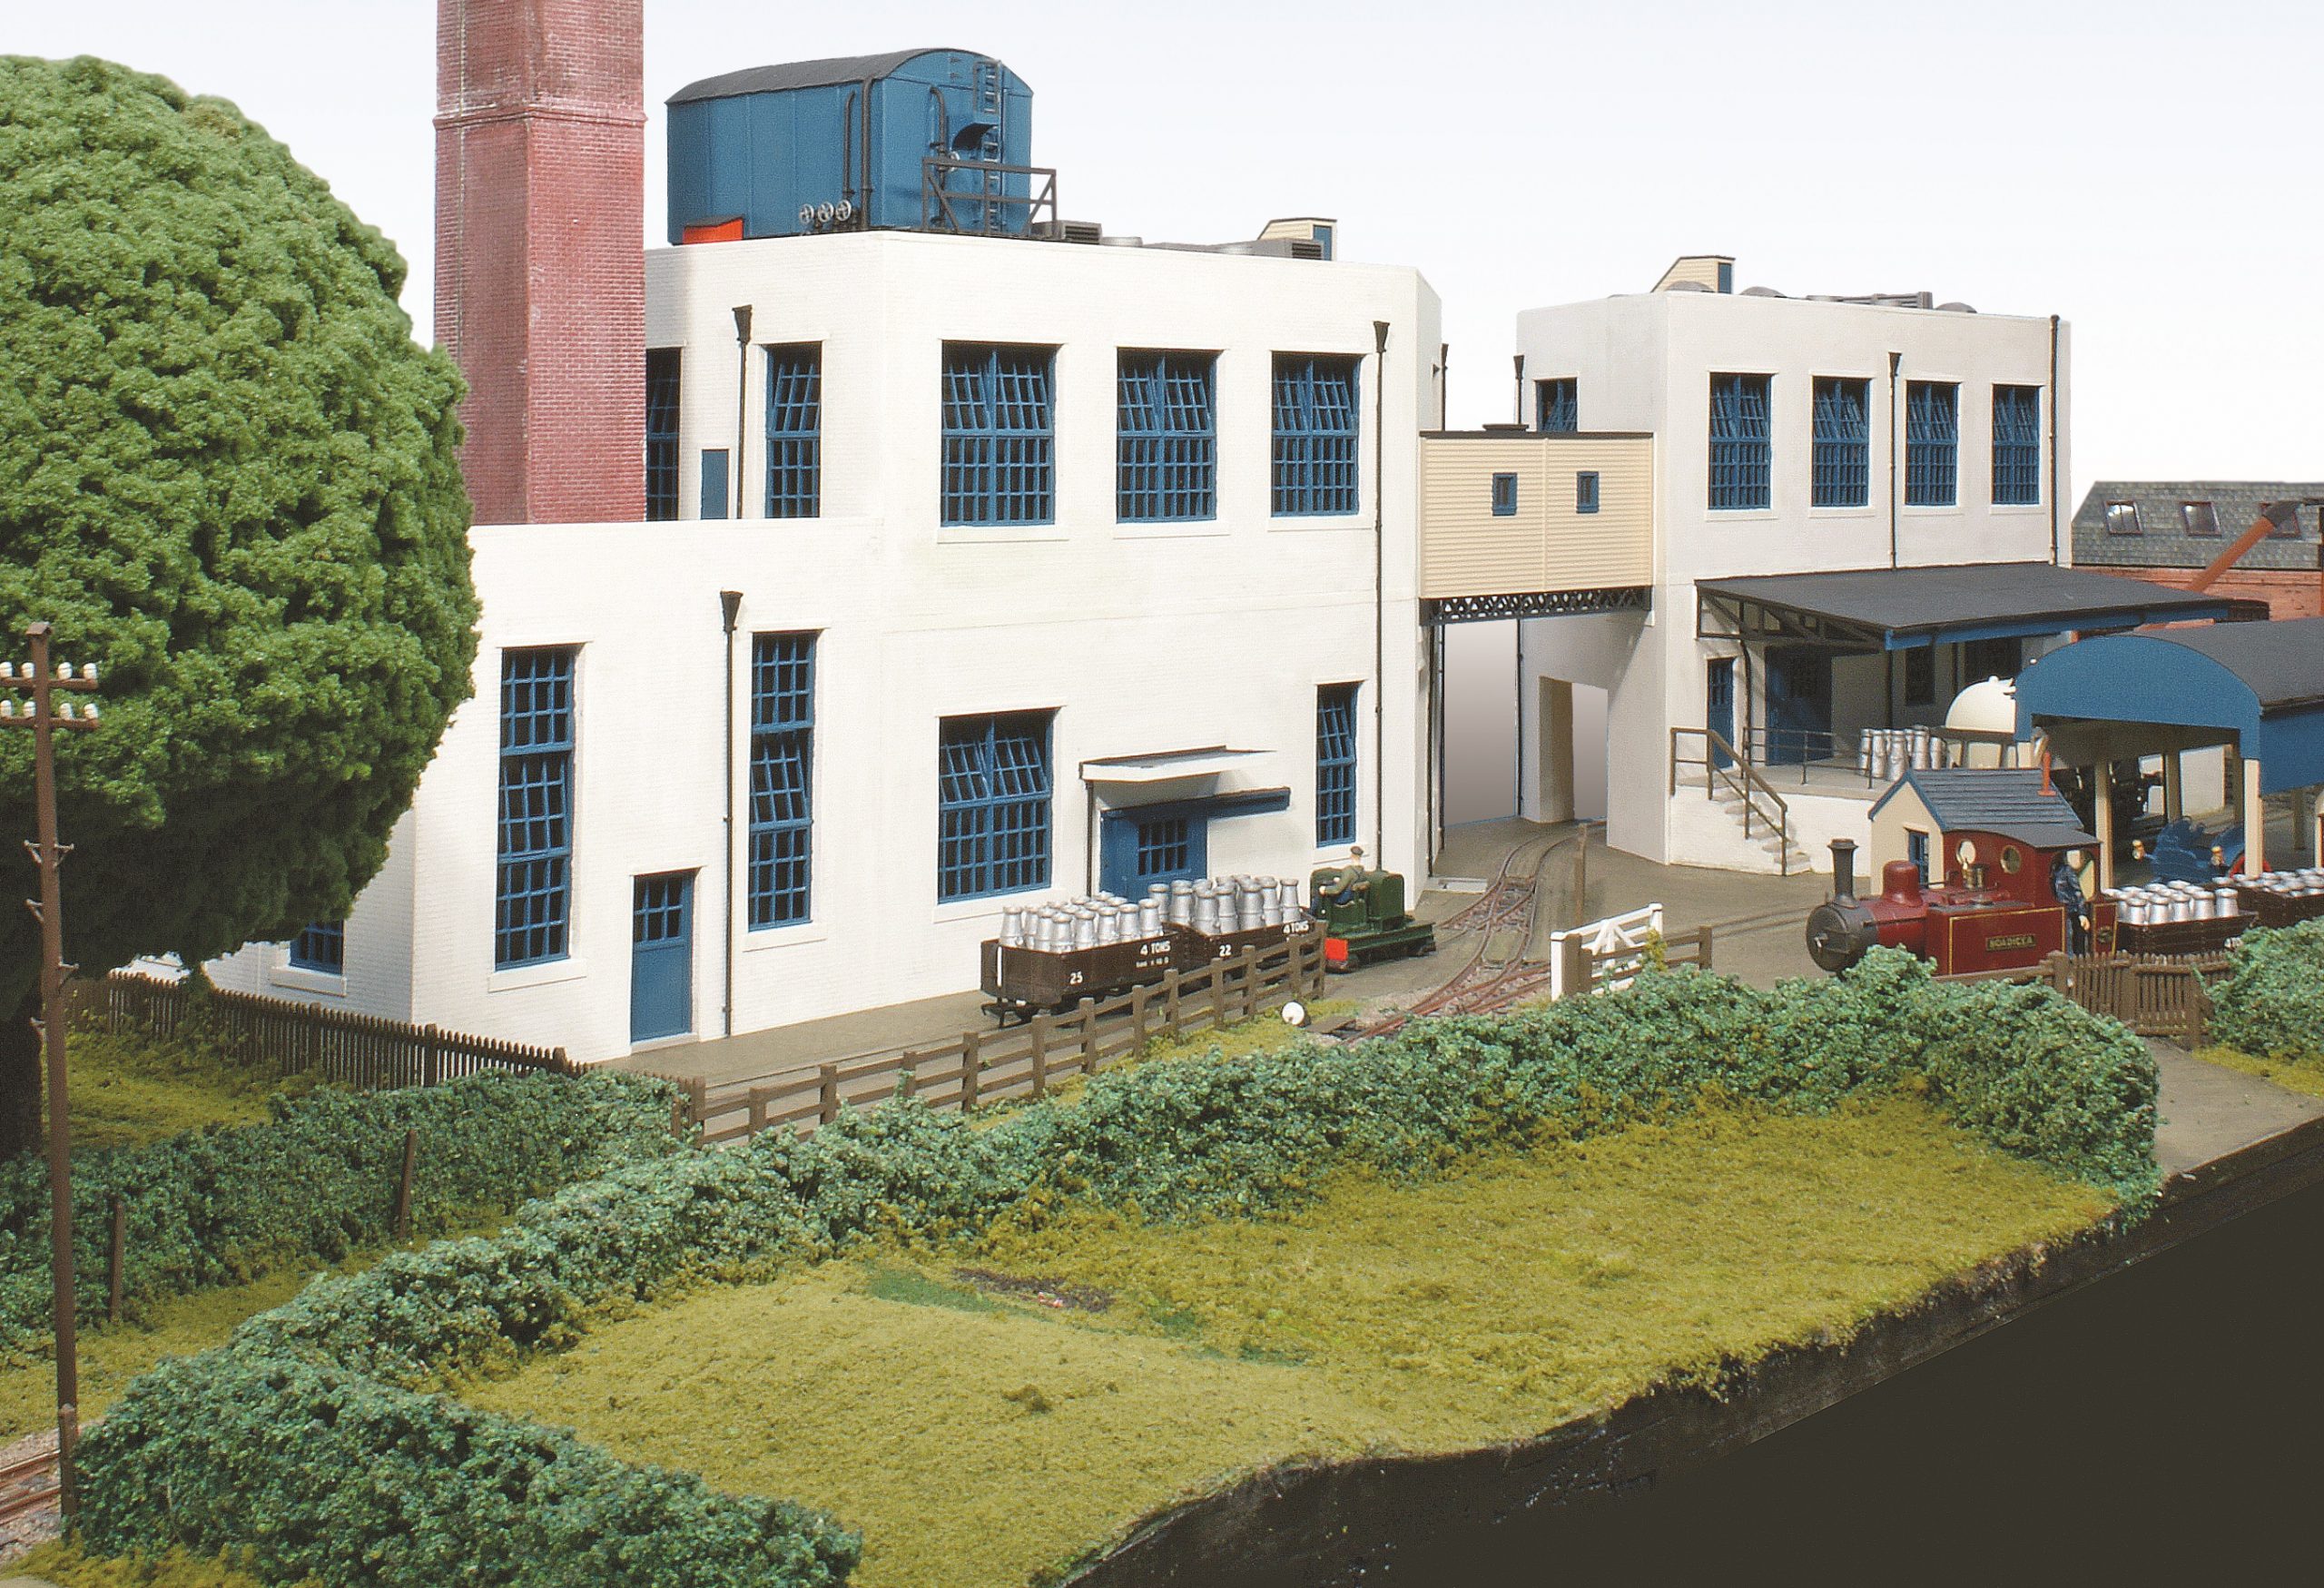
The second project for Phil is the resurrection of part of the old Henmore Dale Layout. Phil has some of the old boards for reuse in a home setting and recently took delivery of the creamery board.
A few evenings tidying up a rum surplus concluded that this board wouldn’t fit in the layout being built around his modelling room and thus a new layout was born. The idea now is that the creamery will form a stand alone exhibitable layout and thus it needs a fiddle yard.
The original construction was the old 2 by 1 and chipboard. Left to his own devices the same construction would have been used for the fiddle yard. This would have limited the scenic options and I thought we could do better.
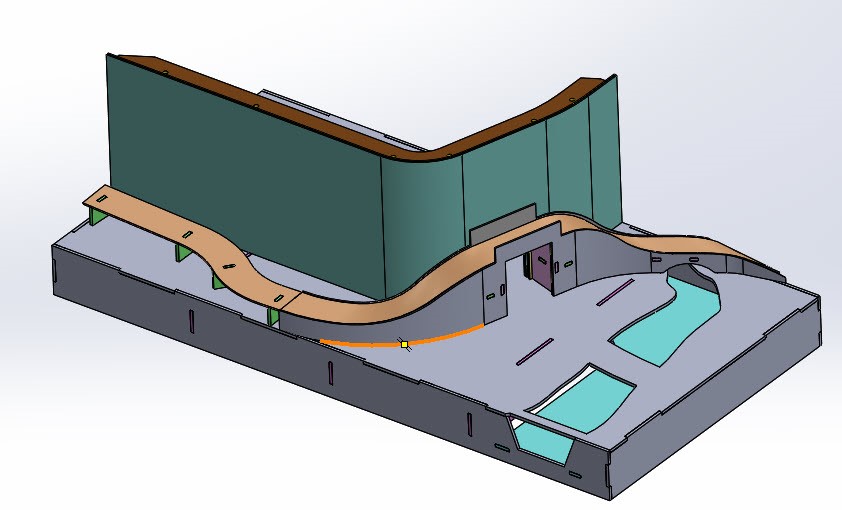 About a third of the board needs to be scenic and it has to manage the exit stage left frim the scene into a cassette type fiddle yard.
What I have come up with is a laser cut plywood board featuring some height transitions to below datum for a stream and above datum with the roadway bridge over the railway.
Most of the board is made of 6mm ply, doubled up in places. The bridge and the backscene are made of two layers of 3mm ply laminated together for both strength and to set them in their curved profiles. This is a bit of an experiment so I hope it works.
This is with the laser now so we’ll find out if it works in a couple of weeks. For the laser cutting I use …