THE BRYMSTON RR #26

THE BRYMSTON RR #26 – TURNOUTS

Firstly, its been ages since I added anything to The Brymston RR Saga. This is a true reflection of how much I have done in the last 18 months. I may have messed up and made a reckless commitment!  Immediately after this years Trent Valley Group Modelling Day in January some idiot [me] may have promised the organiser [also me] that The Brymston RR could appear at the January 2027 event.  First thoughts were that if me and me told no one then we might get away with not mentioning it again but the real screw up was that I did it in front of witnesses.

Now at the moment only the curved board has any track on it, and then only on the lower level. Its also the only board with the start of any scenery on it!

Better get on and lay some track then. Hold your horses. A reminder, this layout is 0n3 and there is virtually no ready to run track available so its all going to need to be hand built.
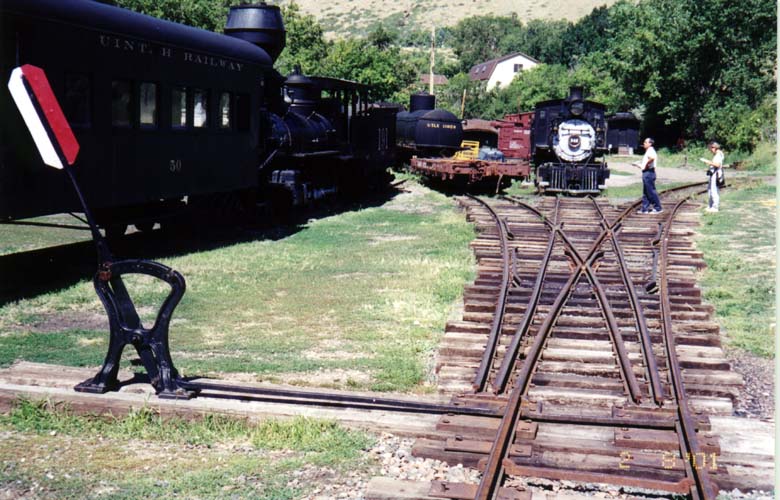
An added variation is that all the turnouts on the layout are going to be stub turnouts.

If you are not familiar with these then have a look at the picture of the three way stub. There are no blades. The approach rails are just moved to line up with the route you want to take. The advantage of them is that they cab be shorter than a standard turnout. Disadvantages are they are low speed, no positive locking of the rails and you’re actually bridging a gab crossing from the switch rails to the fixed rails. They were popular for their simplicity and whilst the main line moved away from them they remained common on industrial, and low budget railroads such as a logging and minerals concern like The Brymston RR.

THE TRACK PLAN

Might as well start with the difficult stuff! Entry on this board is straight into an assymetric three way stub. The line up to the higher level is a #5 angle whilst the one towards the front of the layout is a #4. This leads straight into a second three way but this is a symetric #5. The #4 route will limit what can go that way but that line will likely be the storage track with something like the cabeese parked on it. By taking the straight road through each you get to 2 road of the shed and it being a straight run through the turnouts anything that makes it round the curve will be able to make it to the shed,

THE CUNNING PLAN

As I type this the 2026 York Model Railway Show is two weeks away and I have a demo table there with two mates so I have decided its three days of point building for me. There are some things that need doing in advance for this and one is to make templates

The first problem is that Fast Tracks free printable turnout templates don’t include three ways or stubs so some editing was attempted
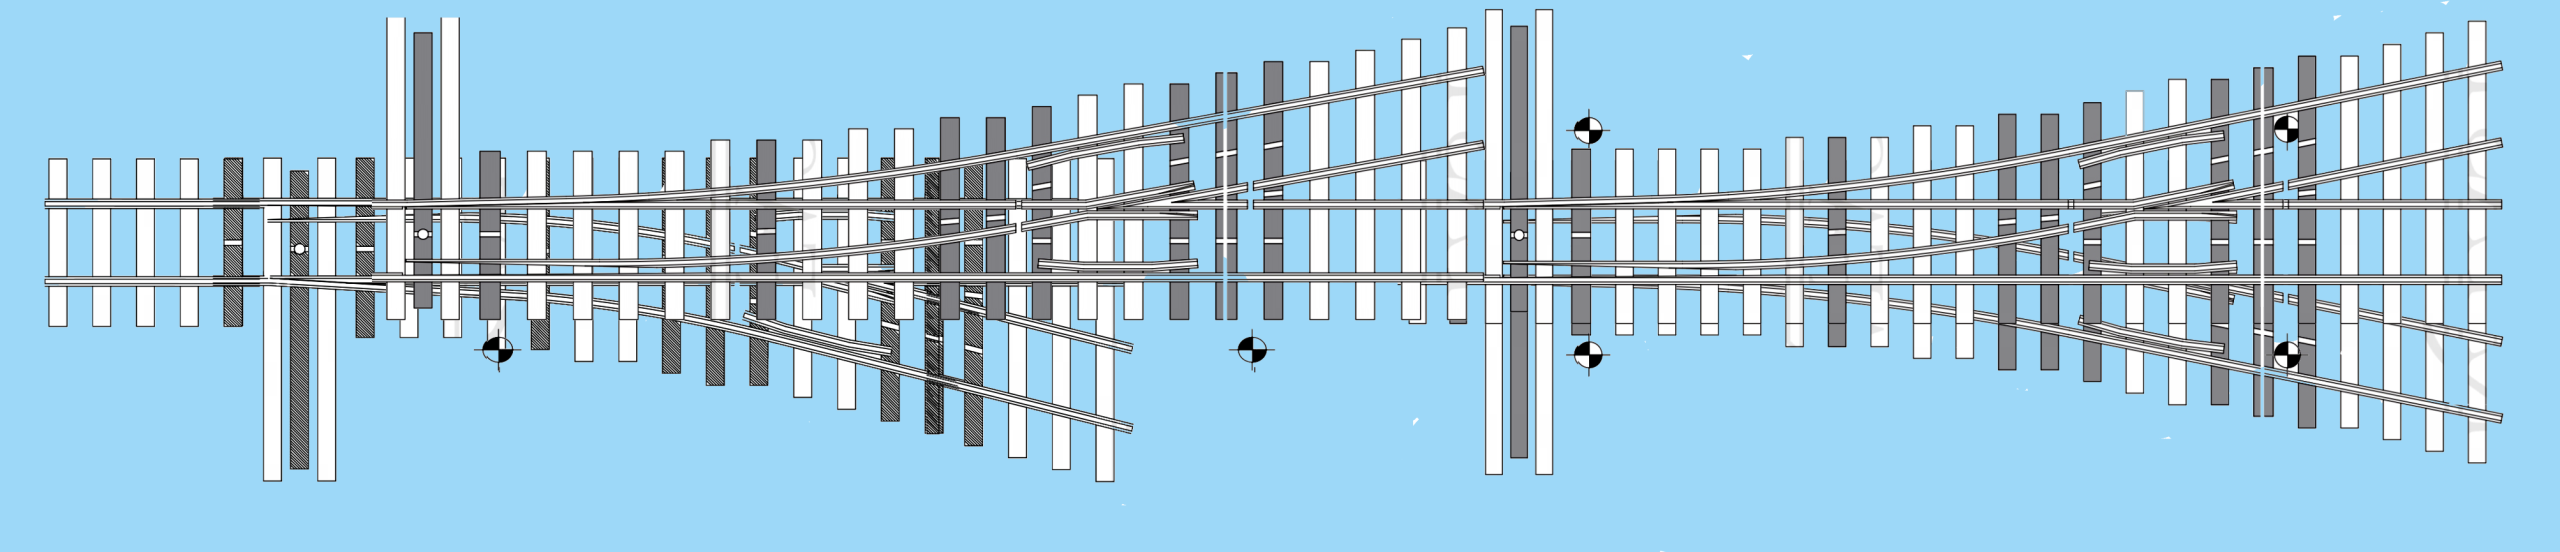
When it looked like that would work some more effort was put into modifying the standard points with this result

After that the templates were laid on the layout to check they fit so a removable base could be made for them. That’s ongoing and I’ll report that in the next episode.

Loading

A man’s home is his castle


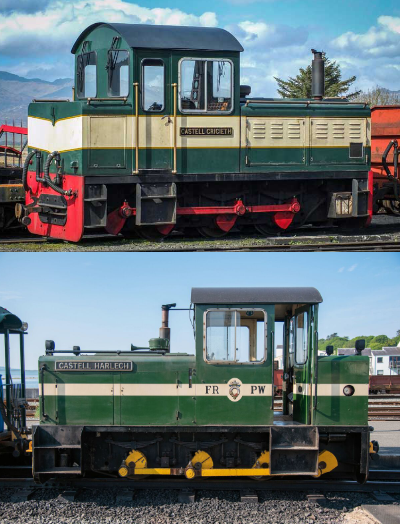
EDM MODELS ANNOUNCES CRICCIETH & HARLECH CASTLE KITS

Yes we did. In October 2025. We even said they’d be available early in 2026.

So where are they?

Background

This kit development started when a friend persuaded Fourdees to do a simple blow up of their 4mm model to 7mm and then persuaded the usual suspect [US] to build it for him whilst doing one for themselves.


The US then started on the internet with the usual “someone” and “somebody” should do a chassis for this. He’s very good at telling other people who to spend modelling time/ development time / money with bugger all commitment from himself.

Just so happens that that struck a cord with me. Time for an aside:

[Aside Start] I have an association with both prototypes. I am a driver on the Festiniog Railway and am qualified to drive both locos but more than that I am also the rolling stock electrical engineer and wired them both up. Harlech is of such an age now that I wired it when it was being built and have since renewed its wiring. Criccieth has been wired several times as the control system for the push pull train evolved. For these reasons I also wanted a model of them both. [Aside end]

This was all happening just before the 2025 Narrow Gauge NOW exhibition and I asked Fourdees if they could do me a body for each of them to collect at the show. They weren’t hopeful that there was enough time but Dani arrived at my stand with two still sticky bodies for me and I had an early draft of a chassis to show. At this point a plot was formulated to jointly produce 7mm scale kits for Harlech Castle (as now with the wide bonnet) and Criccieth Castle.

The deal was that they would produce amended versions of the 4mm bodies whilst I would produce a working chassis to suit that would work for 16.5 and 14mm gauges which I would sell as a complete kit for each loco.

PROGRESS

If I were to suggest a planning method for the quick release of a kit or, at least, maintaining an delivery schedule it would be to keep a pair of perfectionists away from the project.

Wheels

The correct diameter stainless steel tyres have been acquired and wheels made up.

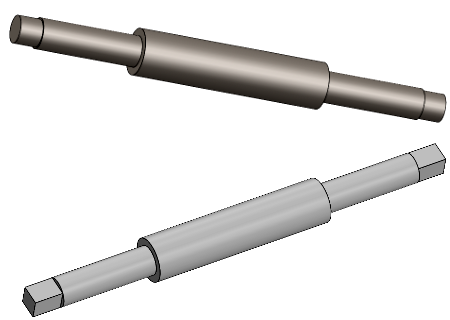
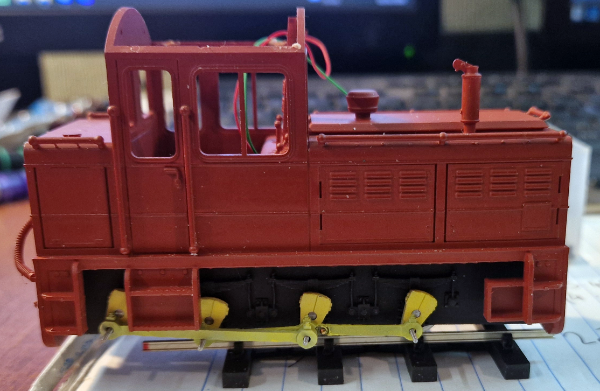
Initial builds, as in the photo, used the axles I had made for the Quarry Hunslet regauging project. These have plain ends and need a quartering tool to assemble them.

Ideally the axles would be a smidge longer than the Hunslet ones.

Crankpins

Its fair to say I didn’t take the world shortage of crankpins following the demise of Markits into account.

I looked at using our alternative system which I’ll call the Alan Gibson method but a problem with that was it requires a hole in the rod bigger than the rod boss so the rods would have needed to be oversize.

The solution was to order our own design from China. More on that below.

Axles

The top axle in the photo was the one we had in stock and to use it I was going to have to step the cranks out by about 0.5mm.

This didn’t sit right with me and as mentioned we were exploring Chinese manufacture of parts right length and a square end seemed like a good idea

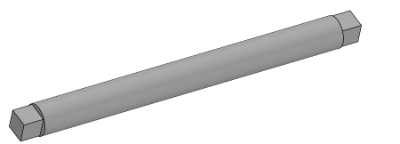
Jackshaft

This needs to be longer than the axles as the connecting rod sits outside of the coupling rods. Plan A was some sort of split of a standard axle with the joining sleeve also serving to keep it central.

Plan B was to add it to the Chinese Manufacture list

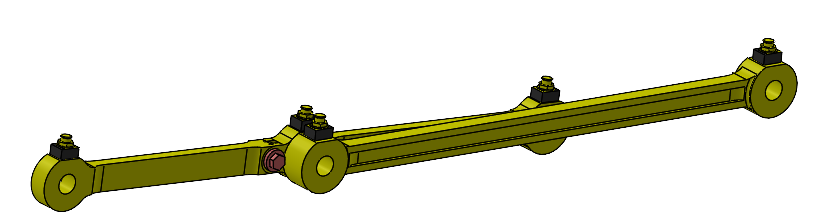
Rods

Plan A was cast brass rods. The intent was to eliminate the need for soldering of etched parts. I got as far as having several sets cast but either the consistency of them with all the holes cast in or the work required to jig drill them too much.

Plan B is the kit will include etched rods. The CAD for that is just being completed. To maintain the “no solder” option assembled rods will be a paid optional extra

Nameplates

Plan A was to just refer builders to a well know etched plate supplier or for me to buy them in bulk to include in the kits.A discovery was that their plates were generic and not actual copies.

Plan B was to supply a set of etched plates, derived from the real things, in the kit

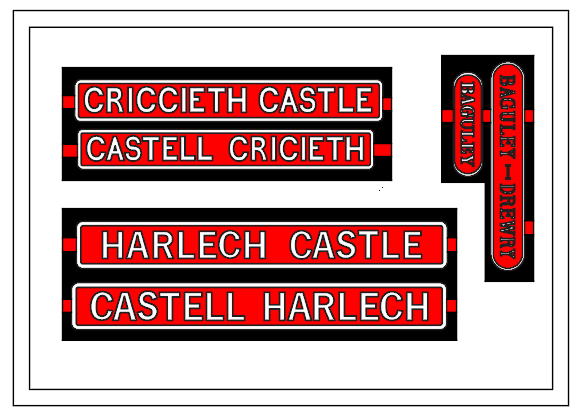
Tests revealed that the Baguley Drewry text is too small to etch so Plan C is an etched empty plate and a decal for the words. The artwork is off the etchers shortly

NG North – Project Review

Dani and I met at NG North to review the chassis and bodies together for the first time.

The result was a fairly radical shift from just amending the originally 4mm bodies for 7mm scale to completely reworking them, effectively new models for 7mm.

The 4mm bodies had a number of features that had to be printed oversize or overly thick as they needed to be at the minimum thickness required by the printer to reliably print. In a simple blow up to 7mm scale these same areas became bloated and overly thick. The 7mm bodies will be finer and will have a lot of parts supplied separately.

Hoping to have examples of the new bodies at the Porthmadog Model Event in 15/16th May


SHOPPING IN CHINA……

….is pretty bloody scary if you have never done it before. Essentially…

  • You arrange the order by sending a drawing to someone you have never met who is clearly using a false name because we couldn’t cope with the Chinese version.
  • Agree a price which in terms of my pocket is a lot of money.
  • You send that sum to a bank in Hong Kong.
  • You then hear nothing until you ask, “did you get the money?”
  • You then wait and hope that something shows up.

To be fair I was dealing with a firm that was recommended by others that have used them and Crystal (probably not her real name) couldn’t have been more helpful. The slight panic of having apparently sent a lot of money for it to appear to disappear was a function of a money transfer on a Friday and it not getting noticed. The response to my “did you get it” was a slightly panicked response with a grovelling apology and evidence it had been received.

Why go Chinese?

Cost simply. I have a UK supplier of CNC’d parts who I will continue to use for some items bit his price for the crankpins was beyond what I could afford and that had the potential to stall this project.


Having started a dialogue about the crankpins and the associated washer I added the square ended axle and jackshaft to the order and the price for all of it is less than the UK price for the crankpins alone.

These parts, in particular the crankpins, will have applications beyond this project. 

LATEST NEWS FROM CHINA – 21/04/26

Despite all the assurances and guidance from other its still a pretty nervous wait having sent just shy of £2K into the unknown. I was told to expect it to be 25 days for the parts to be ready which puts it sometime in May so I was delighted to receive an e-mail with some photos attached.

They are now made but are still in China.

I’ve been told to expect a tracking number in a couple of days and they are coming by air so they should take days rather than weeks by boat


WHAT’S NEXT

Once I have these parts I can get on and do the chassis mods to use them and get some running prototypes. Hopefully I’ll have something to show at the Porthmadog model event on the 15th & 16th of May but the beginning of May is pretty fully committed with Festiniog Railway nonsense as we are doing some things to raise money for Blanche’s overhaul.

MONEY, COST OF LIVING AND SO ON

This doesn’t get mentioned or considered by those who think “someone” or “somebody” should do something but all the stuff mentioned above is expense. Forgetting the time for now I have spent over two grand without a single order or payment for the models and with the etches it’ll be over three.

Meanwhile other work has to be done and completed to keep the money coming in to pay the bills so this project can’t have my full an undisturbed attention. It has to fit in with spare time.

I will open up sales for pre-orders soon but not until I am happy with a deliverable product, have a handle on the final costs and have a delivery window I am reasonably confident of.

Follow the links for the full story


Loading

Narrow Gauge North 2026

Yesterday was Narrow Gauge North in Pudsey and the short summary is that Annie and I had a great day.

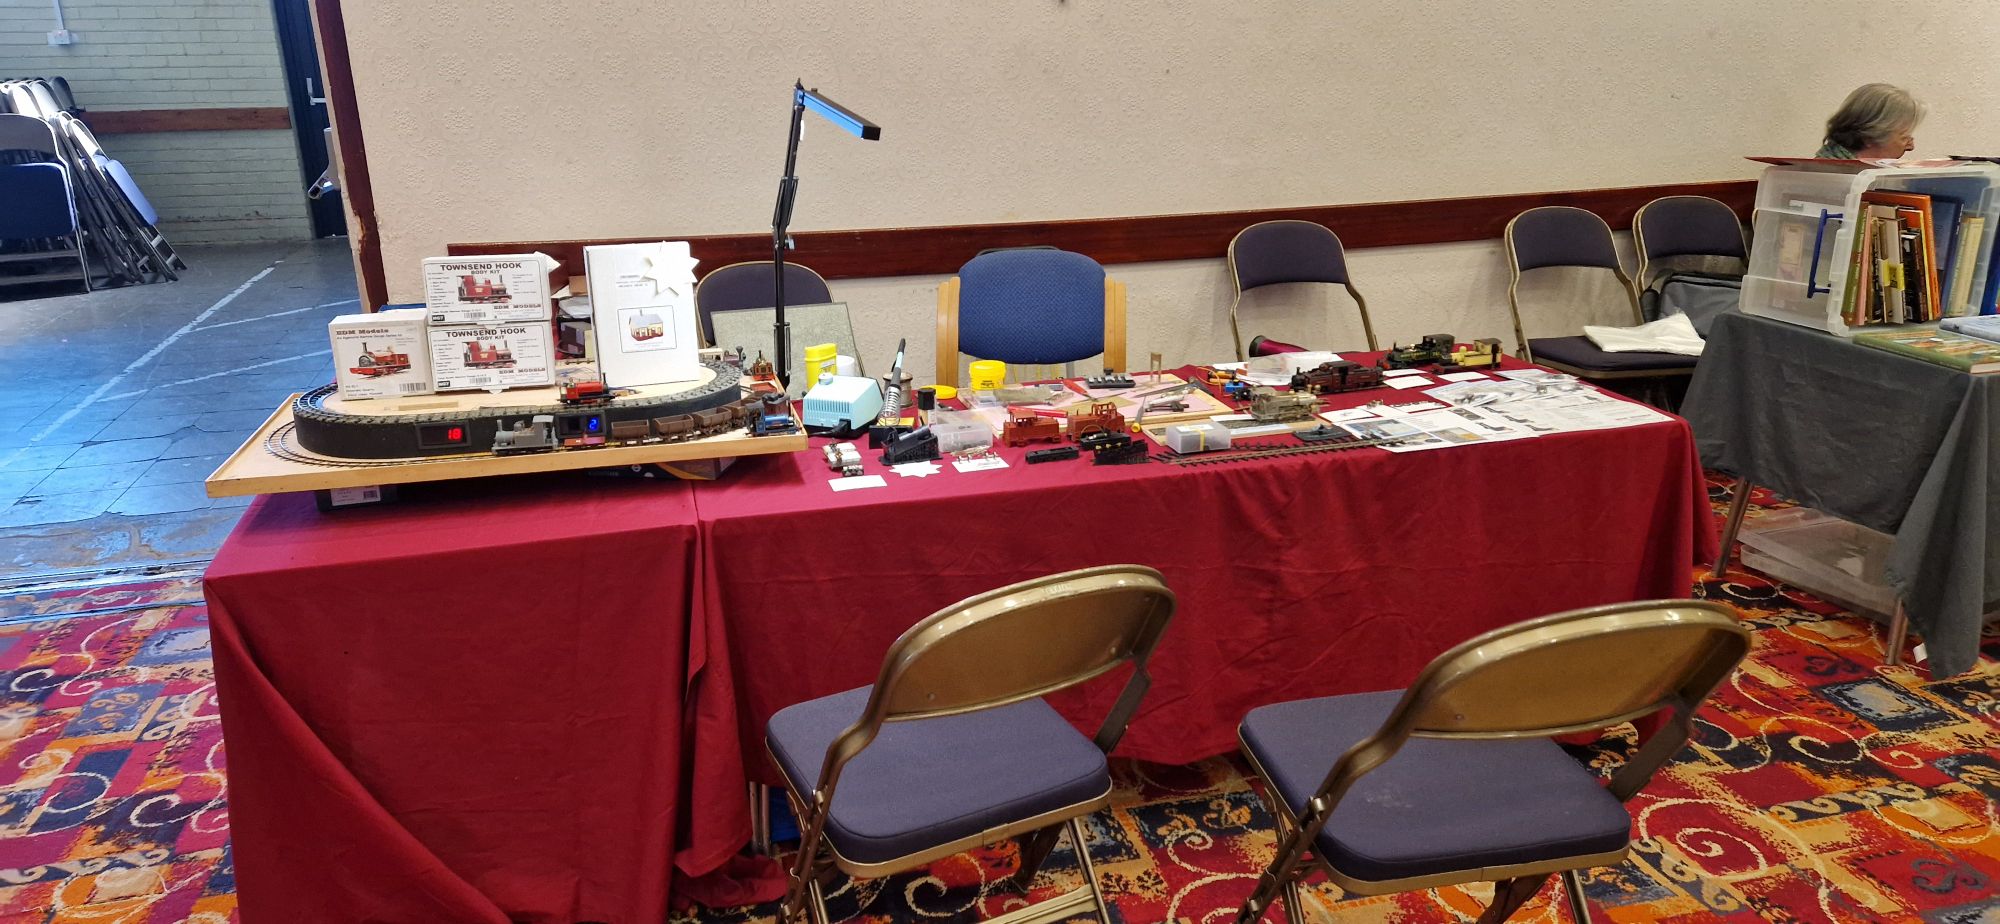
It’s a show that I always used to trade at with my EDM Models stand but this year I was just there as a demonstrator and in a different location to what was the “usual” spot. The only photo I have is this “just before it opened” shot.

I didn’t get that much done but then that’s not really what the day is about. Those two guest chairs were almost continuously occupied with people discussing what I was doing, having a go at soldering or just generally having a catch up. As the time the 16,5mm gauge Townsend Hook was going round and round on the lower level of the track whilst 14mm gauge Alice went round the top.

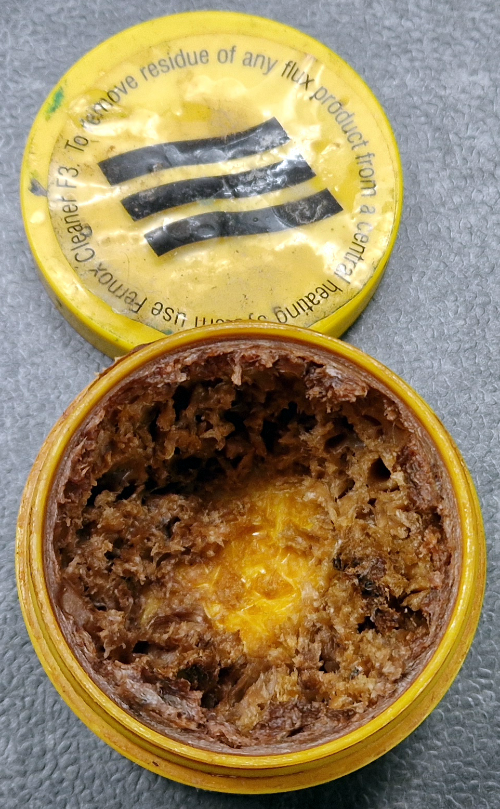
There was one major revelation though. I swear by PowerFlow flux for my kit soldering but when you leave the lid of the pot it changes to a brown gungy paste. Still works and absolute treat but it doesn’t look great and it can take a bit of spreading.

Users will recognise this  gungy mess!

This stuff is used for plumbing so it has a party trick for that application that can be a pain for modellers. Once its been heated it starts a conversion from acidic active flux to a rock hard inert crust where the soldering happened to stop it eating your pipes.

However, if done within an hour or so sticking under a hot running tap and it runs off like butter off a knife. Add a bit of amateur science and a scrub with CIF which is alkali and its all clean. I give mine a swim in the ultrasonic cleaner.

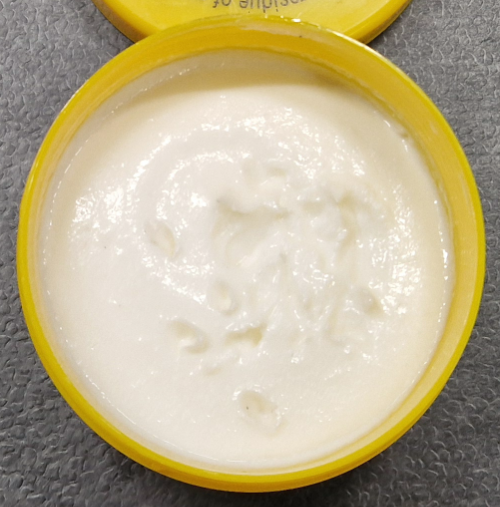
Regular users may have a distant memory of when a pot looked like this, smooth, creamy and easy to apply. A Friday night dash to Screwfix was the result of my admitting that the old pot was finally too gungy.

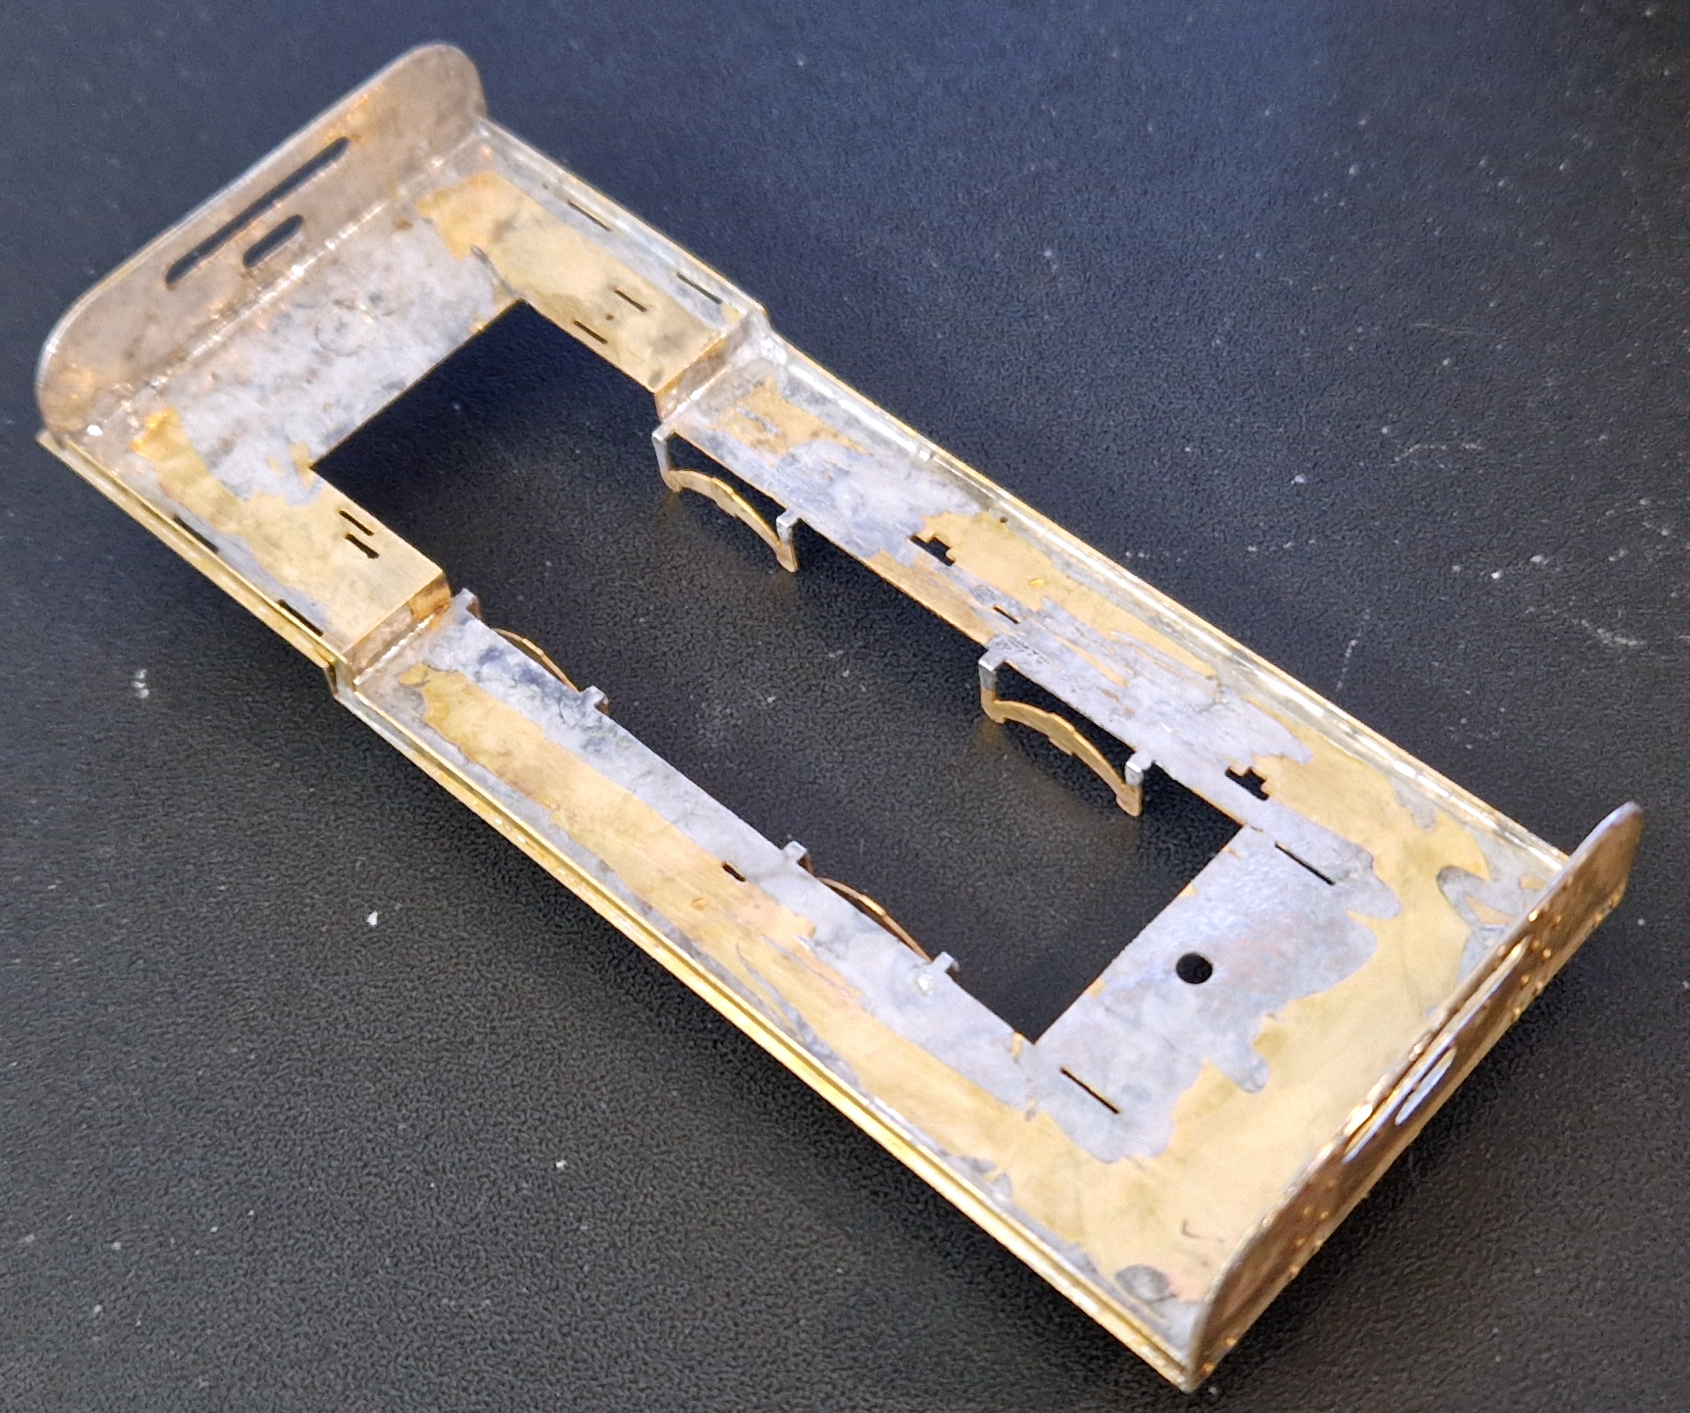
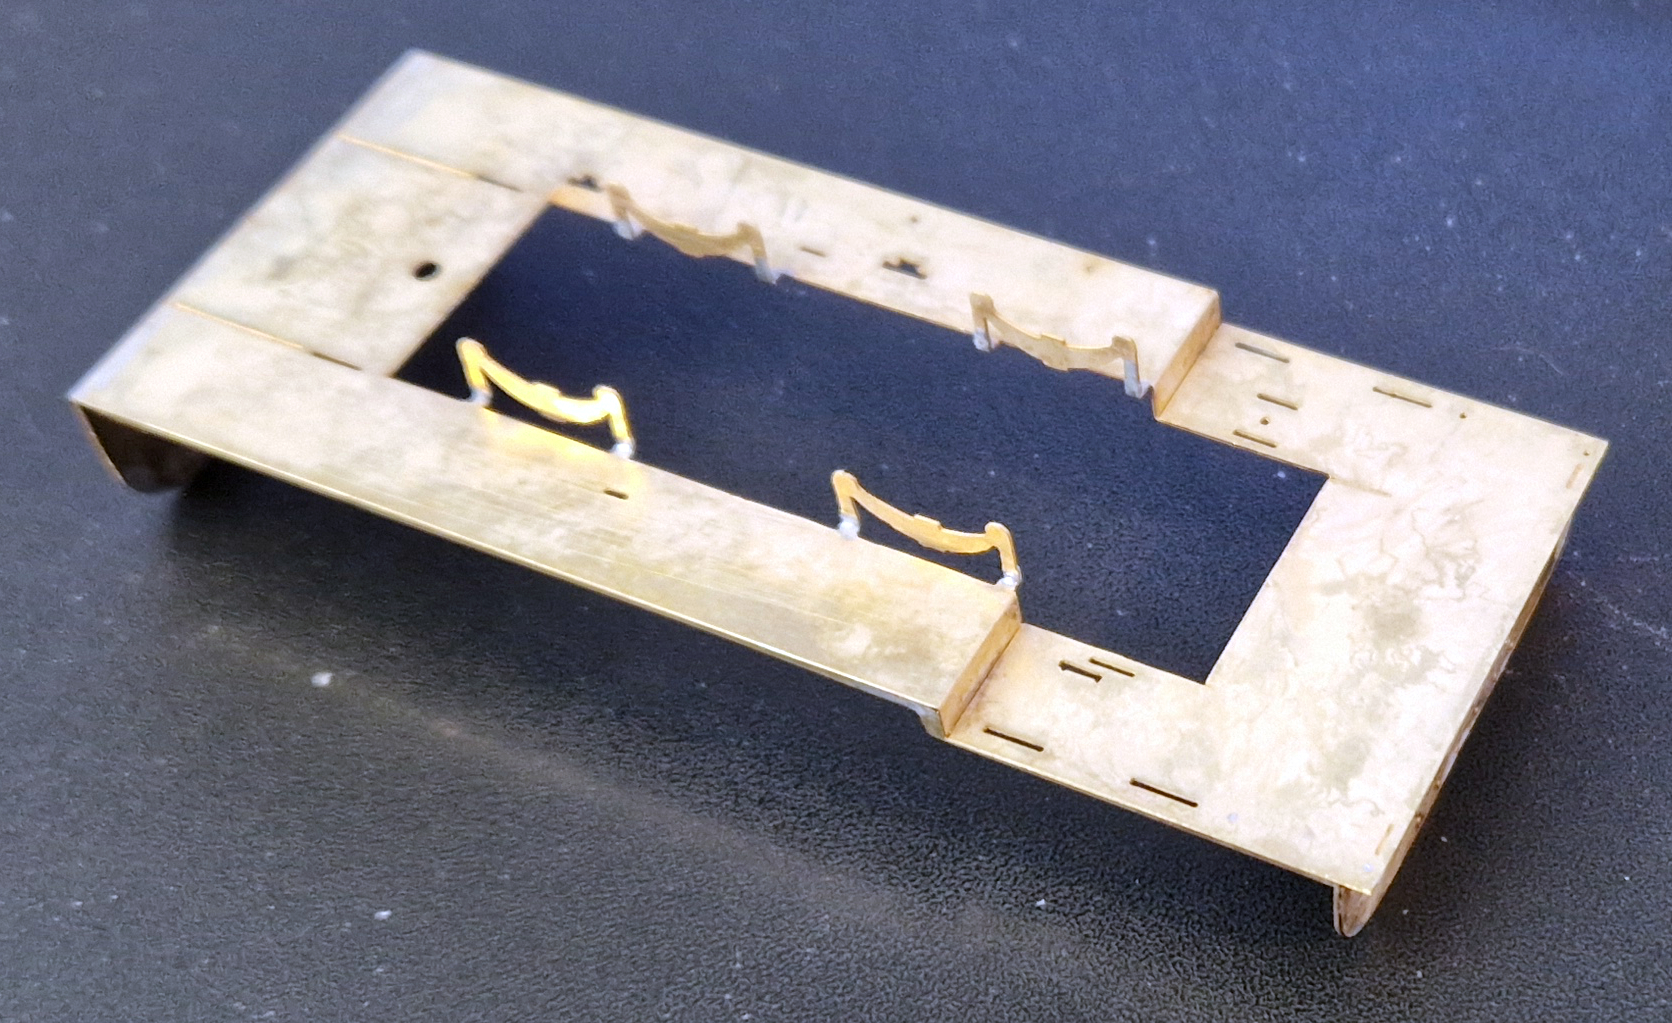
Did I actually make anything? Well yes! As if I didn’t have enough projects on the go I have set about Project Lillian as I have decided to call it. There will be a lot more about Project Lillian in future posts but it has started with my building the running plate and buffer beams from my ex Agenoria Kit SL5 for the Penrhyn Quarry Port Class.

There were three of this flavour of Quarry Hunslet, Gwynedd (316), Lillian (317) & Winifred (364) and they are all still with us. More on Project Lillian and the Castle Diesels another time


Loading