Trent Valley Group Modelling Day – Post Match Report
 OK so coming back to life is perhaps a bit melodramatic but that’s how it felt on Monday. After an excellent weekend I was knackered and it’s taken a bit of time to recharge.

Liz delivering the news that there was no cake left
To rewind a bit Saturday 28th January was the Trent Valley Group of the 7mm NGA’s annual Modelling Day. A day of modelling, Tea/Coffee, Bacon Butties, Cake and Gossip and 2023 was a bit of a relaunch event for which the core group of organisers had put a lot on effort into hoping for a return to the pre Covid sort of event.
This day is not an exhibition in the usual sense. Its not turn up and spectate event, you might be expected to get involved. The aim of the day is to have a mix of layouts, demos and trade in an environment that promotes having a chat and having a go.
Most of the layouts were operated from the front and you could easily find yourself having a drive. Demonstrations were of the sort where you could find yourself trying it. Mention in earshot of the soldering demo that “I wish I could Solder” and you’re likely to find yourself iron in hand trying it.
There is no magic that we were gifted with the ability to solder, paint, build layouts etc. They’re all learned skills. It’s a fair bet that if you asked the smug looking person showing their latest model he’d also tell you there was a trail of rubbish ones buried away whilst he learned how to do it. The key is to make a start and we hope these days promote people making that start.
Credits: As with most events there’s a core few who do the organising so that would be Neil, Mike, Andy, Simon and me. On the day others are roped in for key roles which adds Dan, Mary, Liz and Leigh manning the kitchen on the day and baking in advance. I am bound to have missed someone, for that I apologise, consider yourself thanked.
Then there is the exhibitors and demonstrators and I suspect we must be organising a decent day as the usual suspects seem to want to come back each year with something different.
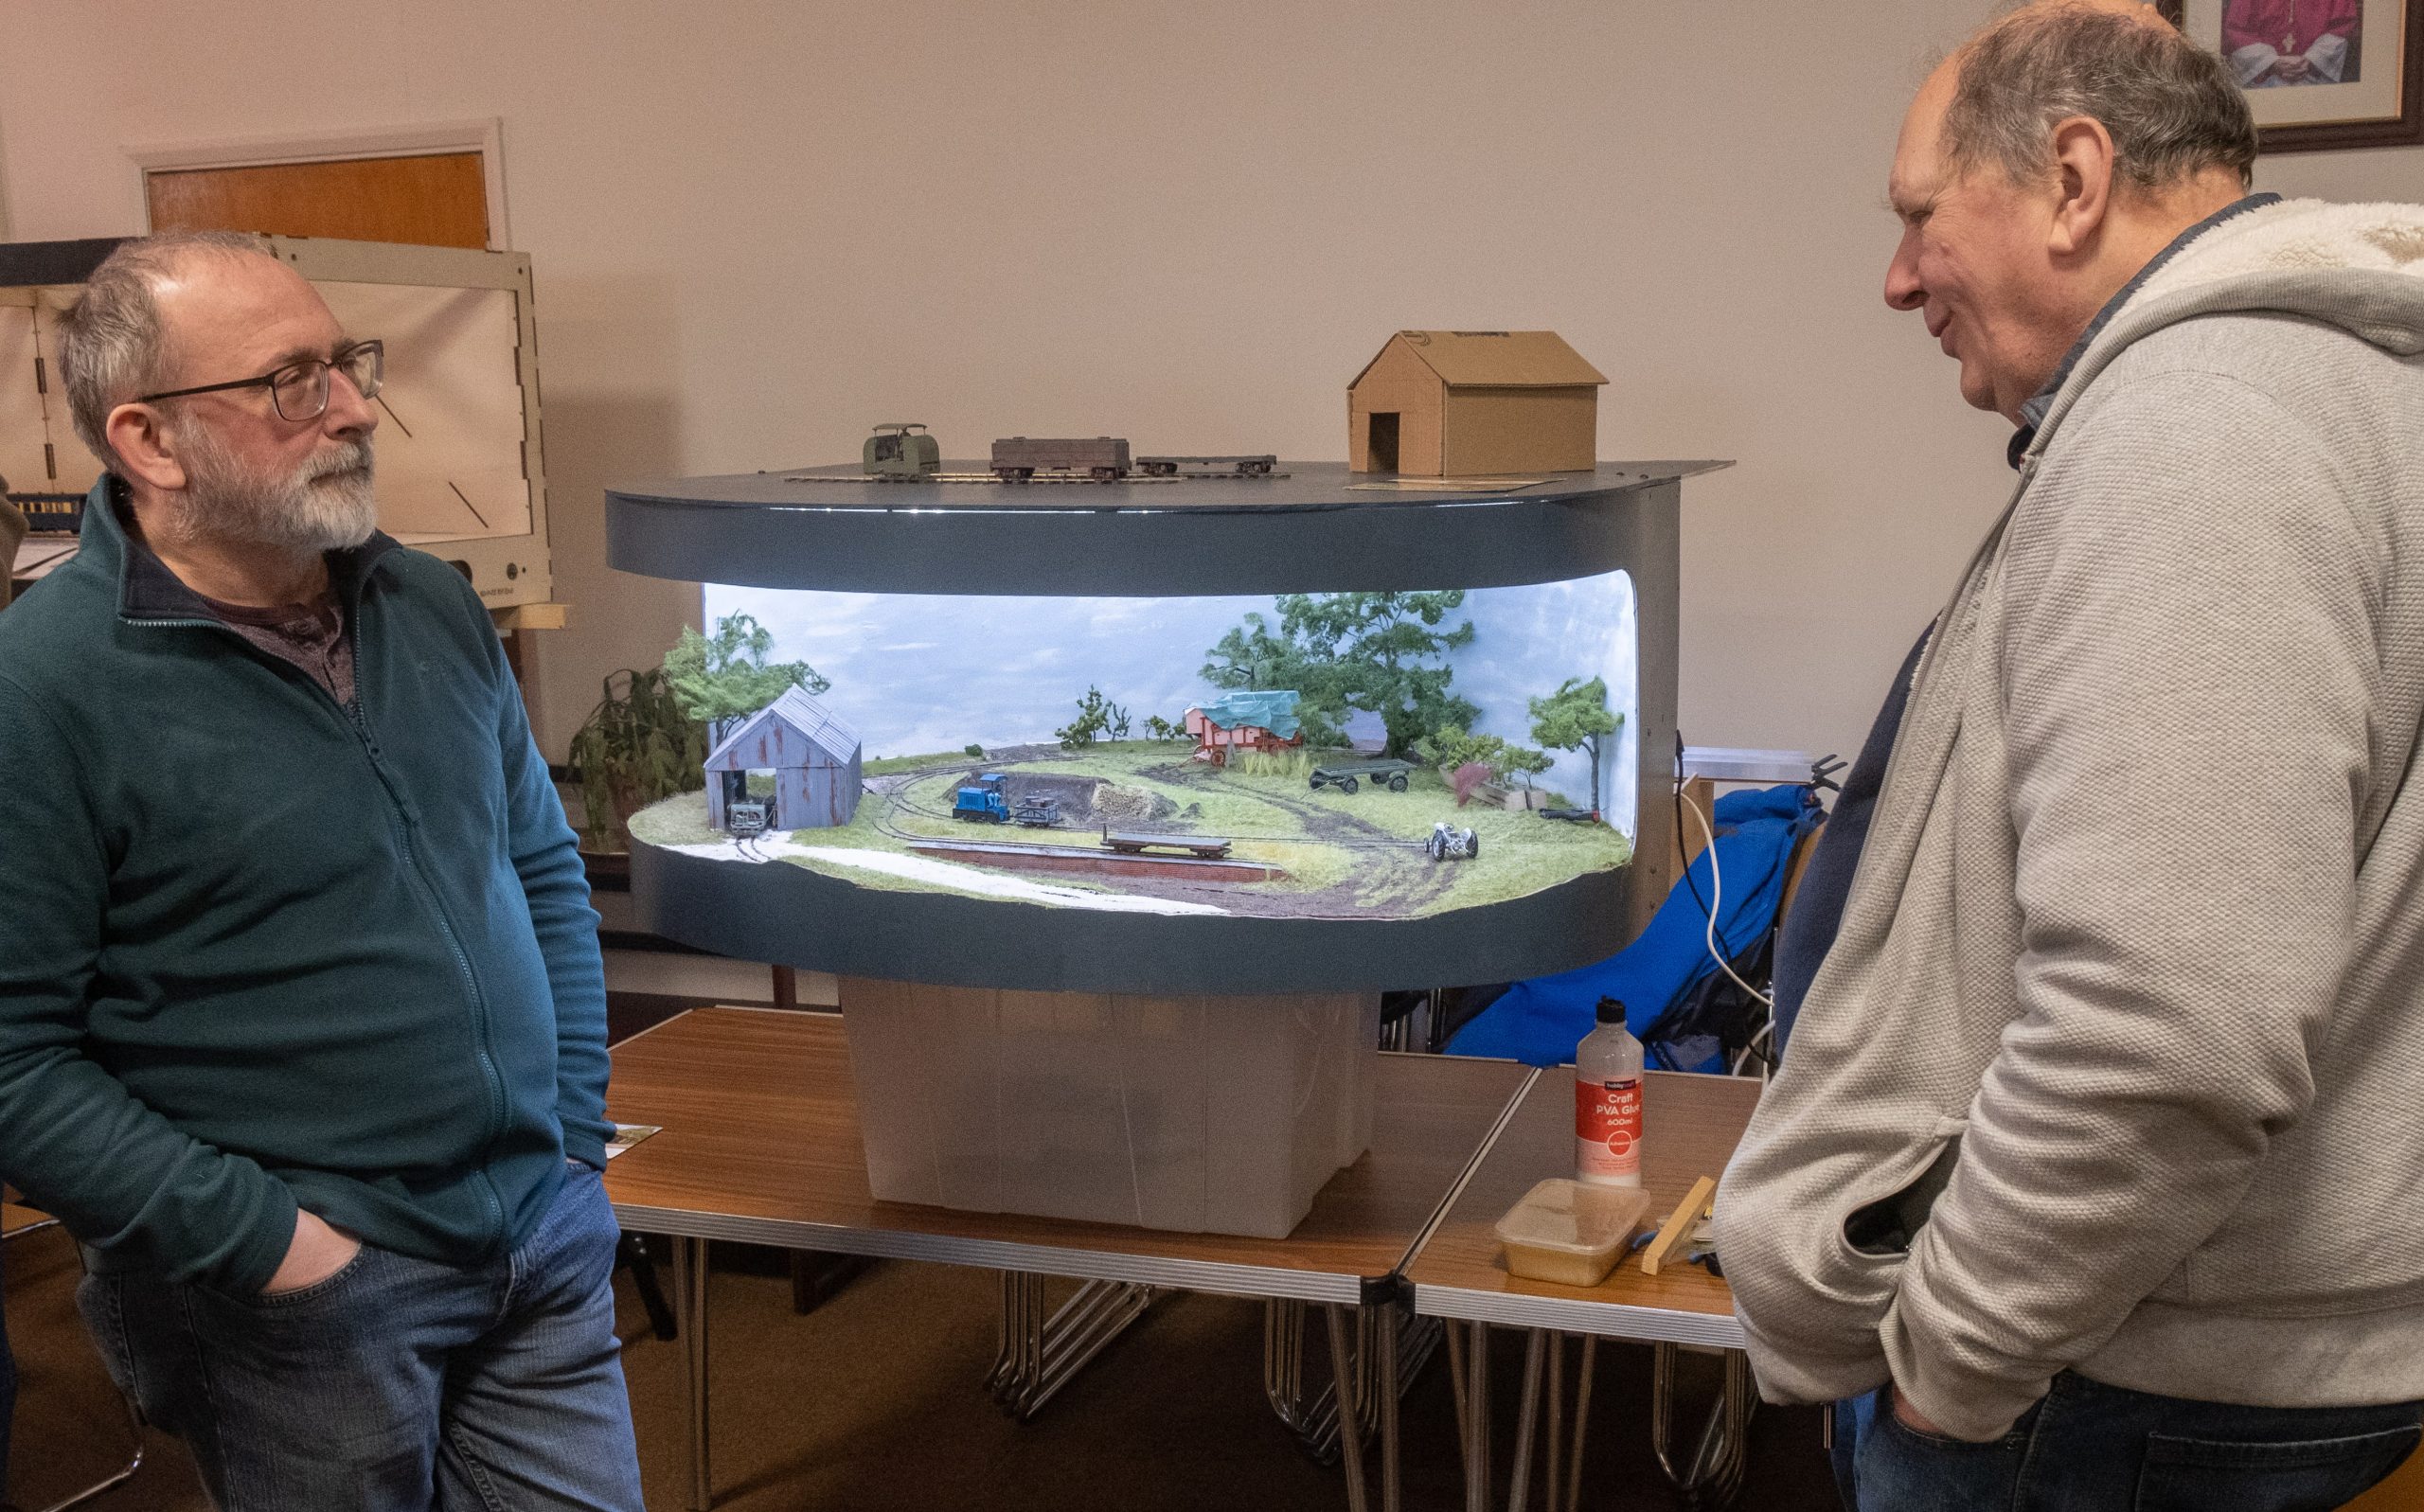 I’ll come back to these ideas and plans but for now here are some pictures. Keen to see the day recorded but knowing we’d be too busy to do it ourselves we asked a few people to take pictures. Those in this document are from Andy’s dad
The Pictures all get bigger if you click on them.
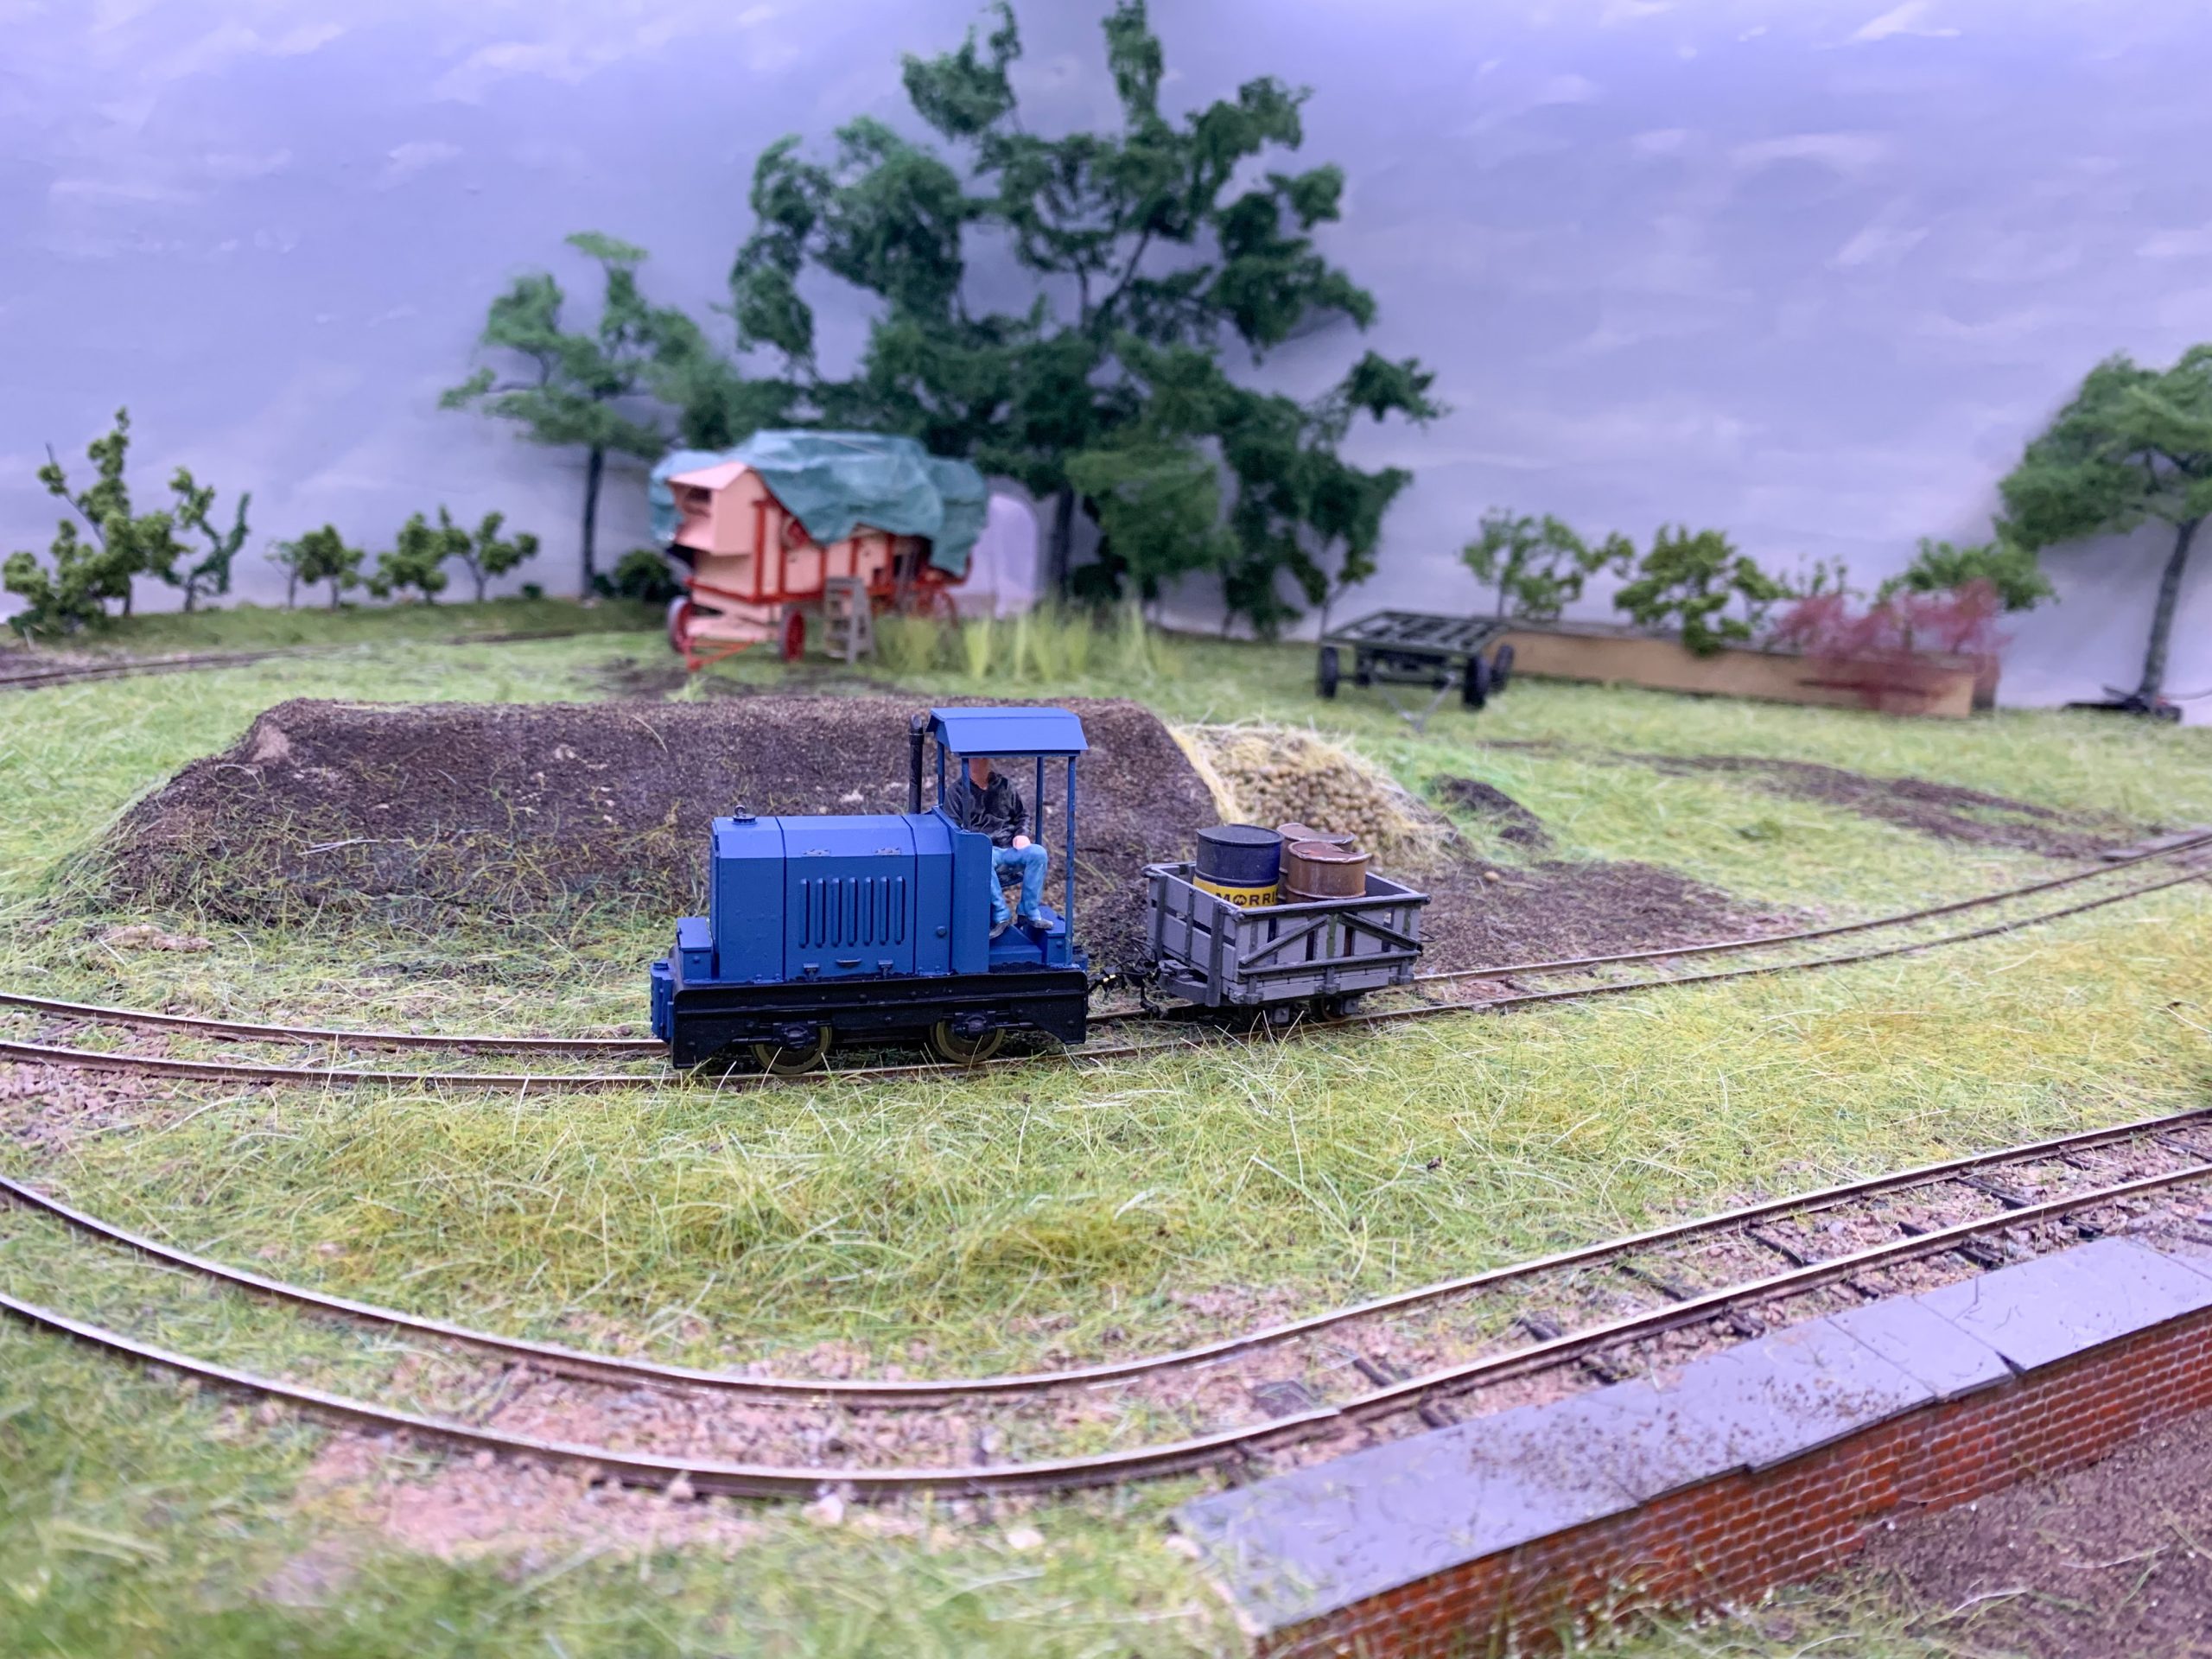 Firstly, here is Simon (on the left) demonstrating one aspect of the day – talking about the displays. In this case its his King Edward Street layout, a model of a potato railway.
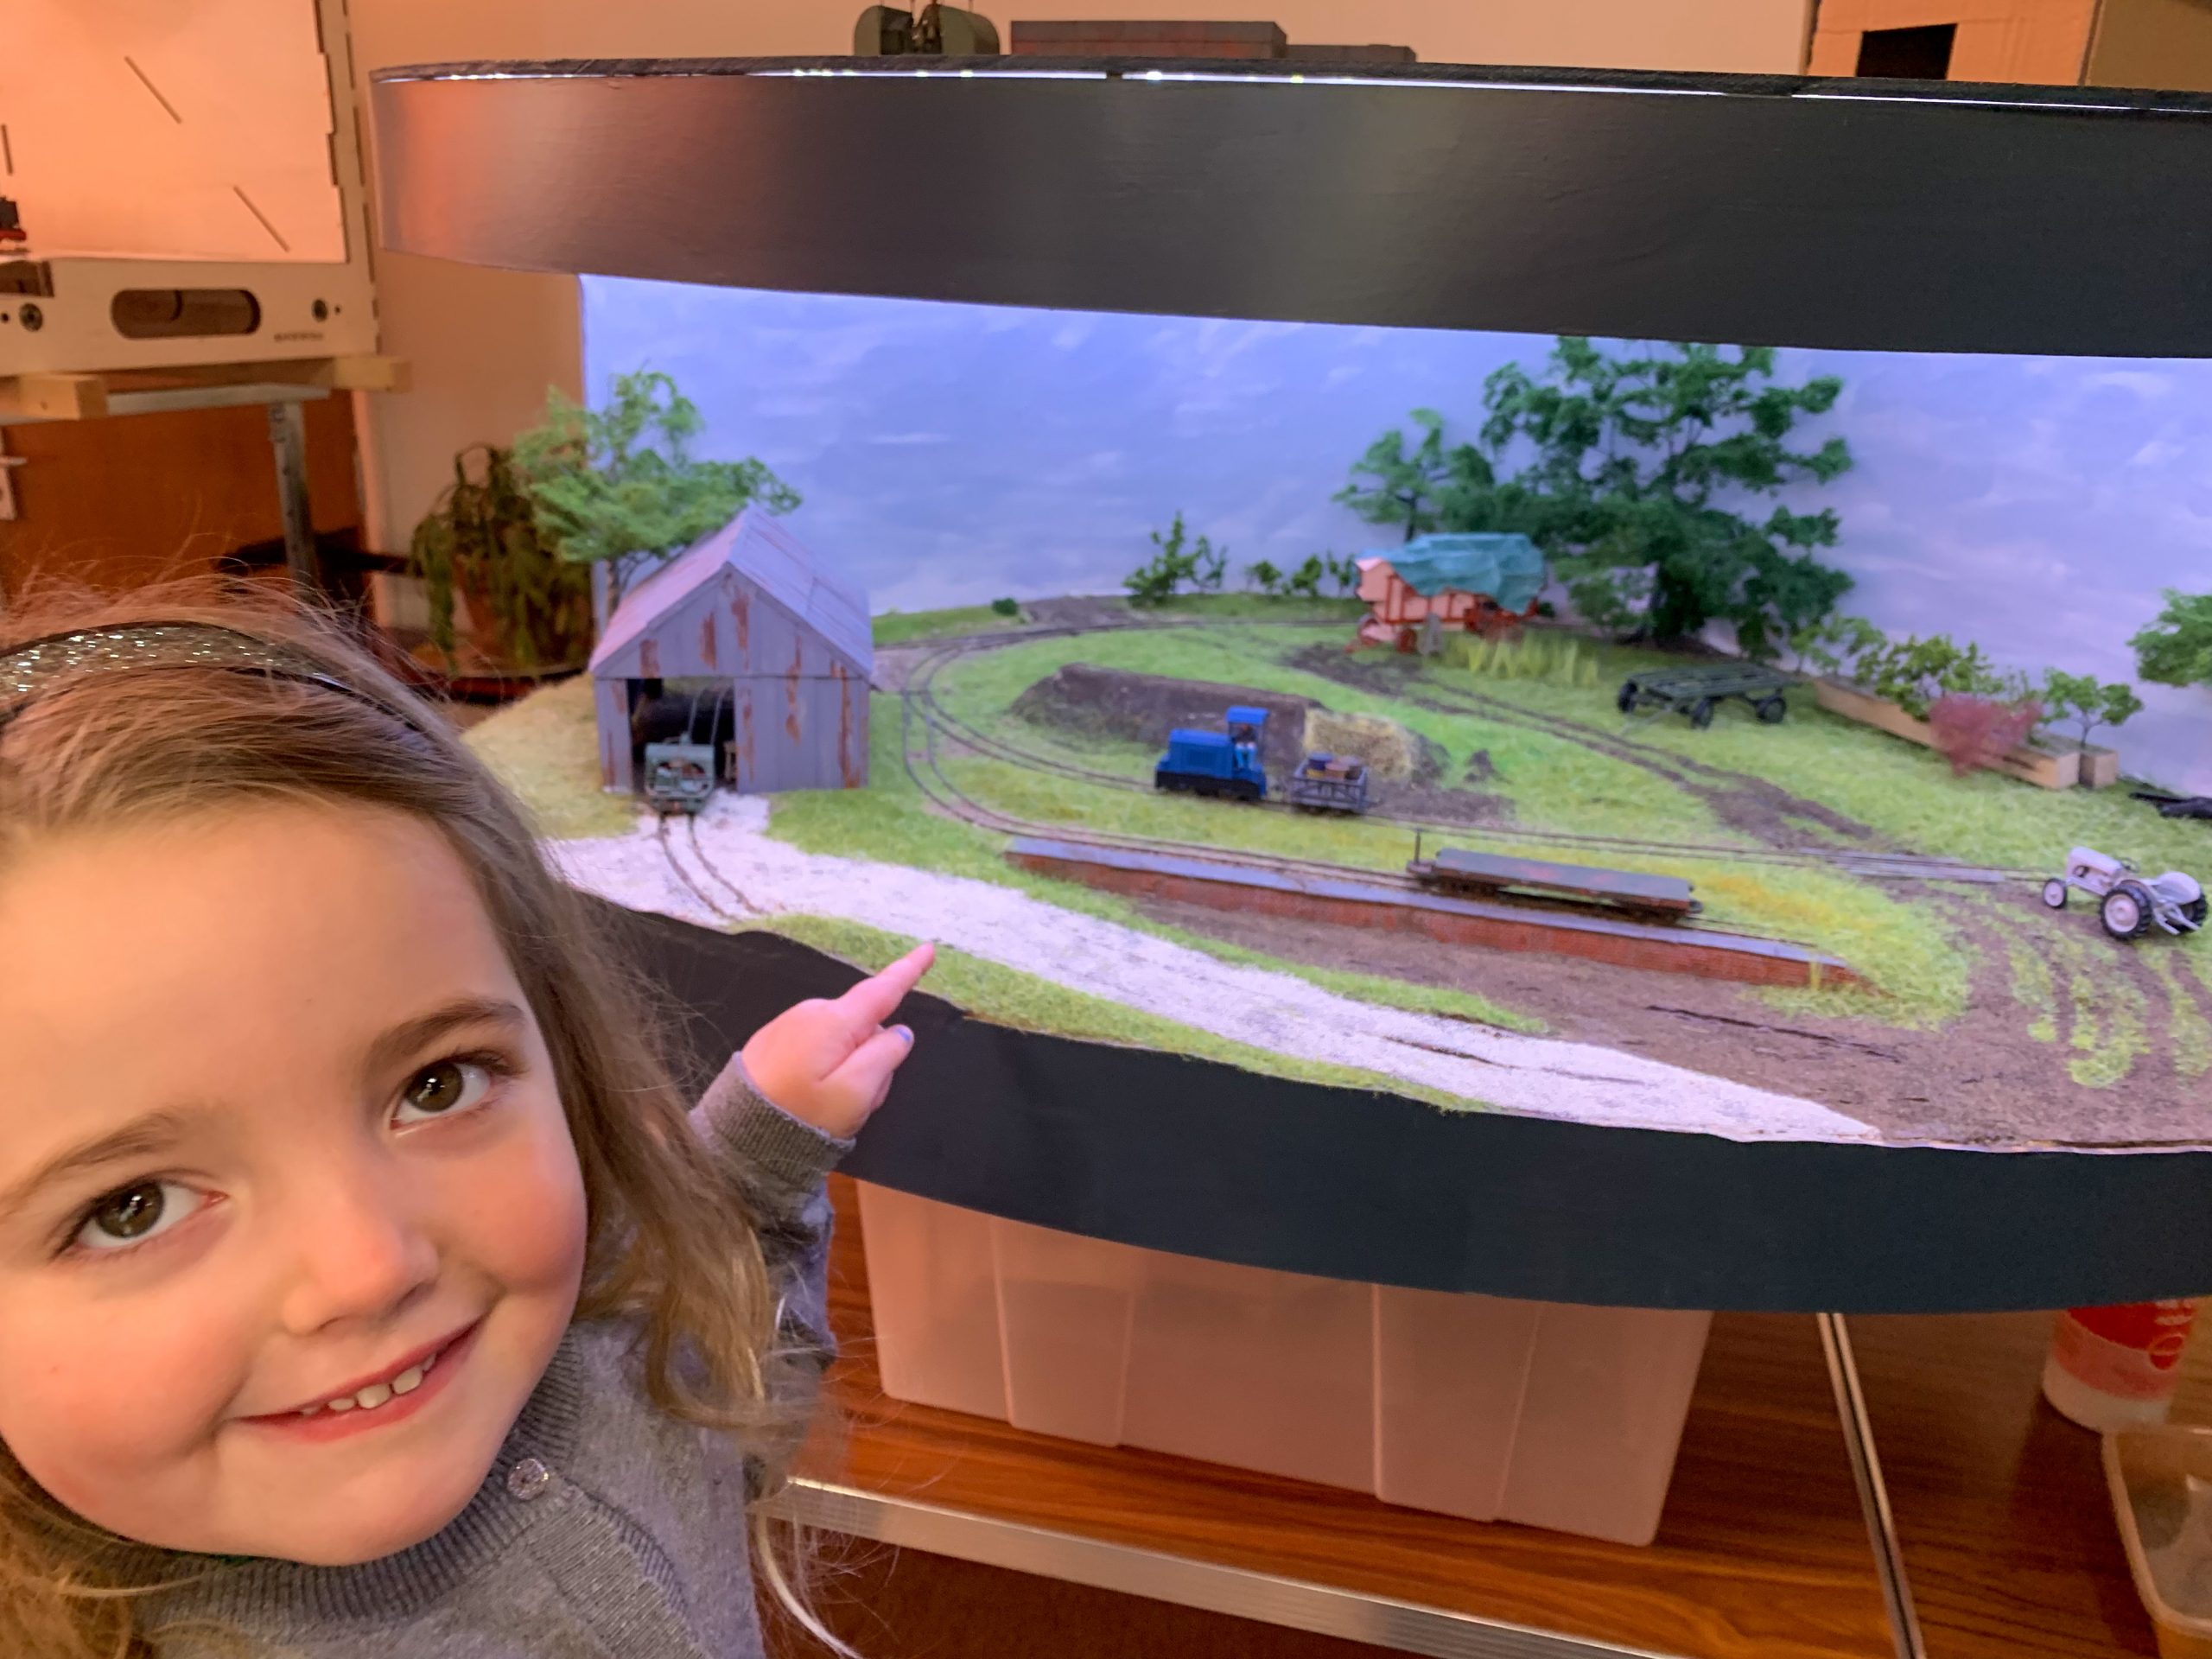
The last picture of the spud railway sort of demonstrates that we want all to be involved with Annabel checking out the models.
This layout was 0-14 narrow gauge
Elsbridge is an 7mm scale standard gauge light railway operated, mostly, as a tramway.

Neil with his layout following some midnight oil burning.
 Wheal Ponder. A narrow gauge (0-16.5) clay dry by Andy
Conceived as a small portable layout to compliment a permanent loft layout at home.
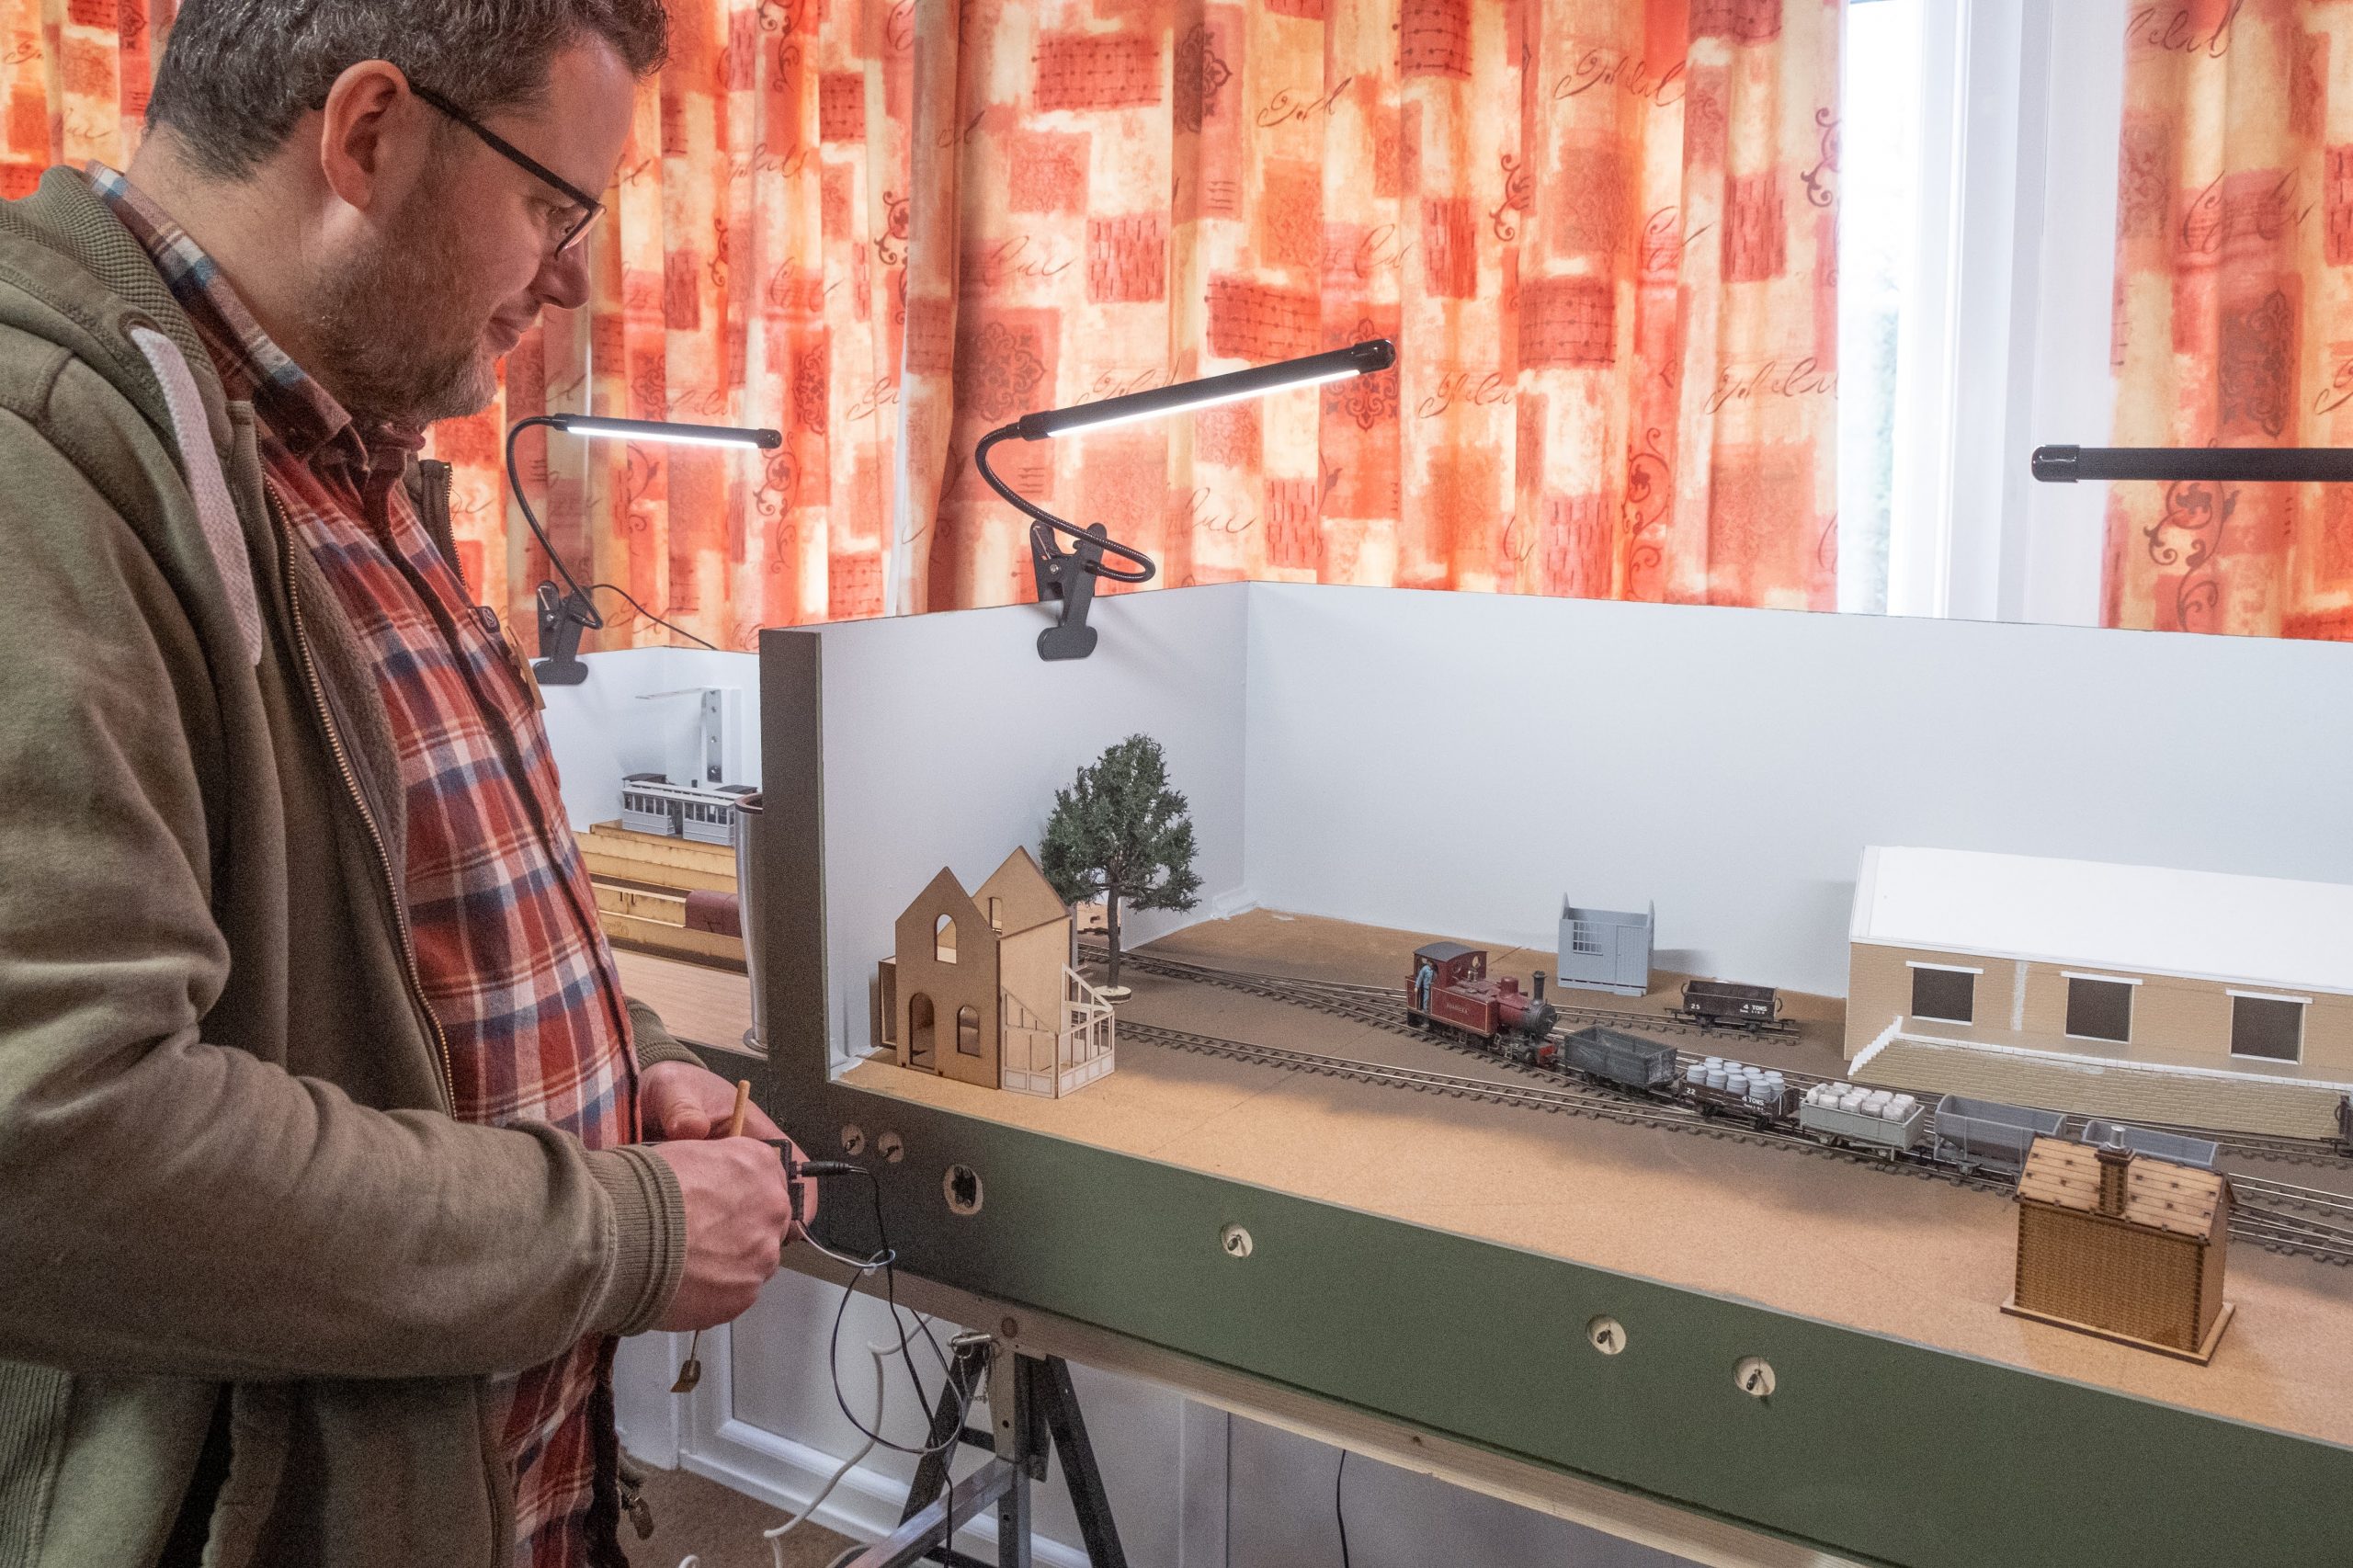
 Me with EDM Models, part of my Brymston RR layout and a stub turnout building demo.
Unusually for one of these events I actually got something done
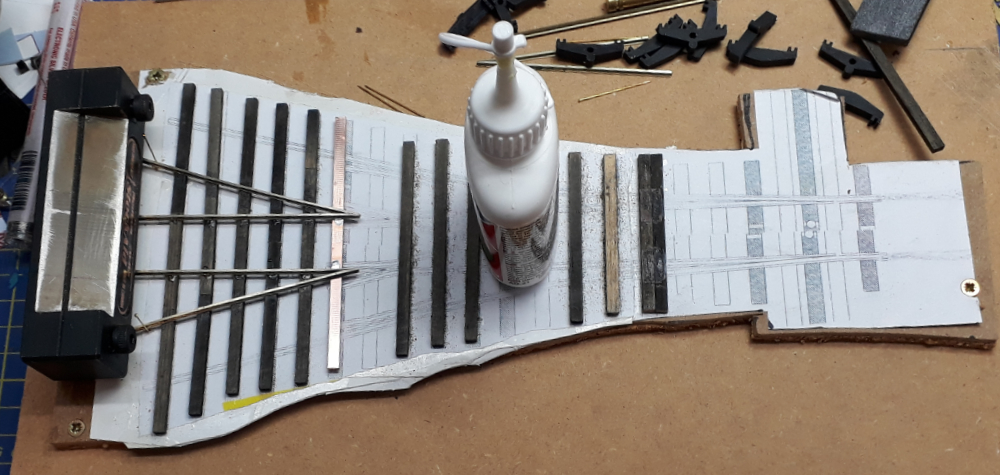 Before
 After
After
The layouts featured so far are those of the organisers and from our fortnightly zoom sessions and group messenger chats I can vouch for these having been the subject of a lot of midnight oil, deflection of other tasks, leniency by partners etc resulting in more modelling in a few weeks than we usually achieve in years
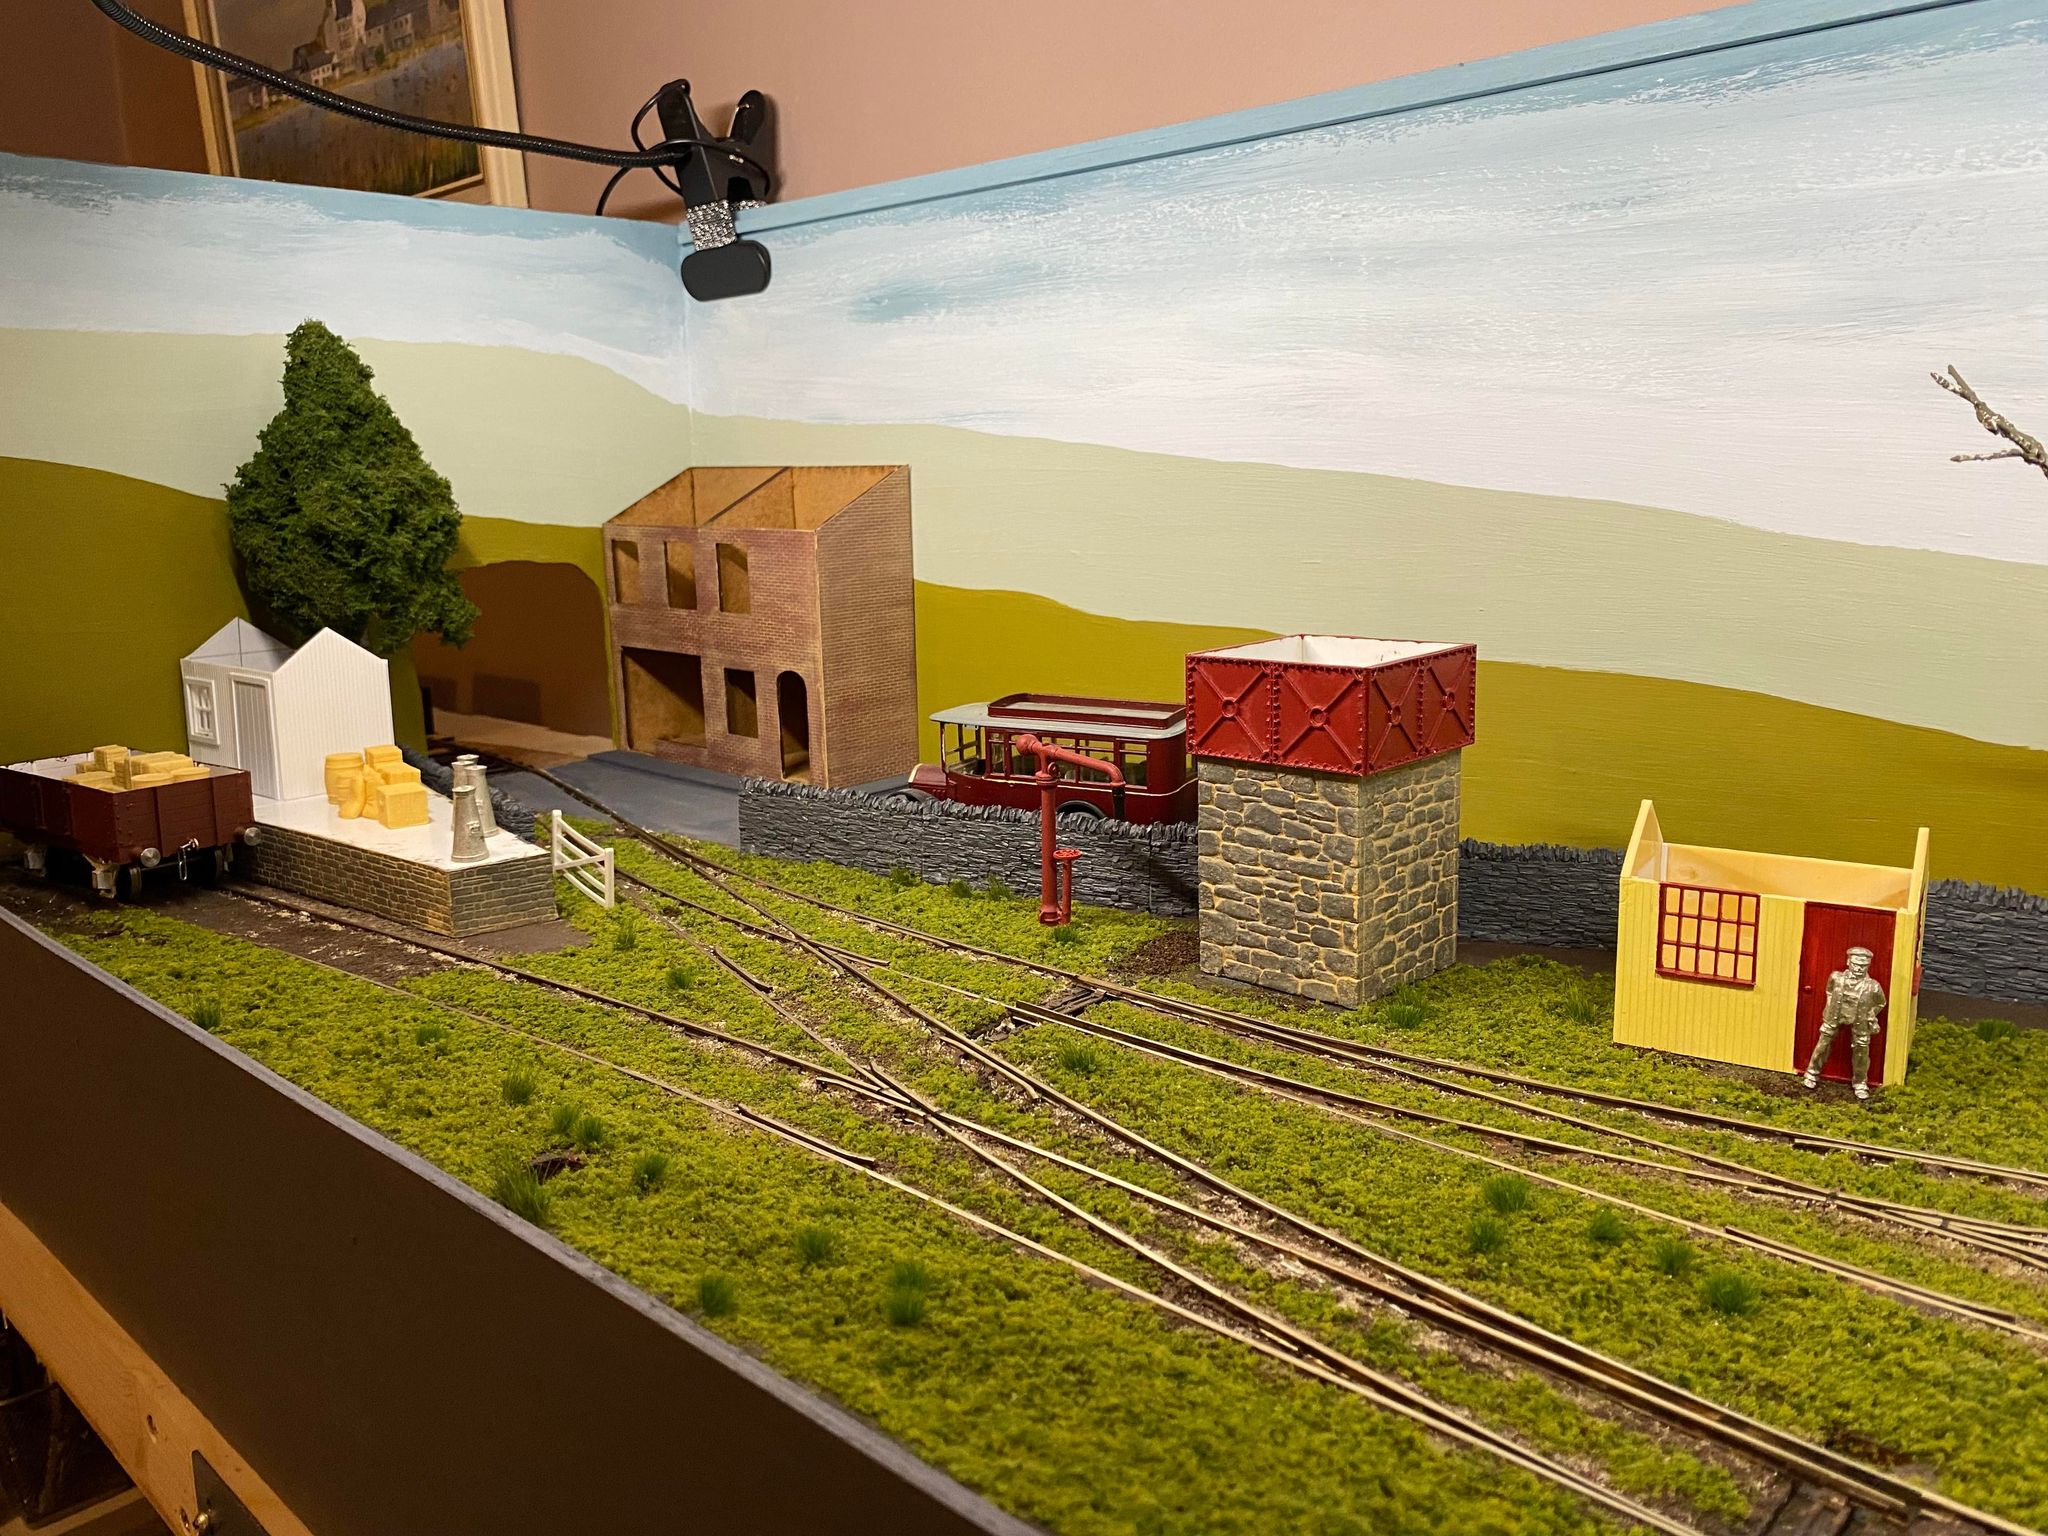
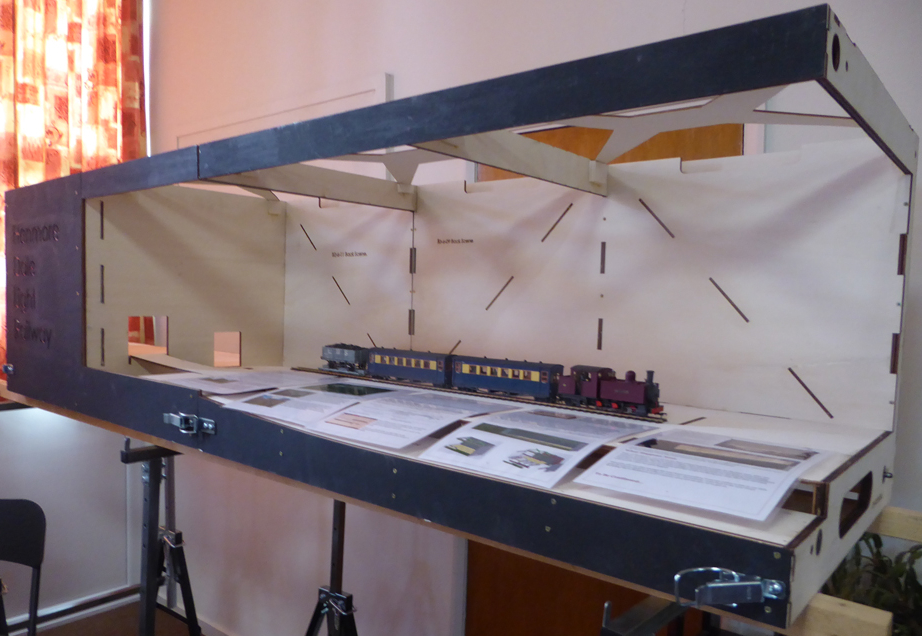 Also making its first appearance at a show was the start of the next chapter in the Henmore Dale Saga – Hopton (for Carsington)
This is the groups layout and shown were two of the four boards. These didn’t exist at Christmas!
The story of the Henmore Dale Railway is being told in a thread on this blog which starts HERE
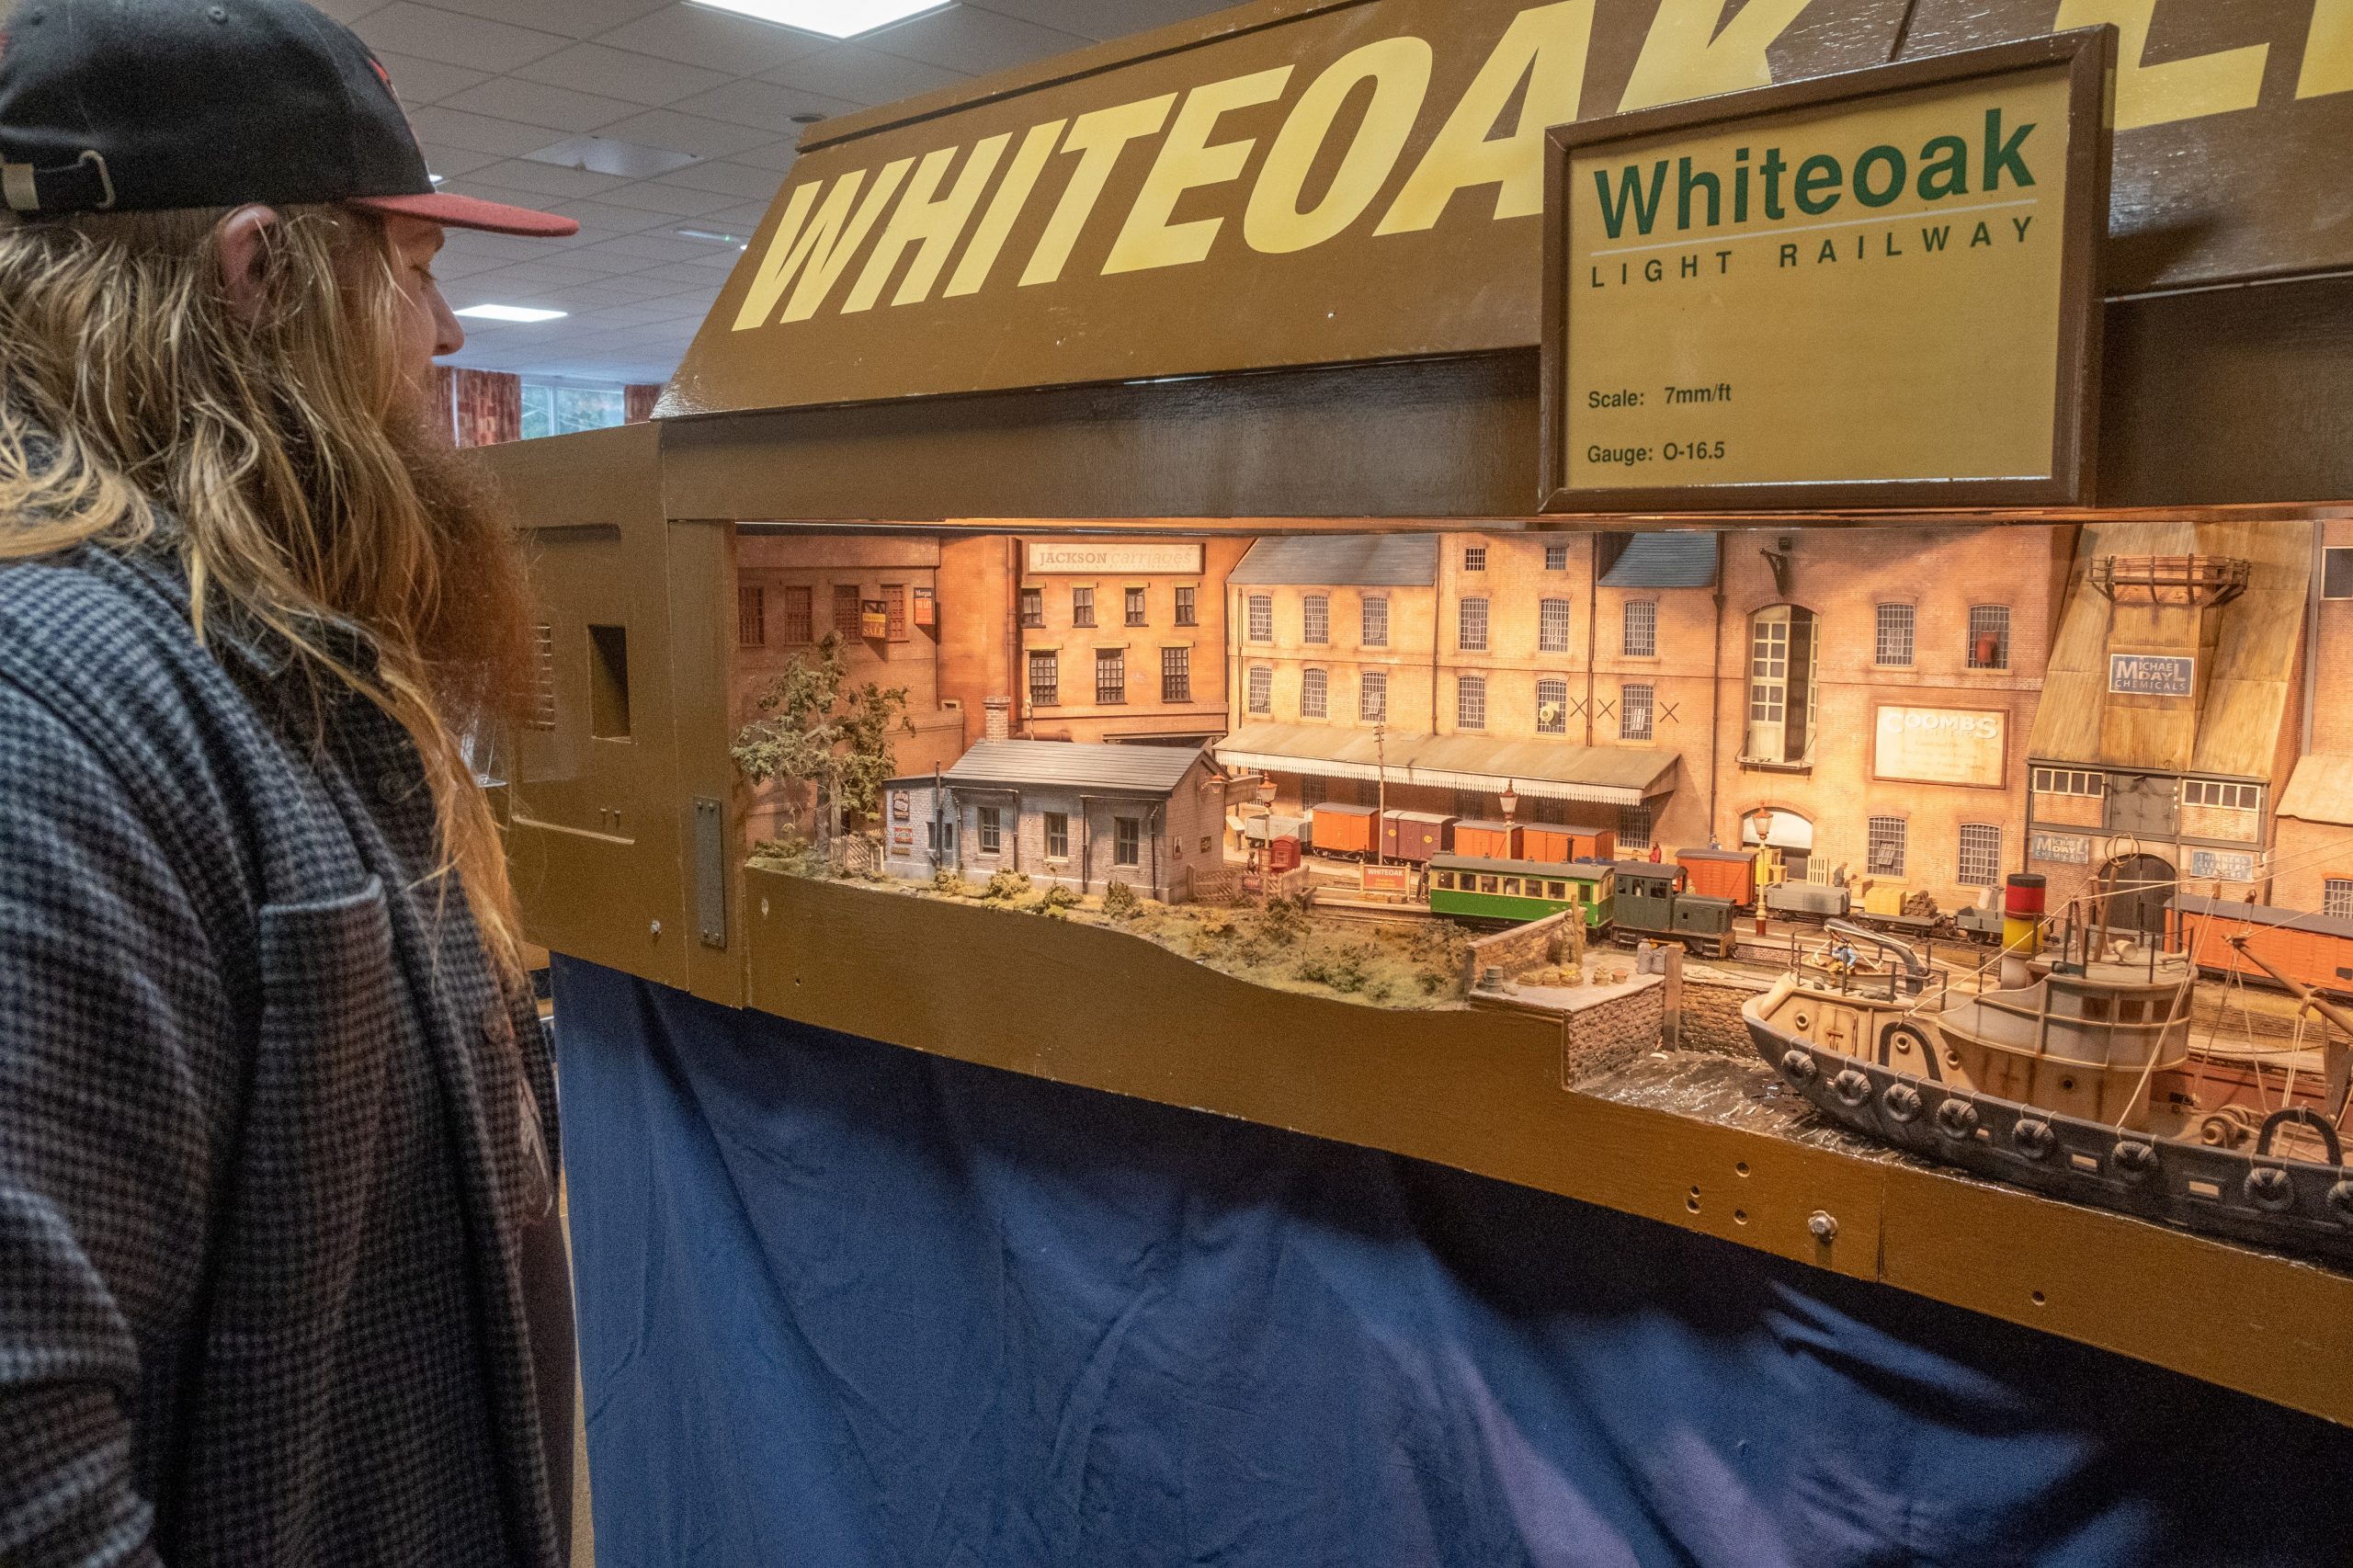
The West Midlands Group brought their recently acquired WhiteOak Light Railway
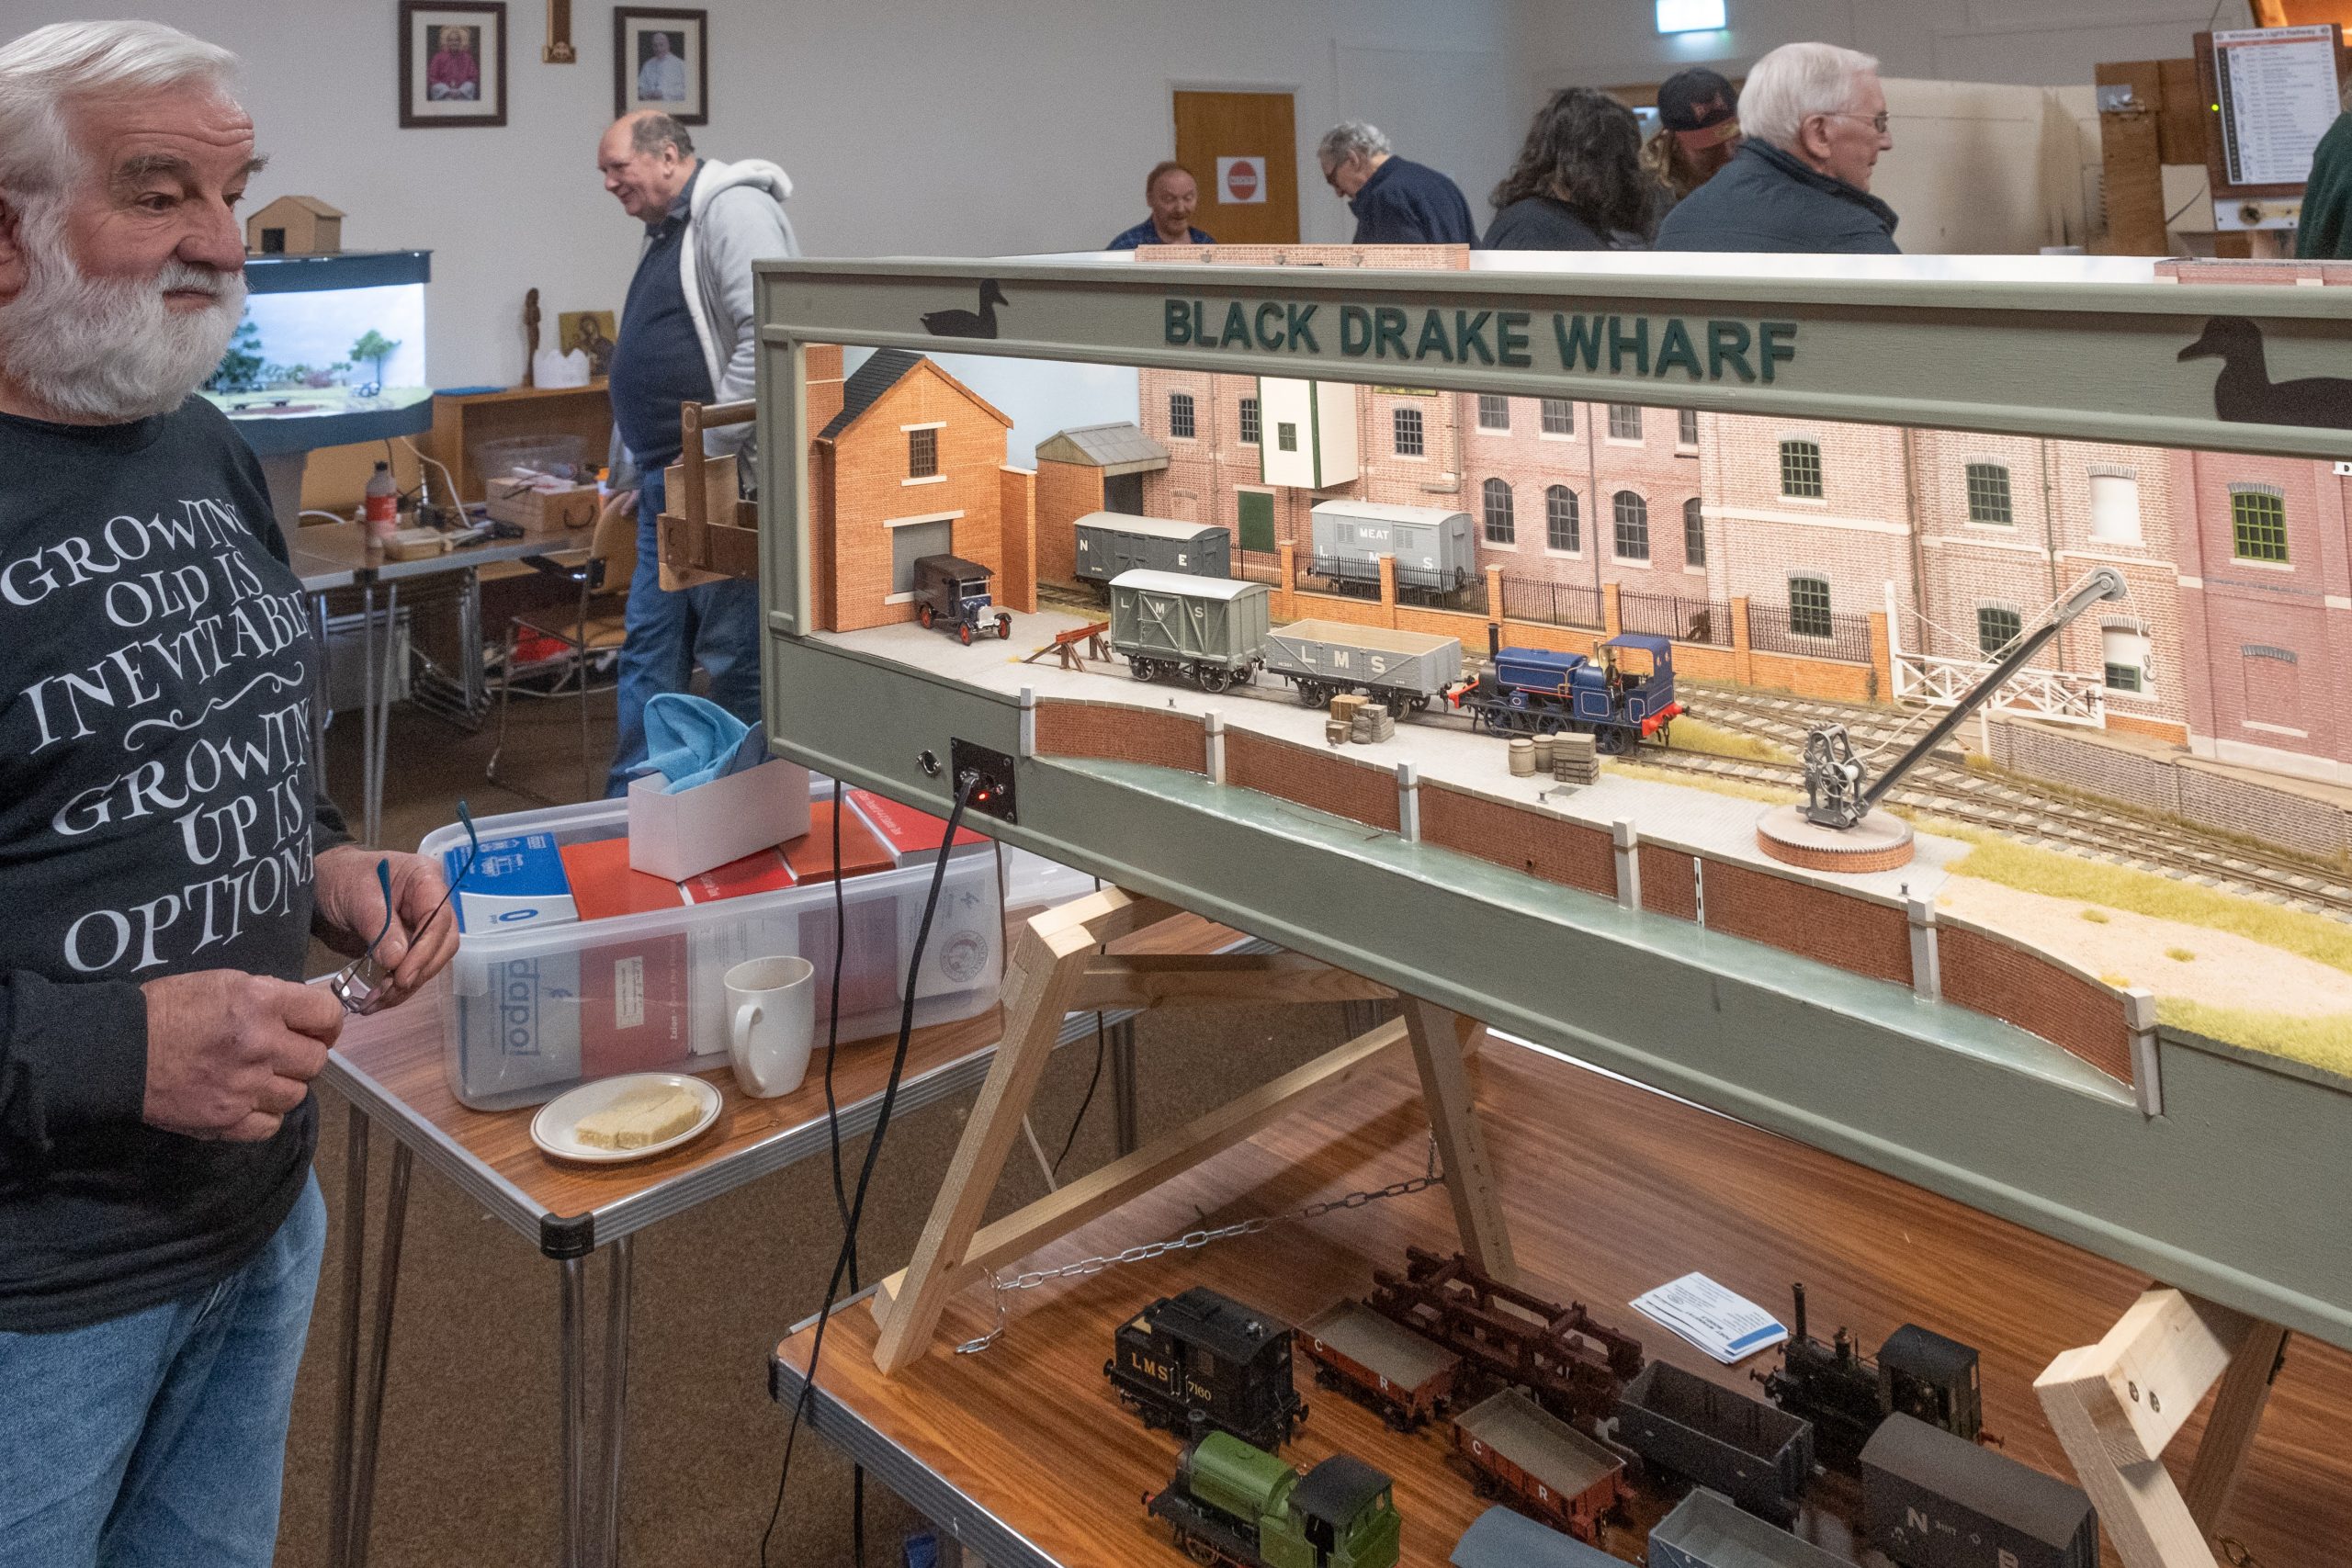
Phil, another original but now distant member of the group brought his standard gauge 7mm Blackdrake Wharf layout

The Basin was another layout new to us and built by the same person that originally built Blackdrake Wharf
There was a trade presence appropriate to the day too
 Iconic Rail and their models |
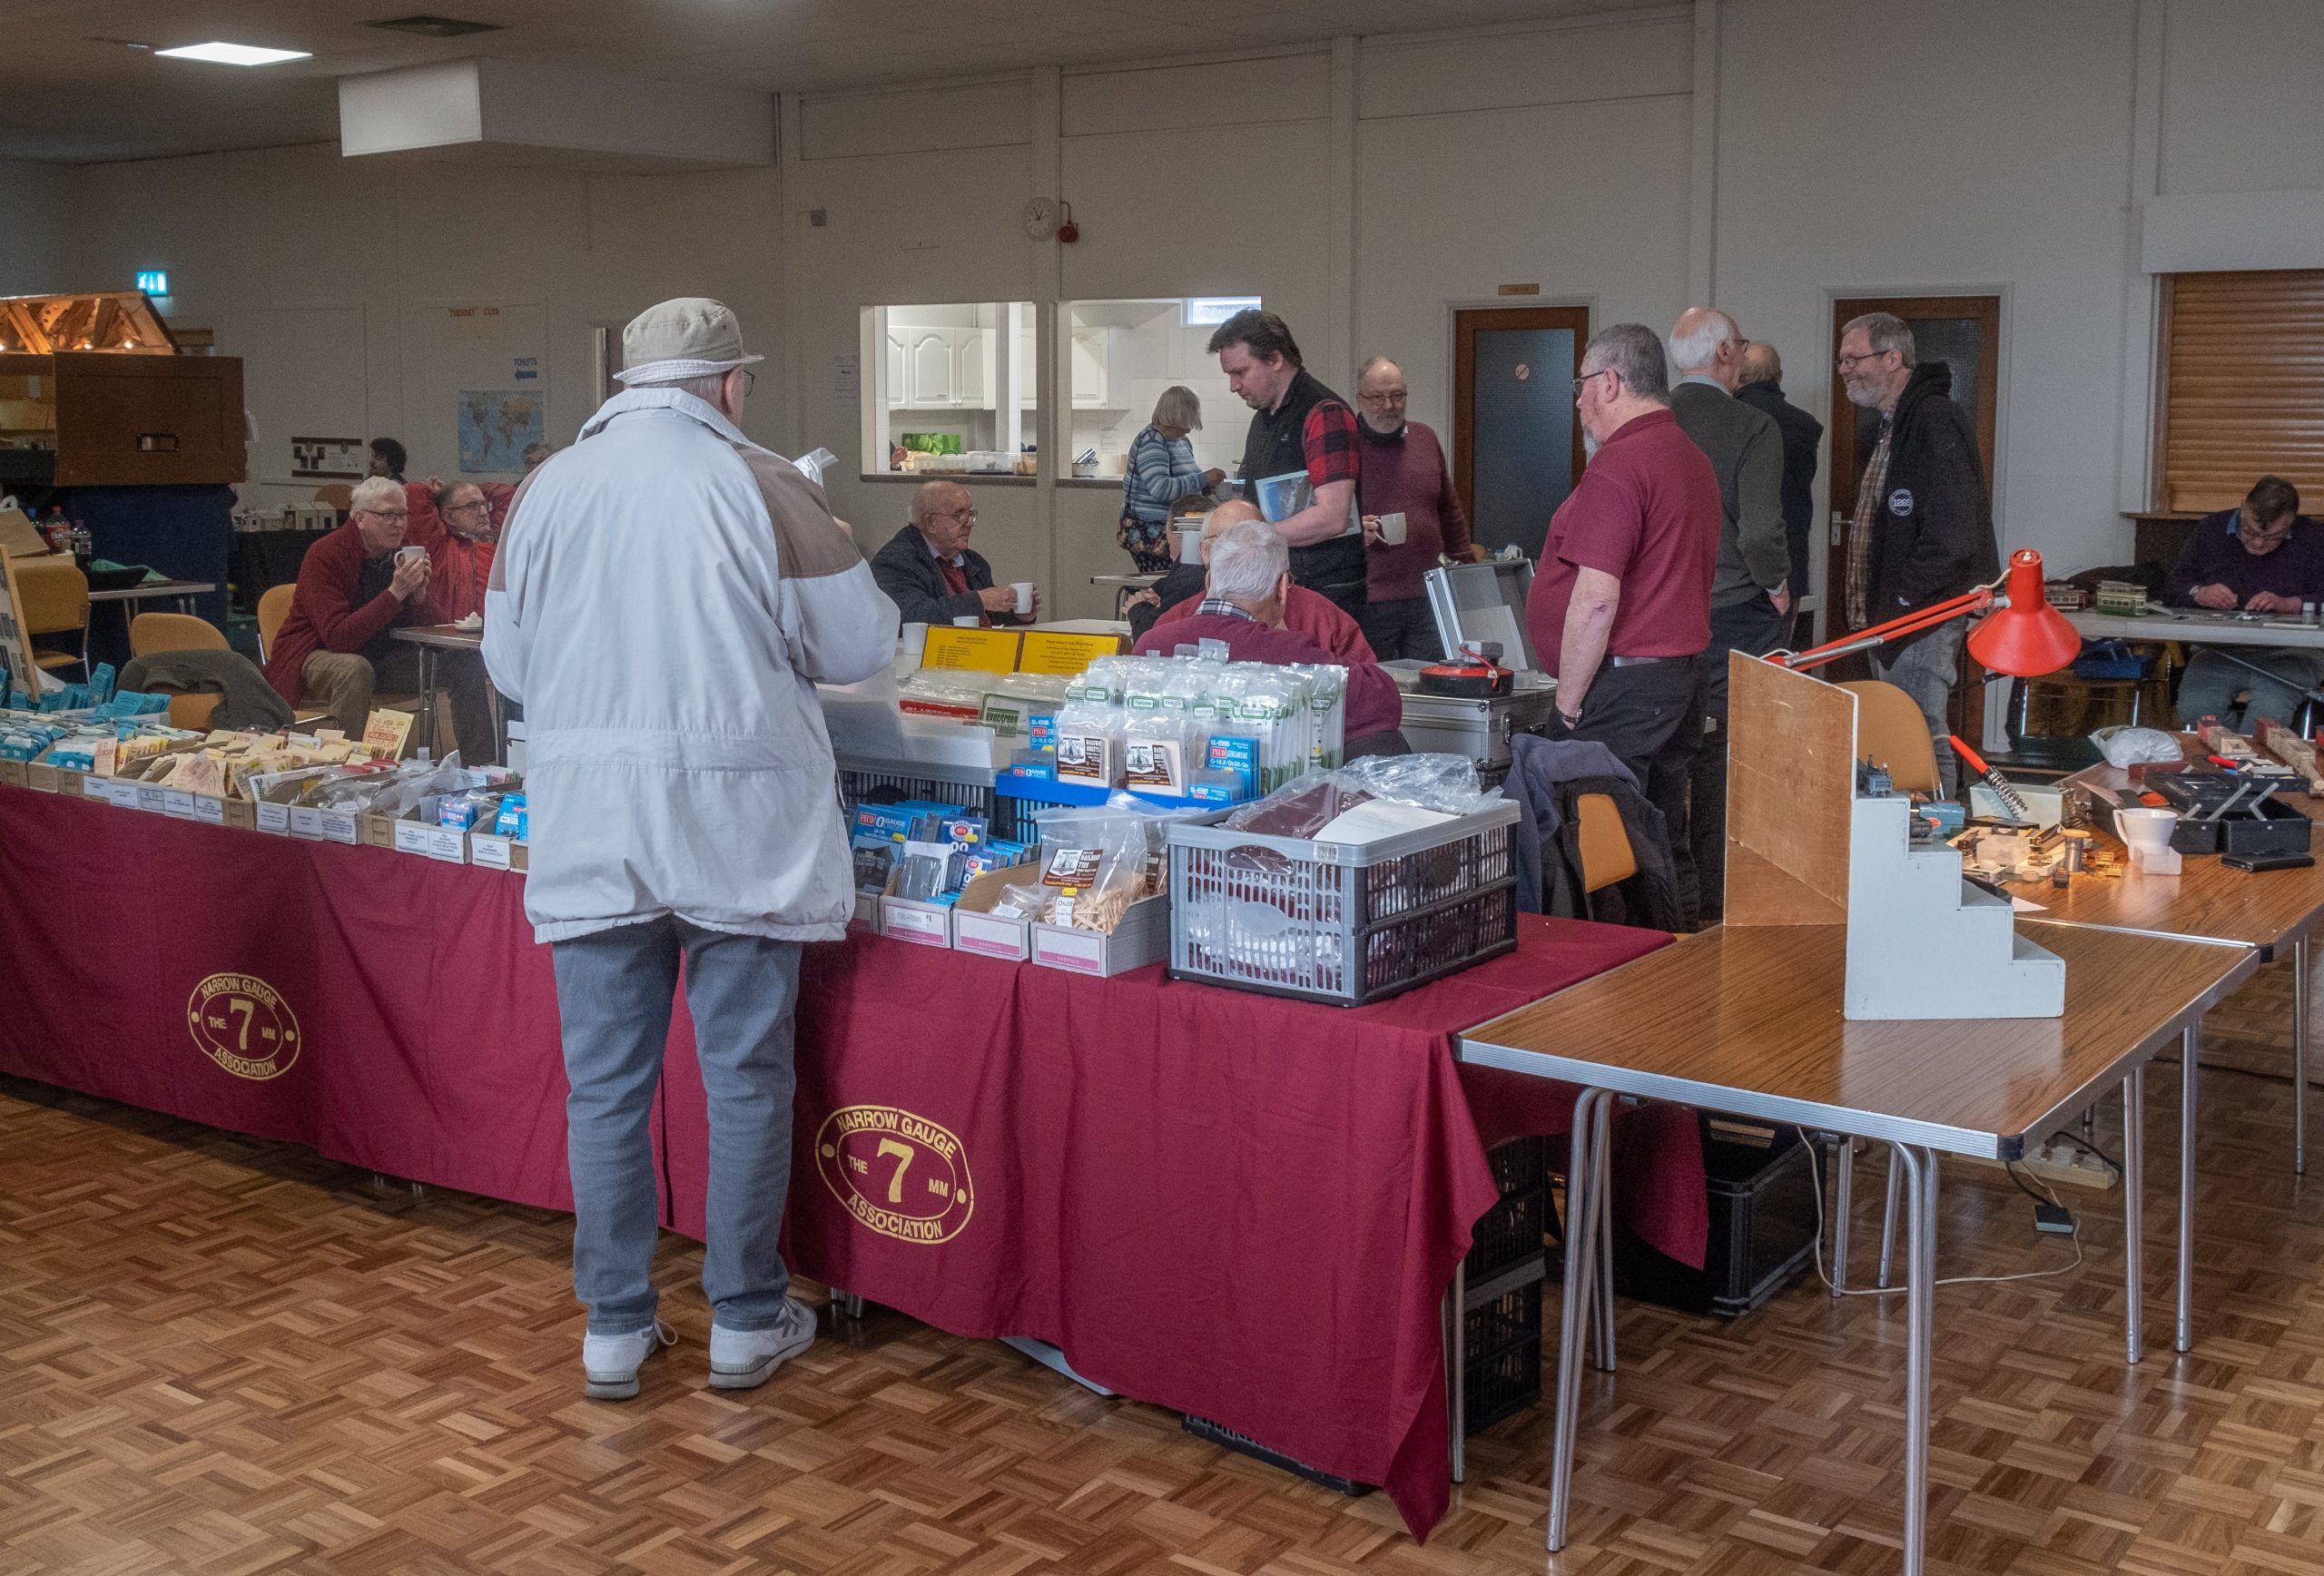 7mm NGA Sakes and Slate Wagon building demo |
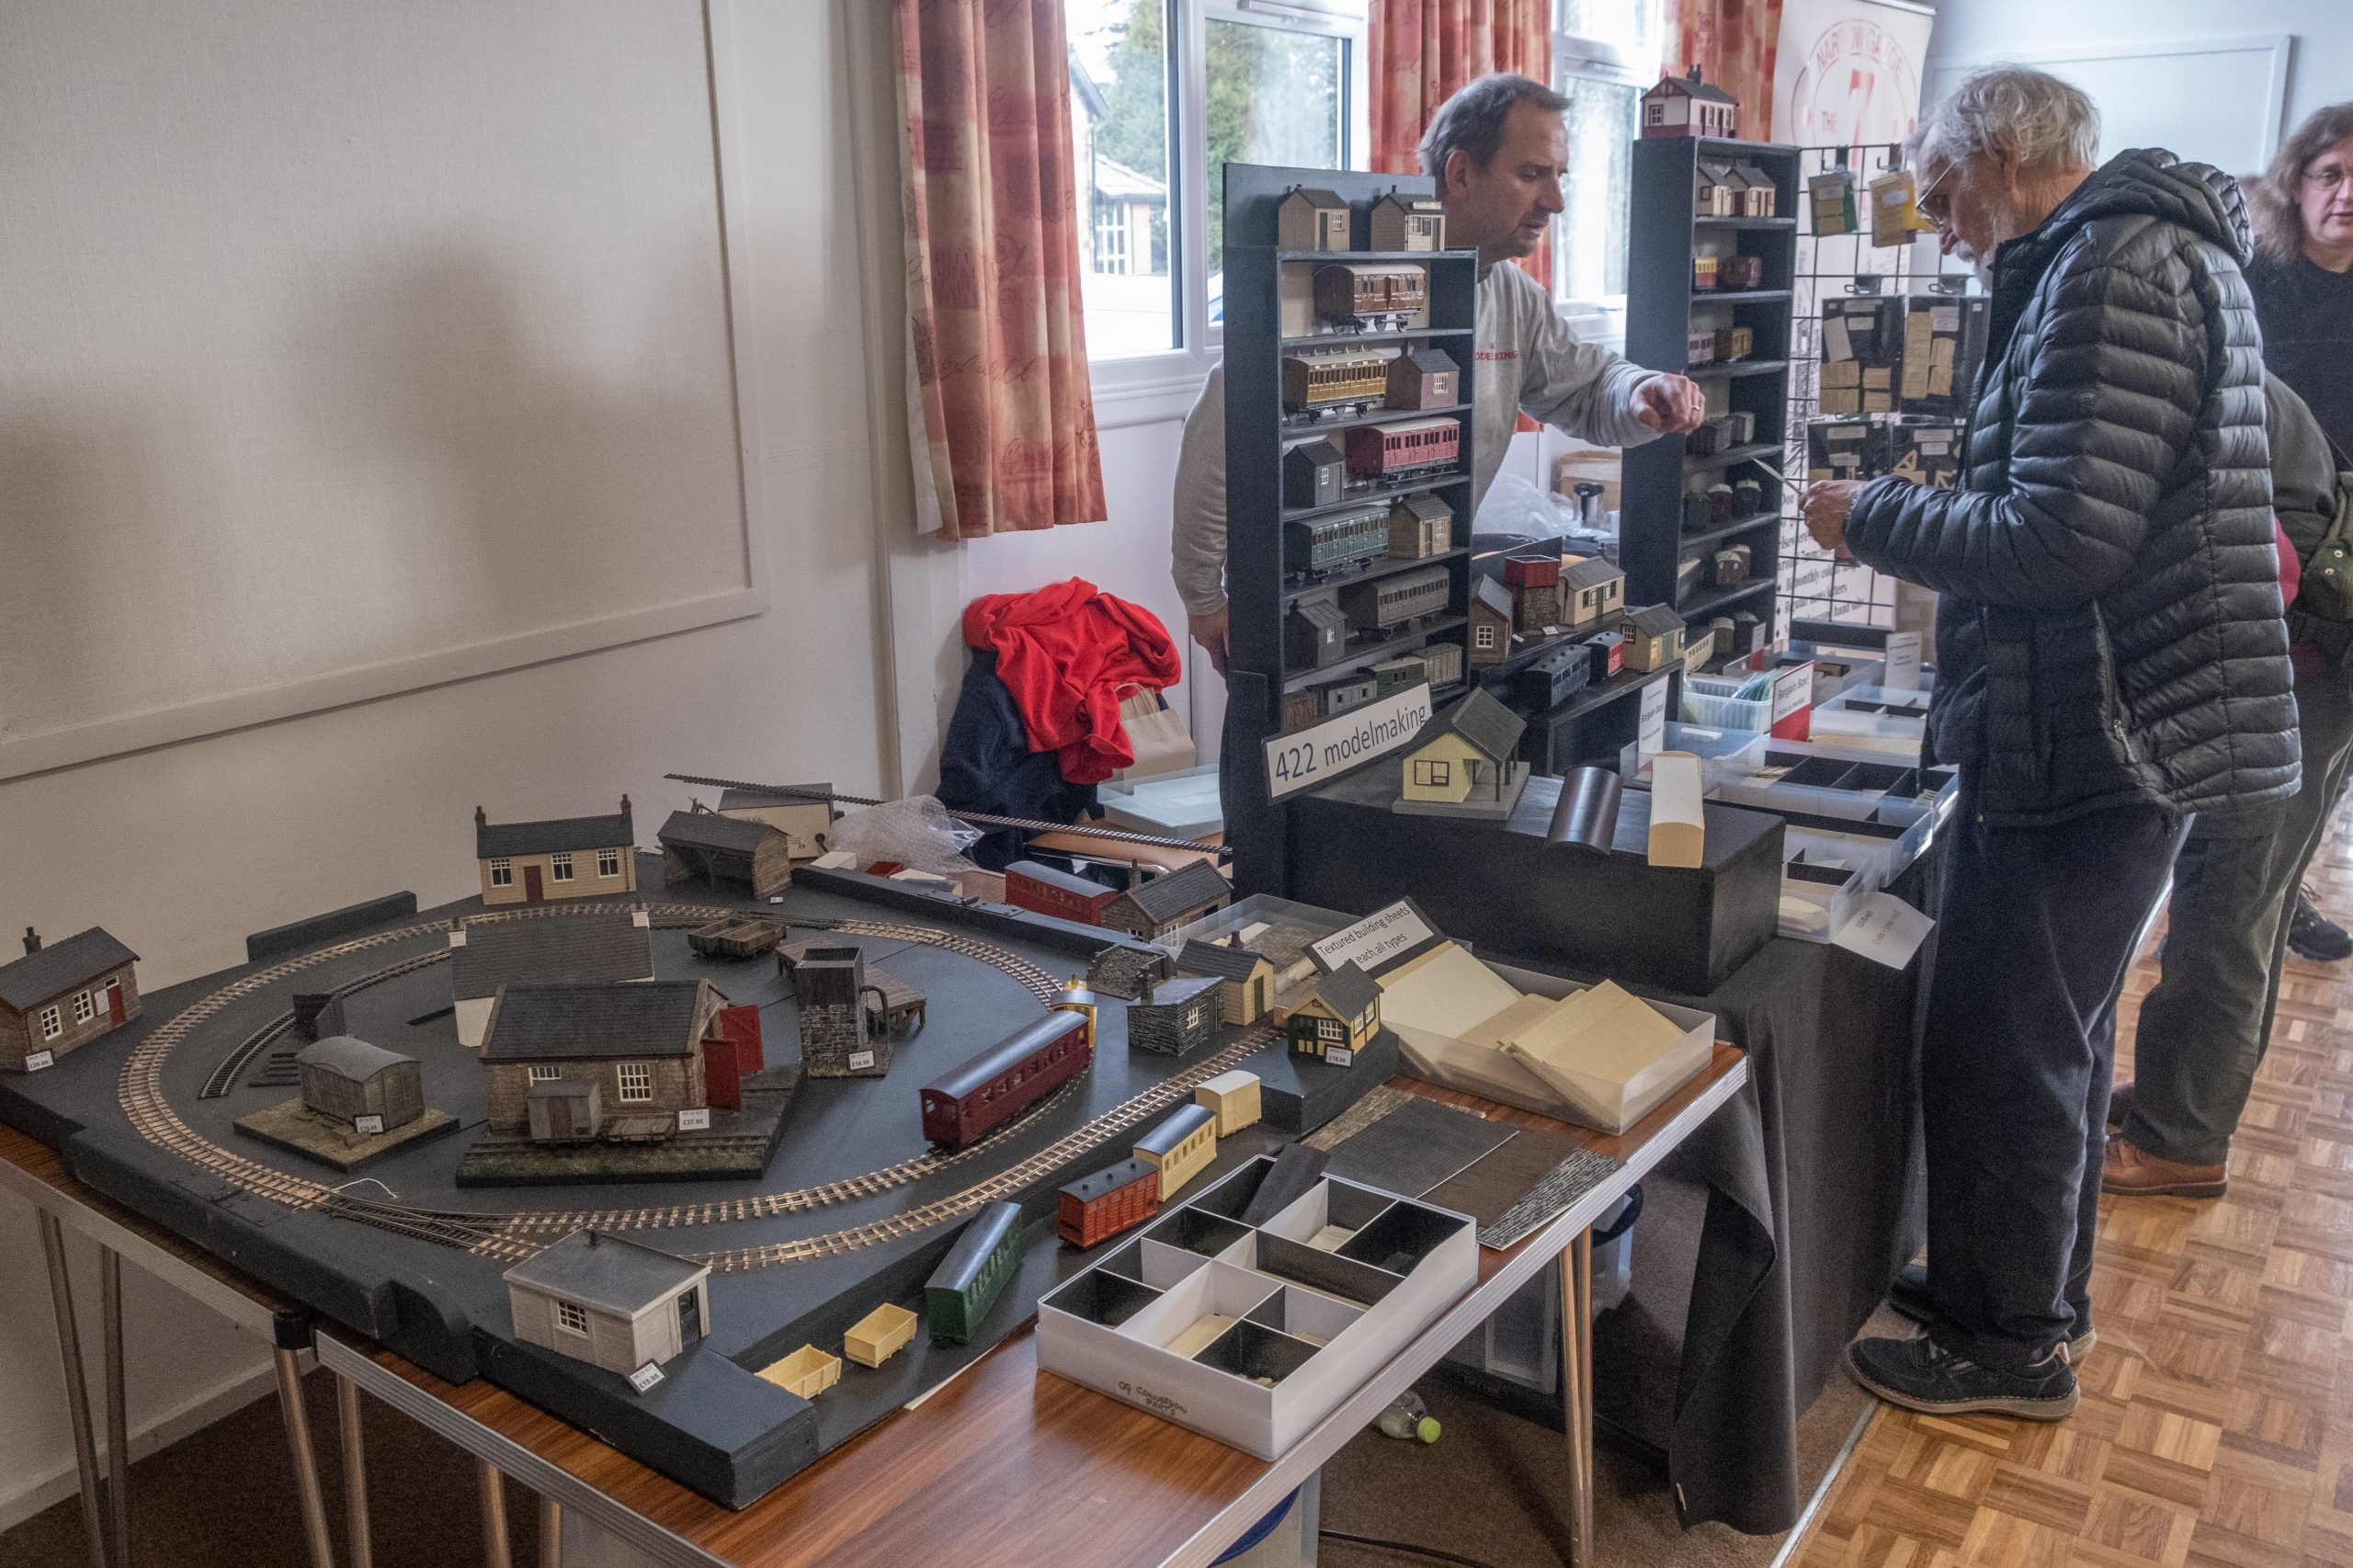 422 Modellmaking |
The genesis of this event was the TVG building a layout that was too big to set up in anyone’s house so to do run it, other than at an exhibition we had to hire a hall. Originally we used the community centre just up the road from the current venue.
Having got the hall we invited others to join us and utilise the space and the modelling day was born. All are there because they want to be and want to join in.
Like a lot of things Covid put a stop to the 2021 event and shunted the 2022 date to April, which didn’t really work. This was the first post Covid event back on the traditional date and we were determined to come back with a bang. A lot of effort was put in within the group to get our exhibits done and to promote the event online. We also introduced our new layout that doesn’t need a hall to be rented but that’s not going to stop us.
Was it a success? You bet. 120 visitors on the day may not sound a lot but the format of the day means a good number of them were there all day – there is a large seating area within reach of the serving hatch. Other stats: –
- Highest Attendance
- First one where we’ve reached car park capacity
- Most bacon butties consumed. Learning from previously we got the emergency extra bacon at the start but still had to send out for more
- Most brews drunk
- Most hot air expended (probably)
When we started the TVG was principally a Notts and Derby based group. With time members have spread out so the event has become a bit of a reunion and once the dust had settled on the day there was a rather large gathering in a curry establishment for an enjoyable evening whilst considering the day and planning the next.
On that note the counter has been reset
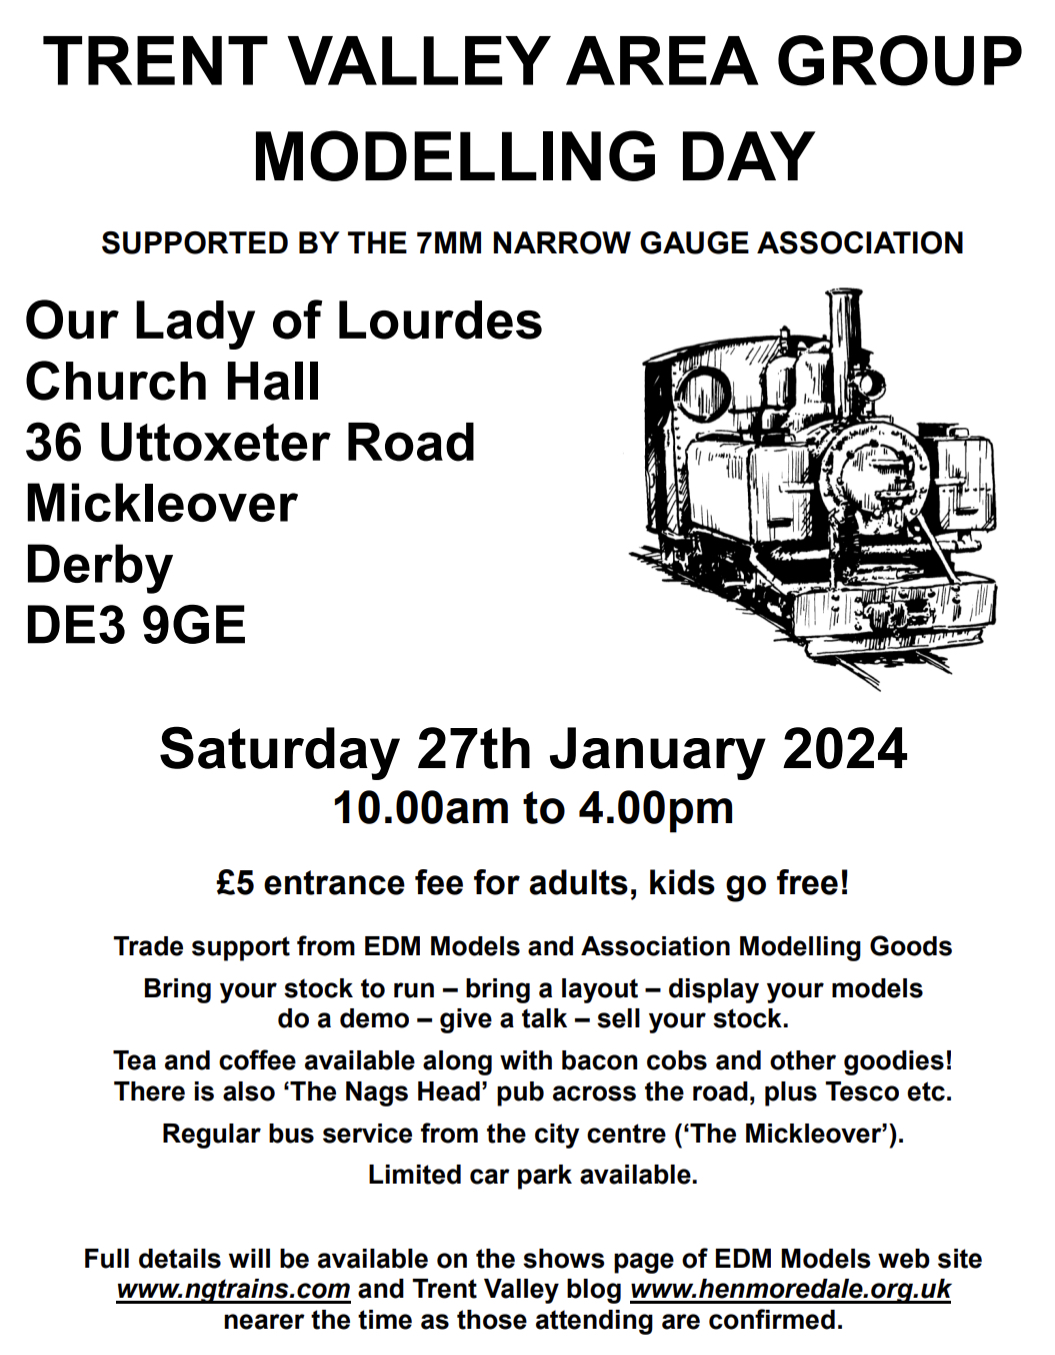
And put the 27th January 2024 in your diary