BRYMSTON RR #19 – A BRIDGE FOR THE GAP

As hinted at the end of the last update there is a change of subject for this one with developments on the corner board with a start made to create the hand laid track.

As is often my way I’ve made it complicated for myself but as the curve will be on the limit of minimum radius for some of the locos to go round it it I decided that I needed to ensure it was a constant curve with no kinks or tight bits in it.

It was also to be rail just glued into place initially with spikes added later so it was also important that the rail wasn’t trying to spring to straight.

I had two tools to help me sort this. One bought and the other designed and built by me.

The first gadget is a rail bender which allowed me to pre-bend the rail to the right radius so it laid in place without trying to straighten. This was a commercial unit I bought years ago from the people that do the fast track jigs.

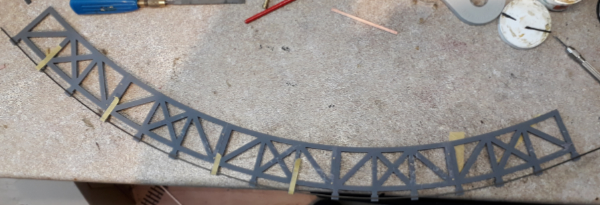
The second tool was a frame I designed and 3D printed to hold the rail at the correct radius for the inner rail of the curve and ensured it was a constant sweep through the curve. With it the rail was positioned over the ties glued down to the baseboard, weighted down and glued. It was left overnight to dry fully.
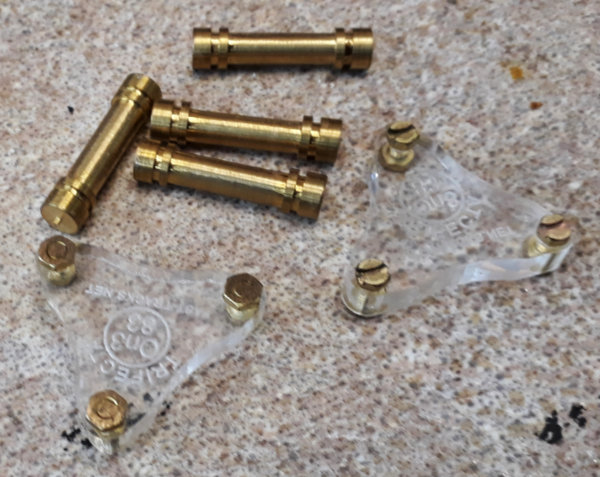
The second rail was added with the first still held in the printed frame. To do this I used two sorts of track gauges.

The first were roller gauges and the other were a pair of 3 point gauges. The way I did it was to hold the second rail along its length with the rollers but next to where is was soldering it – oops forgot to mention that amongst the wood ties were some PCB ones – I used the three points as this puts a little bit of gauge widening in to the outer rail. Not much but every little helps.
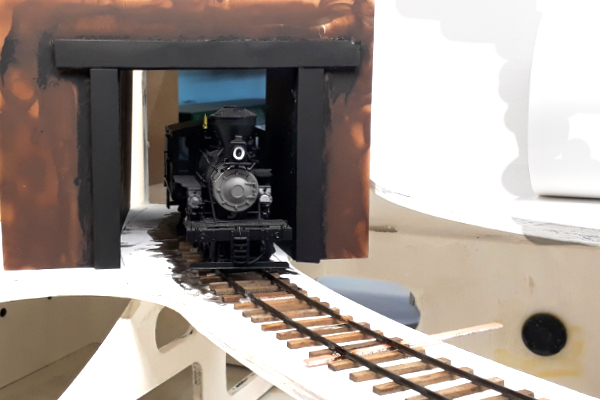
 

In the orgy of foam board mocking up the layout I also produced a tunnel mouth so you can begin to see what it should look like.

The next job was to cut a gap in the plywood where the bridge is to go.


The resultant gap needs a bridge


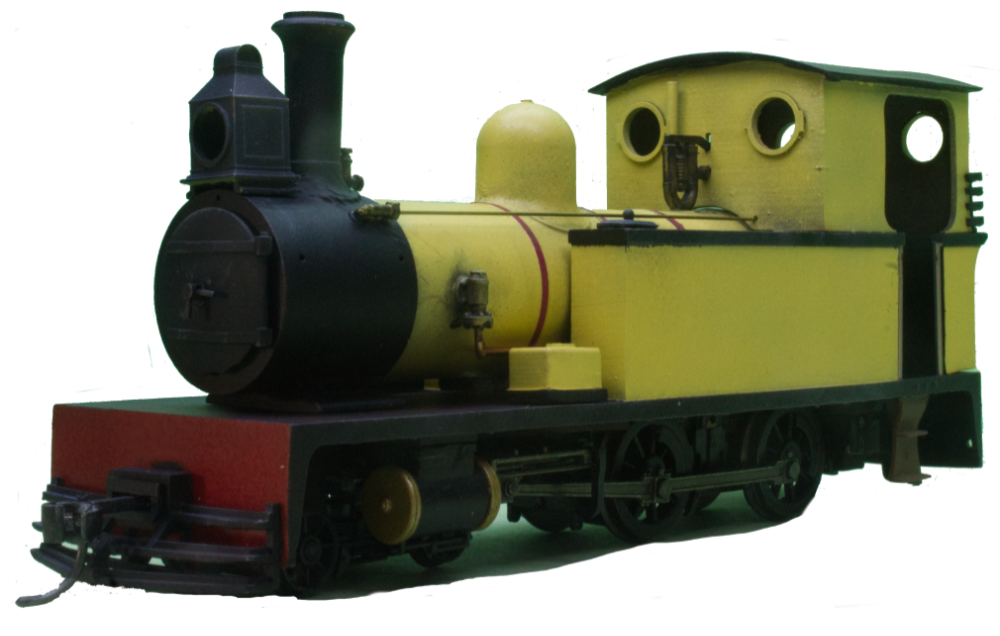
First thought were of some sort of plate girder bridge as modelled here in foam board and with my Climax posing for scale.

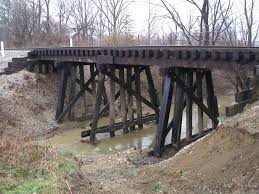
There was quite a lot of debate about bridges on one of the forums and in the end having been sent images like these I settled on a trestle


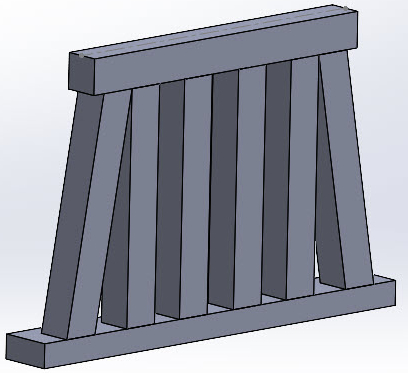
I sketched up some ideas in CAD. not detailed but enough to give me an idea


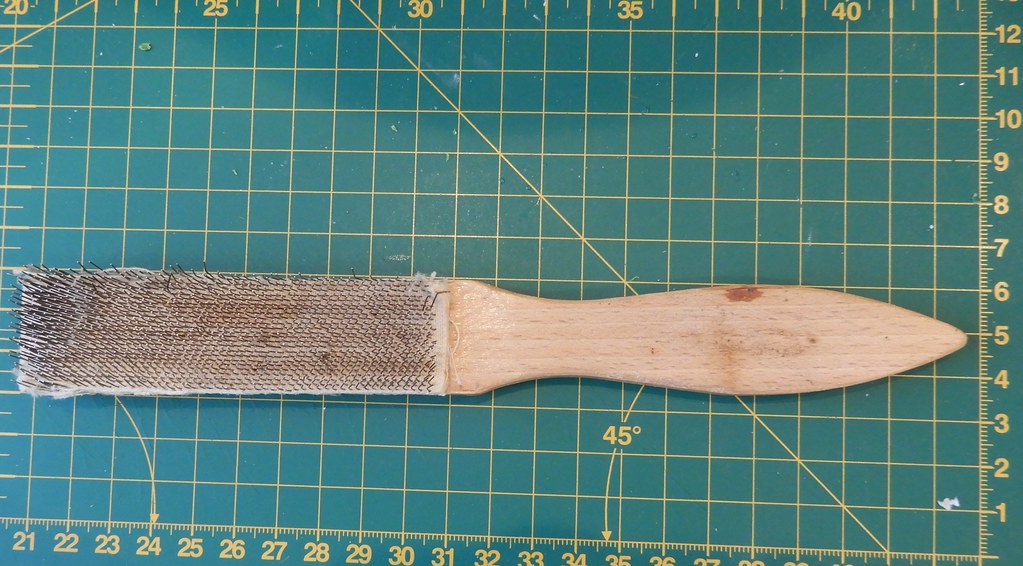
I had hoped to modify an Evergreen Hill Trestle kit I had but in the end it just became a source for the wood. That would was all a bit too regular so it got some abuse from a knife, wire brush and fire

With the rails unsupported and vulnerable across the gap I was keen to get a bridge in place asap. The bridge was built temporarily on a bit of plywood and was initially designed to pin together with cocktail sticks.

On its bit of ply it could then be placed under the rails and the deck timbers placed in the correct alignment. At this point I was debating whether to do timbers under the rail but in the end decided against it.

Clearly the bridge was still too low but it needed some foundations for the piers. These were cast in DAS stone compound with a very crude jig and on cling film so as to able to get it out.

These foundations were cast a smidge too thick anticipating some shrinkage and left to dry.  Once dried the bridge was packed up to touch the rails and the foundations sanded until they slipped into place with some packers. With them in place they were glued to the bridge and layout and the rails glued to the deck. A bit of weathering tidied it up and the track will get more when the adjacent sections have been ballasted.

With the bridge in place and with the rail supported and protected by it towards the end of March progress pretty much fizzled out until the weekend just gone when work resumed on a different aspect which provides the ideal point at which to end this episode.

[post views]


Loading

Brymston RR #18 – I’VE BEEN WORKING ON THE RAILROAD

My local group of the 7mm Narrow Gauge Association declared last Saturday a modelling day. I would normally have attended for the refreshments and the banter any modelling completed being a bonus but circumstances prevented me from going.

Also with the day job being other peoples models my own stuff only gets done in fits and starts but in sympathy with the other day I declared the weekend a personal modelling day and worked on the Brymston RR even planning enough ahead for a trip to the shops to buy some stuff I needed.

Three things happened: –

  • I got some modelling done
  • I got my modelling mojo for my layout back
  • I had something to write up for this blog

It was that last point that caused a bit of a jolt in that I realised that it was last February when I last added something to the Brymston RR part of the blog. There is actually quite a lot to catch up on so this could turn into a bumper update. I should get yourself a coffee or something stronger.


Continue reading

Loading

Bagnall Kit News

Part 3 of the Bagnall history and design information has been sitting on my blog in draft form for many weeks now needing me finish it off and publish. It will happen soon but I feel I  need to interrupt those spasmodic additions with a project update.

I’ve grossly underestimated the time it would take to get all the third party parts together whilst the need to continue to earn a living has meant that it’s not always had my full attention. There, that’s my confession in place, now to expand on that a bit.

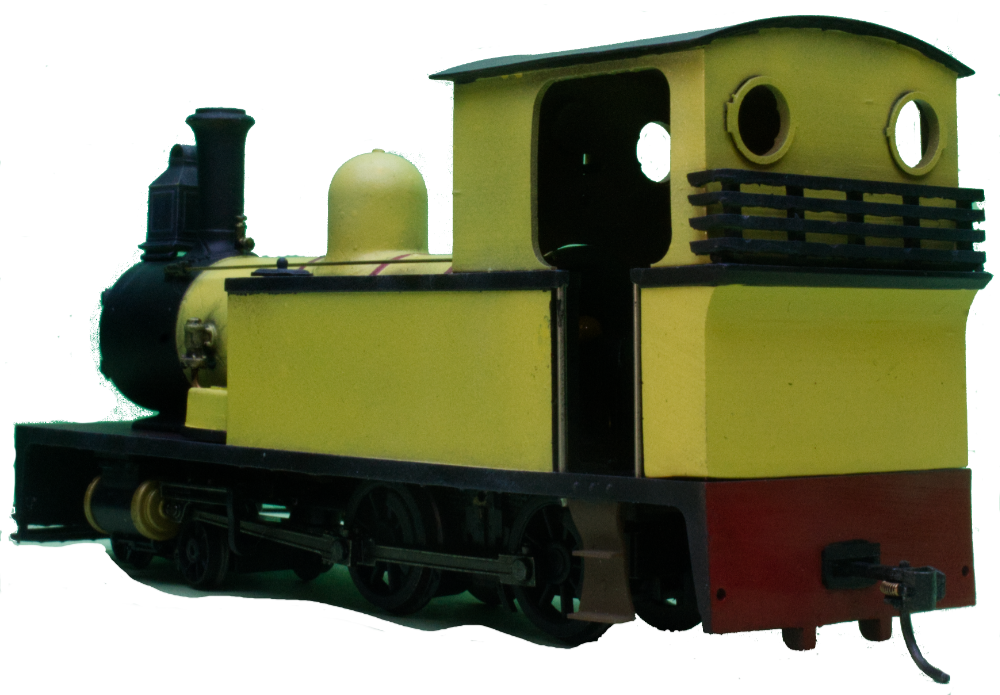
The 3D printed parts are all done – I think I may have to print the rest of the fireboxes but that’s it. That at least is something within my control. I have put a loco together for display purposes using 3D printed versions of the bits that will be brass castings.

I did this partly as a test build and because I needed pictures for adverts to go in magazines.


Whilst the 3D printing is within my power and control it’s the 3rd party items that have been a bit of a pain.

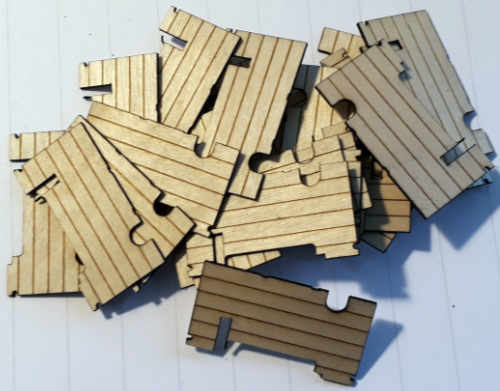
First, though I should commend Julie at York Modelmaking. Whilst I used to work there and know how to produce the artwork laser ready Julie took my e-mailed file, sent on a Saturday, turned into a pile of floors and posted to me arriving on the Tuesday.

The big delay has been the brass castings. I’m a bit annoyed about this because I think I led myself up this blind alley. For the last couple of years now I have been 3D printing patterns for other kit makers and sending them to the caster and from this I got some idea as to how long it was from sending patterns to them being castings.

I clearly got it wrong. What seems to have happened is that I took the optimistic view and didn’t account for demand pre Guildex and then post Guildex holidays!

I do hope you weren’t expecting the single piece one lump 3D print that seems to be a prevalent offering at the moment? As well as having twelve resin parts there are thirty six brass castings in the kit.

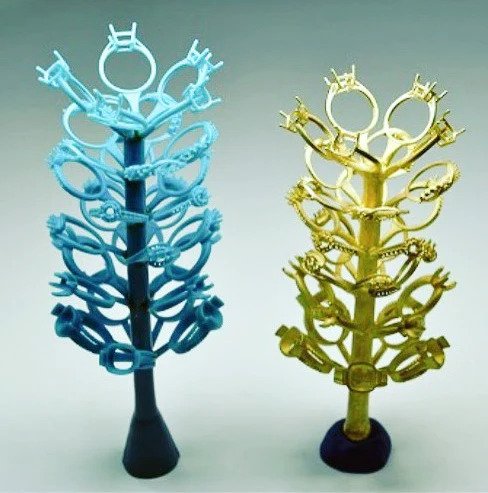
I wonder if a little diversion into the lost wax process is worthwhile here as it’s a phrase many will have heard but not know what it means. It goes like this. A pattern is made, printed in this case, which has to be designed with being able to be removed from a mould in mind*. This sometimes means things have to be made in two or more parts. This pattern is then sent to the caster who makes a split silicon rubber mould around it. This mould is then filled, multiple times, with hot wax (starting the wax part of lost wax) giving you multiple copies of the part in wax. These are then strung together in a Christmas tree of sprues with more wax (the blob you have to clean off your casting). These `trees’ are then suspended in a flask and a fine liquid ceramic goo is poured in, vacuumed to get all the air out and then warmed to make it set. Once set the temperature is increased to melt and then burn out the wax. (now that’s the lost part of lost wax). Now we have a flask containing a ceramic lump that has part shaped holes in it.

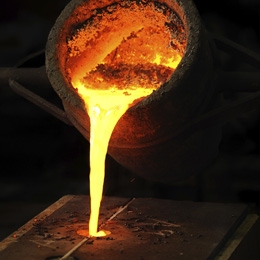
Molten brass is then poured in allowed to cool after which the ceramic is broken out leaving your brass parts. These are then cleaned to remove most of the ceramic but they don’t always get all of it out.

That massively simplifies the process and it has a large helping of art as well as engineering. There are many casters out there but many are jewellery specialists that do train bits but have no idea what the part is. I use one of the few that just does parts for trains (and does his own kits)

* There is a way to skip the silicon mould stage now directly printing masters in castable resin bit it means a print per copy. It also needs different temperature profiles at the burnout stage

So having explained the process commercially a lap around the system is typically a three day effort. Waxes day one, moulds day two, cast day three. Also, it would be typical to have one set of castings done to check them for errors before ordering in bulk.

So, where are we with the castings for the Bagnall?

The first batch arrived in September, Generally they were fine with just two items needing further work or revision.

Then Guildex and holidays got in the way.

It was then into November before I got part two of the castings to check and they arrived when I was busy with something else so it took a few days to check them.

The current situation is that (as of Nov 29) the order is in for the production sets of castings and I await there arrival.

Once I have these I’ll get on with both assembling a final version, writing the instructions and packing kits. There is a slight thorn in the side of that plan in there i have a commission model to finish that is also top priority (isn’t everything?)

What else is happening Bagnall wise?

There’s transfers. At the moment these exist just as a one of for my loco(s) but I will investigate making them available if there is enough interest.

Due to a mistake in the printing process there is also a half size set which might do for another project below.

Having caused a drought with the supply of the 0n3o chassis and a need to do chassis for other models in house rather than rely on commercial offerings a chassis is in development for the kit. I’ve started on the wheels.


There is also a 009 version in development due to popular demand (a friend gave loaned me the chassis to put a body on). Its still a work in progress.


[Post Views]


Coming soon


Loading