EDM Models has been developing a 3D printing capability targeted at model railways. This is mostly for my own products but, in a limited way, its offered to third parties.
Injection Moulding Quality 3D prints
With careful part design and experience this generation of 3D printer can create parts of very, very close to injection moulded quality for without the tooling costs.
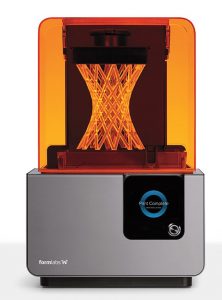 Equipment
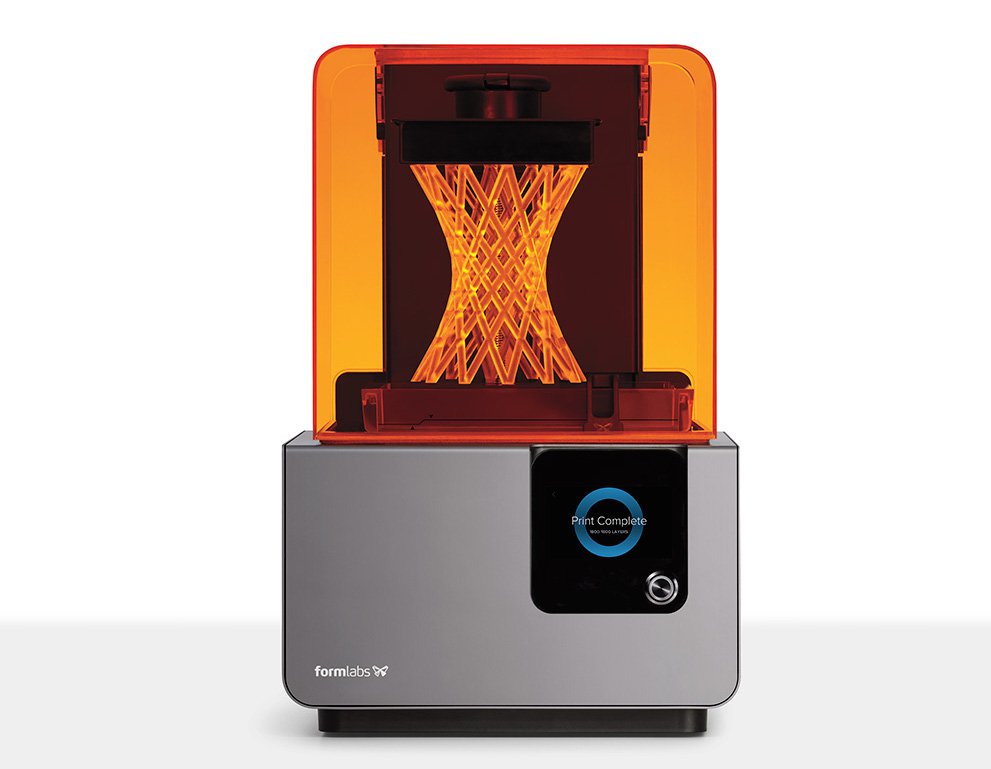
I have a Formlabs Form 2 printer and the necessary supporting infrastructure
Print Volume is 145mm x 145mm x 175mm
Resins
- Standard Grey
- Standard Black
- Castable Wax
The range of resins we hold and print with is increasing as we further develop our own products and we have been working with Formlabs to increase the number of casting facilities that will work with the castable wax products. It isn’t simply one resin fits all and we are currently developing ideas for chassis in a super rigid resin that loses a bit of resolution but then with the details added in the finer detail resins
Design
I am able to offer some limited design capability. I use SolidWorks for my design and prefer to work in the CAD environment on customers files rather than trying to alter STL files to optimise printing.
Experience
There is no doubt these machines get cleverer by the month but they still present a steep learning curve to get from CAD to a complete printed model given that for model railways we’ll always be pushing the boundaries for printed thickness, convoluted shapes and holes to small for the resin to flow through.
I know have two years hard won experience gained by producing a lot of failures as I pushed the boundaries giving me knowledge of what will and won’t print, the best way to set things up and the best ways to post process items. I have been fortunate to work closely with the Formlabs development team to develop techniques and input requirements into new resin specs .
More Information
I will add more stuff to this page along with examples of our work but what is here was done to meet an advertising deadline. There are some case studies below if you keep reading.
If you want to know more get in touch.

Printed Models.
I am not a fan of the 3D print everything models and prefer the multimedia kit approach. Our first loco kit uses a commercial chassis, 3d printed body components and then castings (from 3D masters), wire and other parts to detail it up.
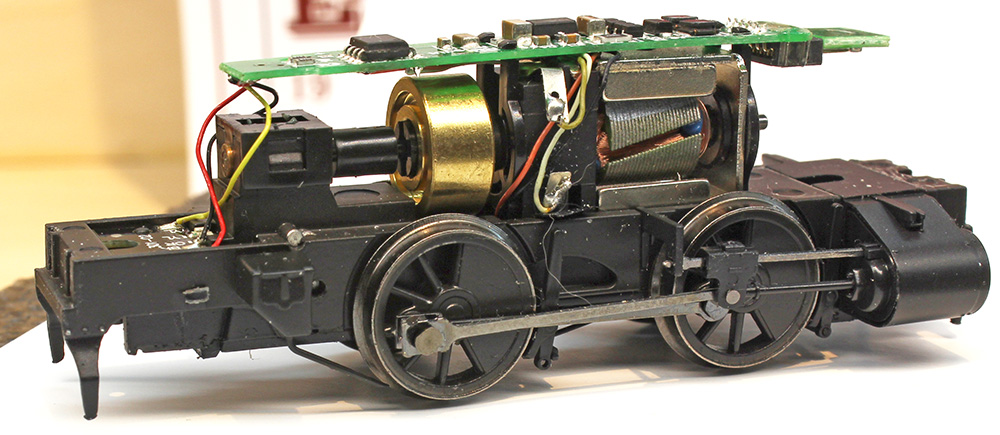 Dapol 00 B4 Chassis |
 Printed body with brass castings (in Yellow) and wire details |
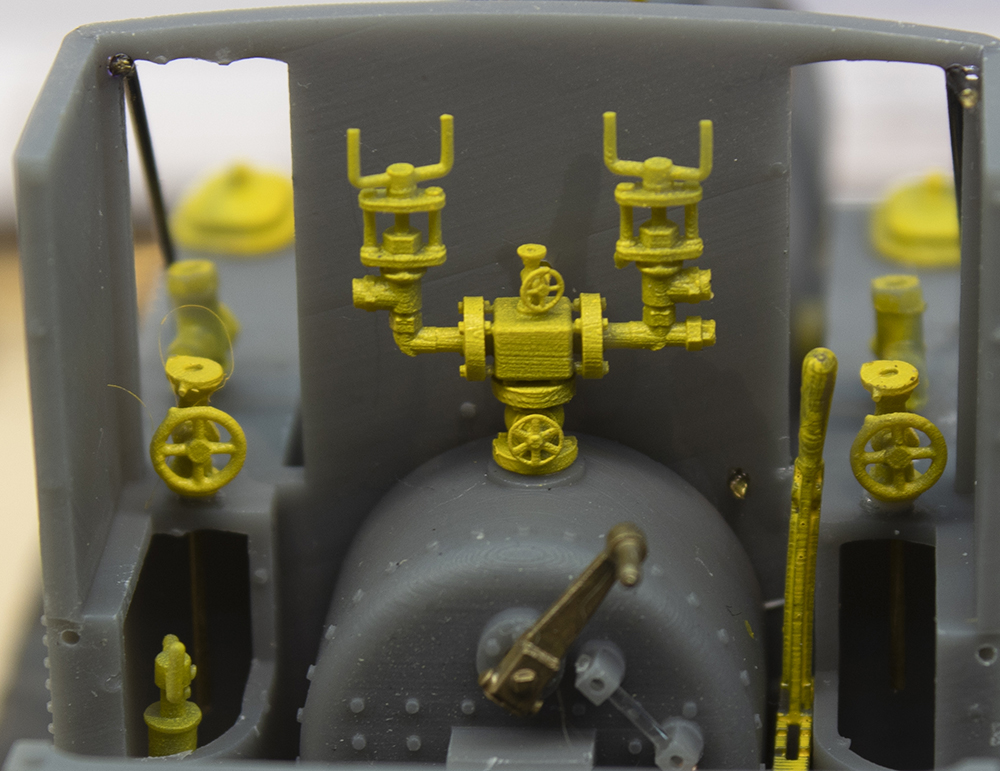 Brass Details in the Cab |
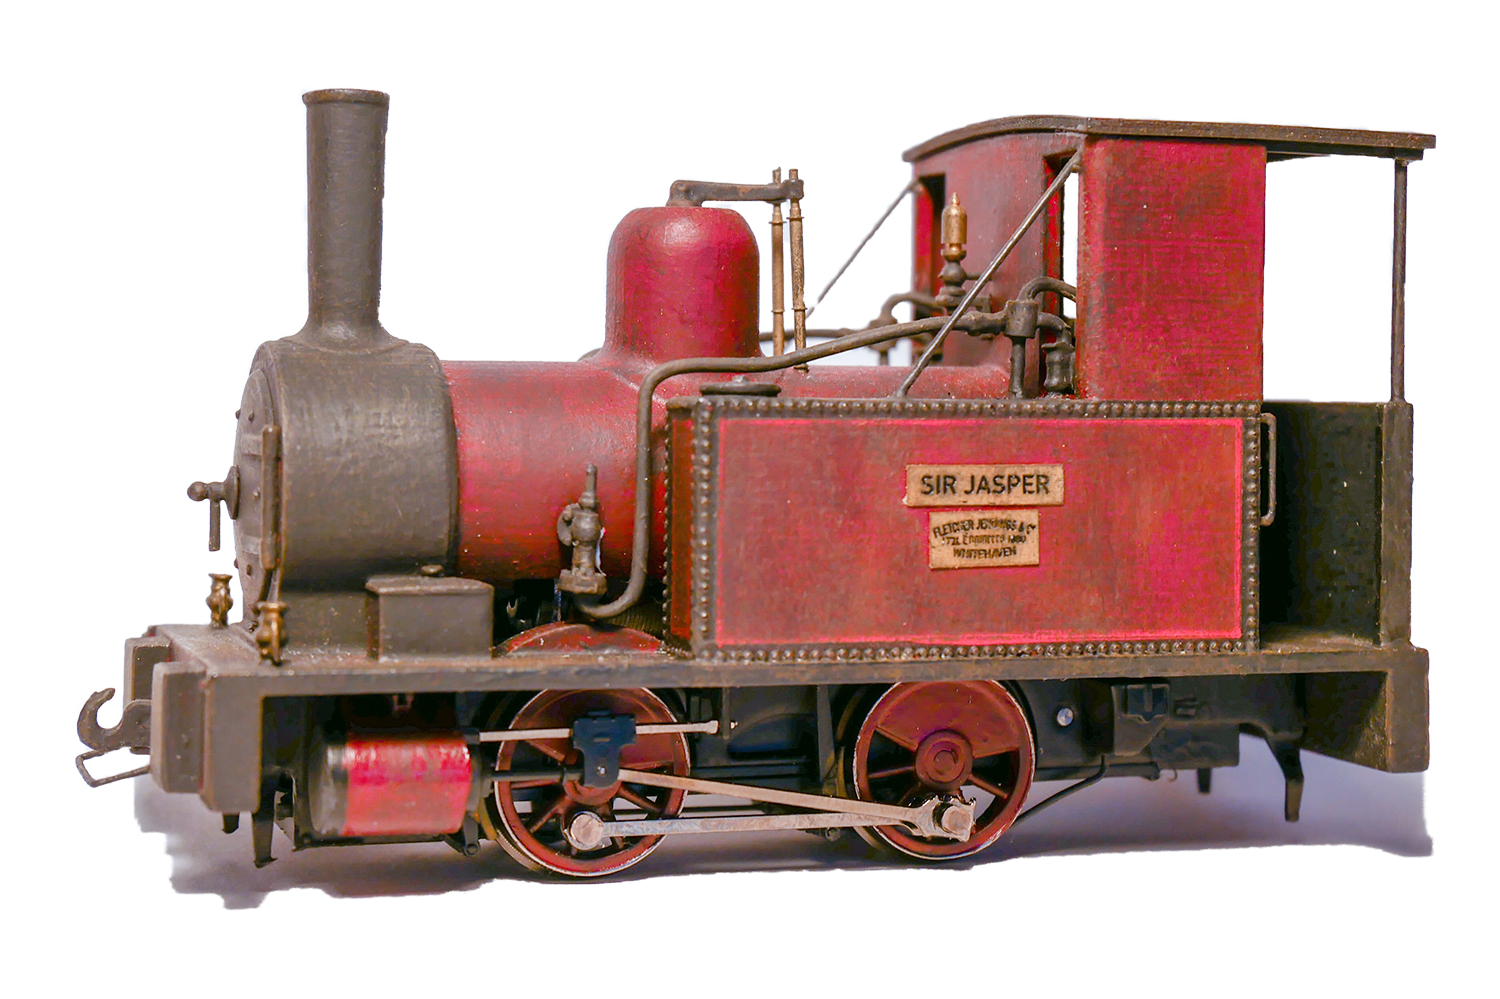 Completed Loco |
Printing for Casting
There are two technologies/routes to success here. Printing in the standard resins gives a quality that is quite acceptable for use as a pattern into the lost wax brass casting process. This uses the traditional route of pattern/mould/waxes/casting and one mould can produce many waxes.
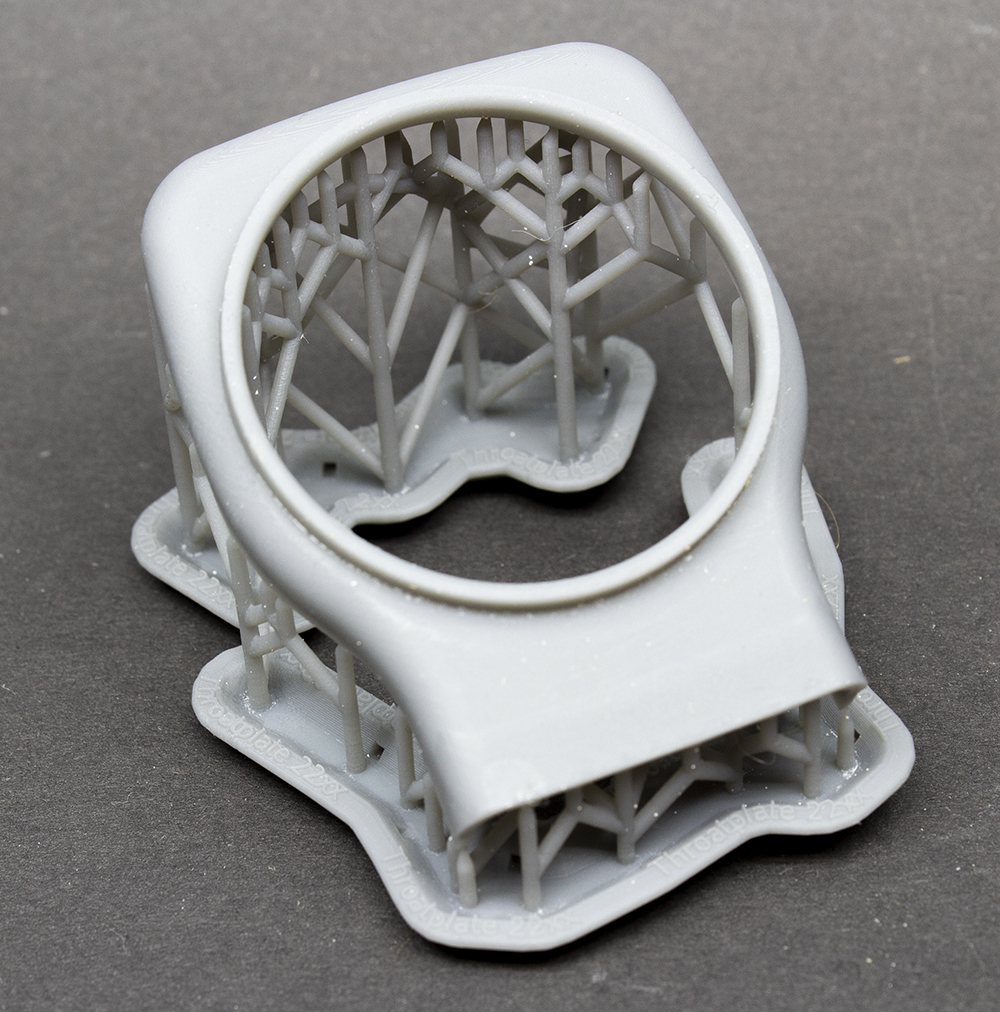
Here we have a print of a throatplate for an 0 gauge GWR loco (22XX) still on the support mechanism. You can’t avoid the supports but with careful setting up this prints with the supports all on the non visible faces and the printing at an angle (I’ll explain this in another piece) there are no visible print lines on the viewable faces.
This was one of a number of parts made from supplied CAD drawings from Warren Shephard models and then cast by Sans Pareil Investment Castings
The parts in the photo on the right were all cast from patterns printed on our Form2 printer.
Our Townsend Hook kit illustrated above had its castings produced by the same method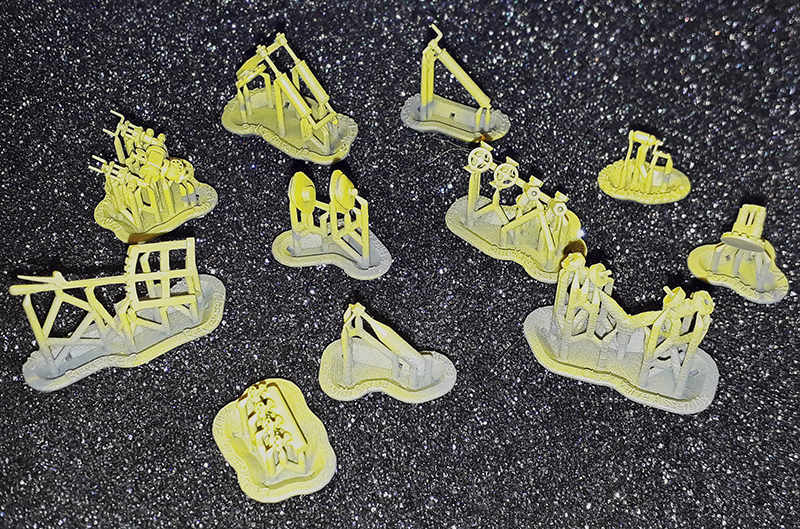
This image shows the printed items again still on their supports.
The next image shows some of them as cast. 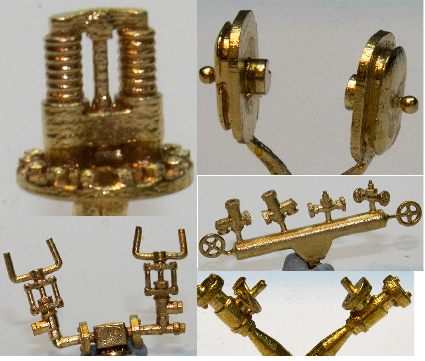 These castings are included in the kit and are also available separately from our website here
Emerging Technology – Printed Wax Patterns
I guess actually I should refer to this as Low Cost or Affordable printed waxes as you can already easily but expensively get waxes printed that go directly into the casting process.
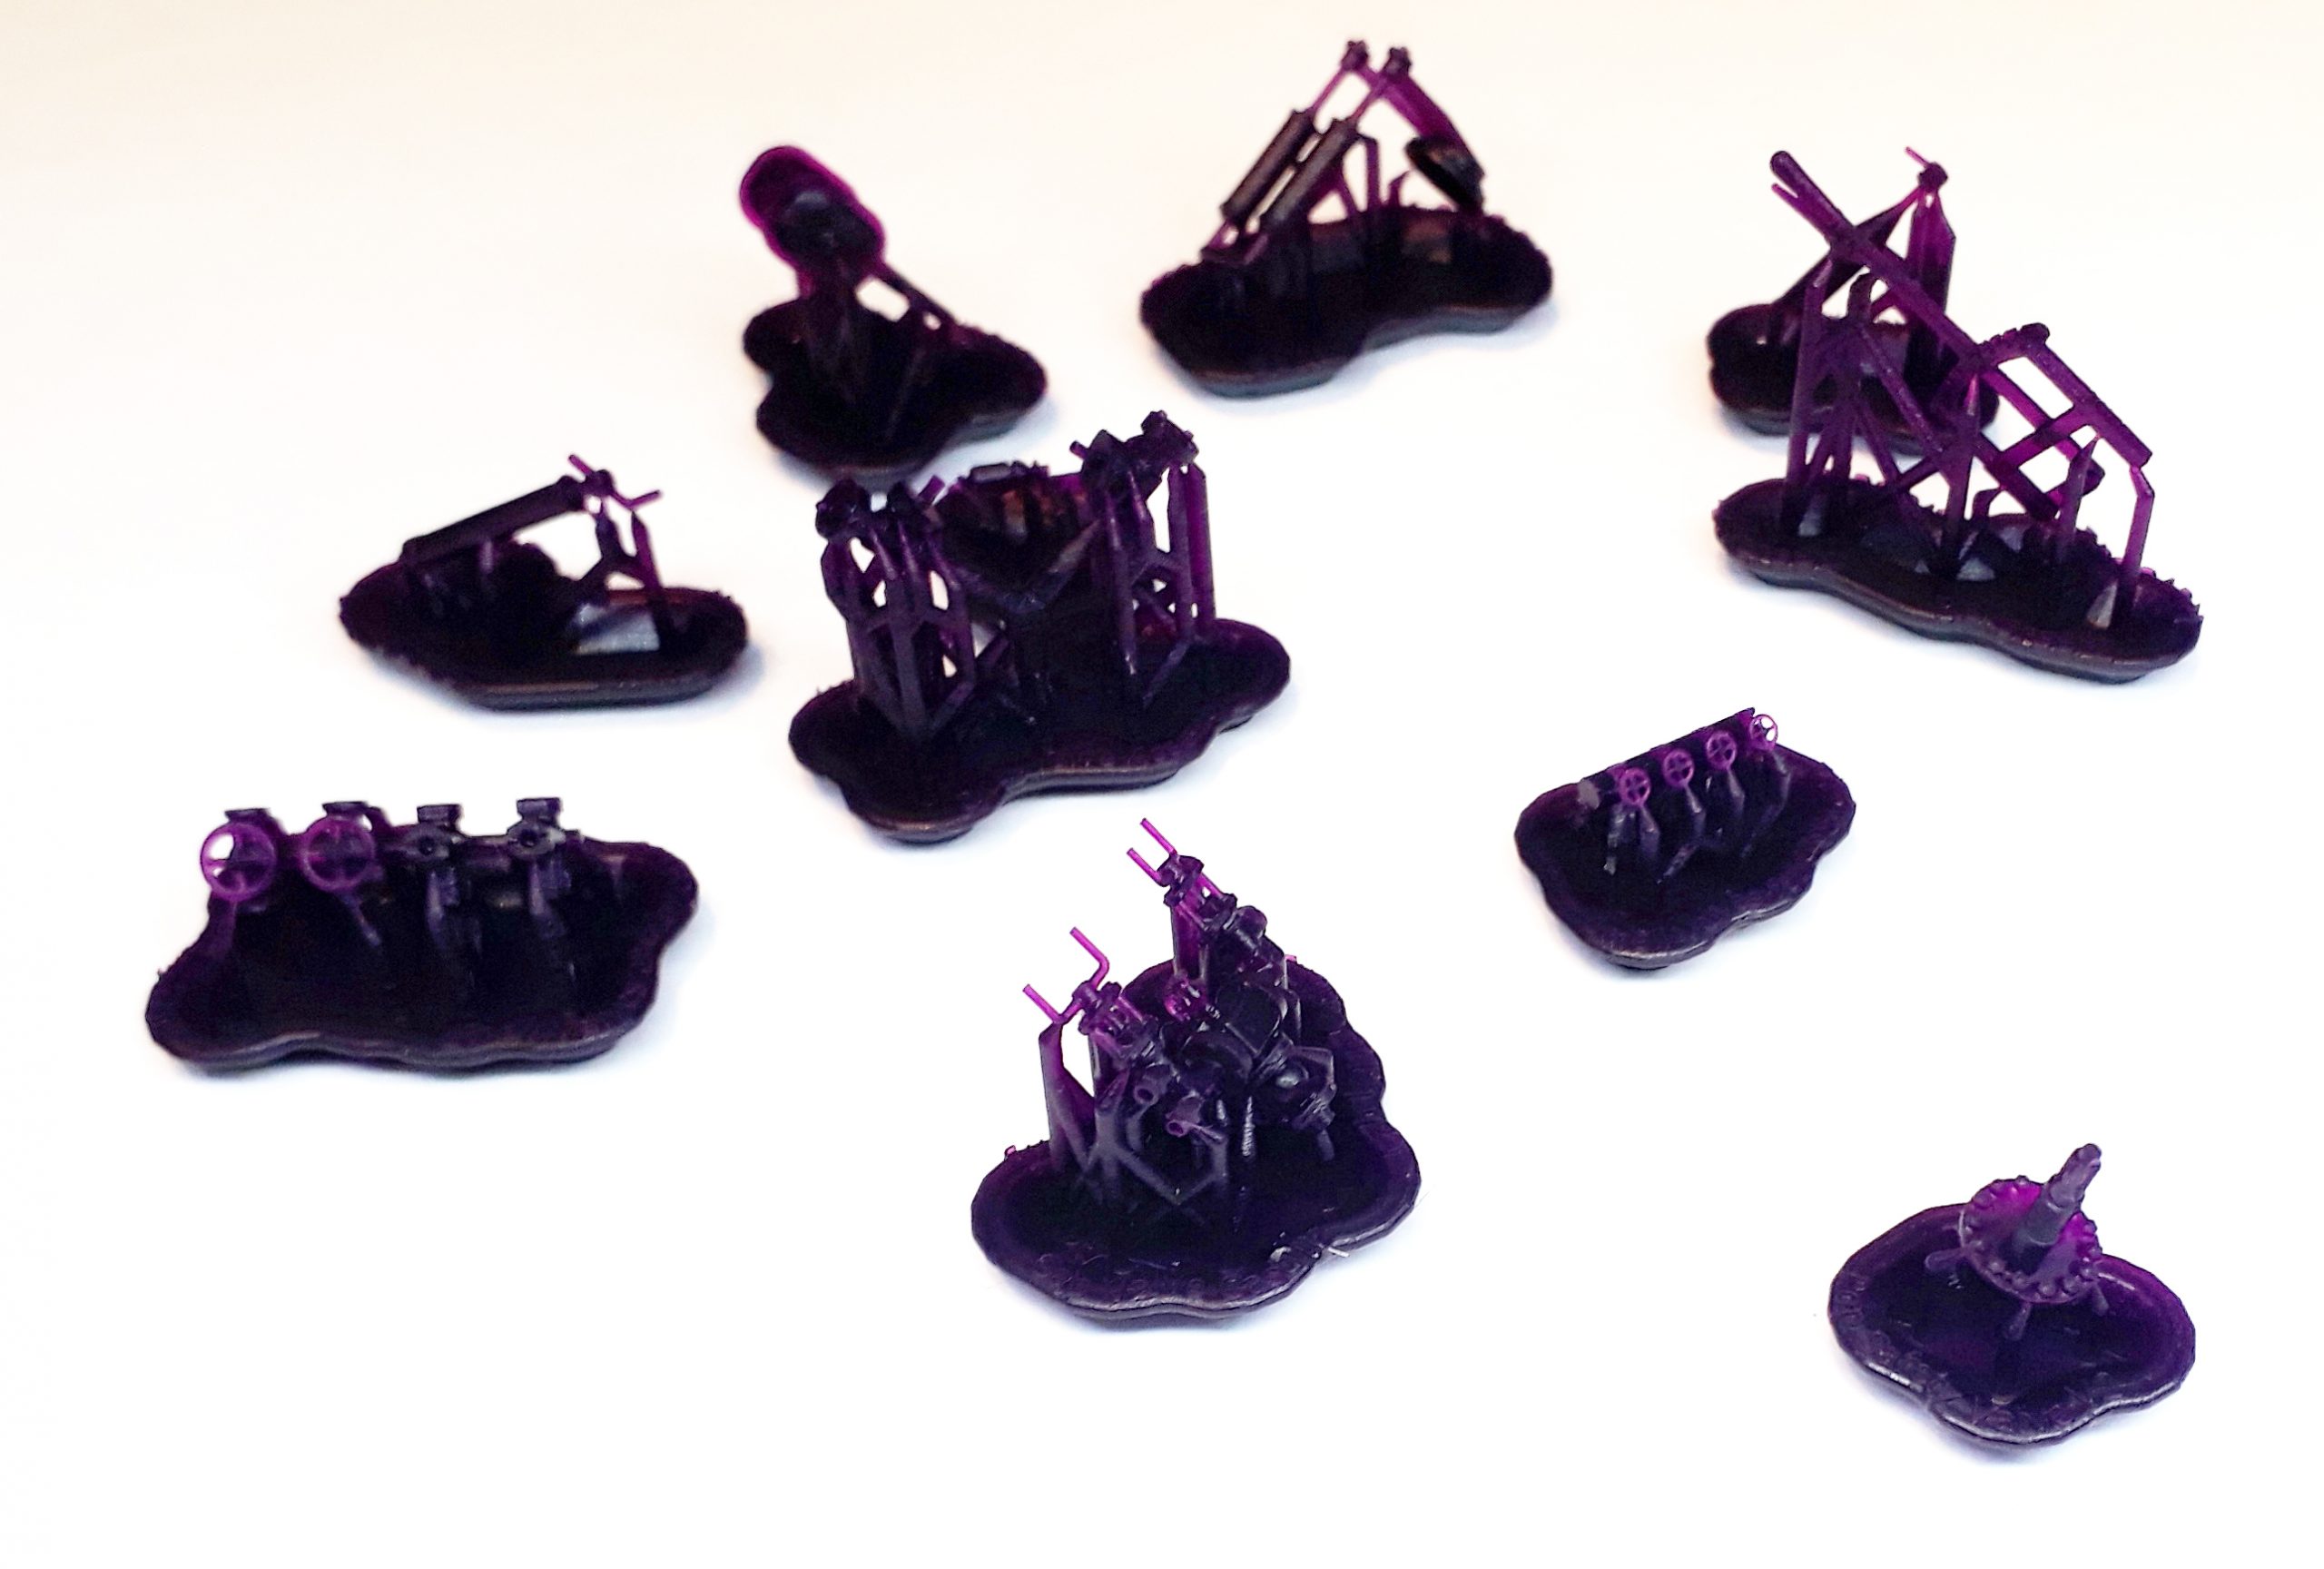 At the moment the cost of printed waxes usually means that they are used to make a metal part that then becomes a master into the mould/wax/cast traditional version of the process. This has two limitations. 1) there is a loss of resolution as the casting you eventually get is 2nd generation from the master and 2) you have to make the patterns shaped so that they will come out of a mould. This limits the complexity of the shape and restricts you to not having complicated voids in the model.
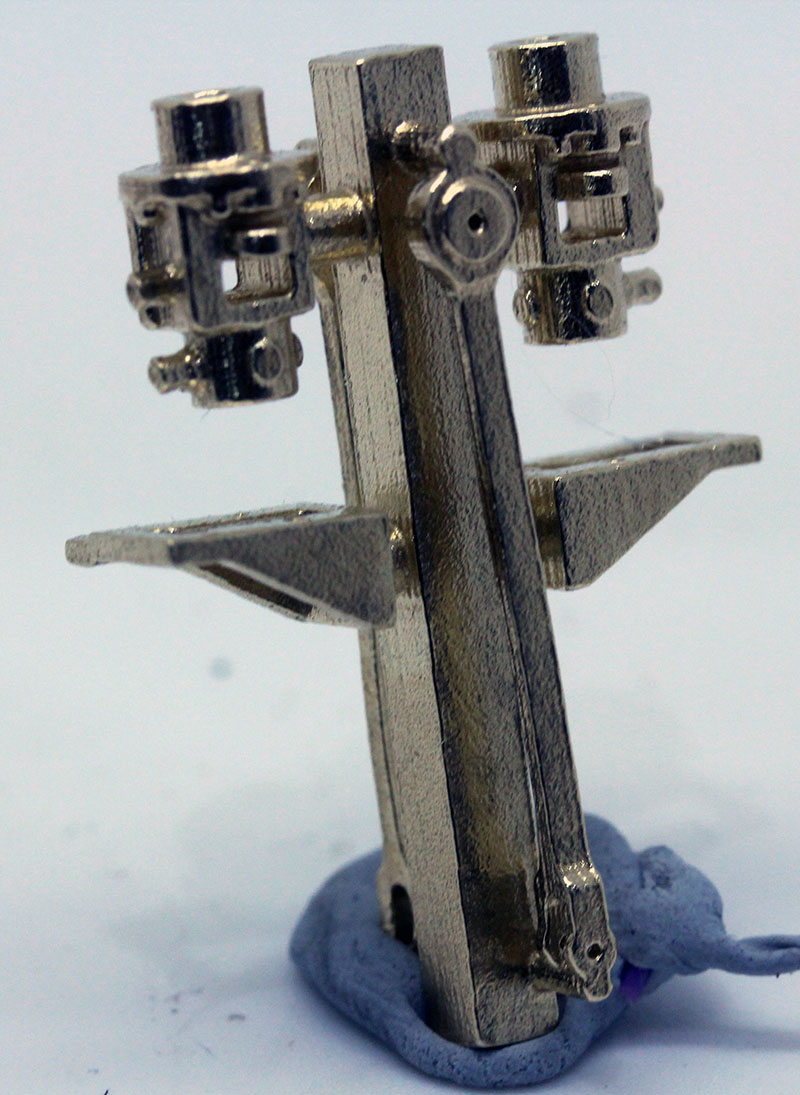 Imagine how handy it would be if you could print multiple copies of the pattern on an affordable printer and in a wax material that goes straight into the last stage to be melted out of the ceramic material and replaced with brass. Just think, the casting would be first generation off the pattern and you could have all sorts of holes through it.
These parts on the right are some bits that we did for an NGG16 that wouldn’t print by the trad method.
We are experimenting with this and working with Formlabs to develop the method and accredit casting services to use it.
At the moment the limitation isn’t the printing technology but its with the casters. As the material is a resin/wax mix a different (higher) temperature profile is needed for the burnout stage of the process and the majority of casters seem to be of the “I’ve always done it like this” variety and resistant to change. This is a work in progress
One Piece is not Best!
Well, not always best. There is a large temptation with 3D printing to print models in as few parts as possible, ideally just one. I fell for this early on but now I realise its not always best. 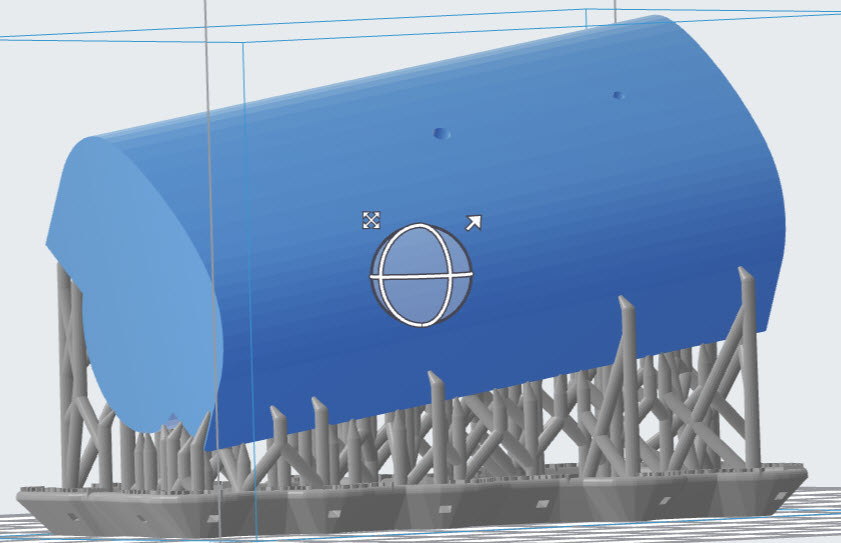
I’ll try to illustrate why with a saddle tank for Lilla.
In this first image the complete tank top, underside and lower half of the boiler are set up to print as one piece. You cant avoid the supports but in this case a significant number are on the outer visible surfaces. Whilst these break off cleanly they do leave a little pip that will then need cleaning off. This can be done with a little bit of emery but its better if avoided.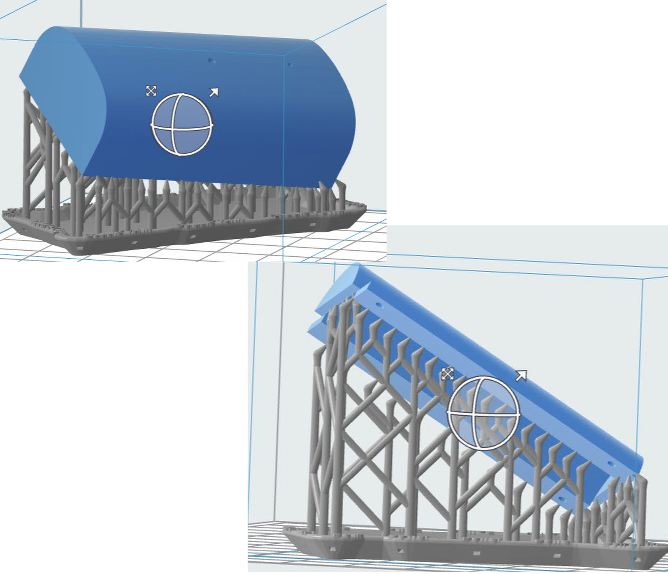
If you print the top and underside as separate parts when they are set up on the printer they can be arranged so that all the supports are on the faces that are hidden when assembled. This also gives you access to the space inside.
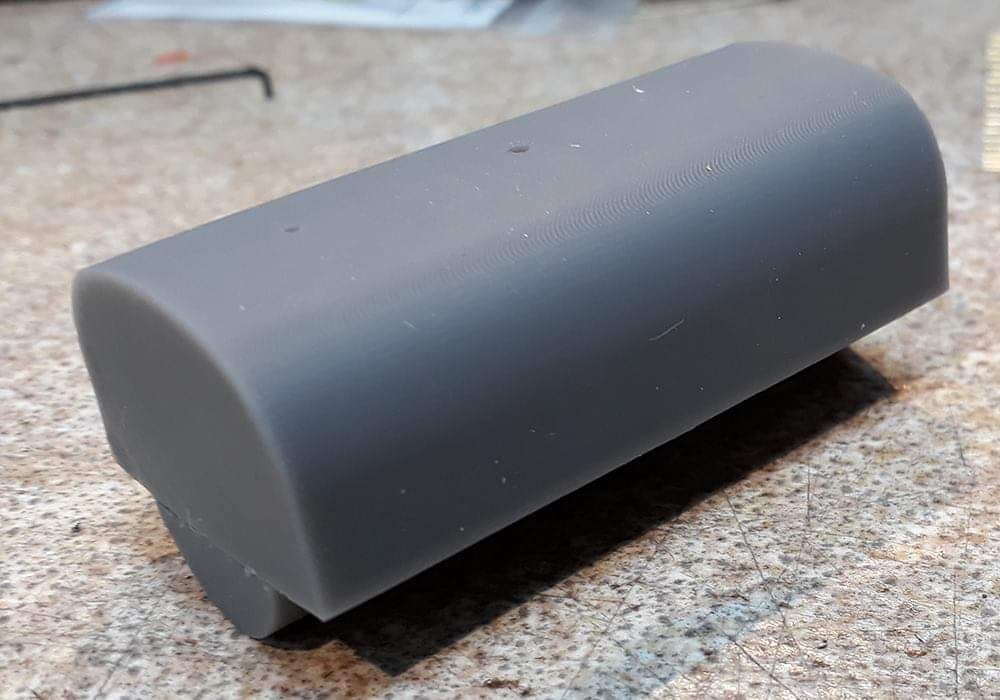
The result is a clean and smooth outside surface that needs no additional finishing.
More to come including FAQ’s and more examples as time allows
