Episode 20 in this flurry of writing should get the story up to the point the layout is at now but it won’t be the end for long as I have
- Committed to taking all or some of the layout to Mickleover Members day in January
- Found my Mojo for doing the layout and aim to keep going with it.
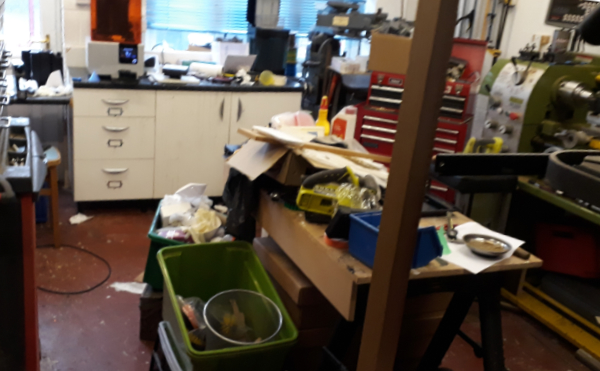 I am fortunate to have two work spaces. I have what would be the garage (if it had a garage door) downstairs and you might call this the heavy engineering workshop as it has my lathe, mill, drills, 3D printer, injection moulder and all manner of other tools. It’s the messy workshop.
Upstairs I have my model room which management reliably informs me should be the master bedroom. I had visions of a large layout but EDM Models has most of the space in a room fitted out with kitchen units to make cupboard space and worktop. As explained earlier the realisation that the big layout wasn’t going to happen led to the modules idea and episode 10 had a diagram of where it sits in the room.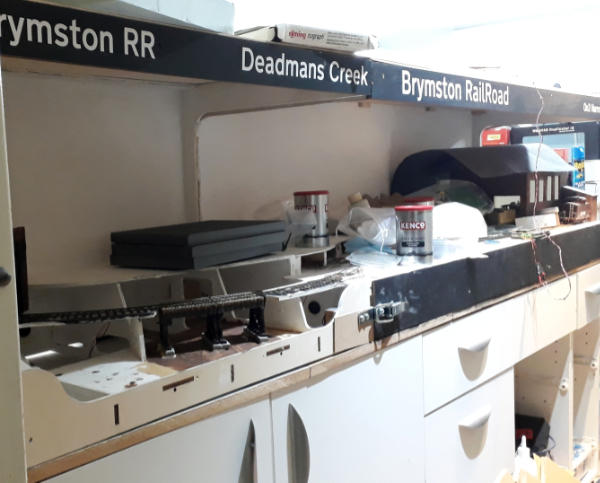
Both locations have a problem. In the messy workshop there is access off the kitchen and its way too easy to do the “where shall I put this” – “stuff it in the workshop”. It’s not helped by me not being very tidy natured and the 3D printer operating on the basis of actual prints being a by product of it making a mess!
Upstairs the layout offers a way to convenient shelf and nine months of inactivity had filled the shelf up. To be fair a lot of the clutter is actually layout making stuff but I have often joked about making the top cover a sloping top so I cant put stuff on it!
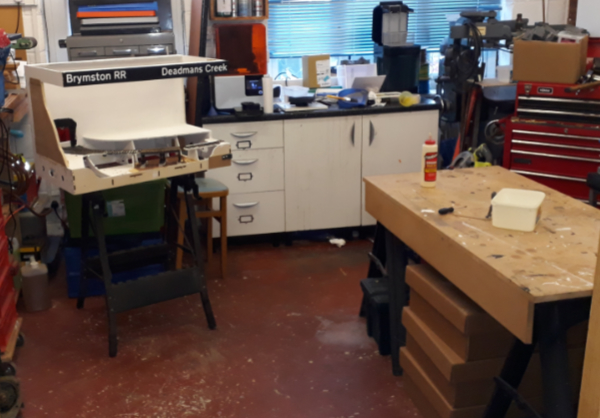 So, my modelling day started with a massive tidy up in both locations and took a good bit of the morning. The workshop now looks a lot better (with the help of selective photography). It is a constant surprise what you find. Anyone short of a leg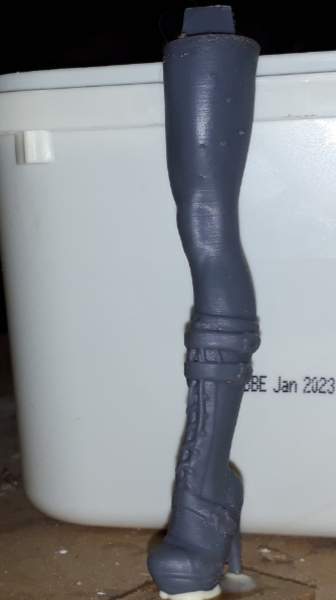
The reason for this tidy up in two locations is that this burst of modelling is going to be messy so the corner board of the layout needed to be in the downstairs workshop near the power tools.
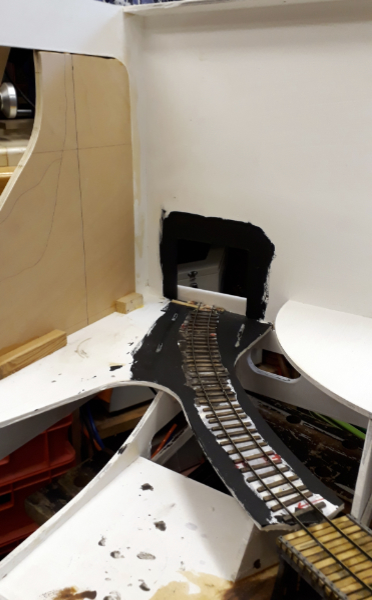
The aim of the game is to remove this sharp corner by fitting a curved backscene.
This is to be a sheet of flexi MDF and the bit of forward planning I alluded to was that I had purchased a sheet in advance. The idea is to avoid a sharp corner which is very difficult to scenic convincingly.
The first job, cutting it down to size, justified the move to the messy workshop as despite PPE, extraction on the saw the main product seemed to be dust!
The MDF was held down and my long cutting guide fitted to guide the circular saw. Despite lots of 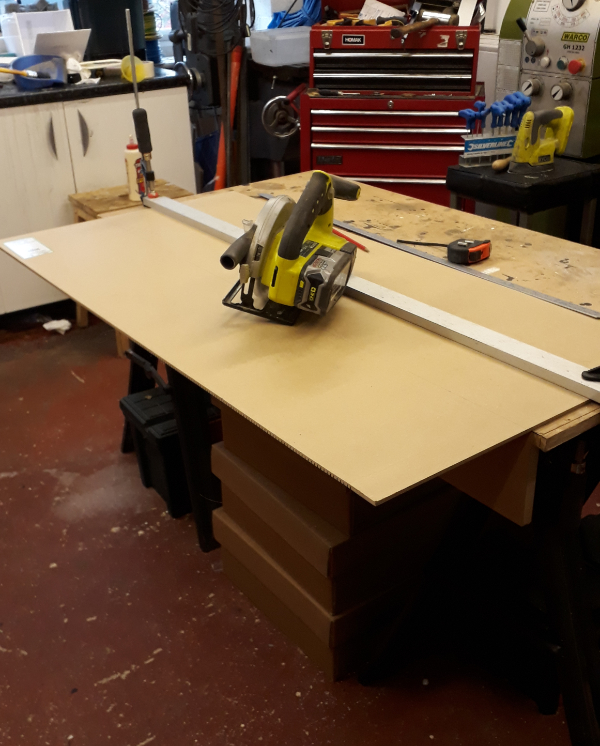 measuring and checking I always worry that I have got the guide offset wrong before cutting.
A coffee break was declared to let the dust settle.
Having got the height right the MDF was placed on the layout to get the length right and to cut the hole for the tunnel.
At this point there was an outbreak of bad language as the MDF instead of curving smoothly kinked as one of the grooves that make it flex split. This was repaired with a glued patch and something else was done for a while whilst it stuck. I also painted round the tunnel hole with wood working glue to seal the edges a bit.
 Feeling my age interlude:
Whilst cleaning up I noticed the rag was an ancient T shirt
A Rush ‘ Hold Your Fire ‘ tour T shirt.
It doesn’t seem that long ago but it was April 1998 at the NEC I went to see them!
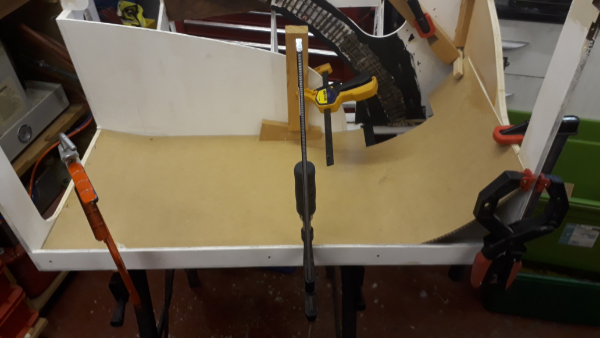 A wise man (I think it was Norm from the New Yankee Workshop) once said “There’s no such thing as too many clamps”. I agree and have deployed a fraction on mine here to hold the MDF backscene here whilst the glue dries.
If I remember rightly this was then end of day one and the glue was left to dry overnight and another baseboard project was got on with (more on that in another post soon).
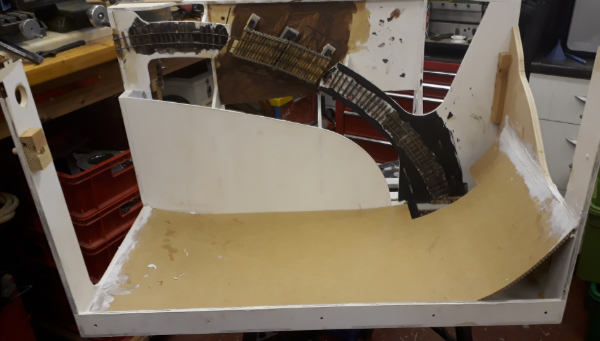 Next morning it was filler time to feather the edges. Plan A didn’t work, Who’d have thought that the two part epoxy filler that’s been in the cupboard for at least ten years would have gone off.
Luckily I had some flexible decorating filler to hand that hadn’t gone off. Its downside being that it took a lot longer to harden.
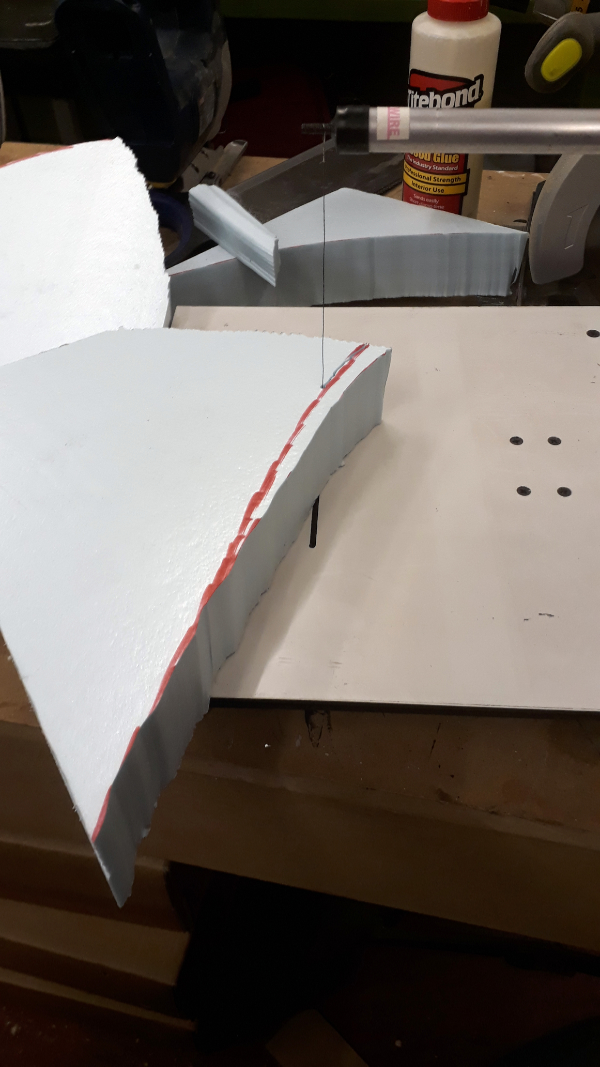 To pass the time I broke out the foam cutter. I use this about once every five years and every five years it reminds me of how crap it is but as I only use it so rarely I got justify getting a decent one.
As I am aiming to keep the boards as light as possible the hills are to formed of dense foam blocks profiled to shape and glued together with PVA glue. This is another reason for being in the messy stuff workshop as this stuff goes everywhere.
The hills are starting to take shape. Next I need to find my hand held cutter (its had five years to hide) to shape them and to add the tunnel mouth mock up to position that in the contours. Once the rough contours are sorted it’ll all be covered in a hard shell coating (more mess).
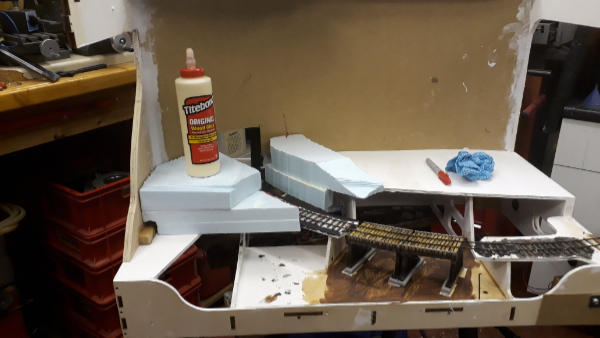 That’s where we leave this episode. I have decided I like the back scene sheet idea and the other board will be getting a trip to the workshop for a similar treatment although it doesn’t have any of the tight corners on it.
 |
[post views] |  |

Thanks for writing this up. Maybe the next modelling day should allow virtual contributions!
I was going to submit it to teacher as my homework.