Procrastination is an Artform. Slightly silly title but I find myself sat at the computer procrastinating. I could argue that its not procrastination but I’m stuck waiting for paint to dry on a modelling project with a deadline, waiting for the 3D printer to print something, thwarted by some parts that are clearly in a safe place but that will turn out to be in the last place I look. Just to cap it all my wonky leg is giving me some gyp so I am supposed to be resting it.
Instead of all that I thought I’d write a little update on stuff that is `coming soon’ as they say. I posted some stuff on a forum and some other stuff on Facebook so I should pull it together here.
Campbeltown & Macrihanish Railway 8 ton Brake Van
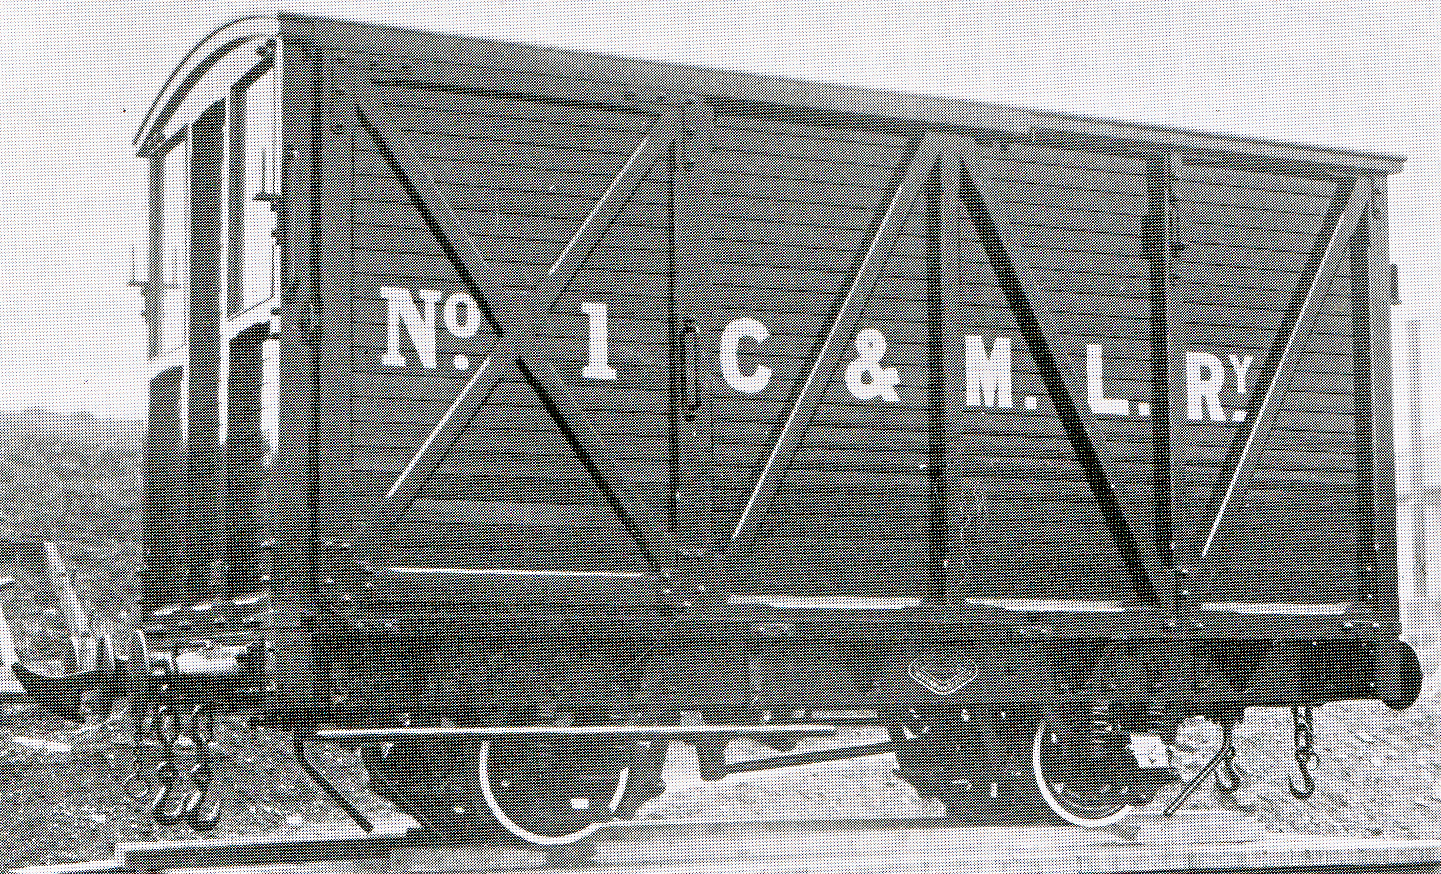 All being well this should be out as a detailed kit in the not too distant future.
This is actually a kit that was started something like 15 years ago and stalled in the development when a friend, Tim, made superb patterns for the axleboxes but which wouldn’t cast. Tim wasn’t the sort you tell his work needed changing. We bottled out and the project stalled. Tim is, sadly, no longer with us and technology has moved on a bit so now seems to be the time to do it.
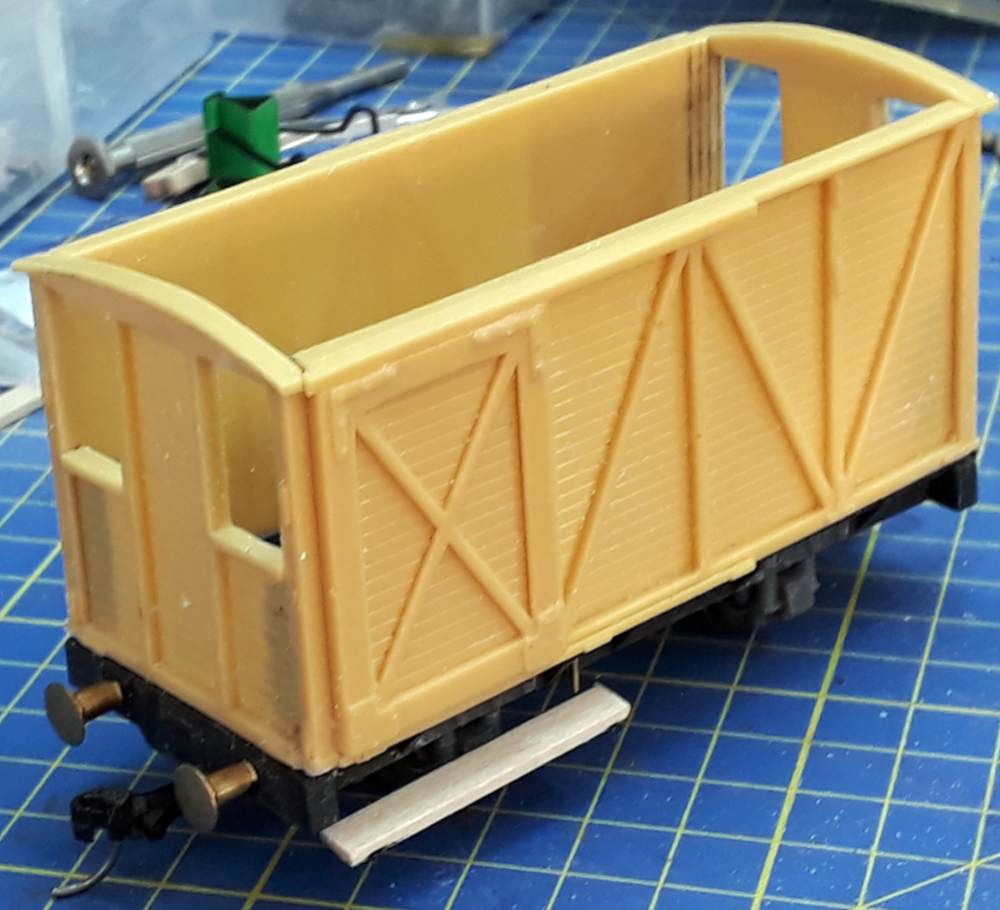 The body for the kit is a four part resin casting. When done originally the ends included the buffer beam but that now becomes part of the chassis. I did think about redoing this as a print but can’t justify the effort replacing a perfectly good part.
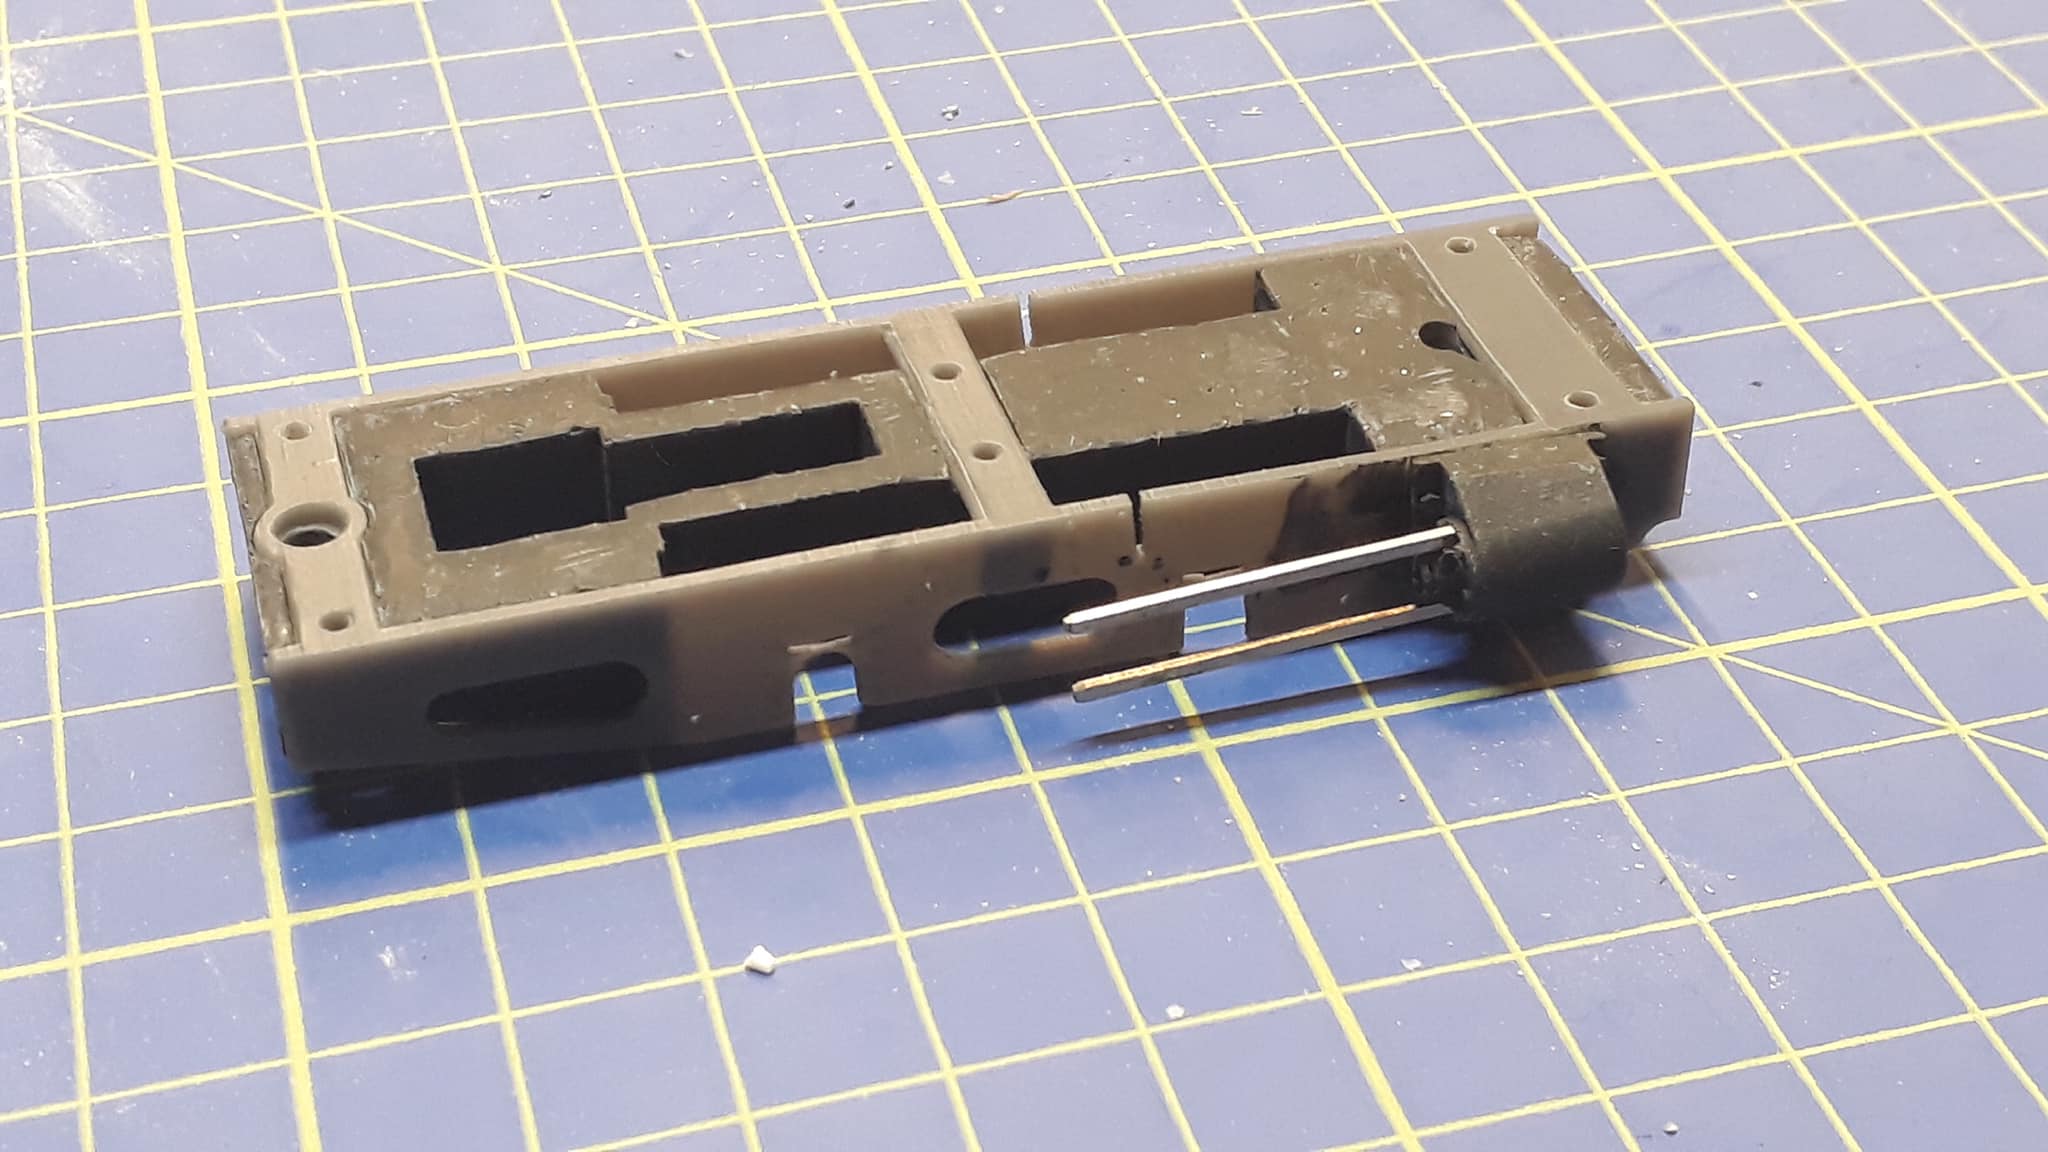
The, hopefully, innovative part is the new chassis which is 3D printed but with etched and cast added details and featuring 3 point suspension.
The chassis features separately printed axle units which pin into the main chassis, one end fixes in rigidly whilst the other end has a rocking hinge centrally placed.
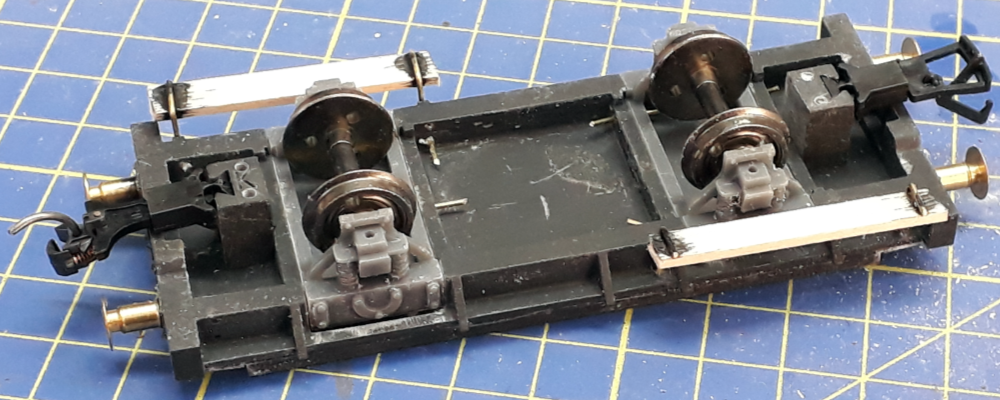
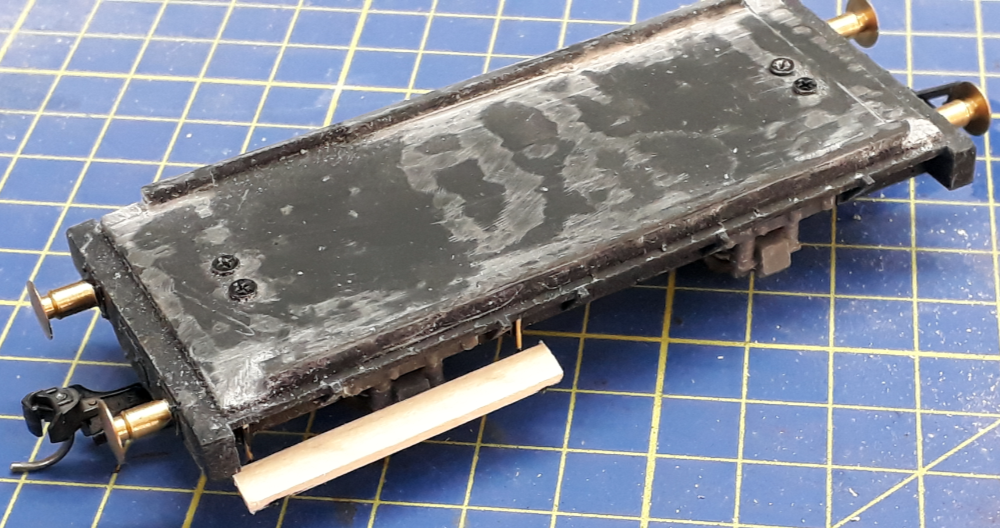
This makes sure a relatively long wheelbase wagon stays on the track. The picture below rather exaggerates how this works in practice.
T he aim is that the kit included NEM tension lock couplings which gives and easy provision for exchanging them for Kadee NEM couplings.
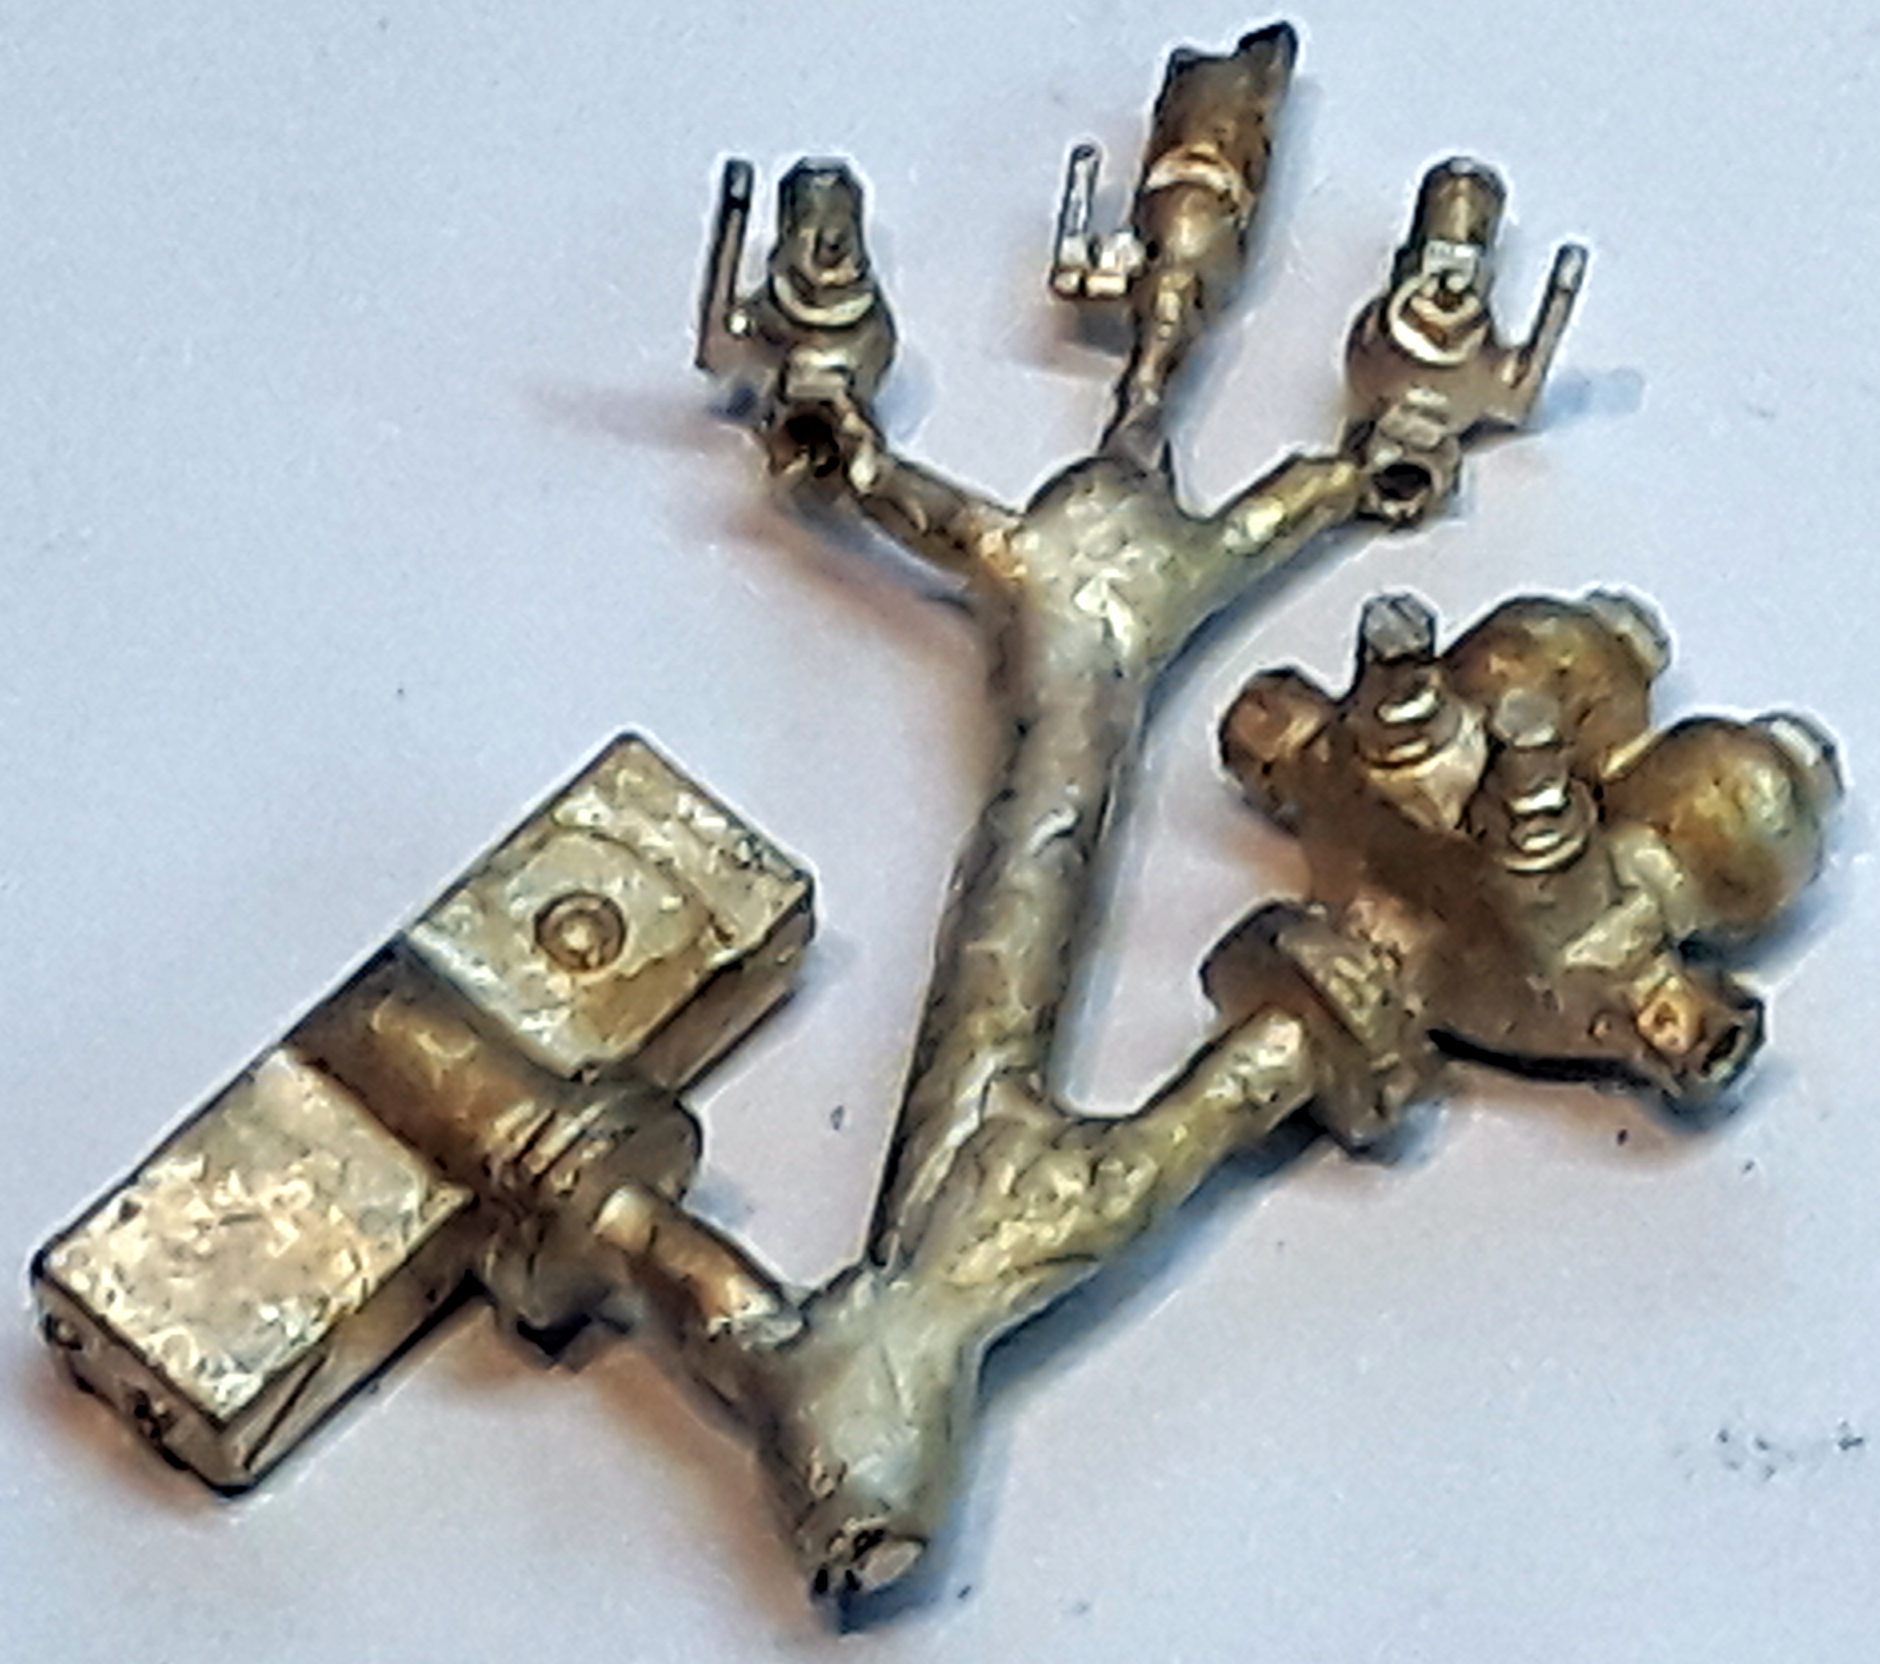
Also included should be spring buffers, cast details, safety chains, wooden floor, some internal details and, maybe, transfers.
I had a plan to have it available for the 7mm NGA Convention in June 2022 but that was before I came up against the current supply inertia in getting castings and etches done.
Including internal detail might be open to interpretation. I have a full size copy of the RY Pickering drawing that shows a couple of internal lockers and the brake wheel but after that it’s anybody’s guess. By all accounts the van got used very little. The man from the ministry apparently insisted on it so it probably only got used if he showed up. Given the remote location, that fact that they could pull the brake van or three more coal wagons and ran two rakes of coal wagons but had just the one van it was most likely to be found in a siding!
I’ve long been a fan of the Campbeltown & Macrihanish Railway and long ago when I had big lasers to play with these two things happened.
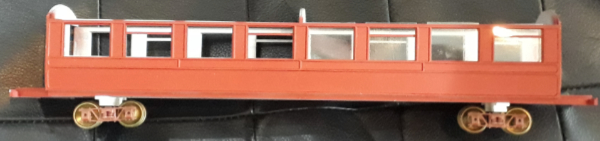 First is a C&M Rly coach made out of laser cut laminated sides. The plan then was for it to be a kit but the realisation that it was a foot long and would give the “will it go round my 6″ corners” brigade heart failure meant it didn’t go any further..
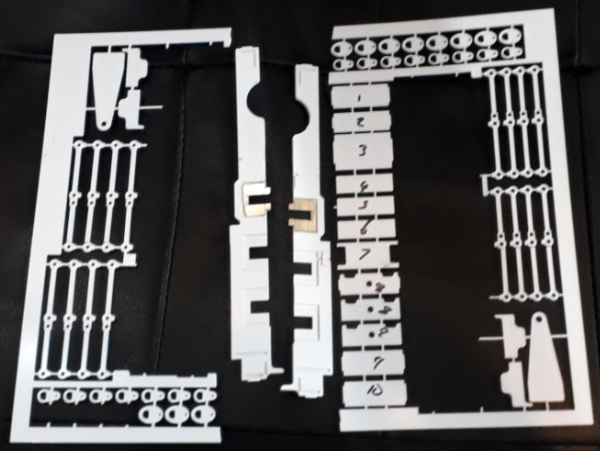 The second bit of laser nonsense was this. I laser cut, in plastic, a chassis for the C&M locos.
I think I quickly realised that it wasn’t going to be rigid enough and took it no further but I do still have the CAD which wouldn’t take a lot of effort to adjust it for etch construction.
Who knows what may happen.
Quarry Hunslet Developments
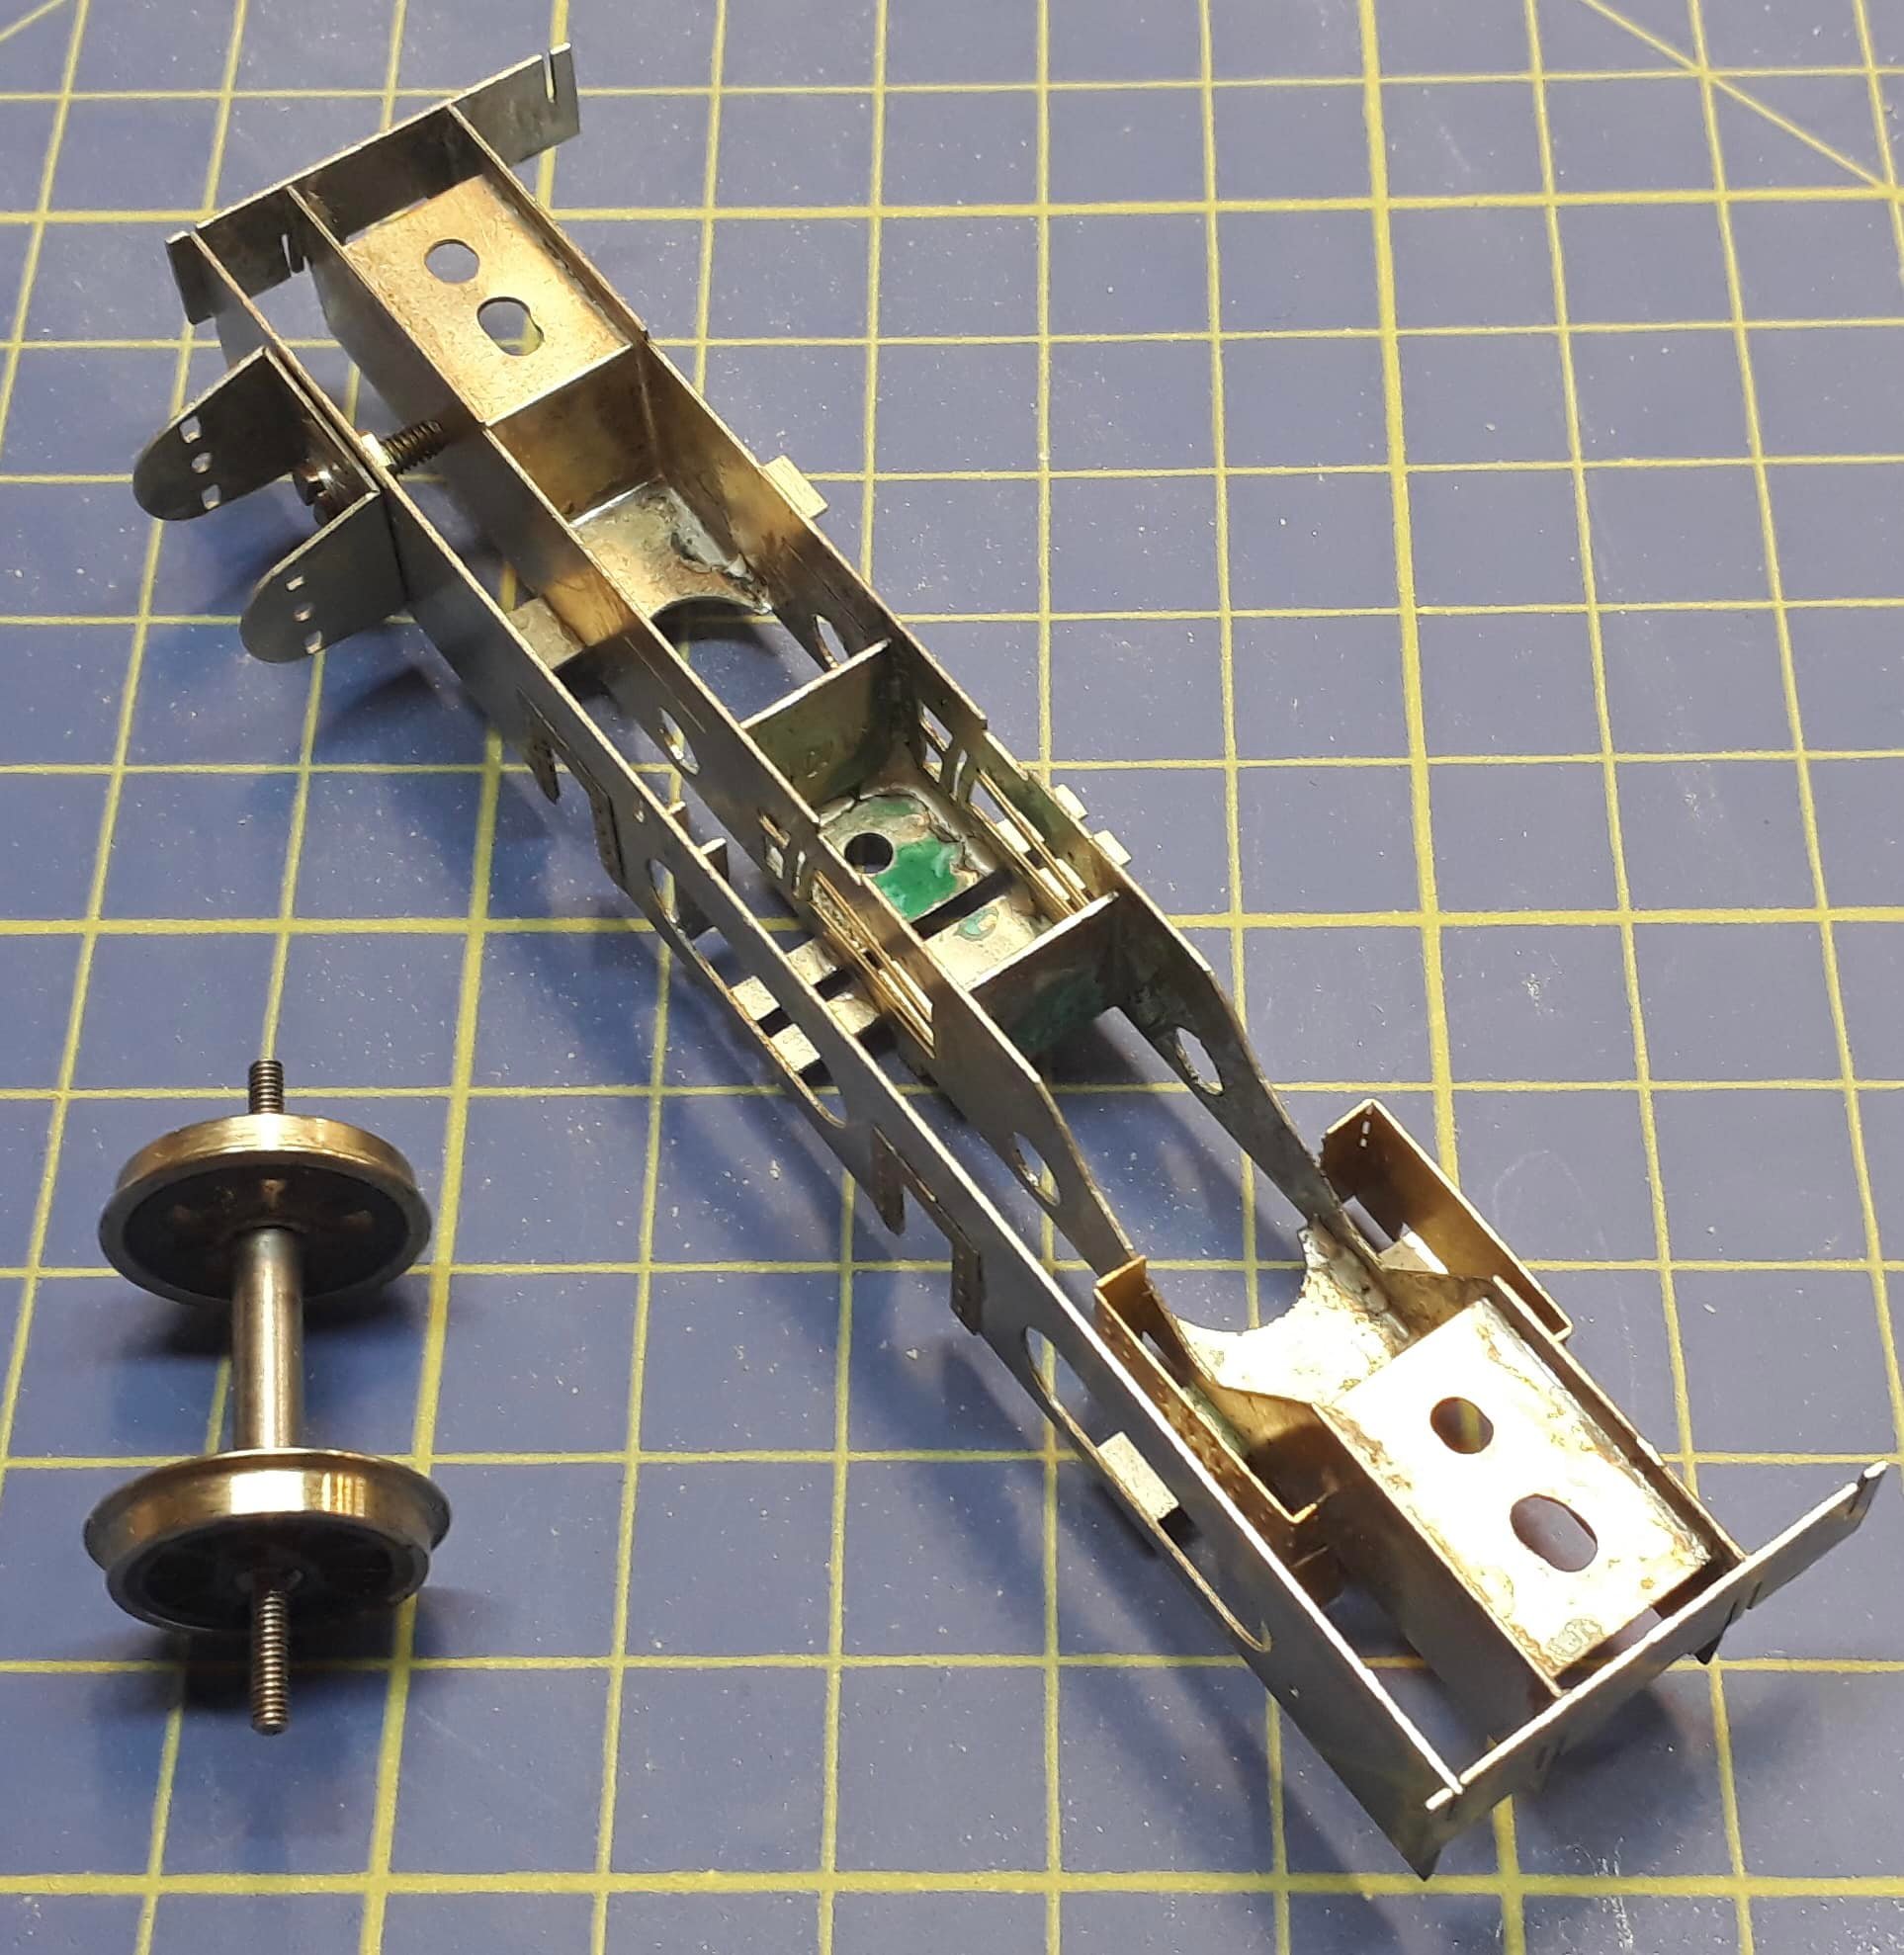 I have the Agenoria kits for all flavours of the Small Quarry Hunslet’s, Lilla and Manning Wardle Jubilee 1897 and, just at the moment, they are all unavailable due to the death of our whitemetal caster and the need to recover the moulds and find a new caster. The kits are designed to use some now obsolete parts so as I work to make them available again replacements are being sought.
This is taking far longer than it should and I am currently evaluating the alternative of making new patterns and going for all brass castings in the kits. To cap it all the mould for SL1, the Alice class, has been lost.
The first picture shows the traditional construction of the model with an etched working inner frame, cosmetic outer frame and a set of Romford wheels. This is all soldered construction and the wheels are captive once assembled.
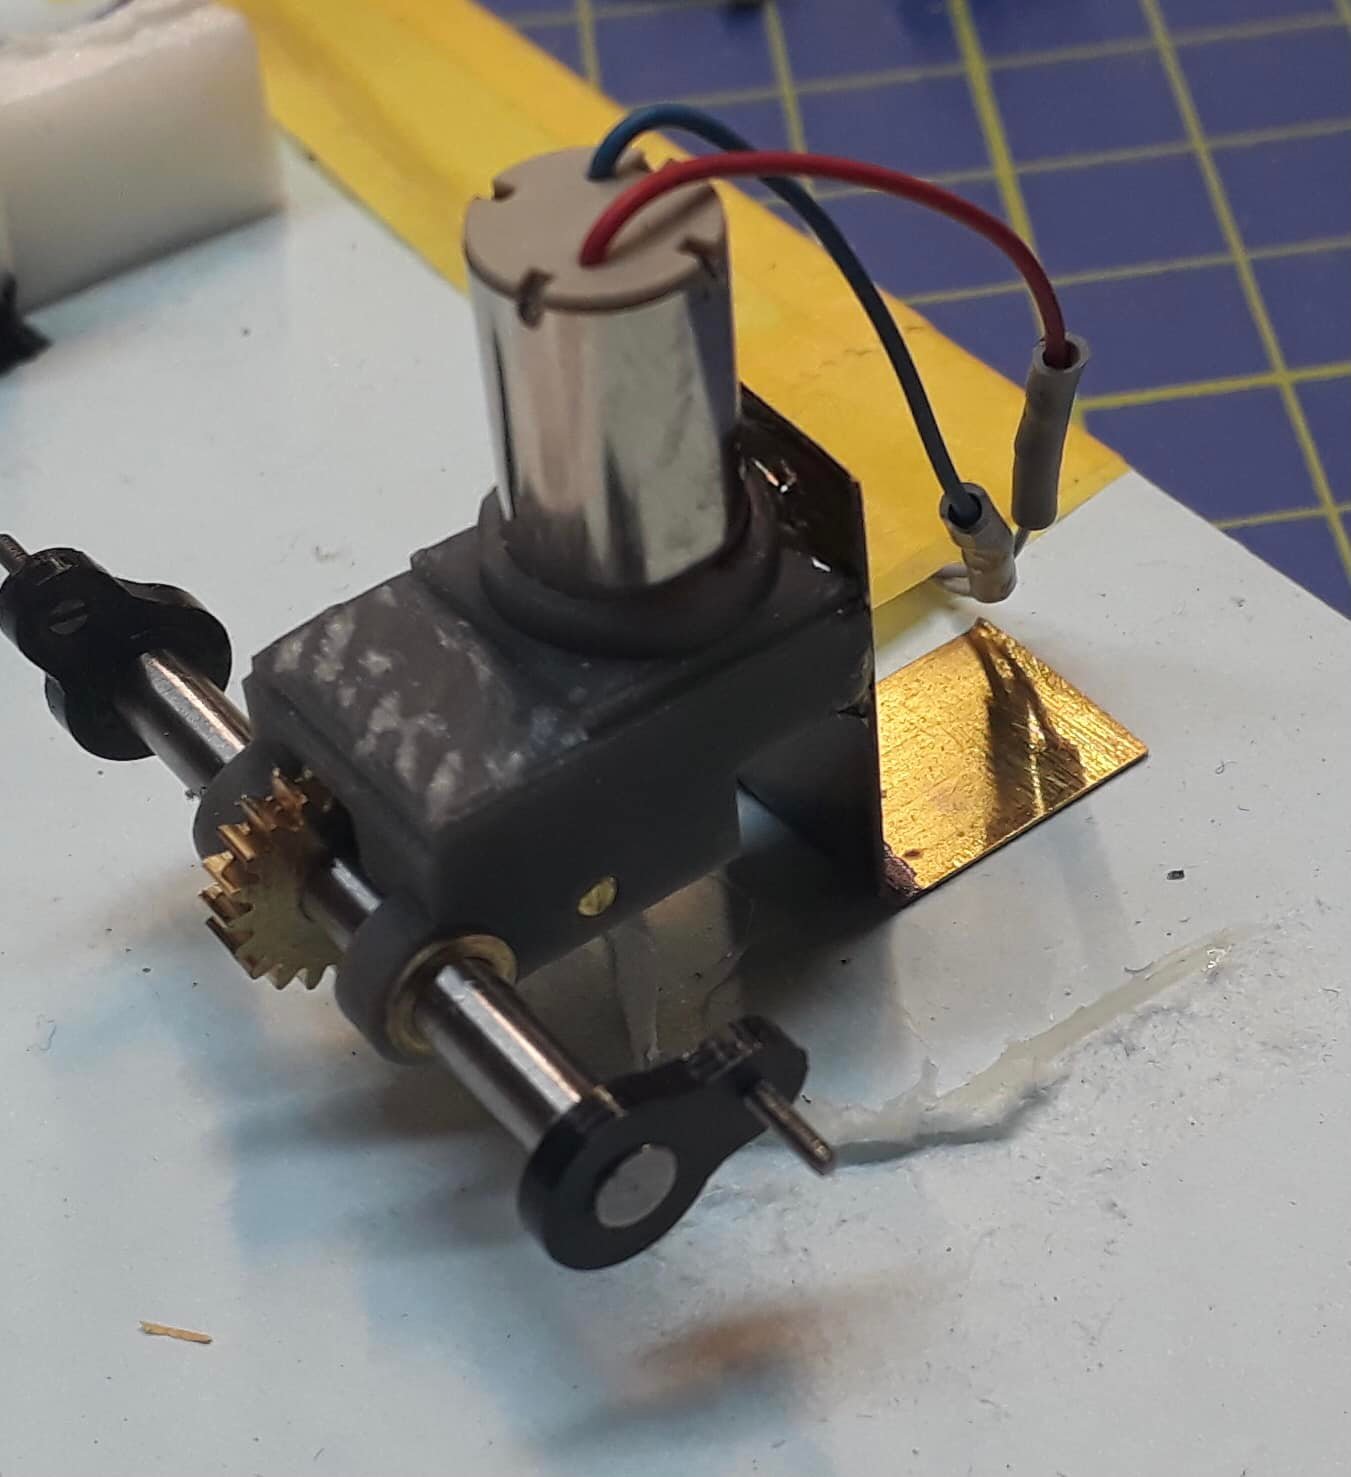 Already there is a replacement drive.
Instead of the Mashima motor and 30:1 gears there is now a 12v coreless motor, flywheel and 54:1 gears. Don’t be misled by its tiny size. It’s amazingly strong and more than enough for a quarry shunter.
When doing these new parts and revamps I am trying to engineer out some of the painful bits of construction or, at least, the parts that seem to give people the most trouble.
One innovation is ready to go but I am wrestling with the issue of changing the original kits to accommodate it. The originals are from hand drawn artwork for the etching so not easy to mod.
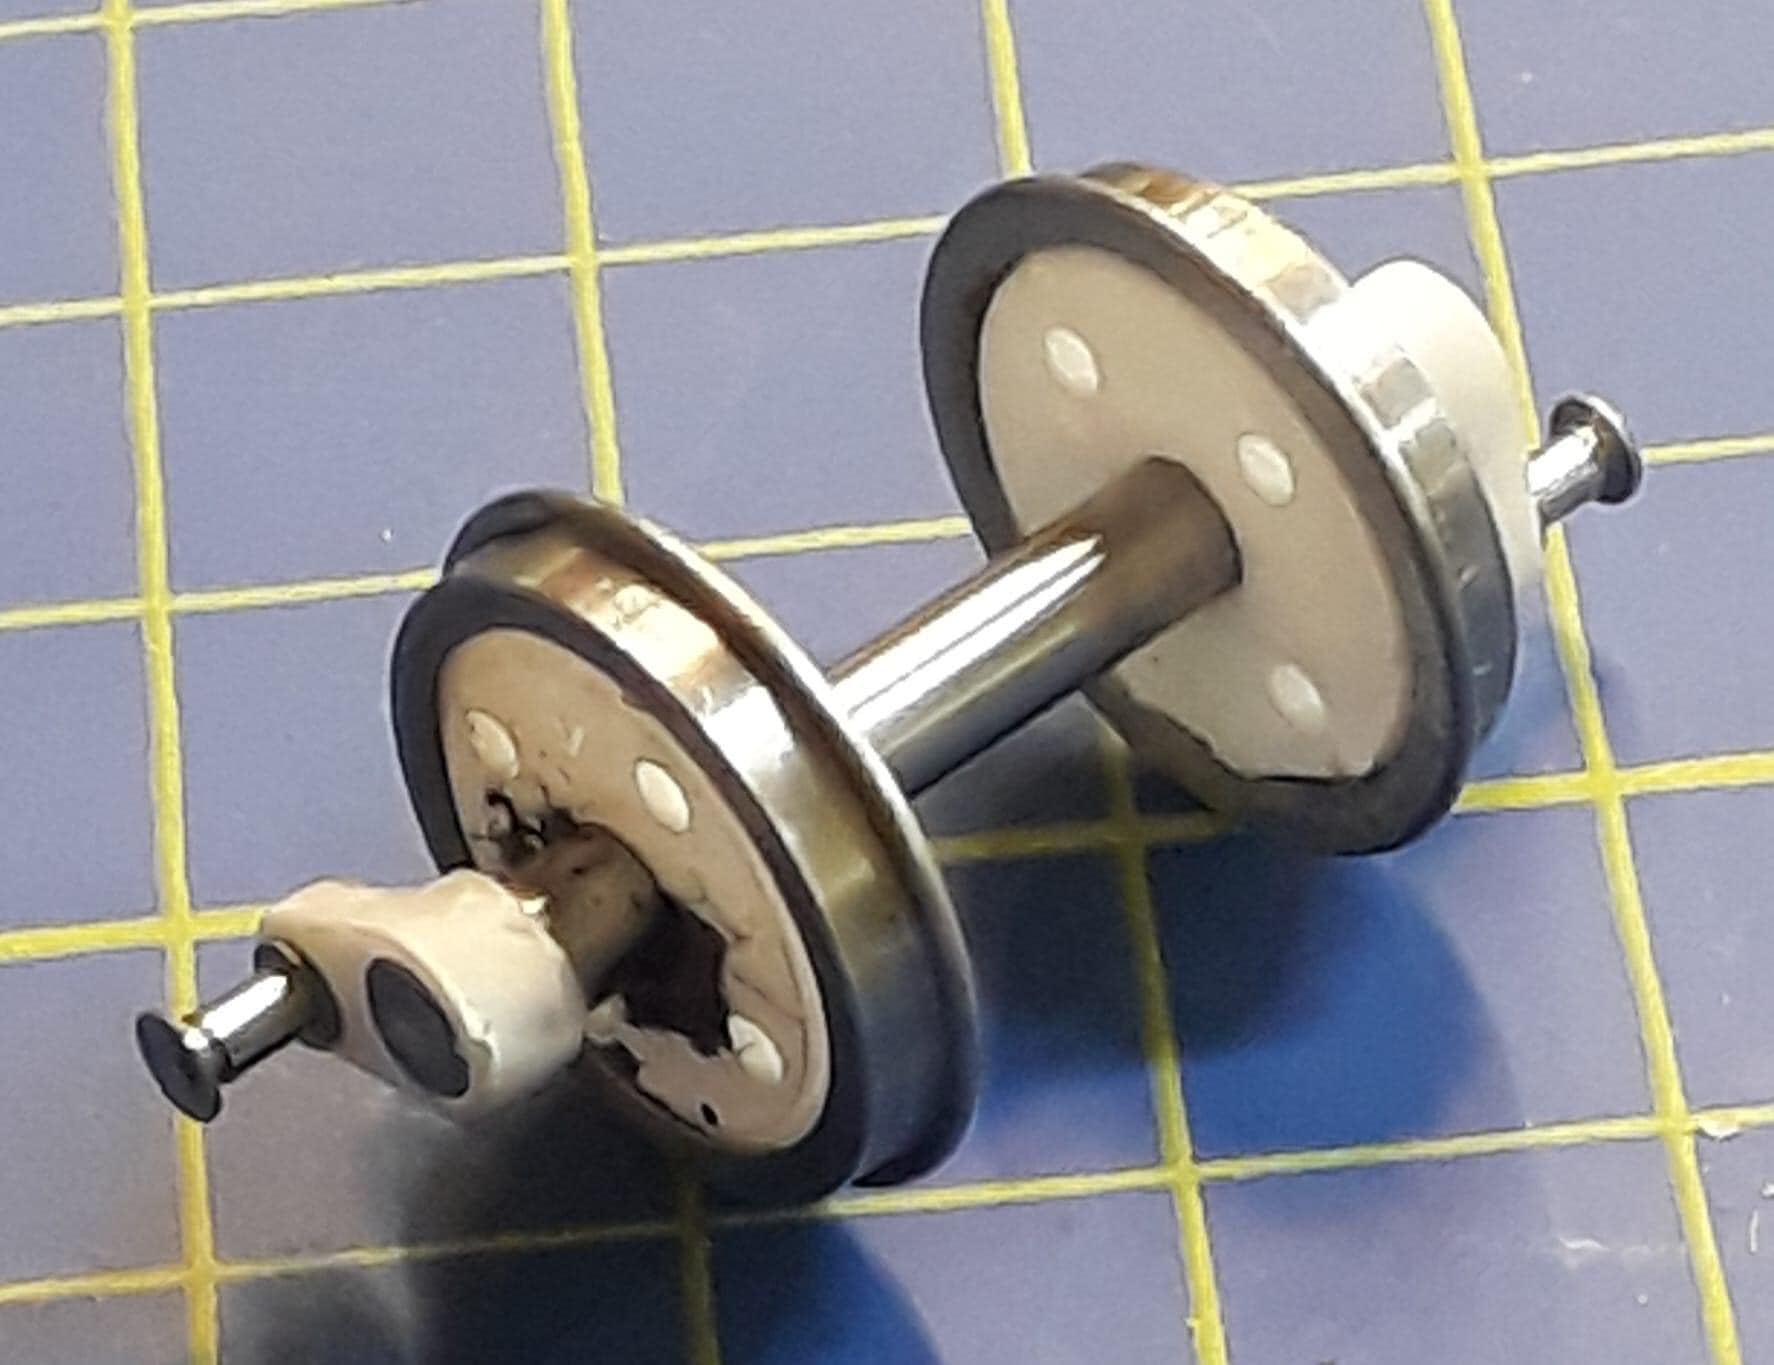 The new innovation is assembled and quartered wheelsets.
The problem then is that having addressed the wheel & quartering bogeyman the problem has moved to having to slot the frames without damaging the positioning and making a keeper plate.
I’m still thinking about that one and it may get overtaken by events.
The new Alice Class?
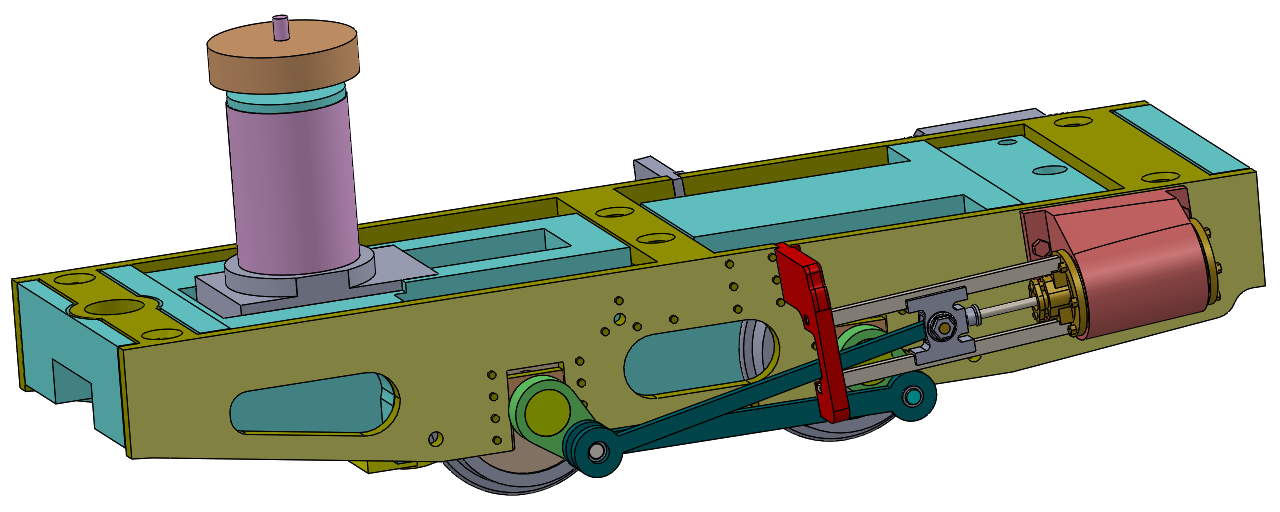
I may have shown a similar CAD image before but things have moved on. This image now features the assembled wheelsets and the new drive incorporated but much more of it exists.
 |
 |
 |
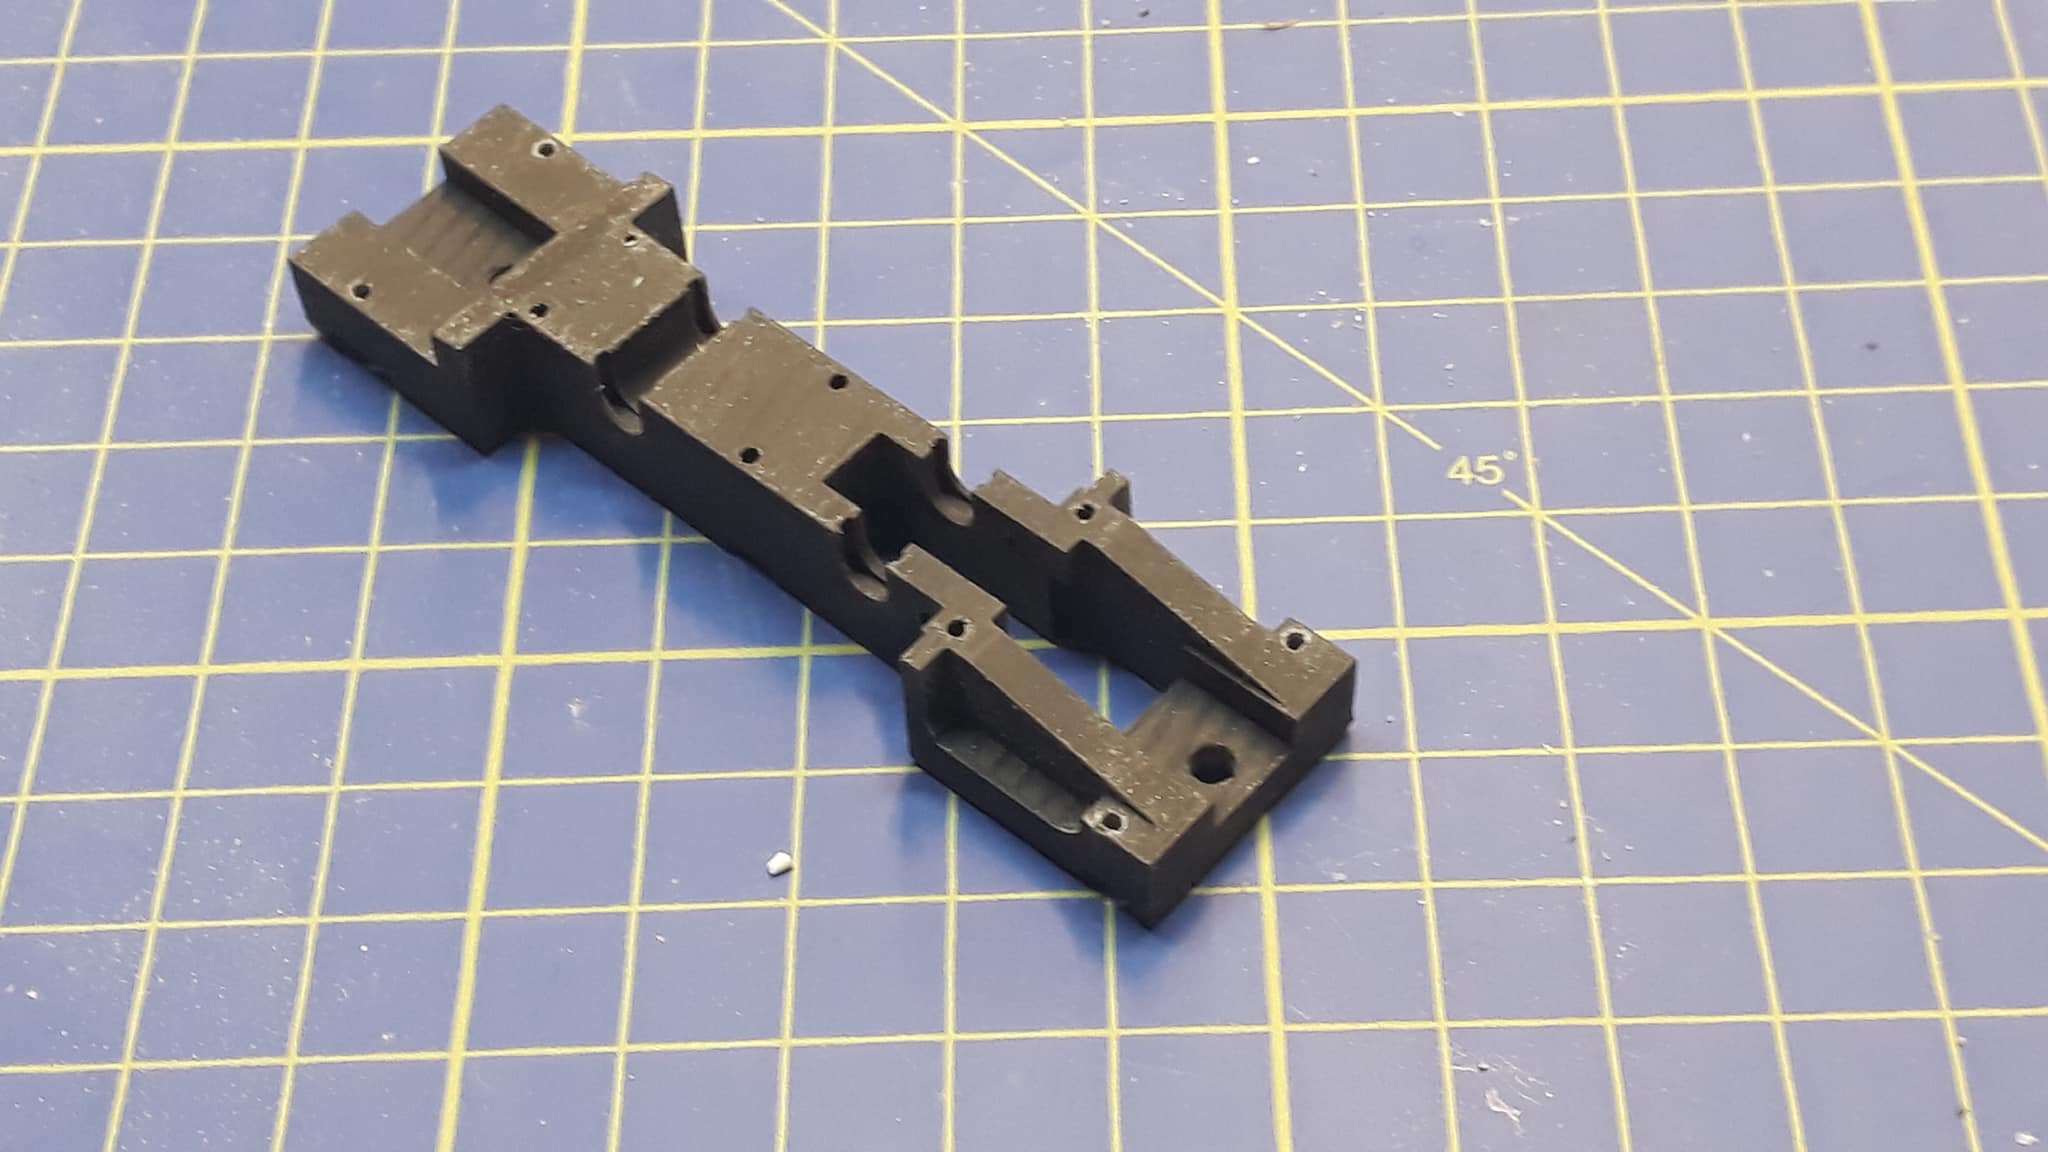
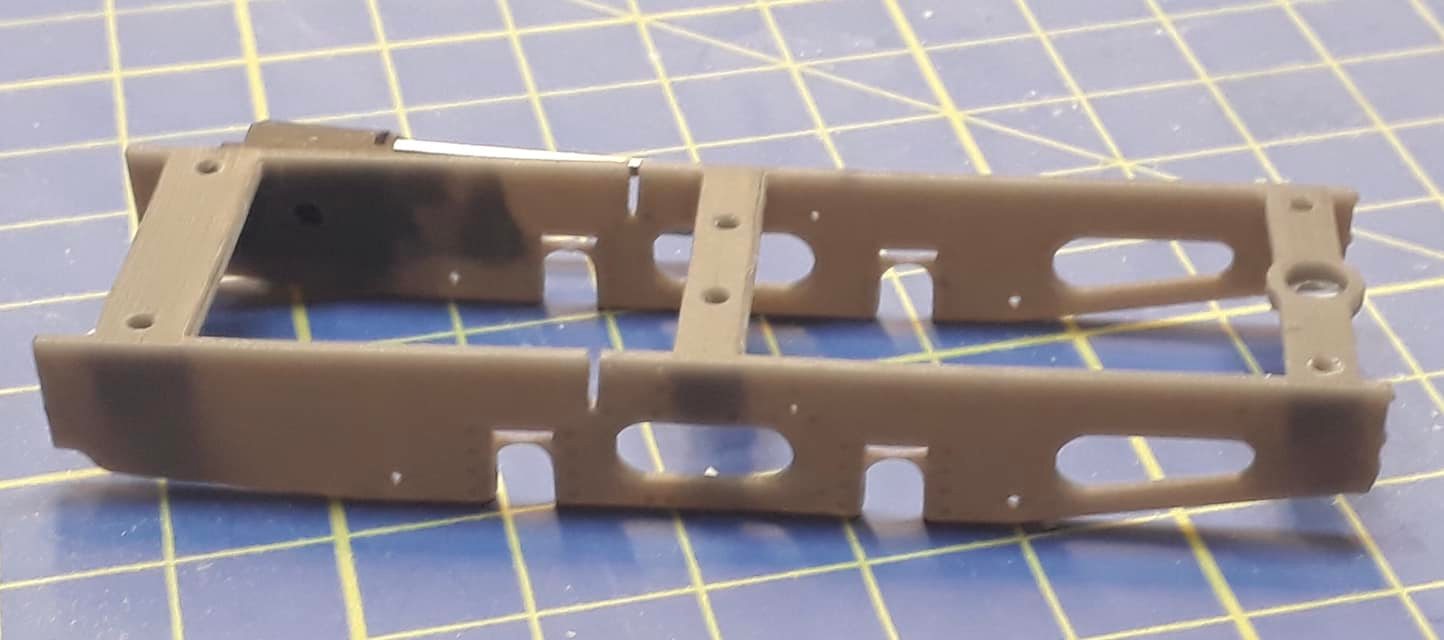
| We start with a chassis block printed in a rigid resin | Then there is the frame overlay, 3 variants for Alice Class in a more resilient resin | Together with cylinders a full chassis is getting close. |
Developments are not just confined to the chassis.
 |
 |
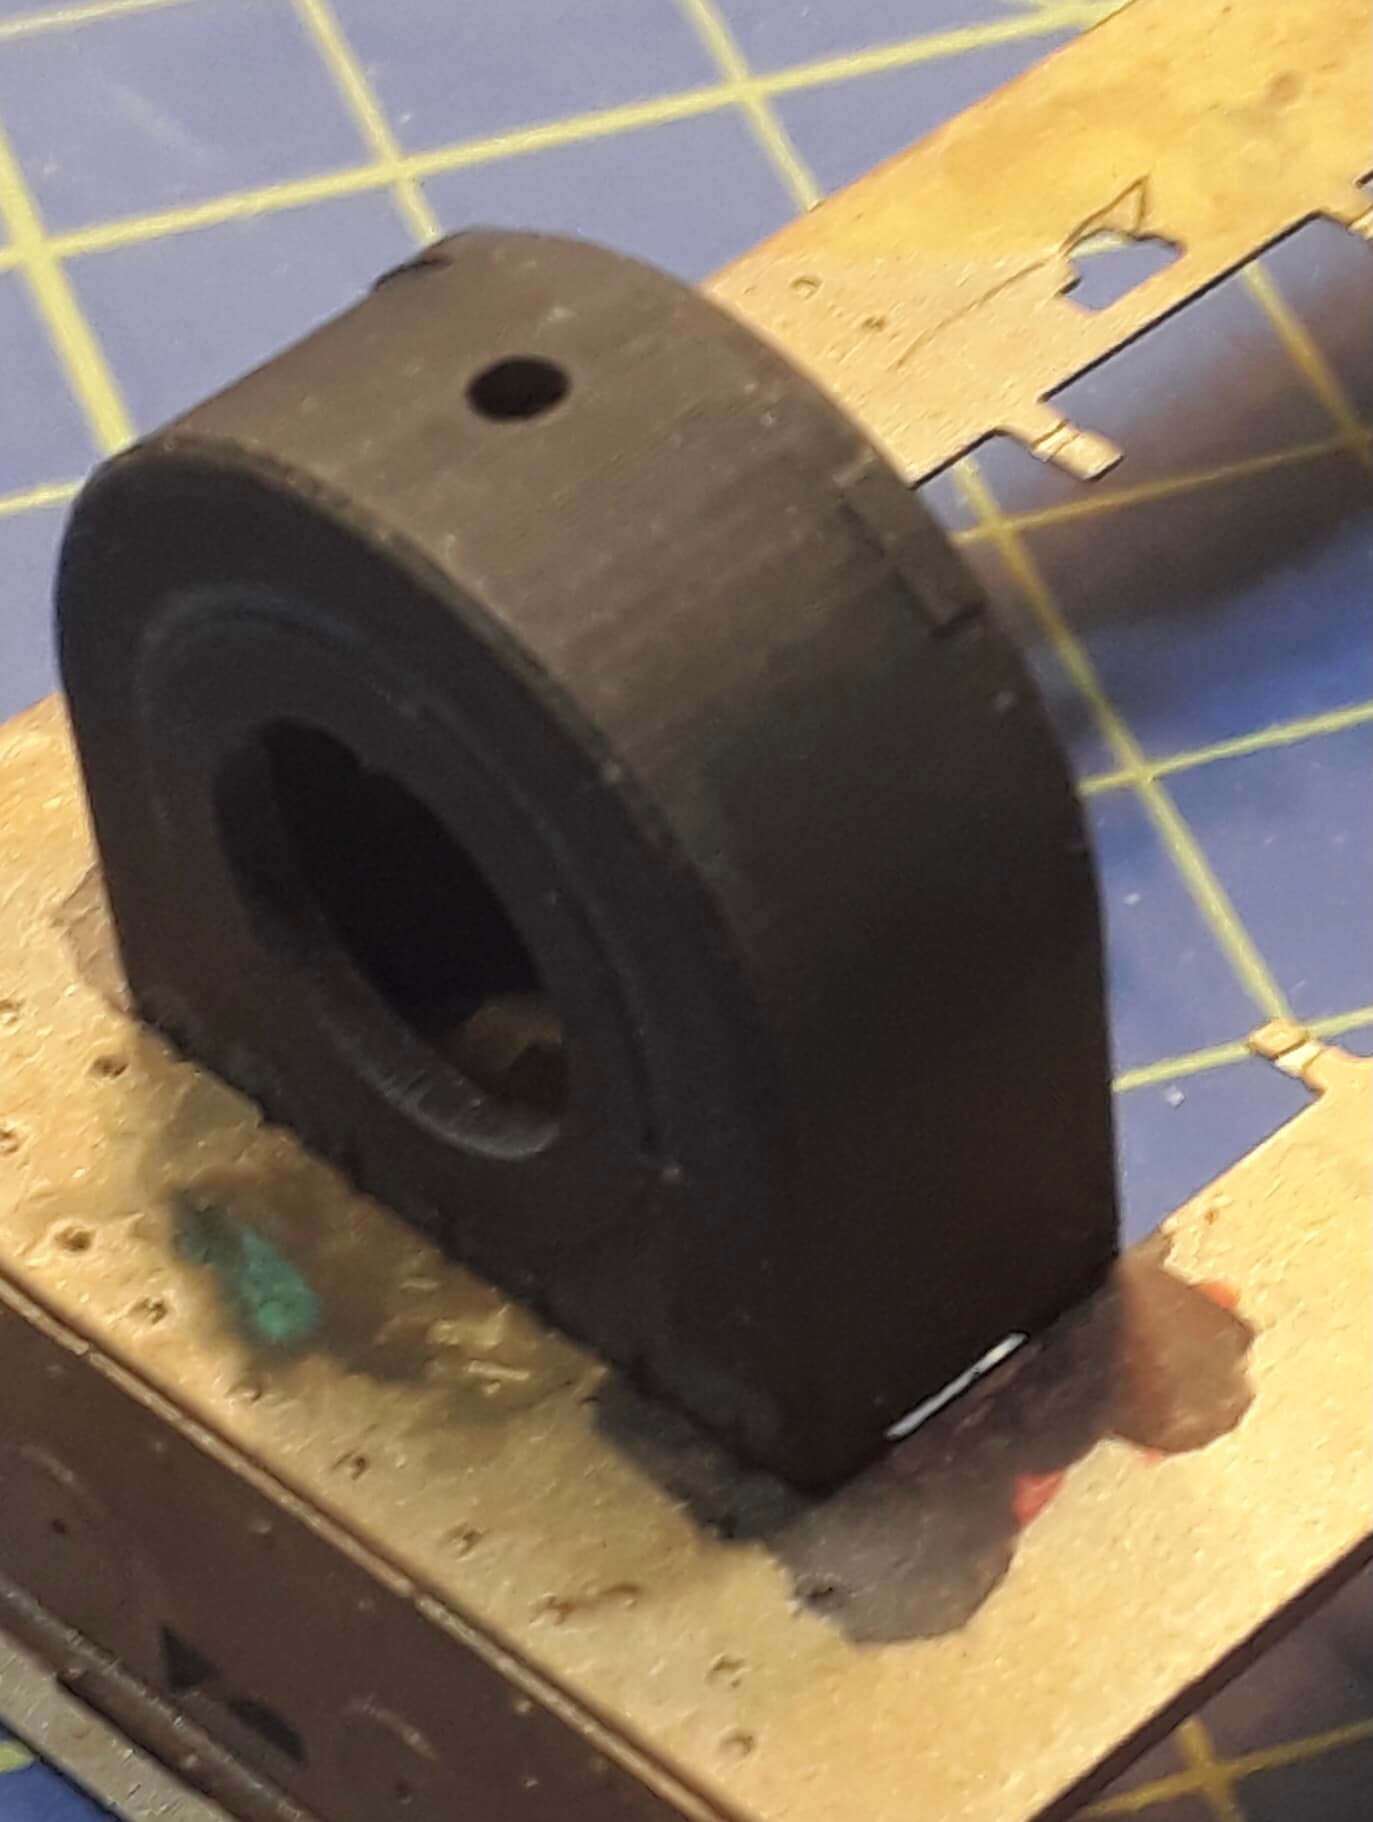 |
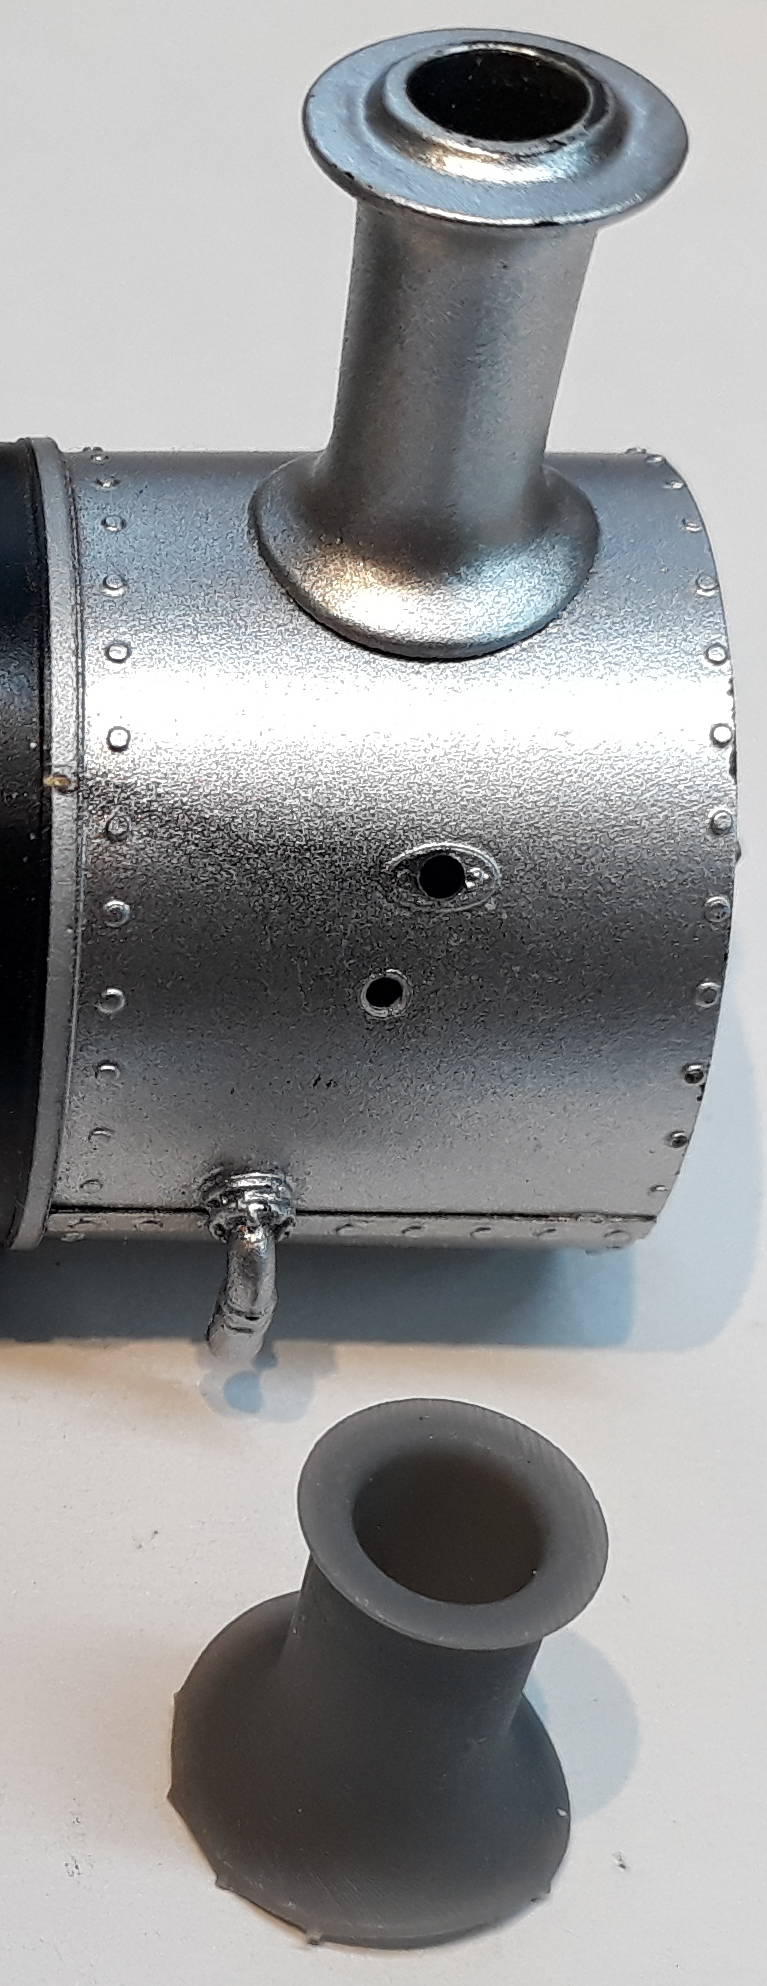
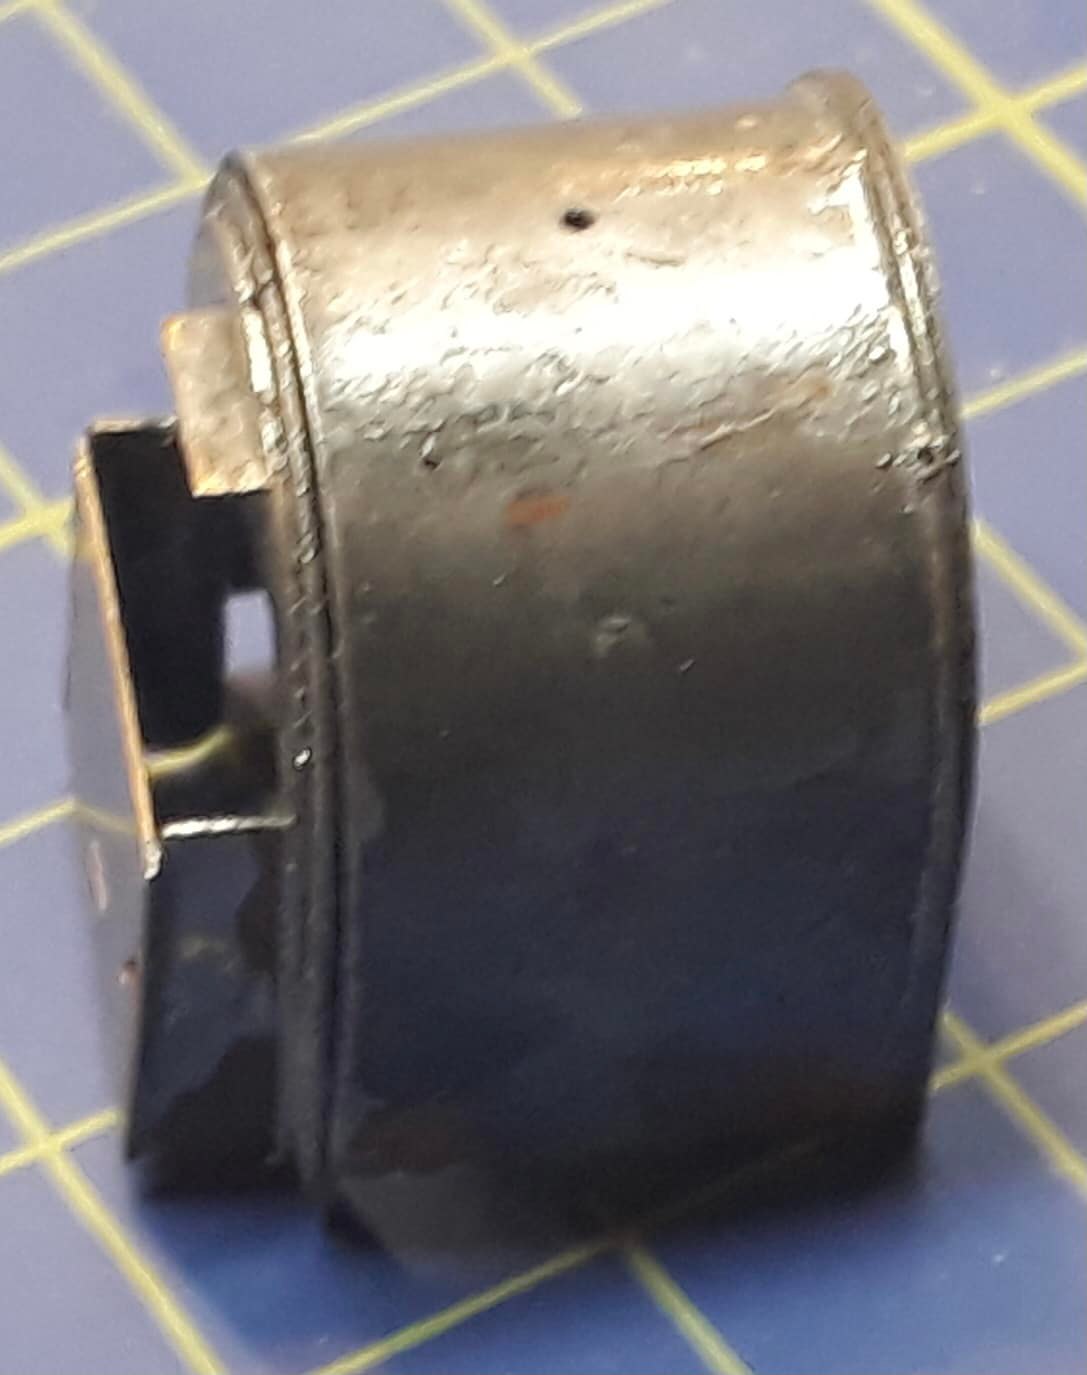
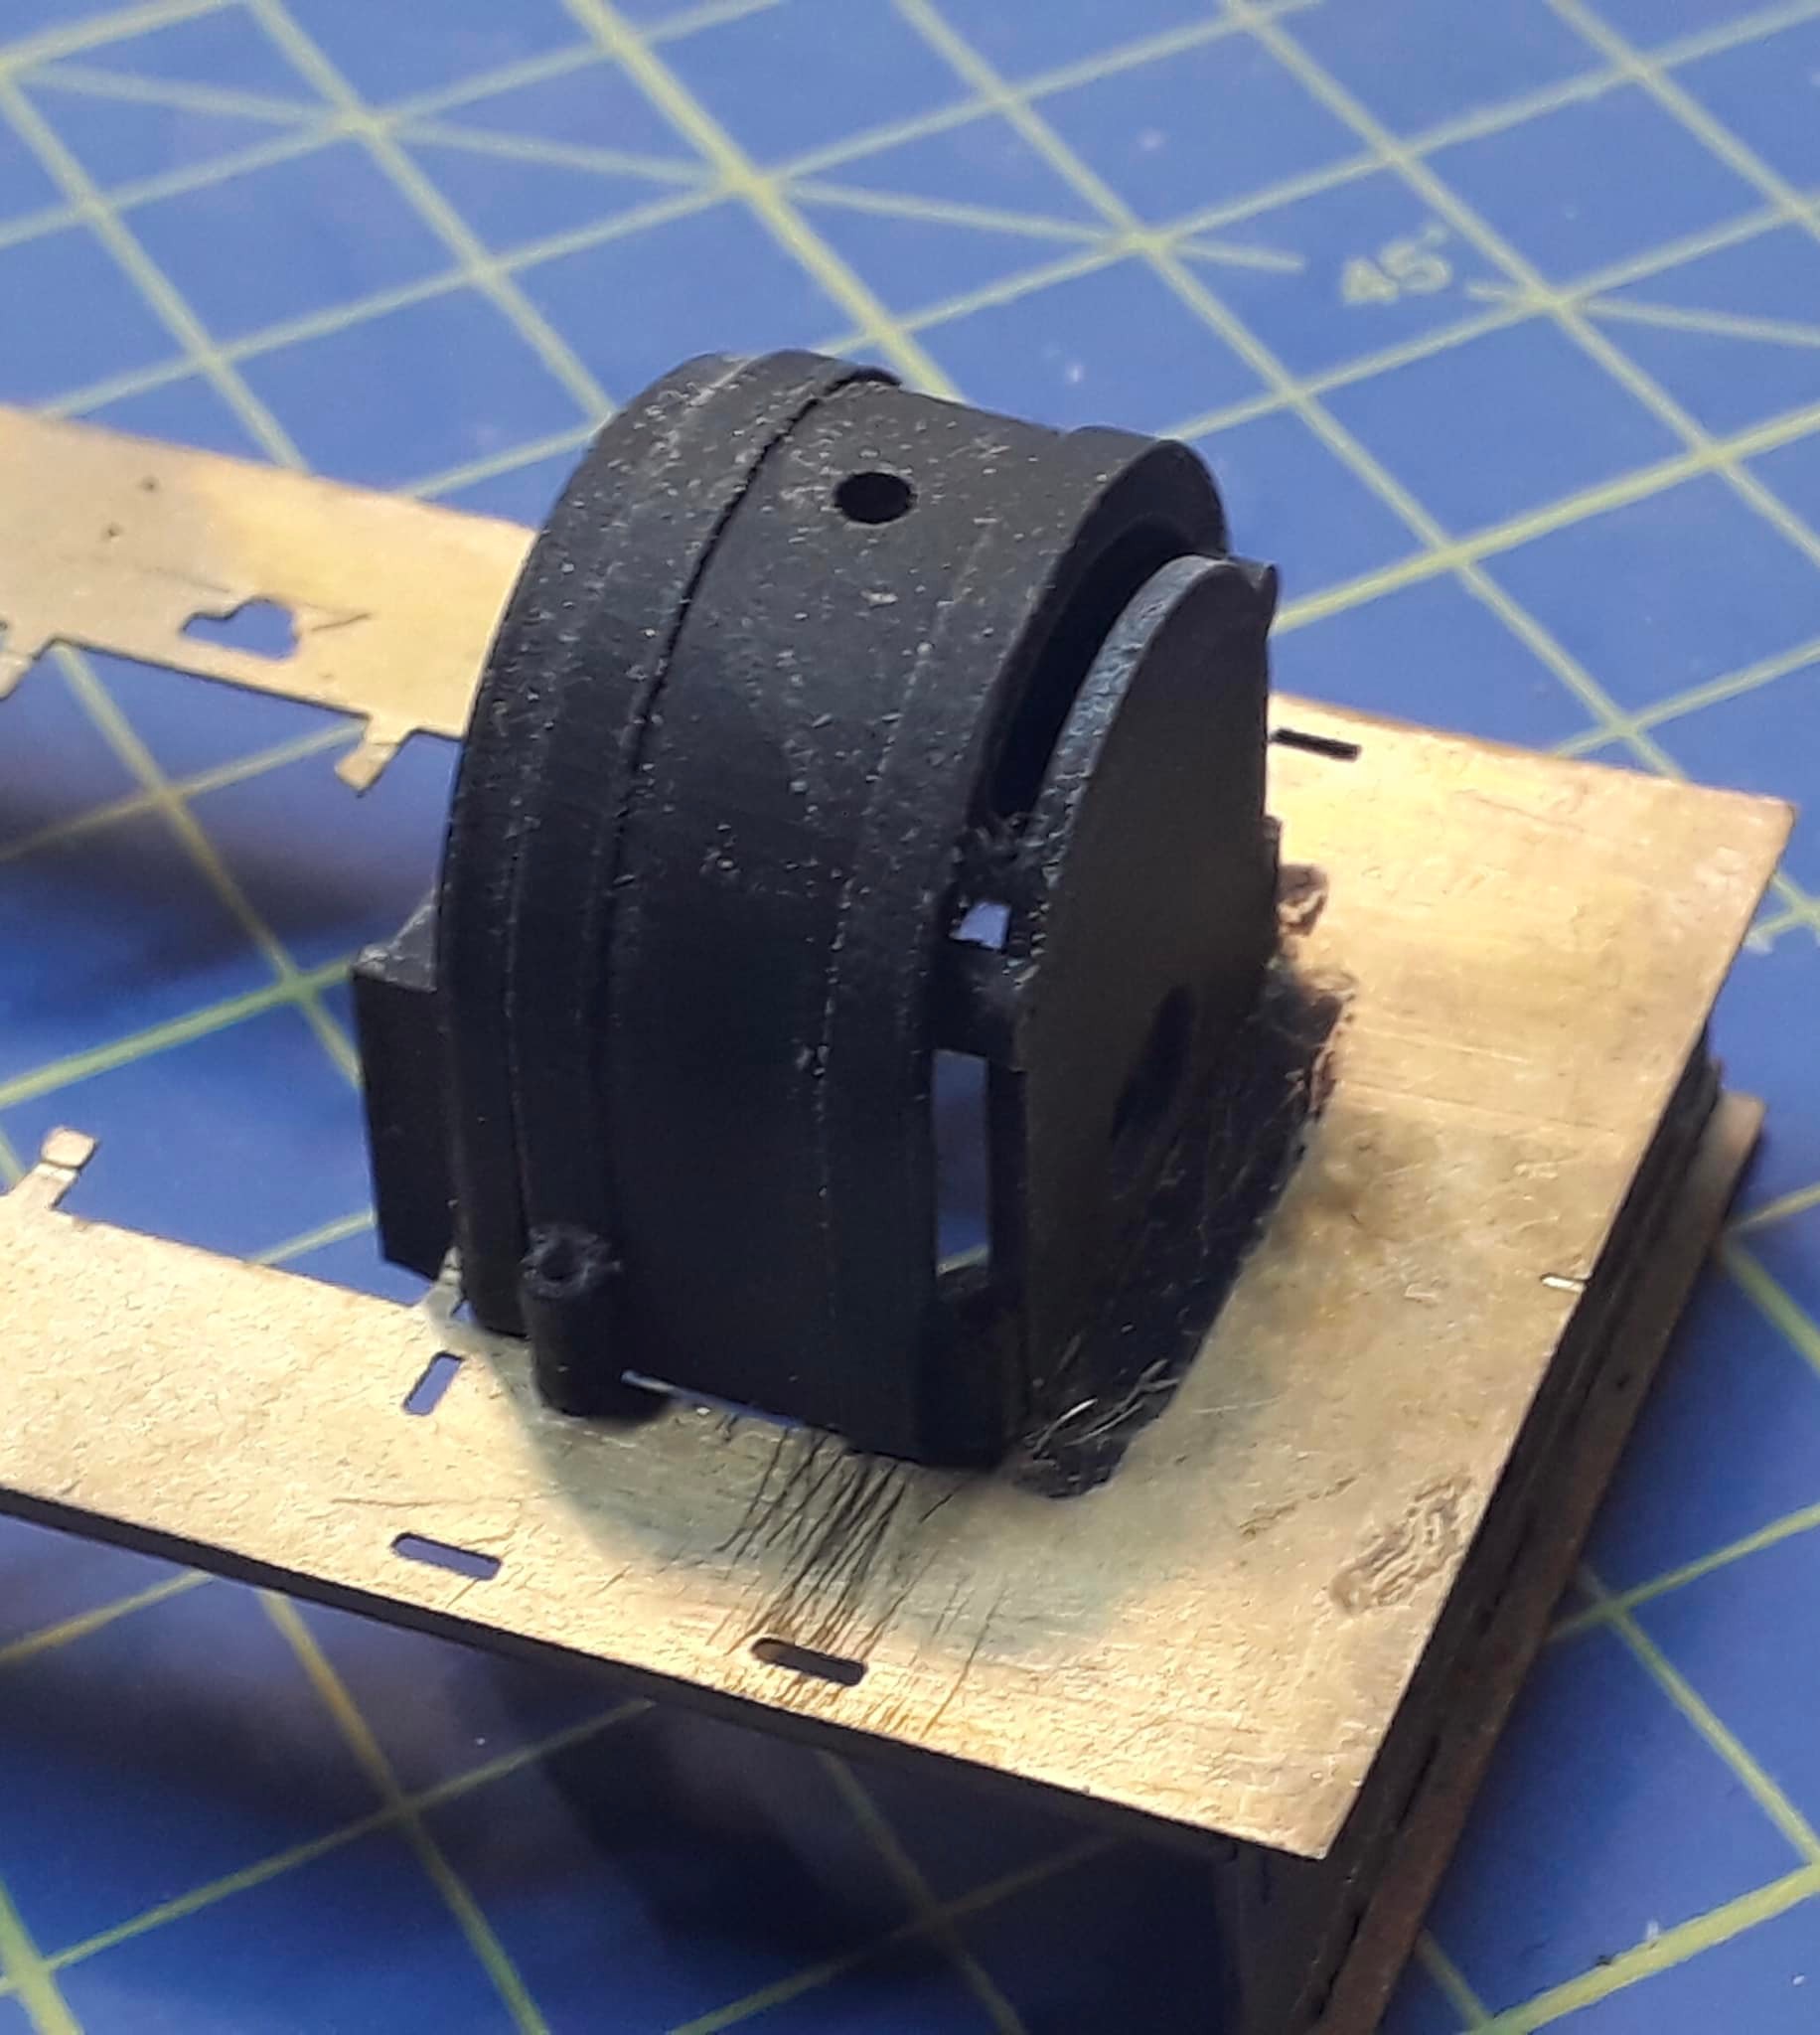
| The firebox is a horrible fabrication that is made from flat and is difficult to get together truly. The right hand edge still needs filing quarter round to form the shiny bezel of the real thing | A printed version requires no bending and screws to the running plate. A polished brass casting for the bezel goes in after painting. | Same works for the smokebox. Saddle tank and boiler will be the same. All the rolling and bending designed out! |
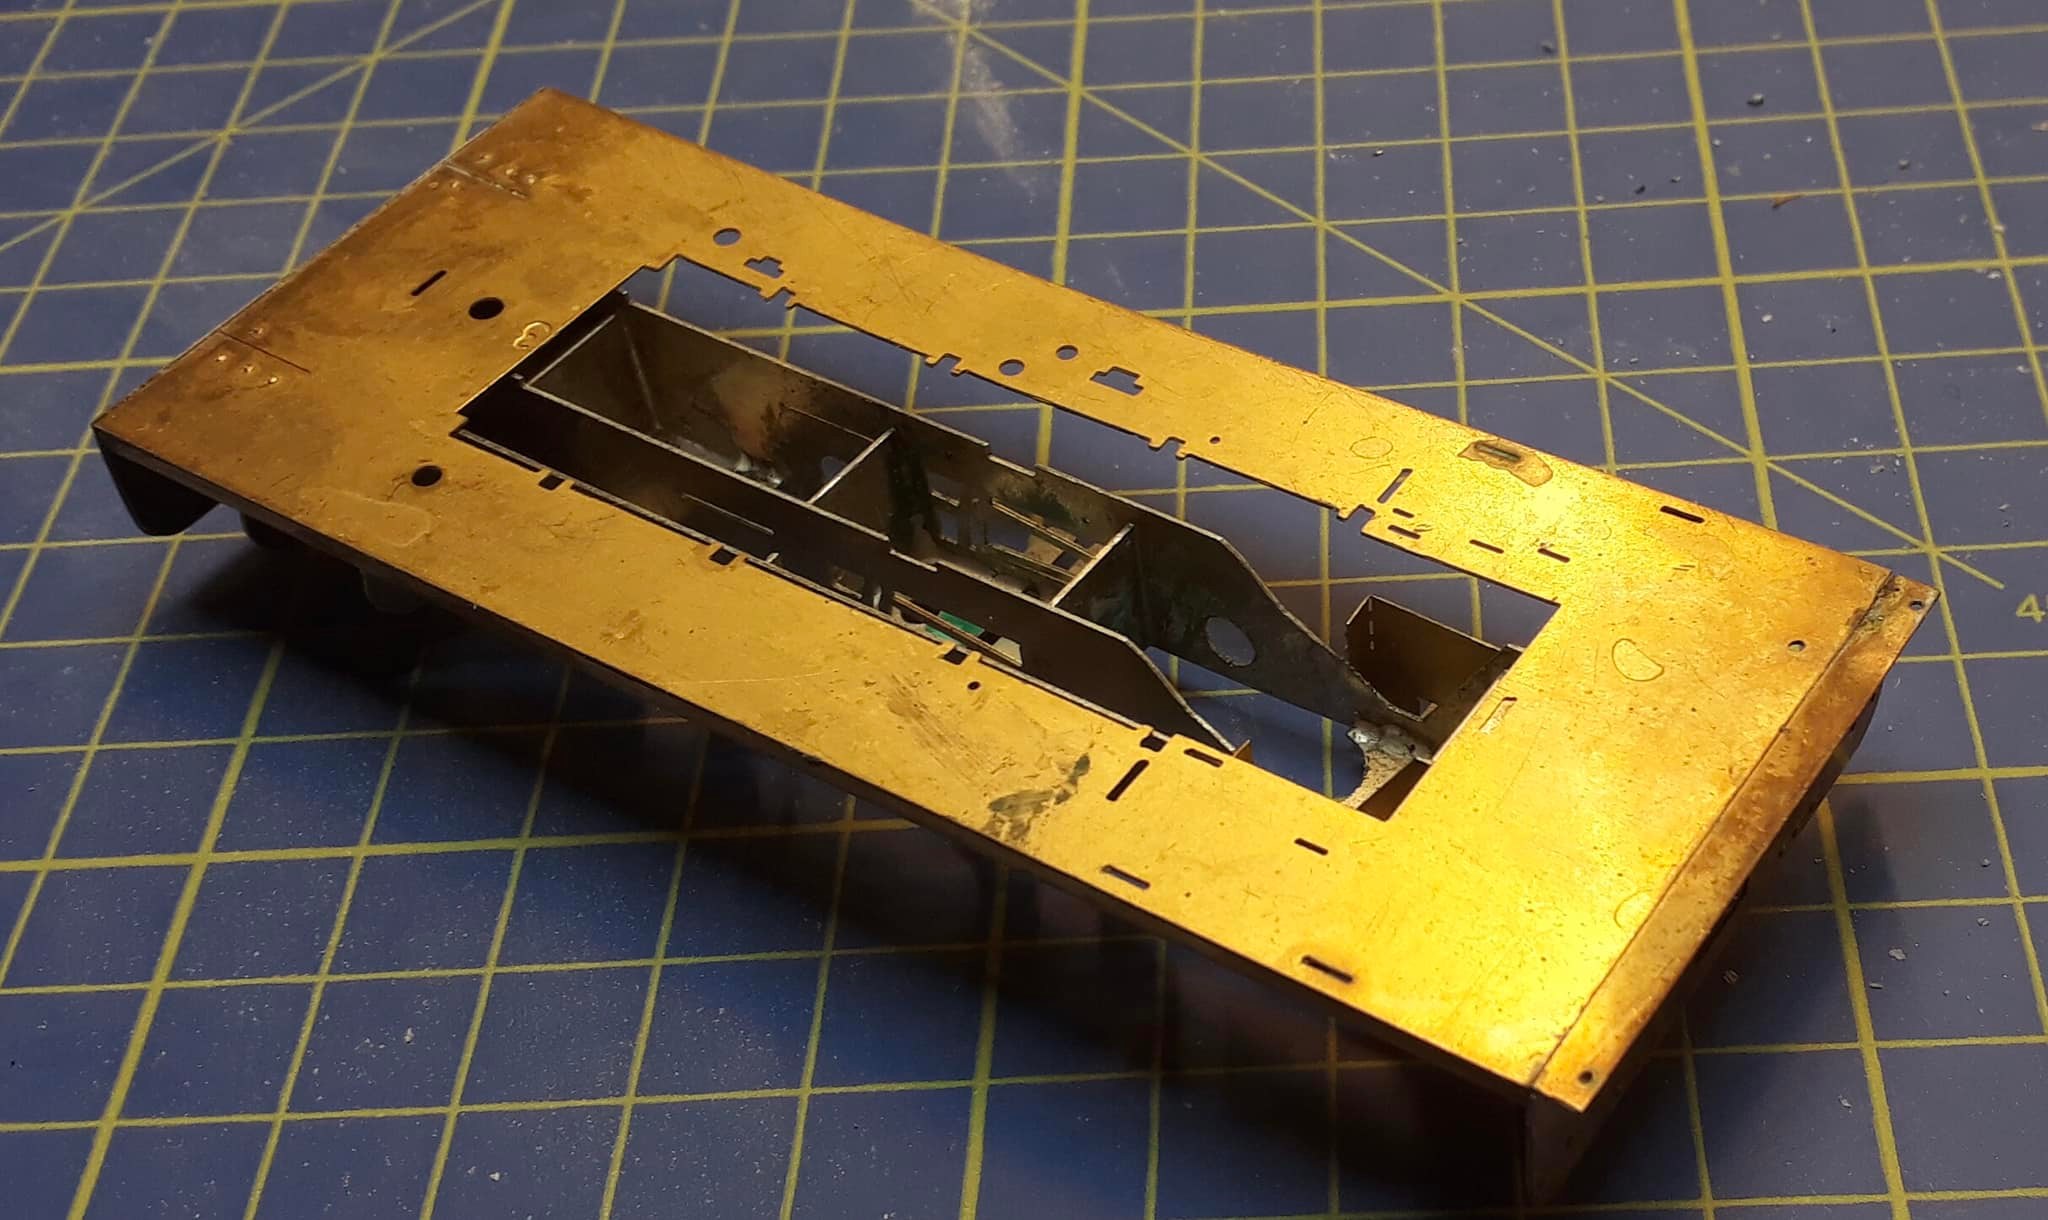
In some places the thin metal edge and strength are needed
 |
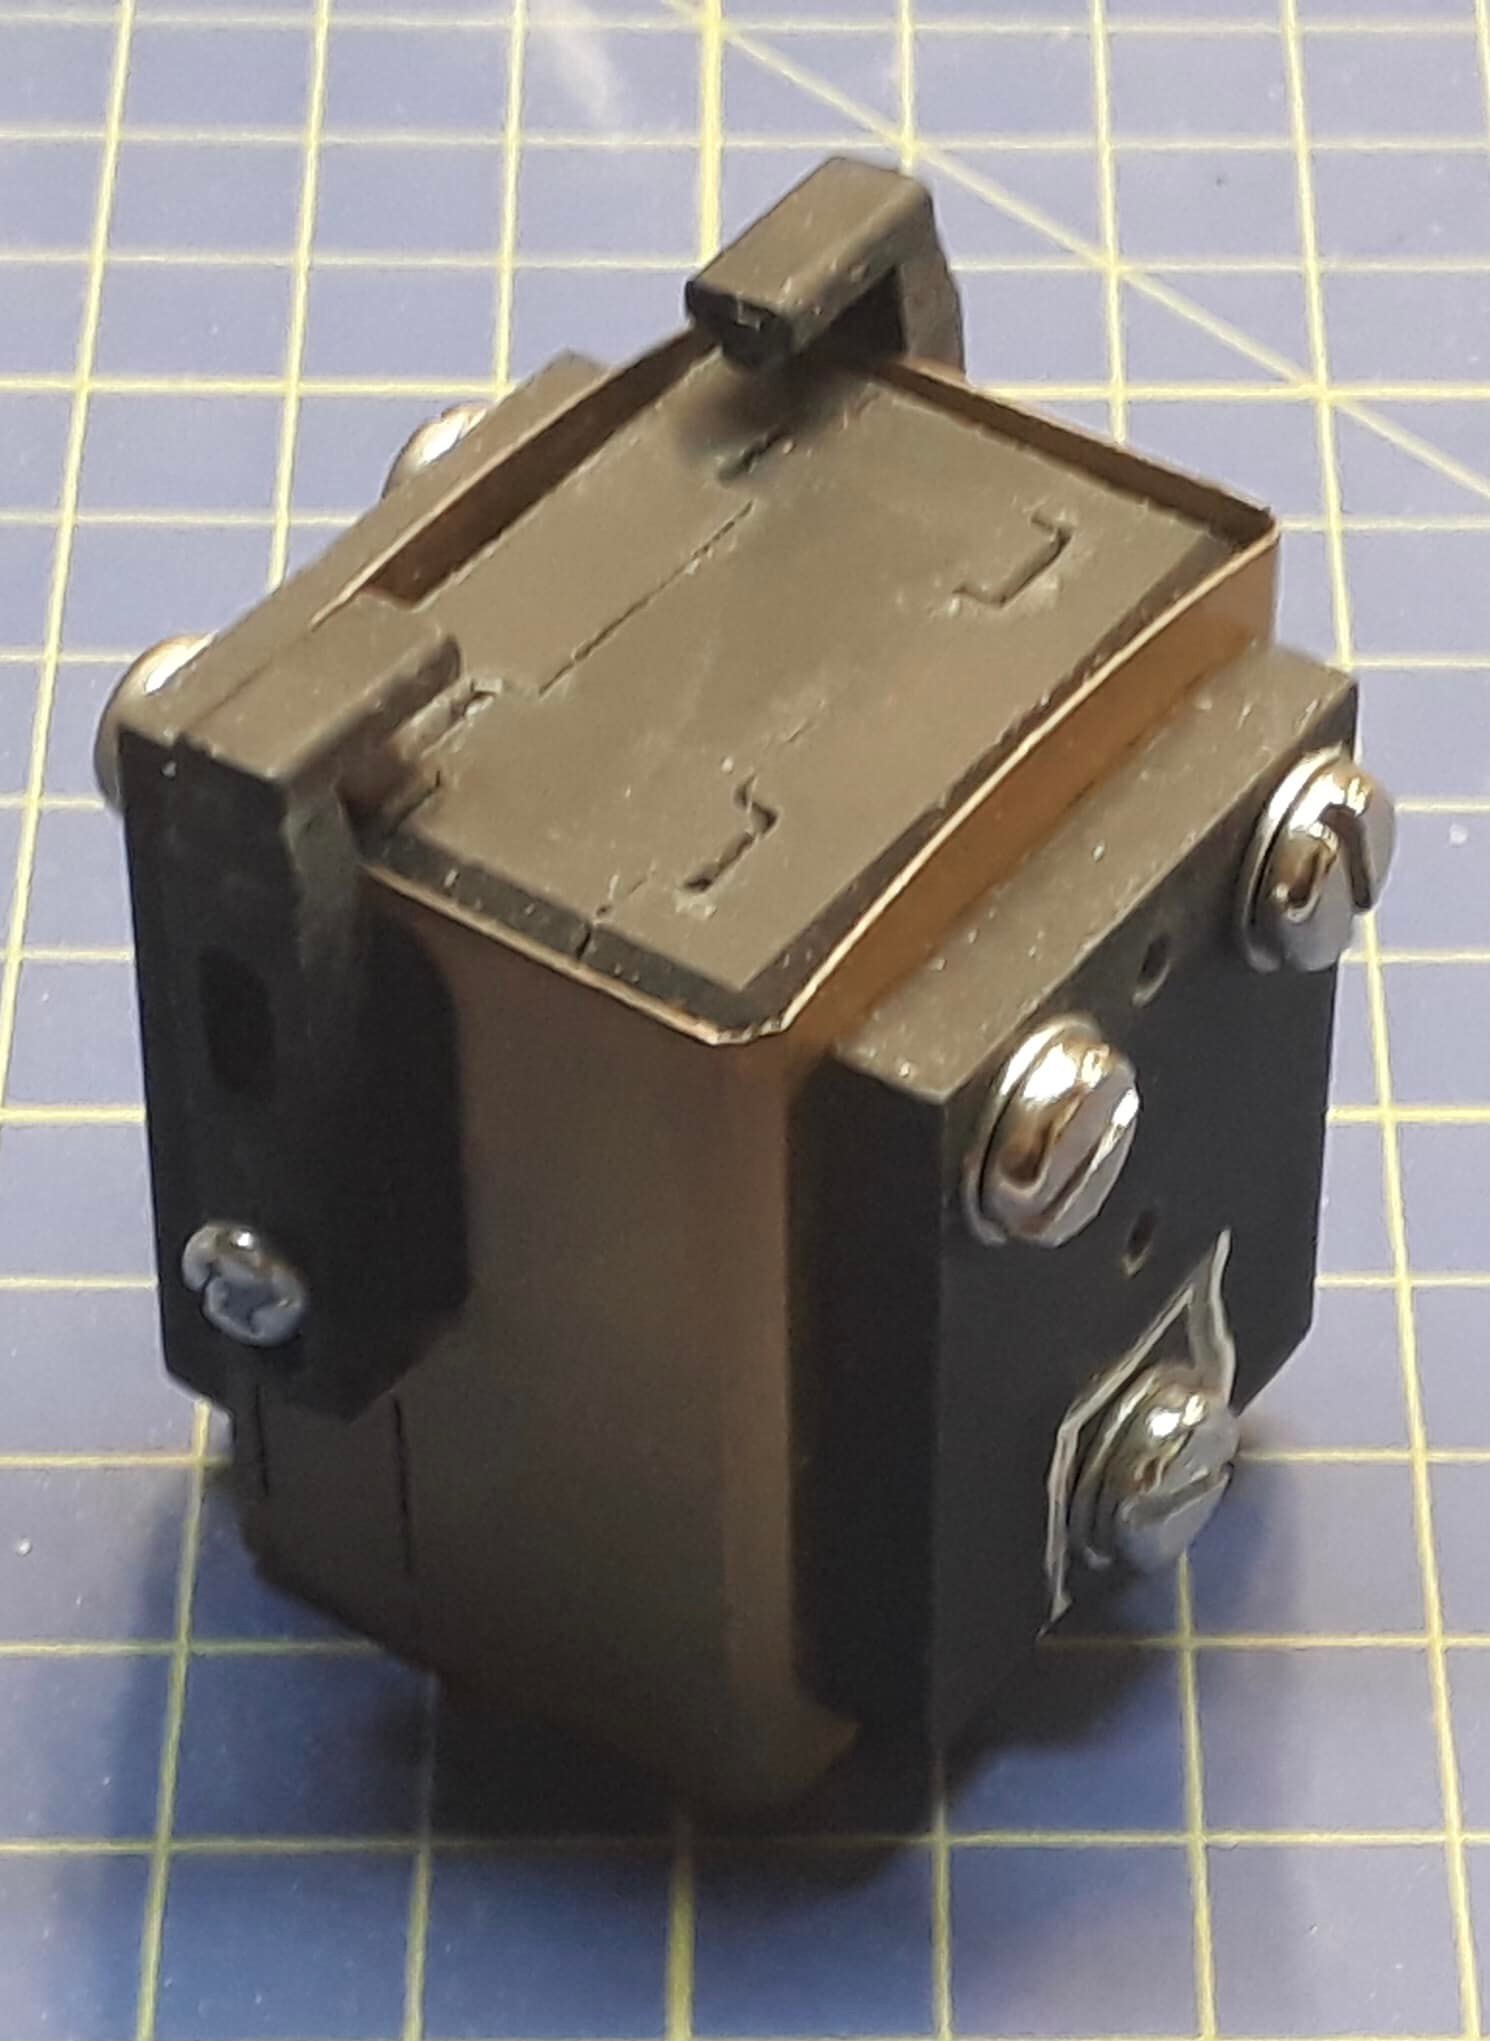 |
| The running plate will be a new etch but will feature added assistance to do the soldering | The cab for the cabbed Alice (Kit SL3) remains brass but printing now provides a tool to bend and assemble the cab |
I’m aiming for and easy build Hunslet and may end up, with a few more innovations up my sleeve close to a ready to run one.