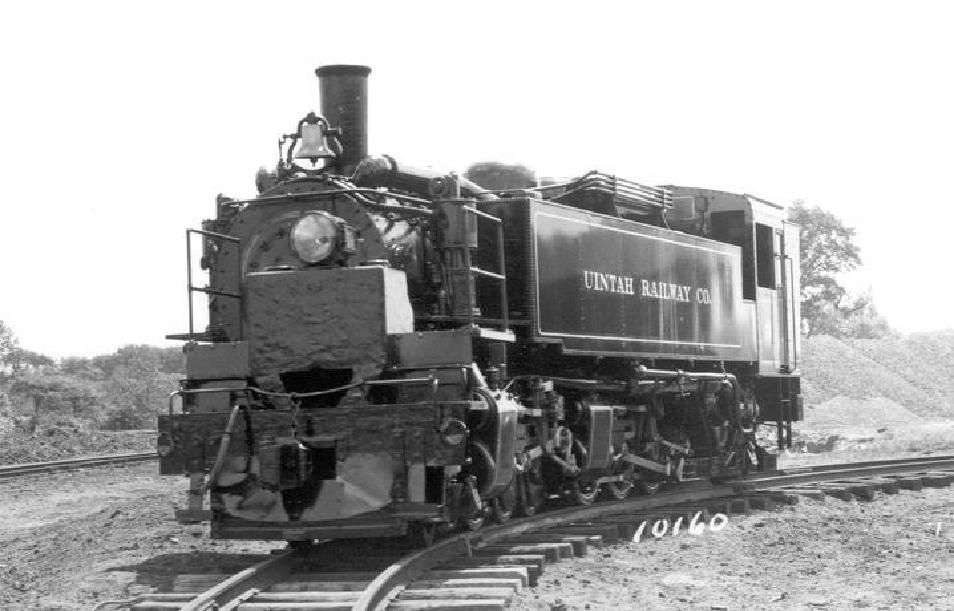
 OK, in earlier episodes you’ve seen my Bendy Engine Uintah 2-6-6-2 Mallet checking the curves. I have two of these aiming to model both the Uintah engines.
One, the shiniest, did service on my sales display for many years ticking over on a rolling road. It went back in the display case due to a slipping drive shaft. In the medium term (its already past that) it’ll stay on display.
 It’s the other one that’s been used for gauging trials and as I’ve just picked it up off the layout prior to moving the board to do what was to be the next instalment of the board saga the front power unit fell away and disconnected its drive shaft.
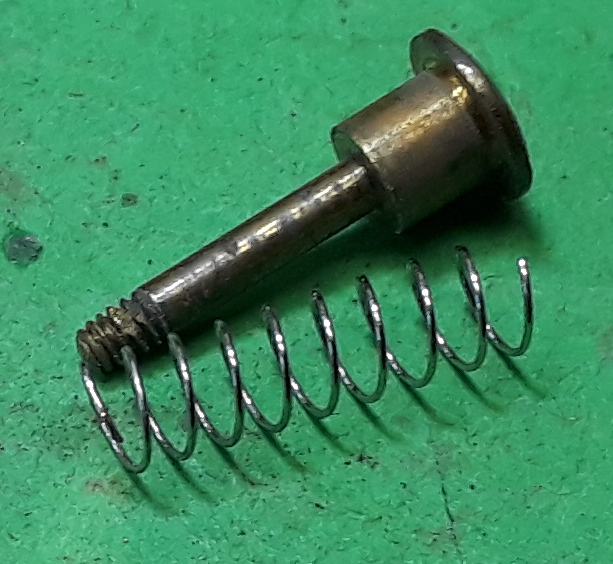 I also noticed that the sprung plunger that is supposed to transfer some weight from the body to the truck was trying to escape.
I thought popping that back in would be a five minute job. Boy have I opened a can of worms!
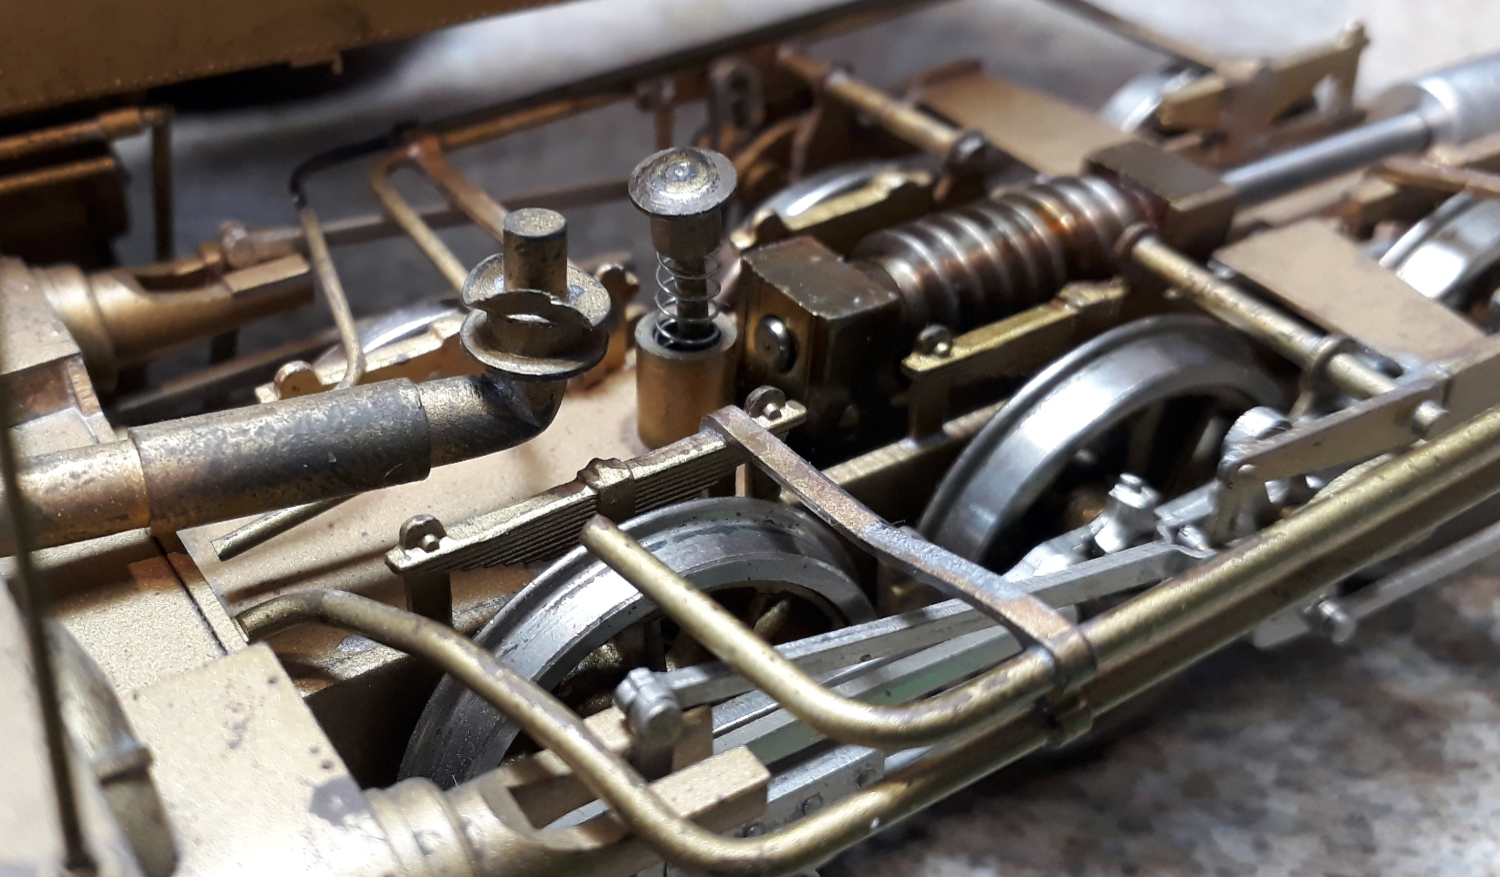 It should fit in here like this but a bit further in and retained by a nut underneath.
Removing the front power unit was easy by just undoing one screw. It went 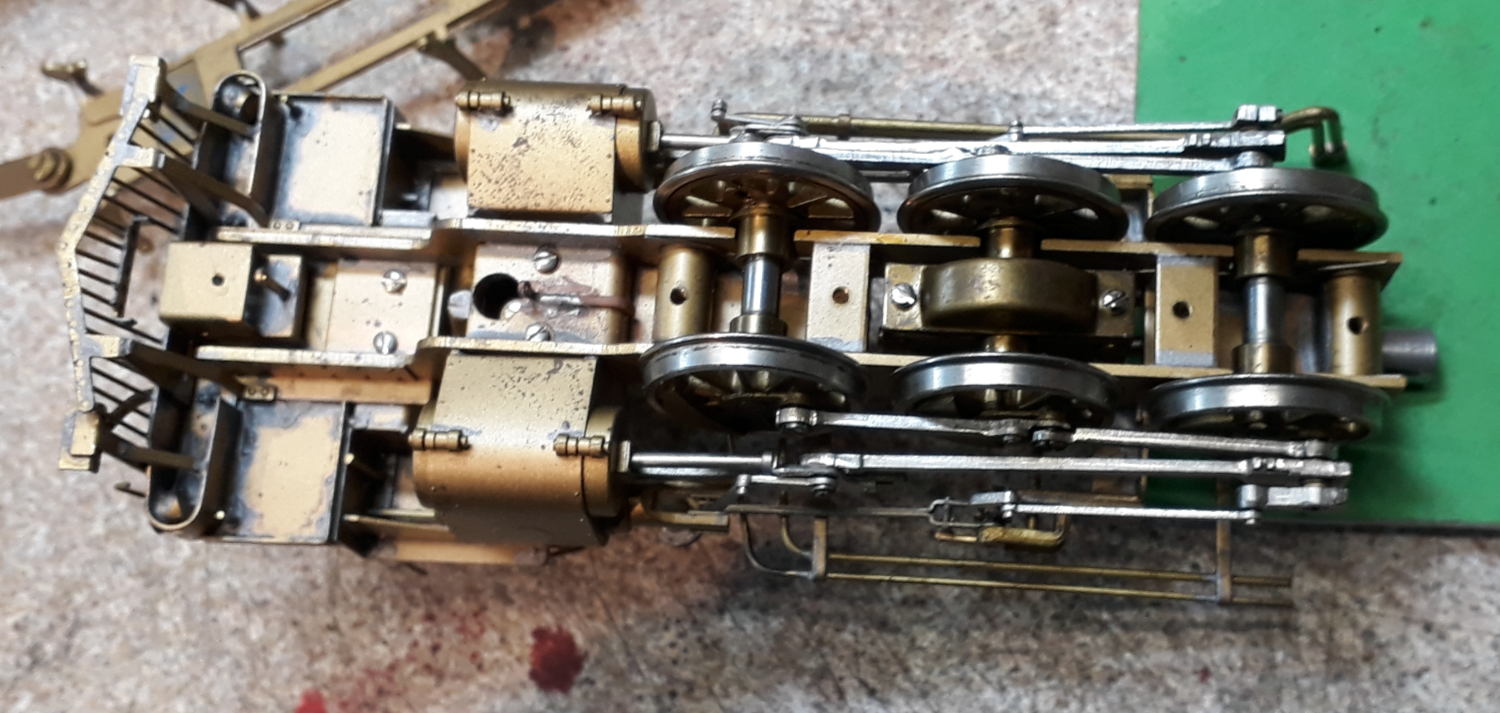 downhill from there. I thought “just pop the keeper plate off and put the retaining nut back on the plunger.
Nope! The bit we need access to is behind the stretcher and between the gearbox and the front axle.
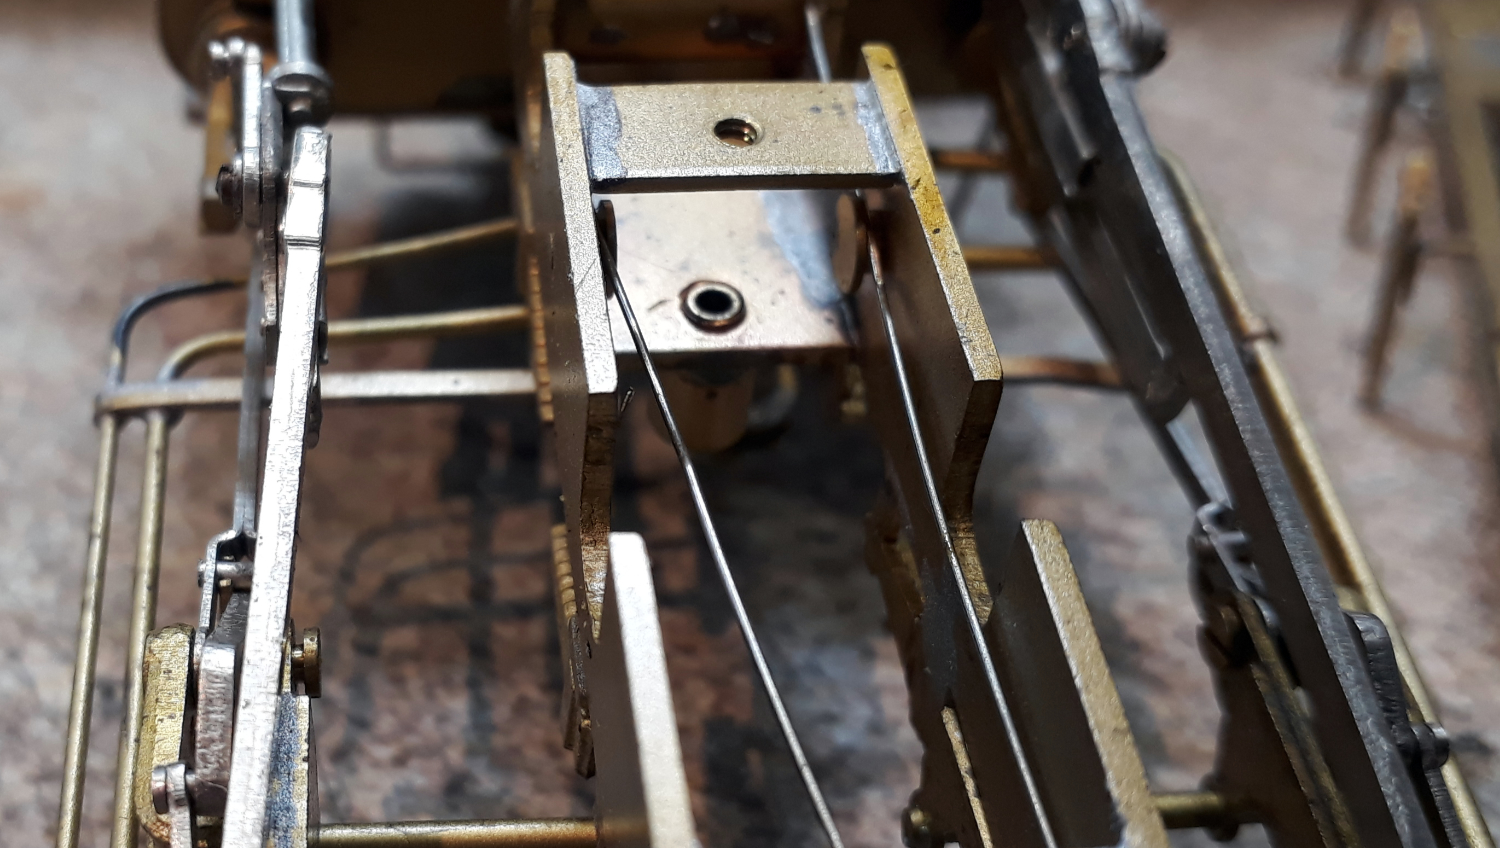 The image to the right jumps ahead a bit but the plunger stem should pop through the lower hole and have a nut on it.
So, I thought, I’ll just undo the gearbox as it could probably do with a re-lube and drop the wheels out. It went downhill from there!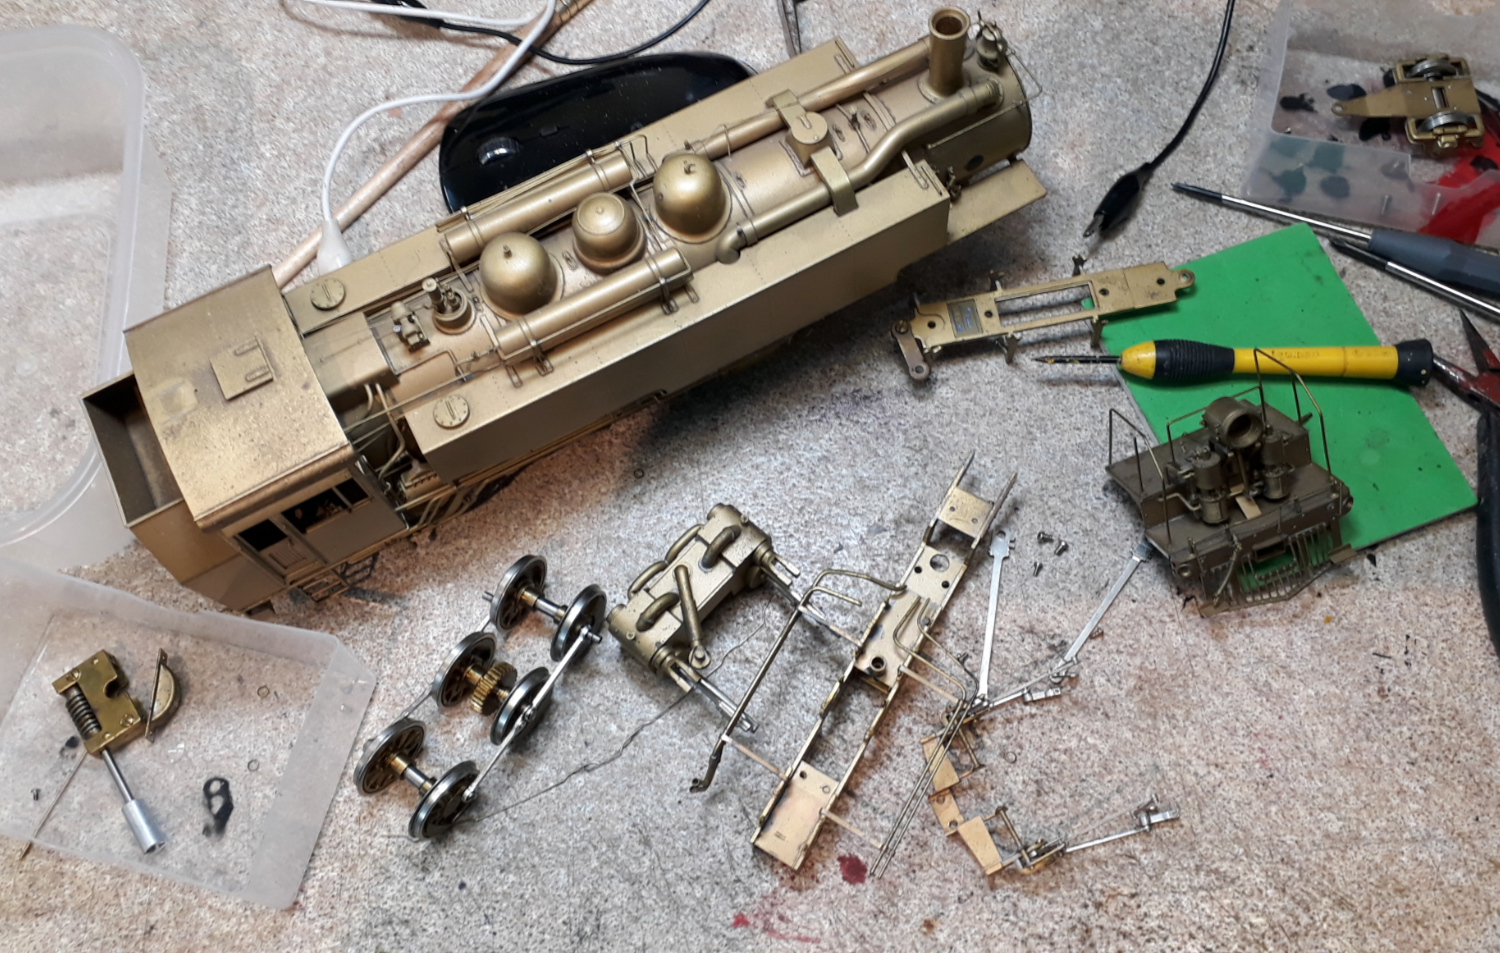
Having got so far with this dismantling now might be the time to start some of its paint job and upgrade whilst I am this far in so I went a bit mad and took the front truck as much to bits as possible.
An upgrade it needs doing are to add pickups to one side of its drivers and, if I can, to the front truck. You could argue this isn’t necessary as both sides of the rigid truck pickup and then bendy truck picks up through one side of the frames. Fitting keep a keep alive with its DCC sound install would avoid any stalling but I have two reasons for doing so.
- In my opinion even with a keep alive you can’t have too many pickups and,
- My layout uses DCC with position detection by sensing motor current and it’s a confined layout so this loco needs to trip the detection as it arrives at a point not after half the loco has passed the point.
The front headlight also needs converting from an ornament in to a working headlight which will mean drilling some holes and running some wires across the truck.
Almost inevitably I’ll follow this up with doing the fixed truck so it matches and I can address one of its Achilles heals. Most of the drive has universal joint but in the depths of the fixed truck there is one that is a bit of silicon tube and they’re prone to slipping on the shaft.
This episode was written whilst the trucks parts were drying following a swim in mu ultrasonic cleaner.
 |
 Coming Soon |
