NGG16 Garratt #138 – The Finale
NGG16 Garratt #138 – The Finale

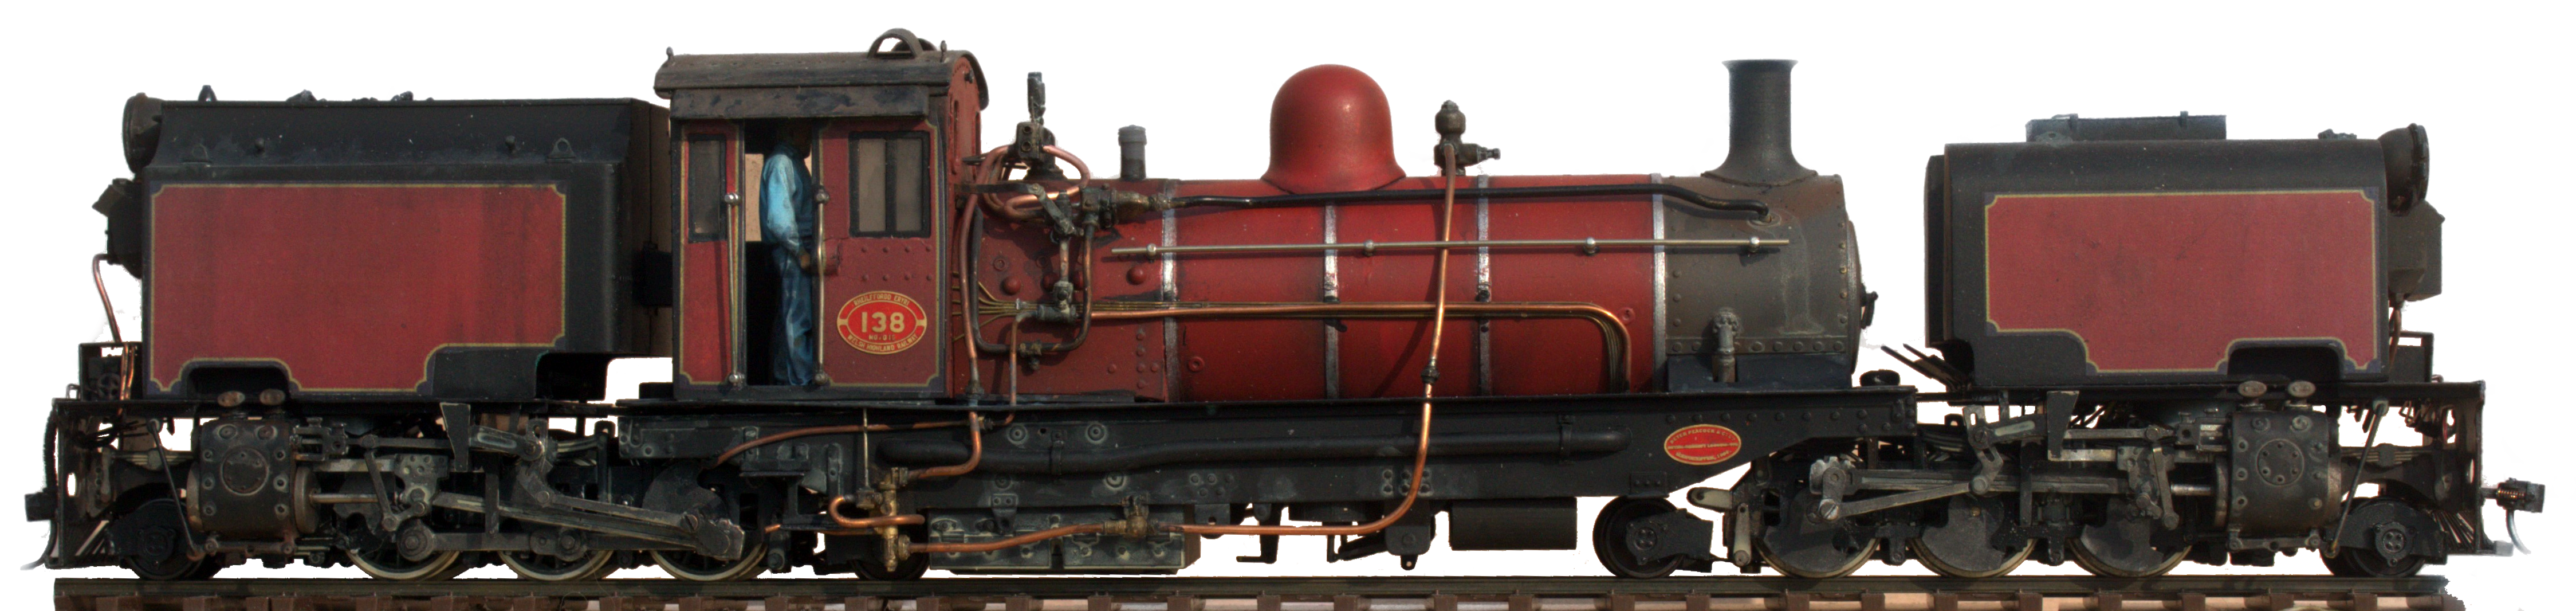
138 has finally gone to its new home and I went from loathing it to not wanting to part with it. I hope the new owner is pleased with it.

This is a job that took way too long. Why? Me really.

  • Scope creep as I was always wanting to do a bit more or a bit better to it.
  • Poor starting point as it started as one of the Chinese assembled models. That said starting from a kit would have many of the frustrations too.
  • Several times I got to the point with it where I just had to put it aside as the more I tried the more I struggled. Inevitably, picking it up some time later I’d wonder just why I was struggling.
  • Dissatisfaction with the source model just left me struggling for motivation.

That last point probably needs some explanation on two counts. The NGG16’s were built in five batches each batch had subtle differences. The biggest being between the first batch that includes the WHR’s #87 which were built in Belgium by Cockerill and the ones that followed. The model tries to be a medley of all of them. Notable the tanks are the shape of the later welded tanks but were covered in rivets. The water filler was early, the cab later.

It would be easy to say the kit was scaled up from 009 but that doesn’t explain the whole issue. The model dates from the pre CAD hand drawn artwork era. Standard when hand drawing artwork was to draw it several times finished size, typically six, and then photo reduce it as this shrinks out any pen errors. This model was only drawn 2 x full size for a finish in 4mm scale so that’s less than 2:1. That might be acceptable for the 009 model as might the simplifications in the construction. [Those that have built the 4mm one might tell a different story]. To produce a 7mm scale kit the reduction from 8mm to 7mm scale gives virtually no error correction and the compromises no longer stand up to scrutiny. The other thing not noticed is that each axle of the power unit has a different shaped fly crank but the model has them all the same. Well, nearly the same as in the model they are made of three layers each, so that’s 36 copies yet there is no cut and paste with a pencil as there would be with CAD.

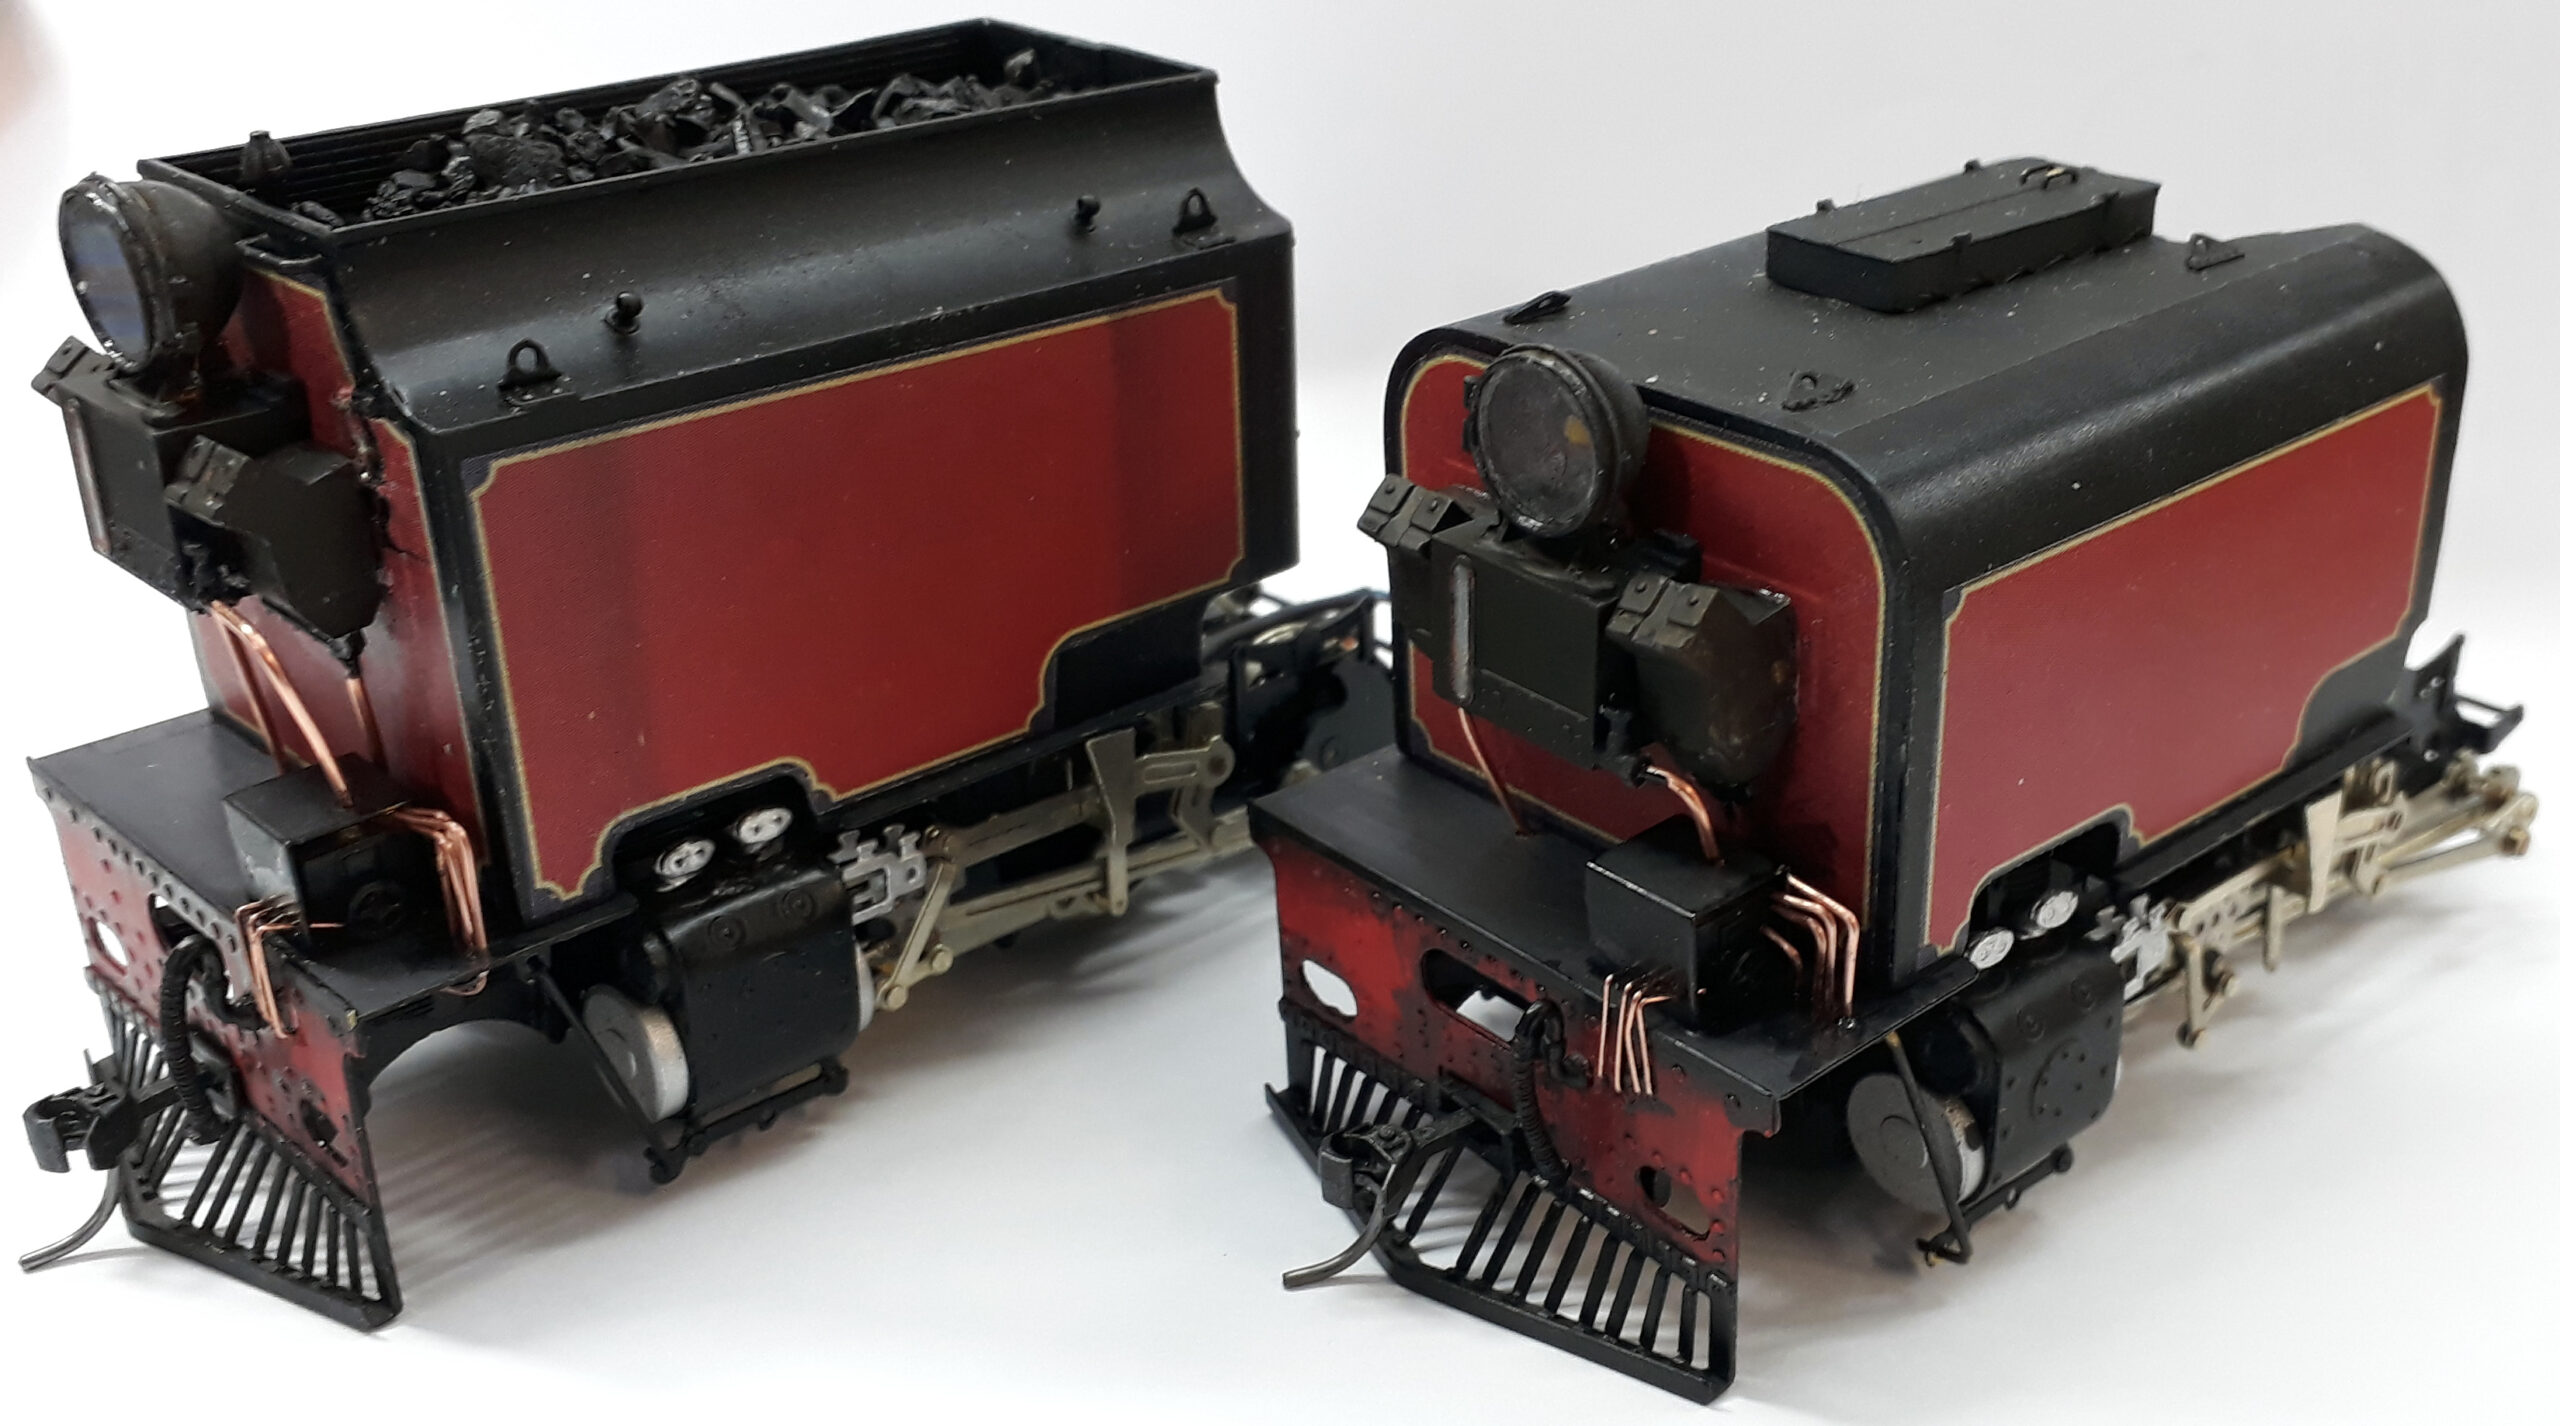
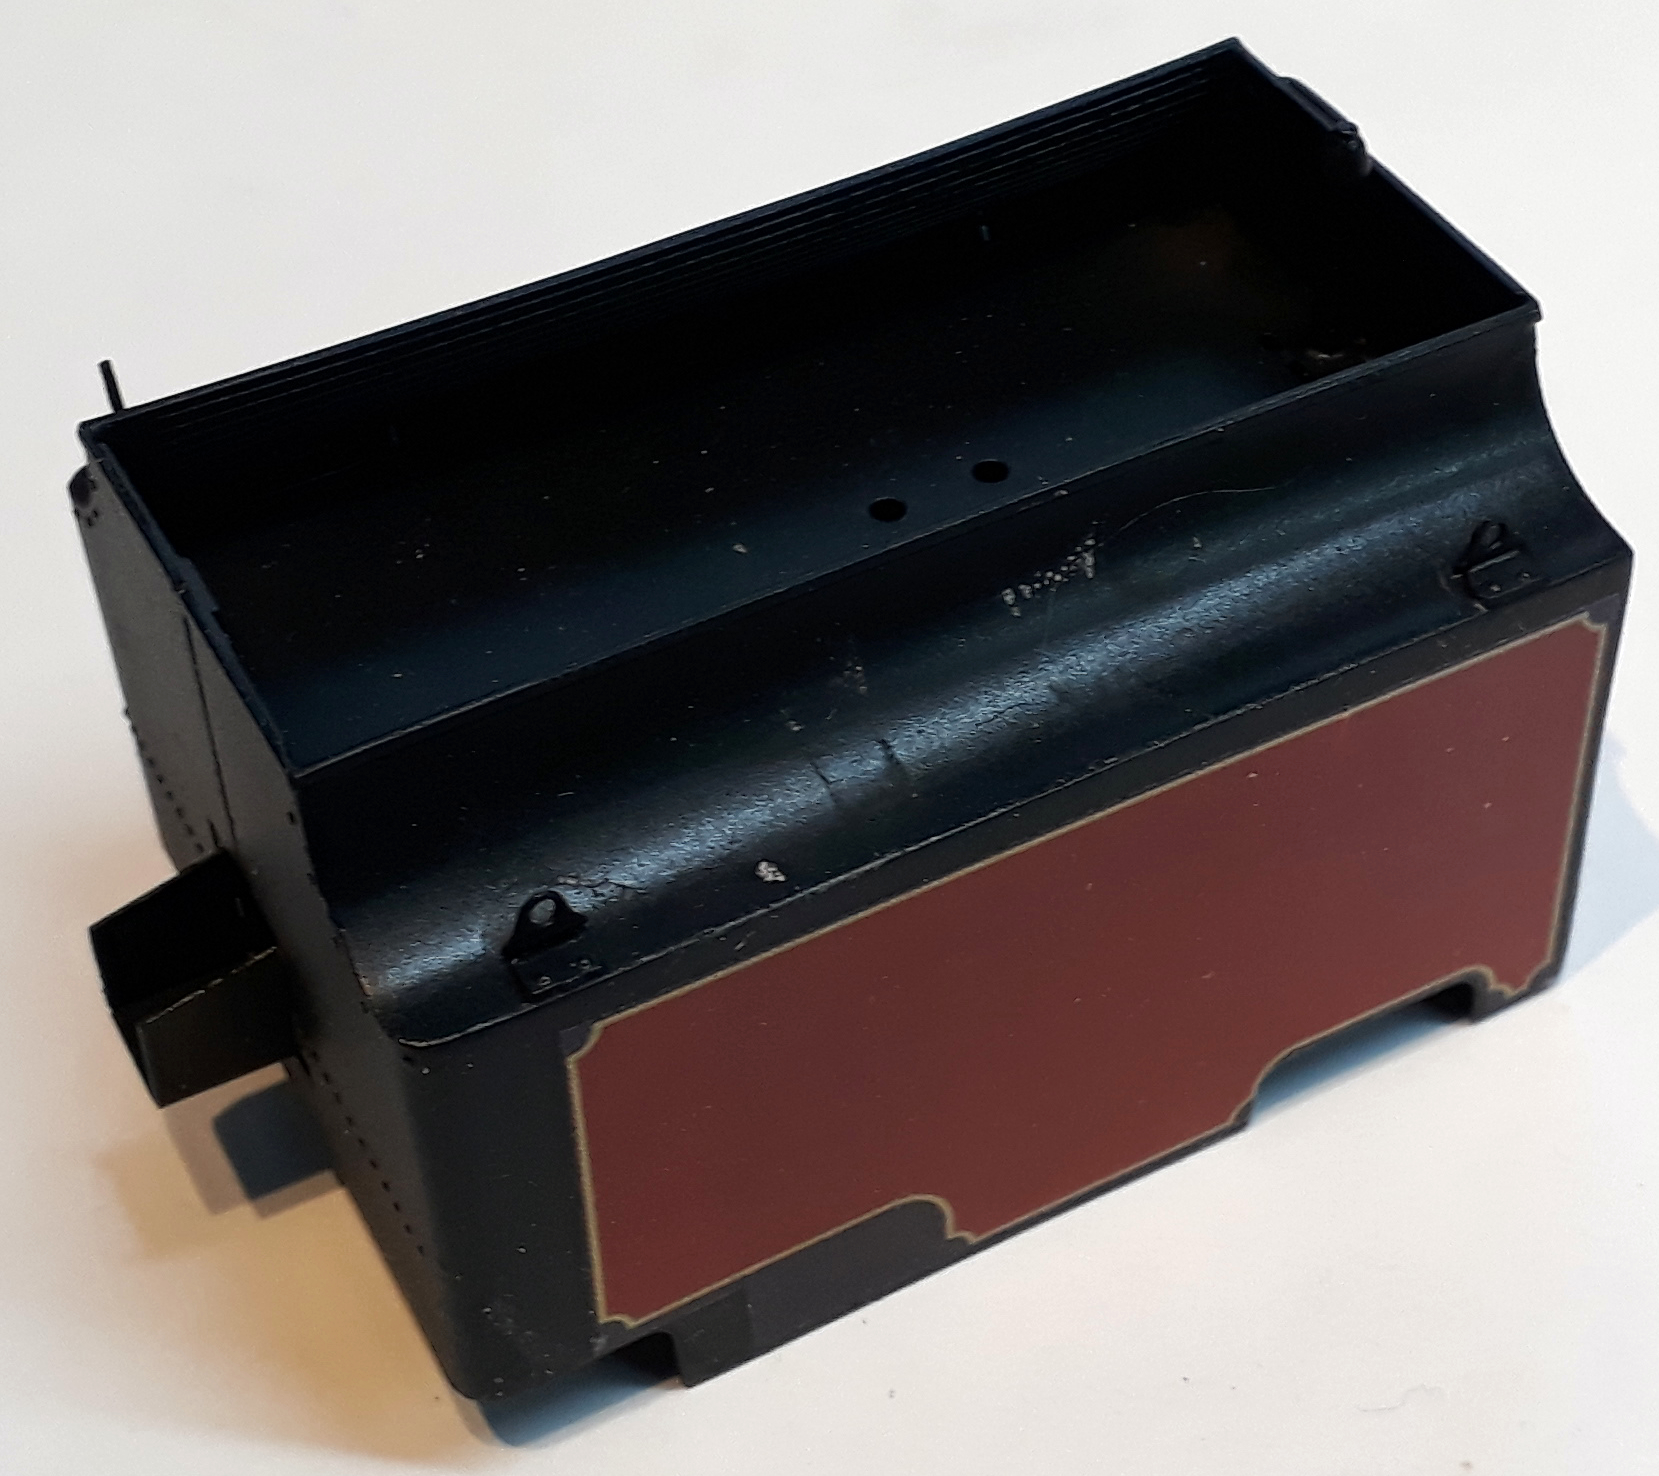
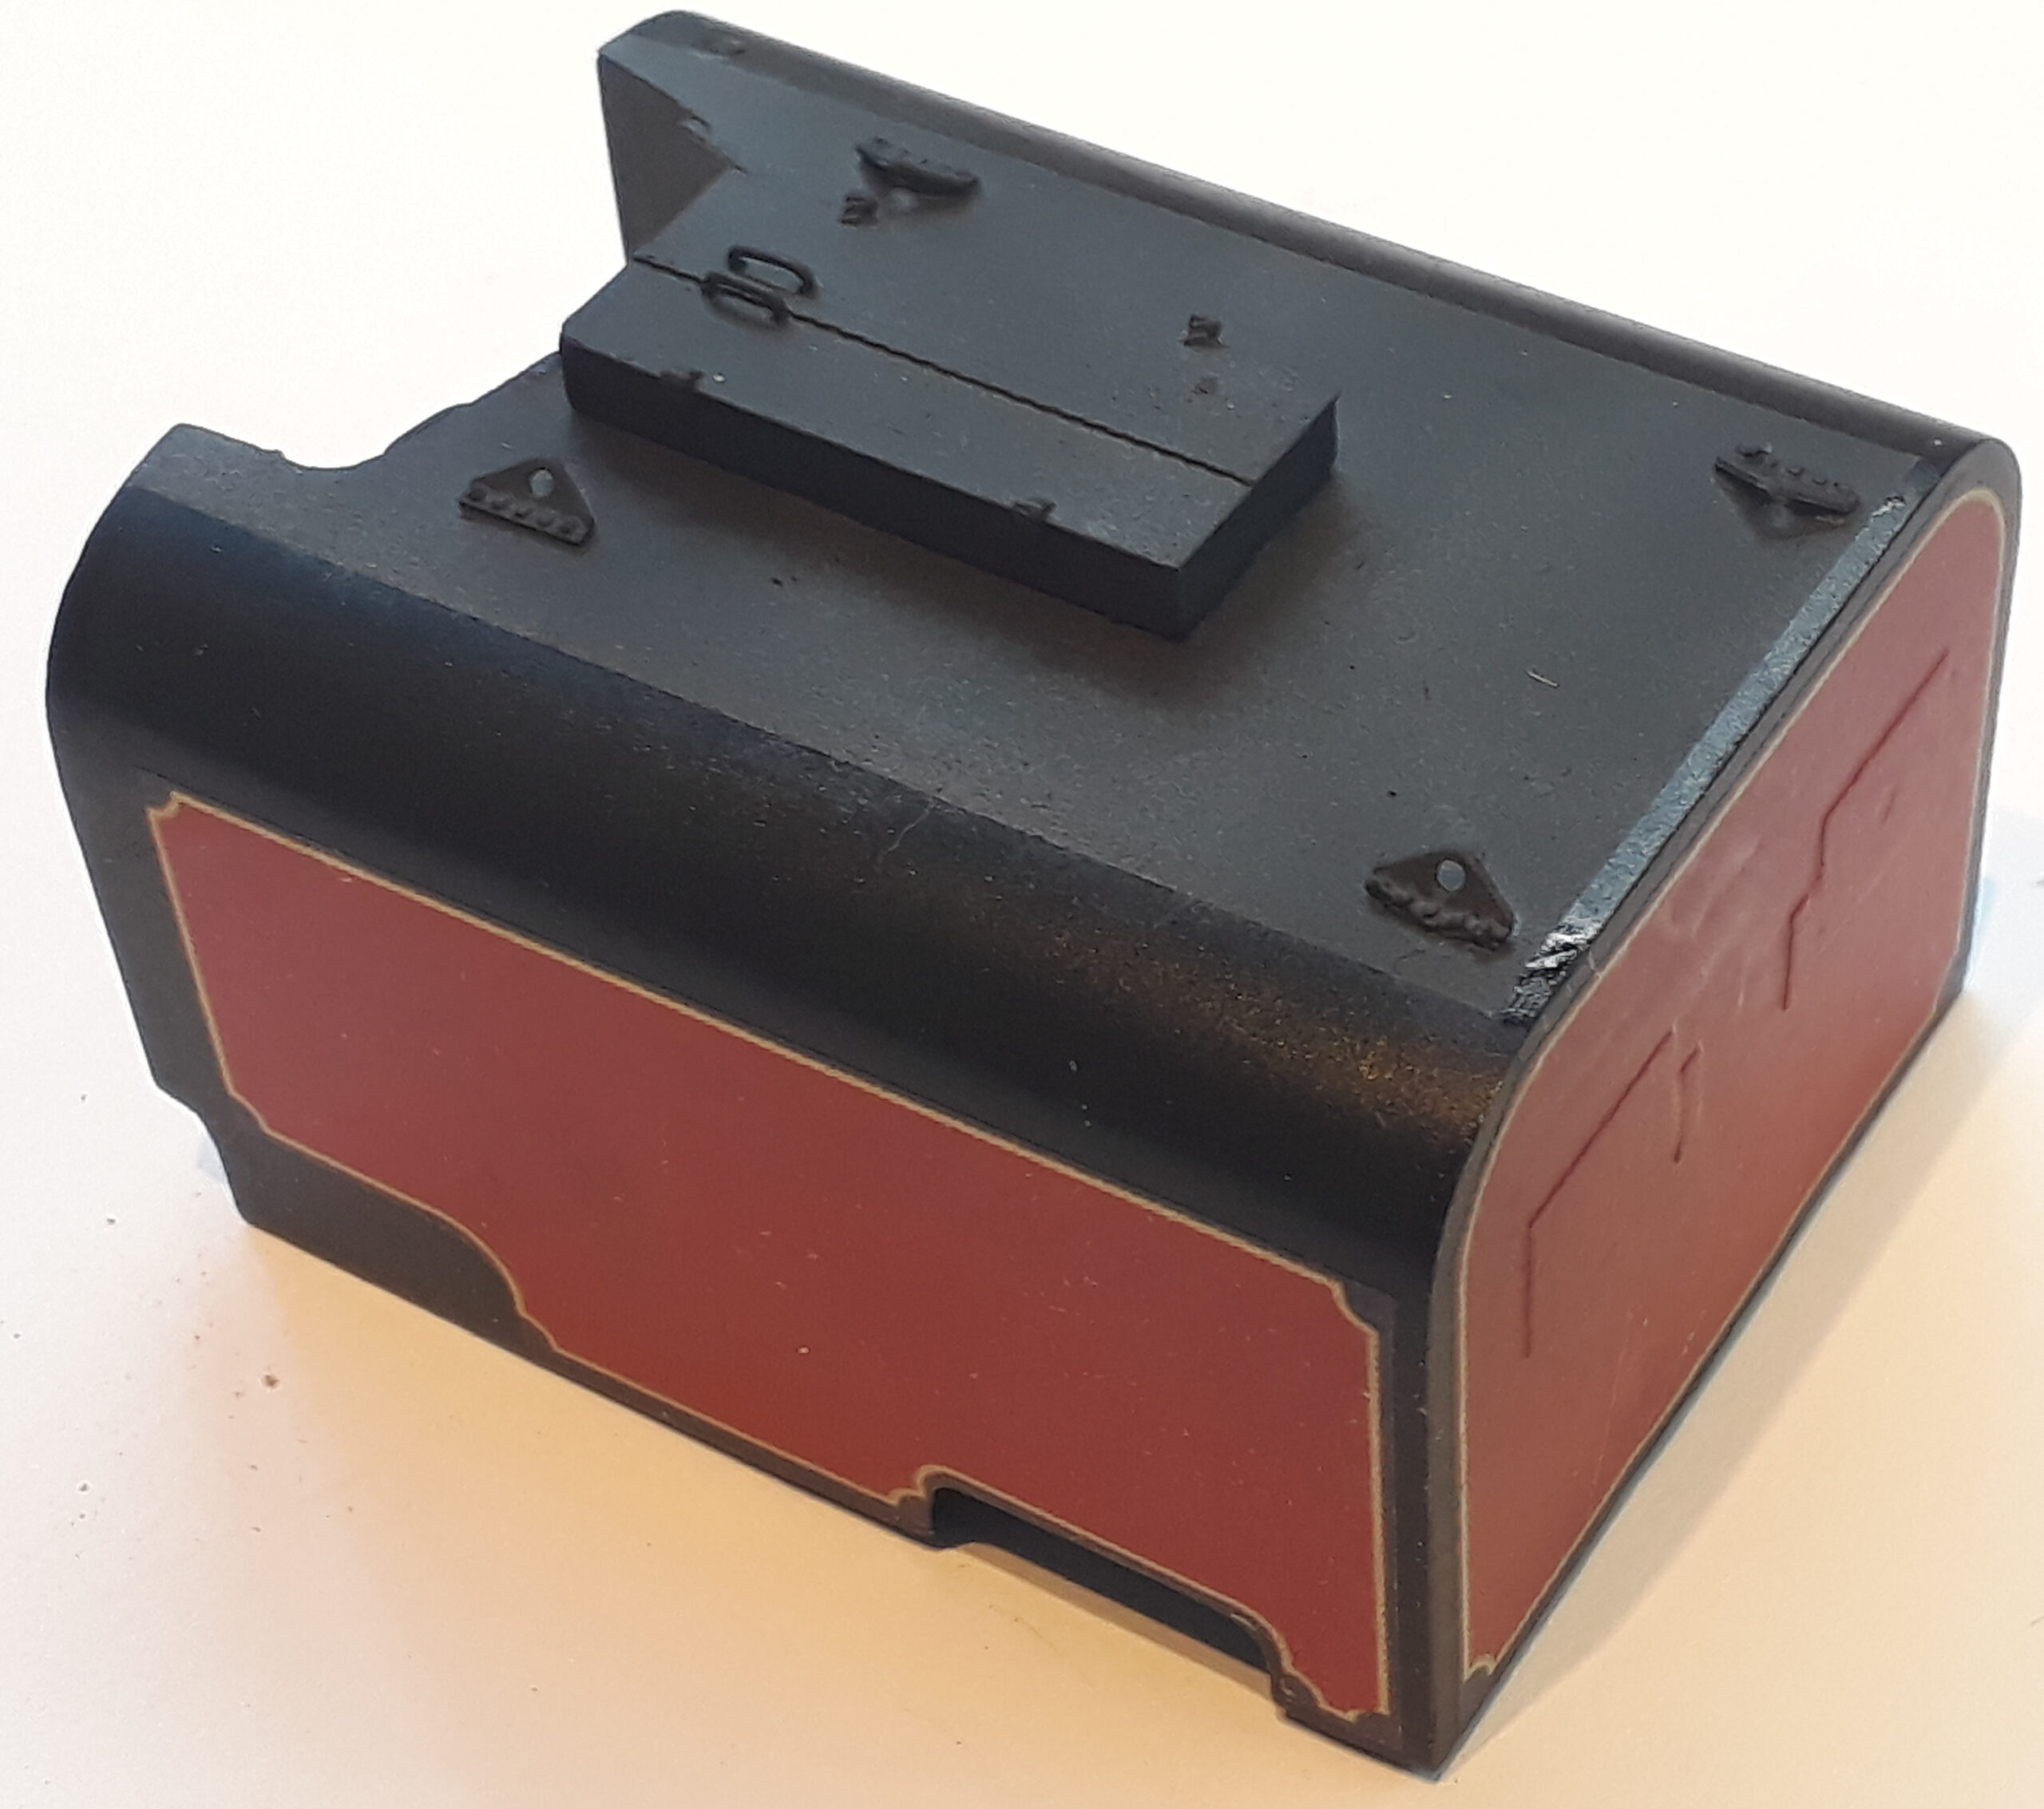
The model has all manner of detail changes with new 3D printed and cast parts. I filed off all the rivets and added all the pipework with copper wire. The cad and the tanks were coloured and lined by doing the model version of a vinyl wrap as they were covered in decals with the livery and lining onto a black surface. The boiler was spray painted. All was then weathered. It’s also now a very heavy loco as the boiler and tanks have a lot of lead in them.

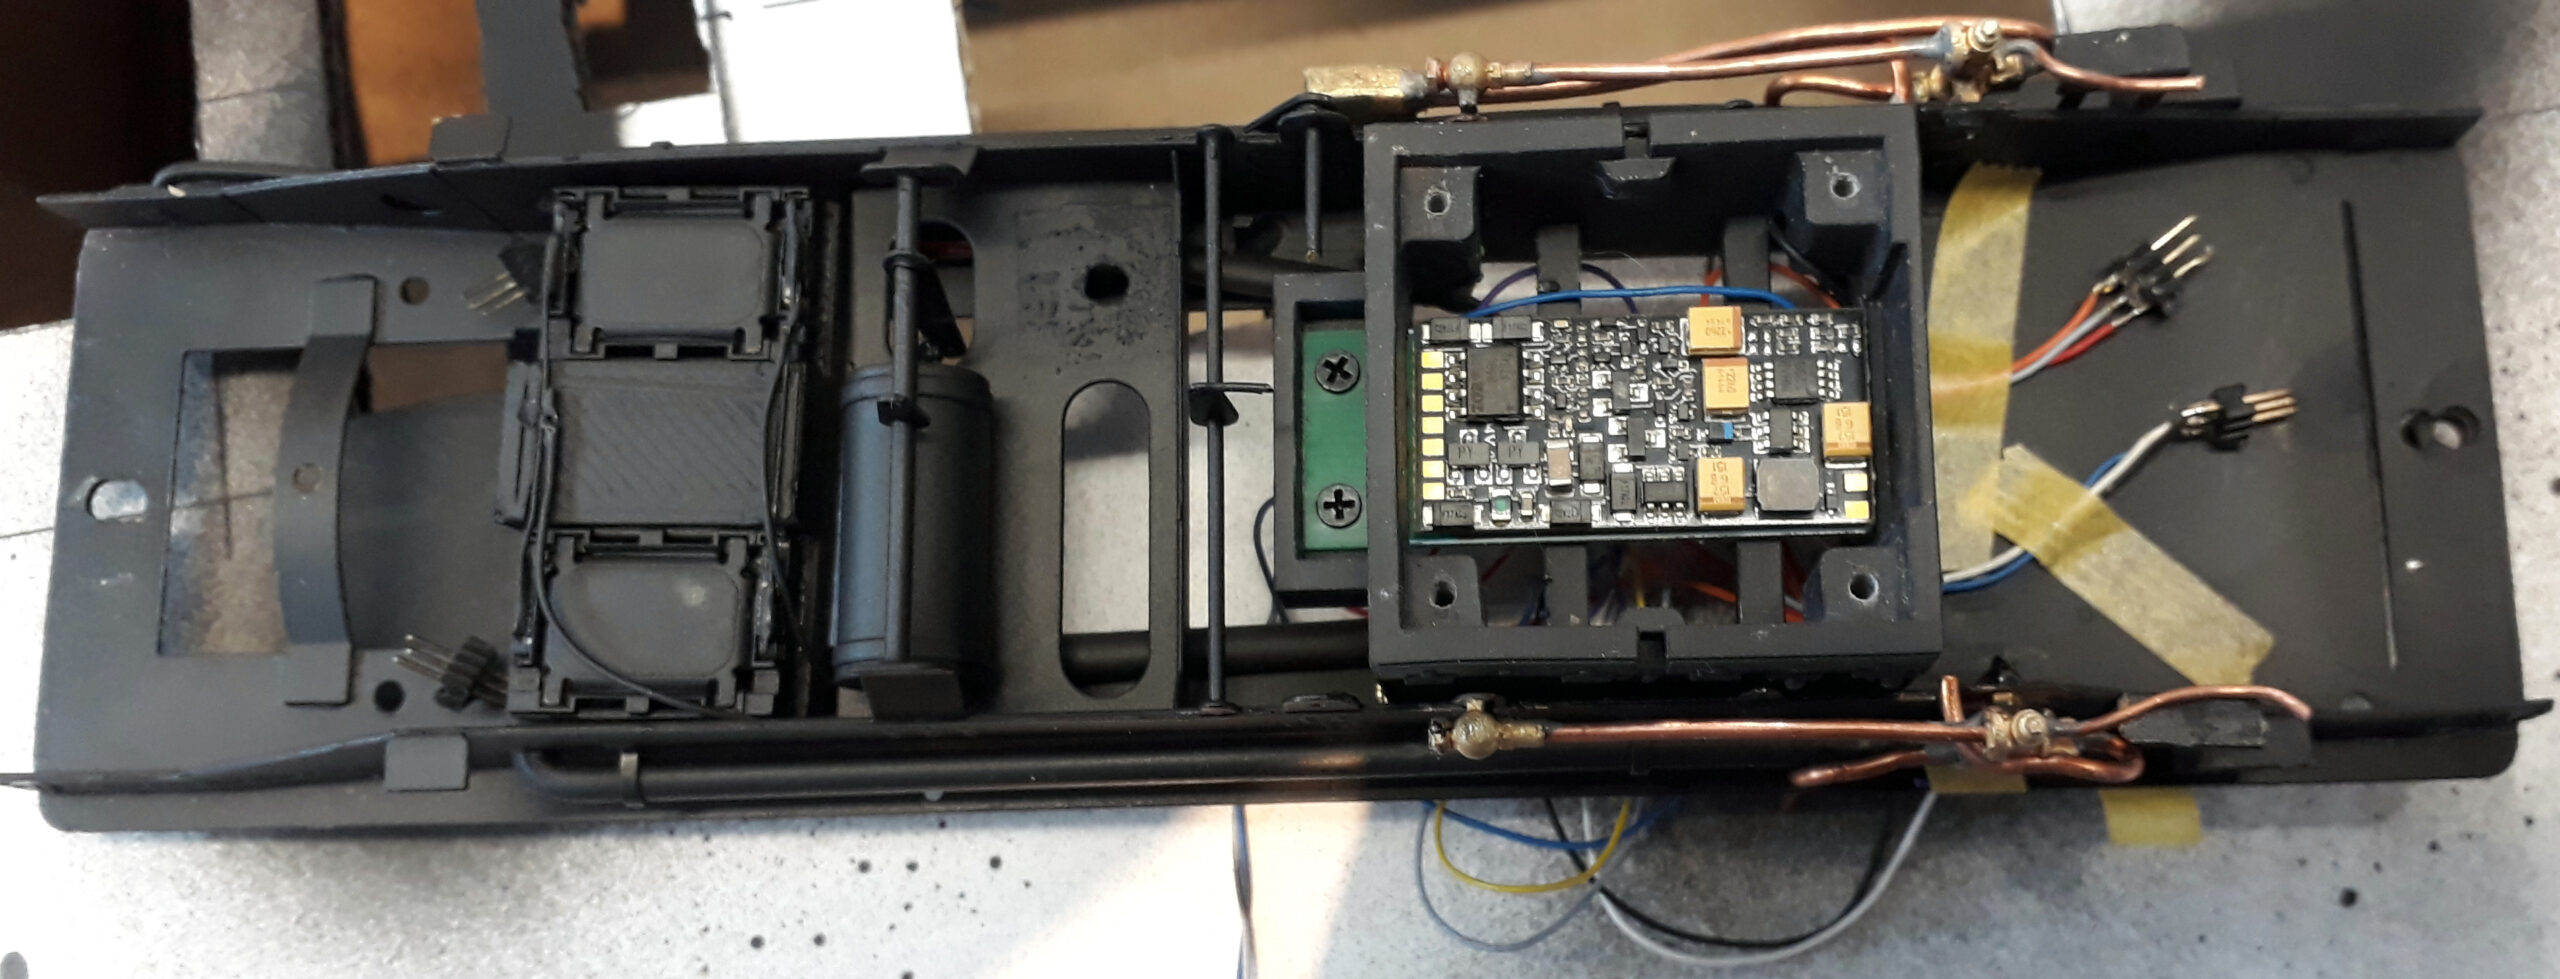
It is DCC and sound fitted. The speakers are under the loco in a an enclosure that looks like the vacuum reservoirs. It also has a large keep alive that smooths the operation of the loco but also keeps the sound and lights alive for several minutes after the power is removed.

Having said all of that I am delighted with how the finished model turned out. I couldn’t resist having a shunt with it as seen in this video

You might think that I would never want to see another NGG16 ever again!  As I was fighting to finish 138 I would have agreed with you. However………

Now its done my mind turned to how to address many of those issues that frustrated me with this one and thoughts are turning to a new design of power bogie. The thought being to address the poor detail, missing bits and the captive wheels (really don’t like them) and making the pony trucks less of a dangly thing that are prone to derailing.

Then there’s this

It had a feline induced flying lesson that it failed in spectacularly. I don’t have the parts to mend it so if I am making new its back to the new bogie ideas.


I do need a break from NGG16 nonsense so it will be a little while before it sees any progress.

So, what am I doing next? Seems I have an articulated problem as there is a 3 truck Shay to mend, Two Uintah 2-6-6-2 Mallets to sort out and four O&K 0-4-4-0 Mallets to build.
 

That’s the end of this series

Loading

Was it Worth It?

As predicted………

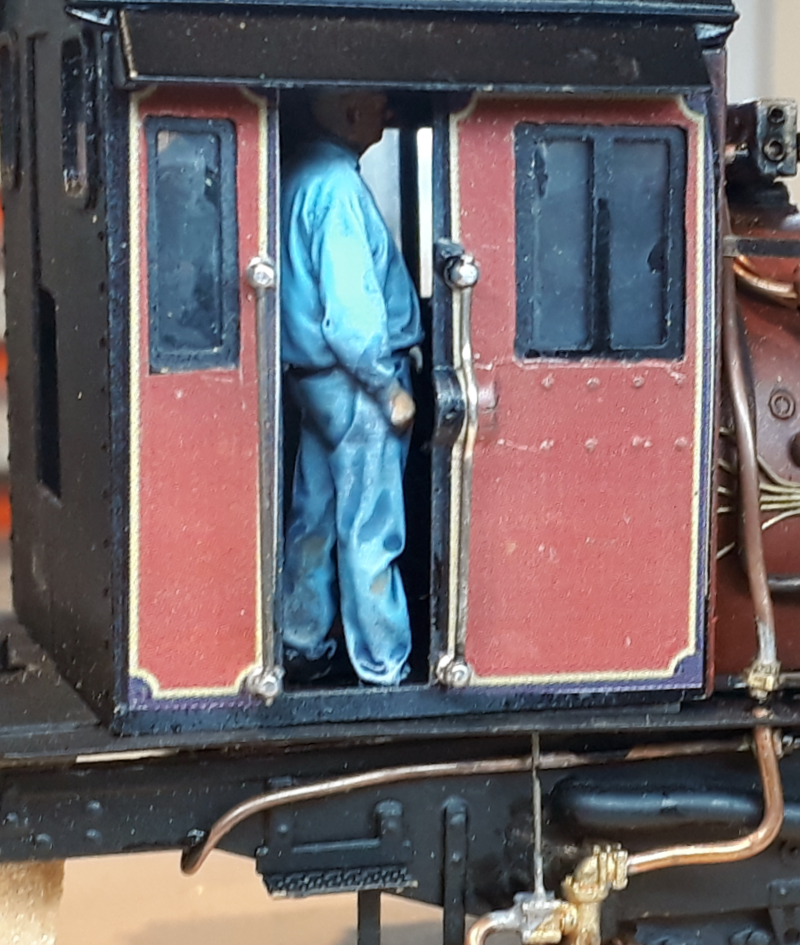
You can hardly see the figures now they are `on the job’ as it were and you have to wonder if it was worth the effort. This is on a model that I am now trying to finish to a deadline.

Given that it took me close to two days to get raw 3D printed figures mounted on rods, painted and installed in their workplace a more slapdash and quicker approach might have done.

I am pleased with the results and am therefore going to come down on the side of it being worth the effort for the following reasons.


  • I know they were done properly
  • I have to push myself with my modelling
  • It’s part of learning to do a better job

The thing is this. Not having painted figures before I think I’m no good at it. Not totally true, I’ve splodged paint on engine crew in the past and from those rubbish efforts I know how bad they were.

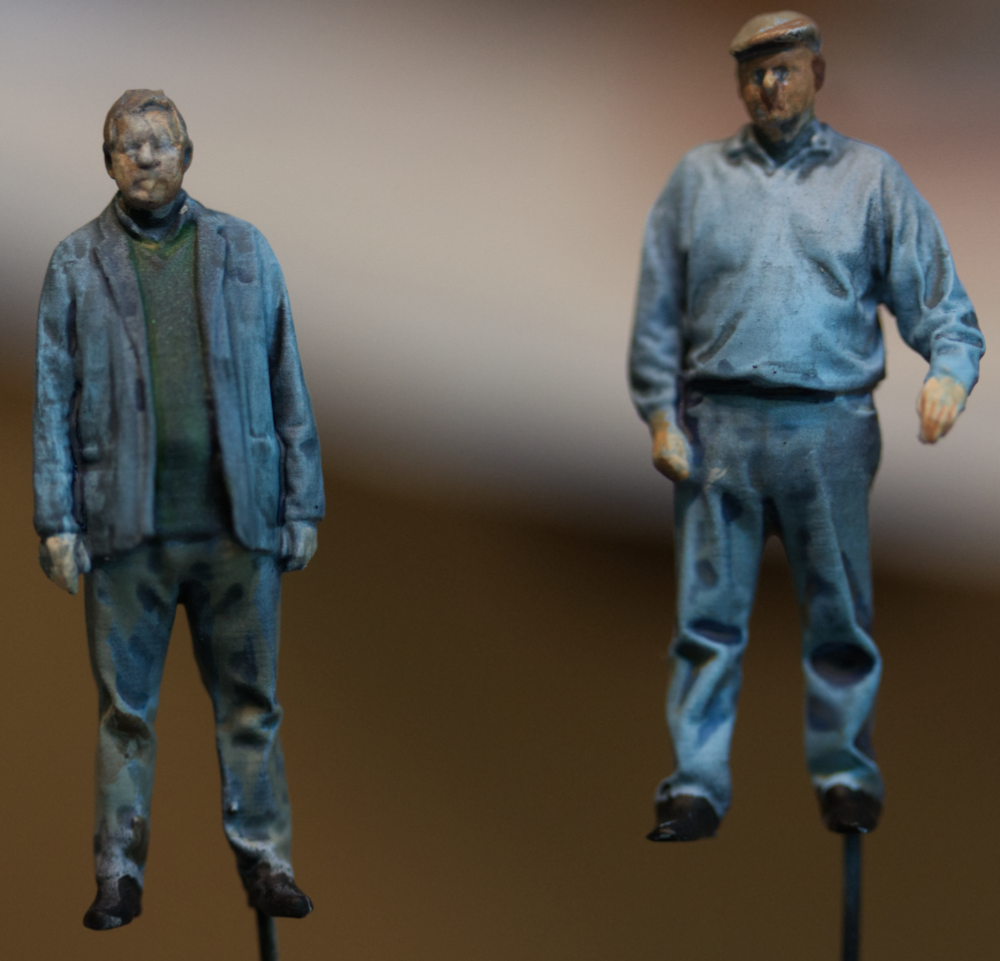
I kept putting this off but then decided that it was time to learn to do it properly with base colours and then shading with washes and filters. The figures were primed and than sprayed black from the feet towards the head. The aim there is to get back in the underside of folds and edges where there would be shadow. Next they were sprayed from above lightly with white. This is to get white on the upward facing surfaces where light would shine.

Only now did I add any actual colours and I’ll let you into a secret, the only blue I had was sky blue, way too light & bright for overalls but by spraying it lightly over the pre shading it took on slightly different shades of blue and, done mostly from above it didn’t get on the shadowy undersides of jackets and creases. I finished of with post shading, washes and filters applied to enhance the `lighter’ bits and darken the shadows. Lastly a spray of matt varnish brought a mix of finished together.

Its actually a good thing you can’t see their faces because that is the worst part of the figure painting. Part of the problem is that the facial features on the printed figures is poorly defined but the colours don’t work.

Skin isn’t just pink! This has some carry over into my photography interest where light is everything and you can highlight or shade with light to enhance or hide features.

Do I still not like painting figures?  No, but worryingly I feel a figure painting rabbit hole opening up. Speed wise for the O scale figures rather than doing two chaps at a time I ‘d set up and do the prep and initial spray work on a batch of figures as this will reduce the waiting time for paints drying, Brush works could be done later to customise each figure without the full desk chaos. I am tempted – post deadline -to get some larger `fleshy’ 3D models and practice skin tones on them.


Loading

Well, that figures

I started the day with “I don’t like painting figures”

However the Garratt won’t drive and fire itself and I wanted to do something better than I had previously. The starting point were some 3D printed figures that are OK but the facial features are a bit indistinct. I have been watching a couple of military modellers channels on You Tube and their figures make anything we have on our railway models look pretty rubbish. Then, they’ll spend a week painting one figure.

Without the luxury of a week something faster was required. Firstly they were sprayed with black aimed at them feet to head and into all the folds of their clothes. Next was a light spray of white from above aiming to get paint on the high spots where the most like would fall. With those dry the clothing was sprayed with the only blue I had which was a bit too sky blue.

Now it was brush work with flesh picked out with base flesh tone and later highlighted on the upward facing surfaces. Boots, Hat and other Clothes were picked out in colours mixed on a plastic tray starting with a coat of dark and then lightened on the high spots.

When that was dry darker washes were brushed onto the folds in the clothing and allowed to run in to folds and crevices. Up to this point it had all been done in pretty quick drying acrylic paints but the washes are deliberately slow to dry to give you time to work them. You sort of end up flooding it and then dry brushing it off the tops and blending it in.

The last colours were some filters of grime and dust that moderate extreme edges in the colours. These are oil based and take time to dry. Once dry the chaps got a shower in acrylic matt varnish.

My thoughts now? Intrigued, I’d guess. I certainly enjoyed putting into practice what I had watched in the videos. In self critical mode they could be a lot better, starting with better quality figures and more practice. I almost want to do them again to put what I have learnt into play.

In more rational mode I remind myself they’re only about 35mm tall and are going to spend their life driving and firing a Garratt from tomorrow where they will hardly be seen.

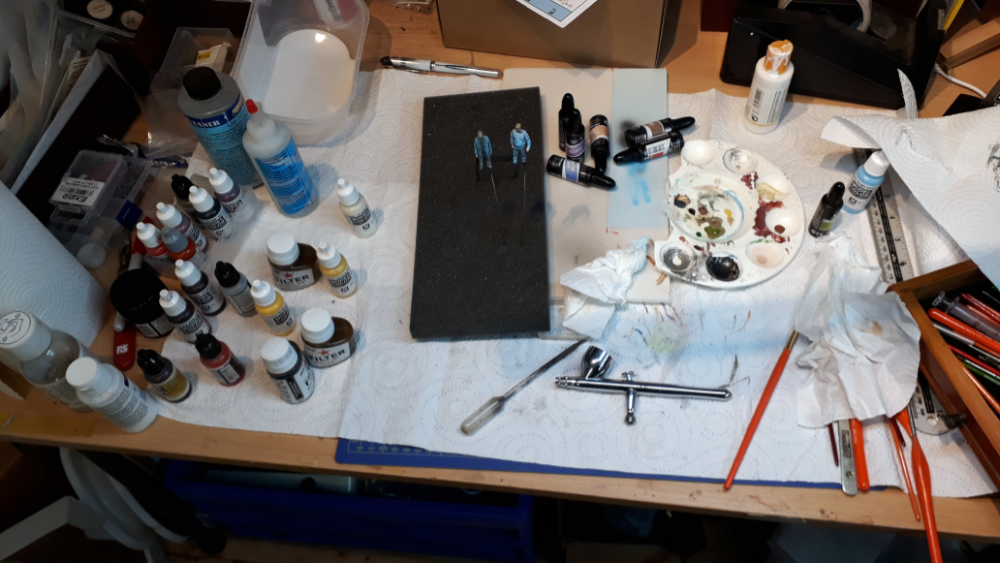
Its taken me much of a day to do these two chaps whilst doing other things in the “drying” interludes and at the end of it what was a clear table looks like this mess. Would I do more? Yes, but I’d do more figures at the same time and I need to expand my acrylic paint colours to be a bit more peoply as palette is all a bit too “train” at the moment.


Loading

Finally……….

Murder  Of  A Garratt – the  coming  together

Finally, its very nearly done. Have to be very careful what I write here as I now the customer reads this blog but if ever there was a model I wish I’d walked away from its this one. It seems to be fighting to the end. Today has been a tale of broken glass.

First, my fancy York Gin glass fell out of the cupboard and smashed. Should have gone back to bed then or chosen to read a book for the day but its been a tale of broken glass model wise too.

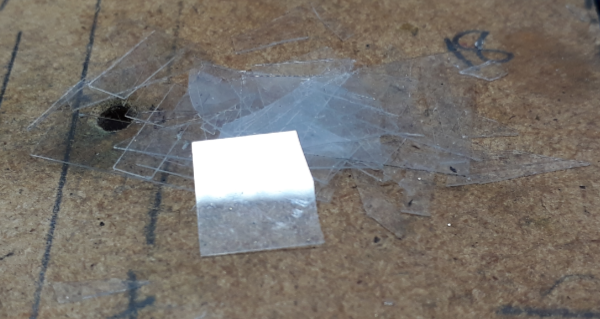
Microscope cover slips to be precise.  They’re only 0.15mm thick optical glass and individual ones will break with a hard stare let alone trying to handle them. Get one out and separated from the pack and you’d better keep an eye on it as, with it being ultra clear glass, if you put it down they tend to disappear.

Cutting them is a whole new ball game. Theoretically its the same as cutting any glass. Scribe a line with a sharp thing and then flex it along the line.  Its not so straightforward when it gets so fiddly. Armed with a carbide scriber the glass slip is placed over a marked sheet or cutting block and a line scribed. The tricky bit is getting the pressure right, somewhere between not touching the glass and the weight of the scriber plus a smidge.

There’s added jeopardy if the slip needs a second cut as the first seems to warn the glass you are coming and it breaks from fright. The worst of these needed four cuts. Best I managed was getting one right at the second slip but the ones needing four cuts took many goes. Luckily they’re only about a fiver for a hundred.

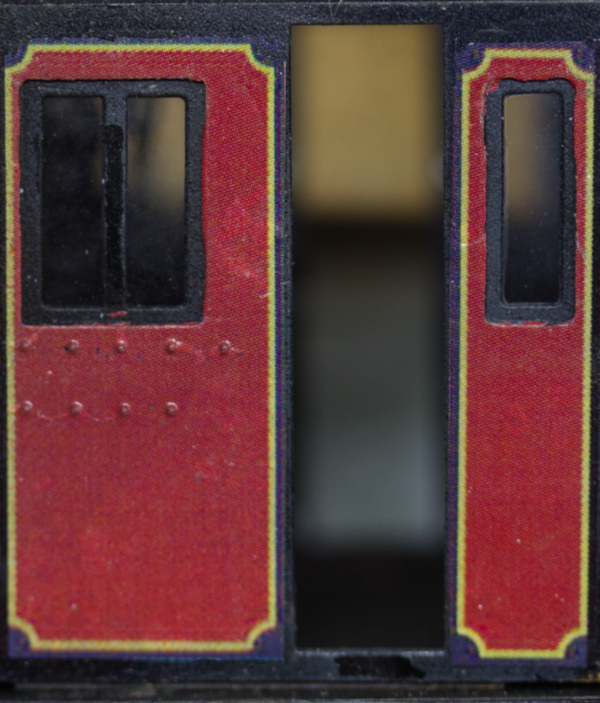
I think its worth the effort though. I know, you’re going to say, “I can’t see the glass” to which my answer would be “precisely!”

This article was written because its ages since I wrote anything about the Garratt and its sort of some enforced patience to not touch it until the glue has dried fully. I have been saving pictures for a larger update but I’ll save that all now for a post entitled “delivered”.

Loading

Saturday is Too Soon. 

Saturday is Too Soon.  Can we move to about next Wednesday?

This is one of those posts you can look at in two ways. You could be properly despondent about it or you could take the optimistic outlook of how far you’ve come with it. With a promised Saturday delivery the former is the one I chose and its taken me some time to even think of the second version let alone adopt it.

What has prompted this outbreak of gloom?

The Garratt has turned into a never ending saga. Nothing has gone horribly wrong (until tonight, more of that in a moment) but it just seems to go on forever. I keep ticking off jobs but the end doesn’t seem to get any closer. There have been some tasks on it that I really haven’t looked forward to and there are some that I’ve had to think about and try a couple of things before I’ve got it right.

Better do a progress update

Well, this isn’t the disaster that prompted the current gloom but the masking tape used whilst I was painting the boiler bands lifted the paint on the firebox as it was removed.

This was despite doing all the usual things like using decent model masking tape, (can’t recall if this was Tamiya or MIG), desensitising it by sticking it to glass a couple of times to reduce the tack before using it on the models.

That was definitely a “put the kettle on” moment and pause for a think.

Must have been in a philosophical mood that day because I told myself `it obviously wasn’t stuck properly and that its better it did it now rather than at the end’. Yes, I surprised myself with that one!

Anyway, time to set about fixing it. The edge of the red paint was cut back to where it was stuck and then feathered in with Tcut. The black was then abraded and wafted with brown acrylic primer using a mask held away from the model so as the spray had a soft edge.

When that had dried the same soft edge spray was done with the body colour red. This was put in my warm cabinet and left to harden.

I then touched up the chrome bands and left them to dry.

Up to this point it has all been done with acrylic paints but now some early weathering was done with black enamel as a pin wash around the bands to pick out a line between them and the boiler. Other areas got the wash treatment with the black applied around details, allowed to dry a bit and then wiped away with a brush just damp with thinners. The leaves a black shadow around details. I think I got away with that one  – still on track for Saturday!

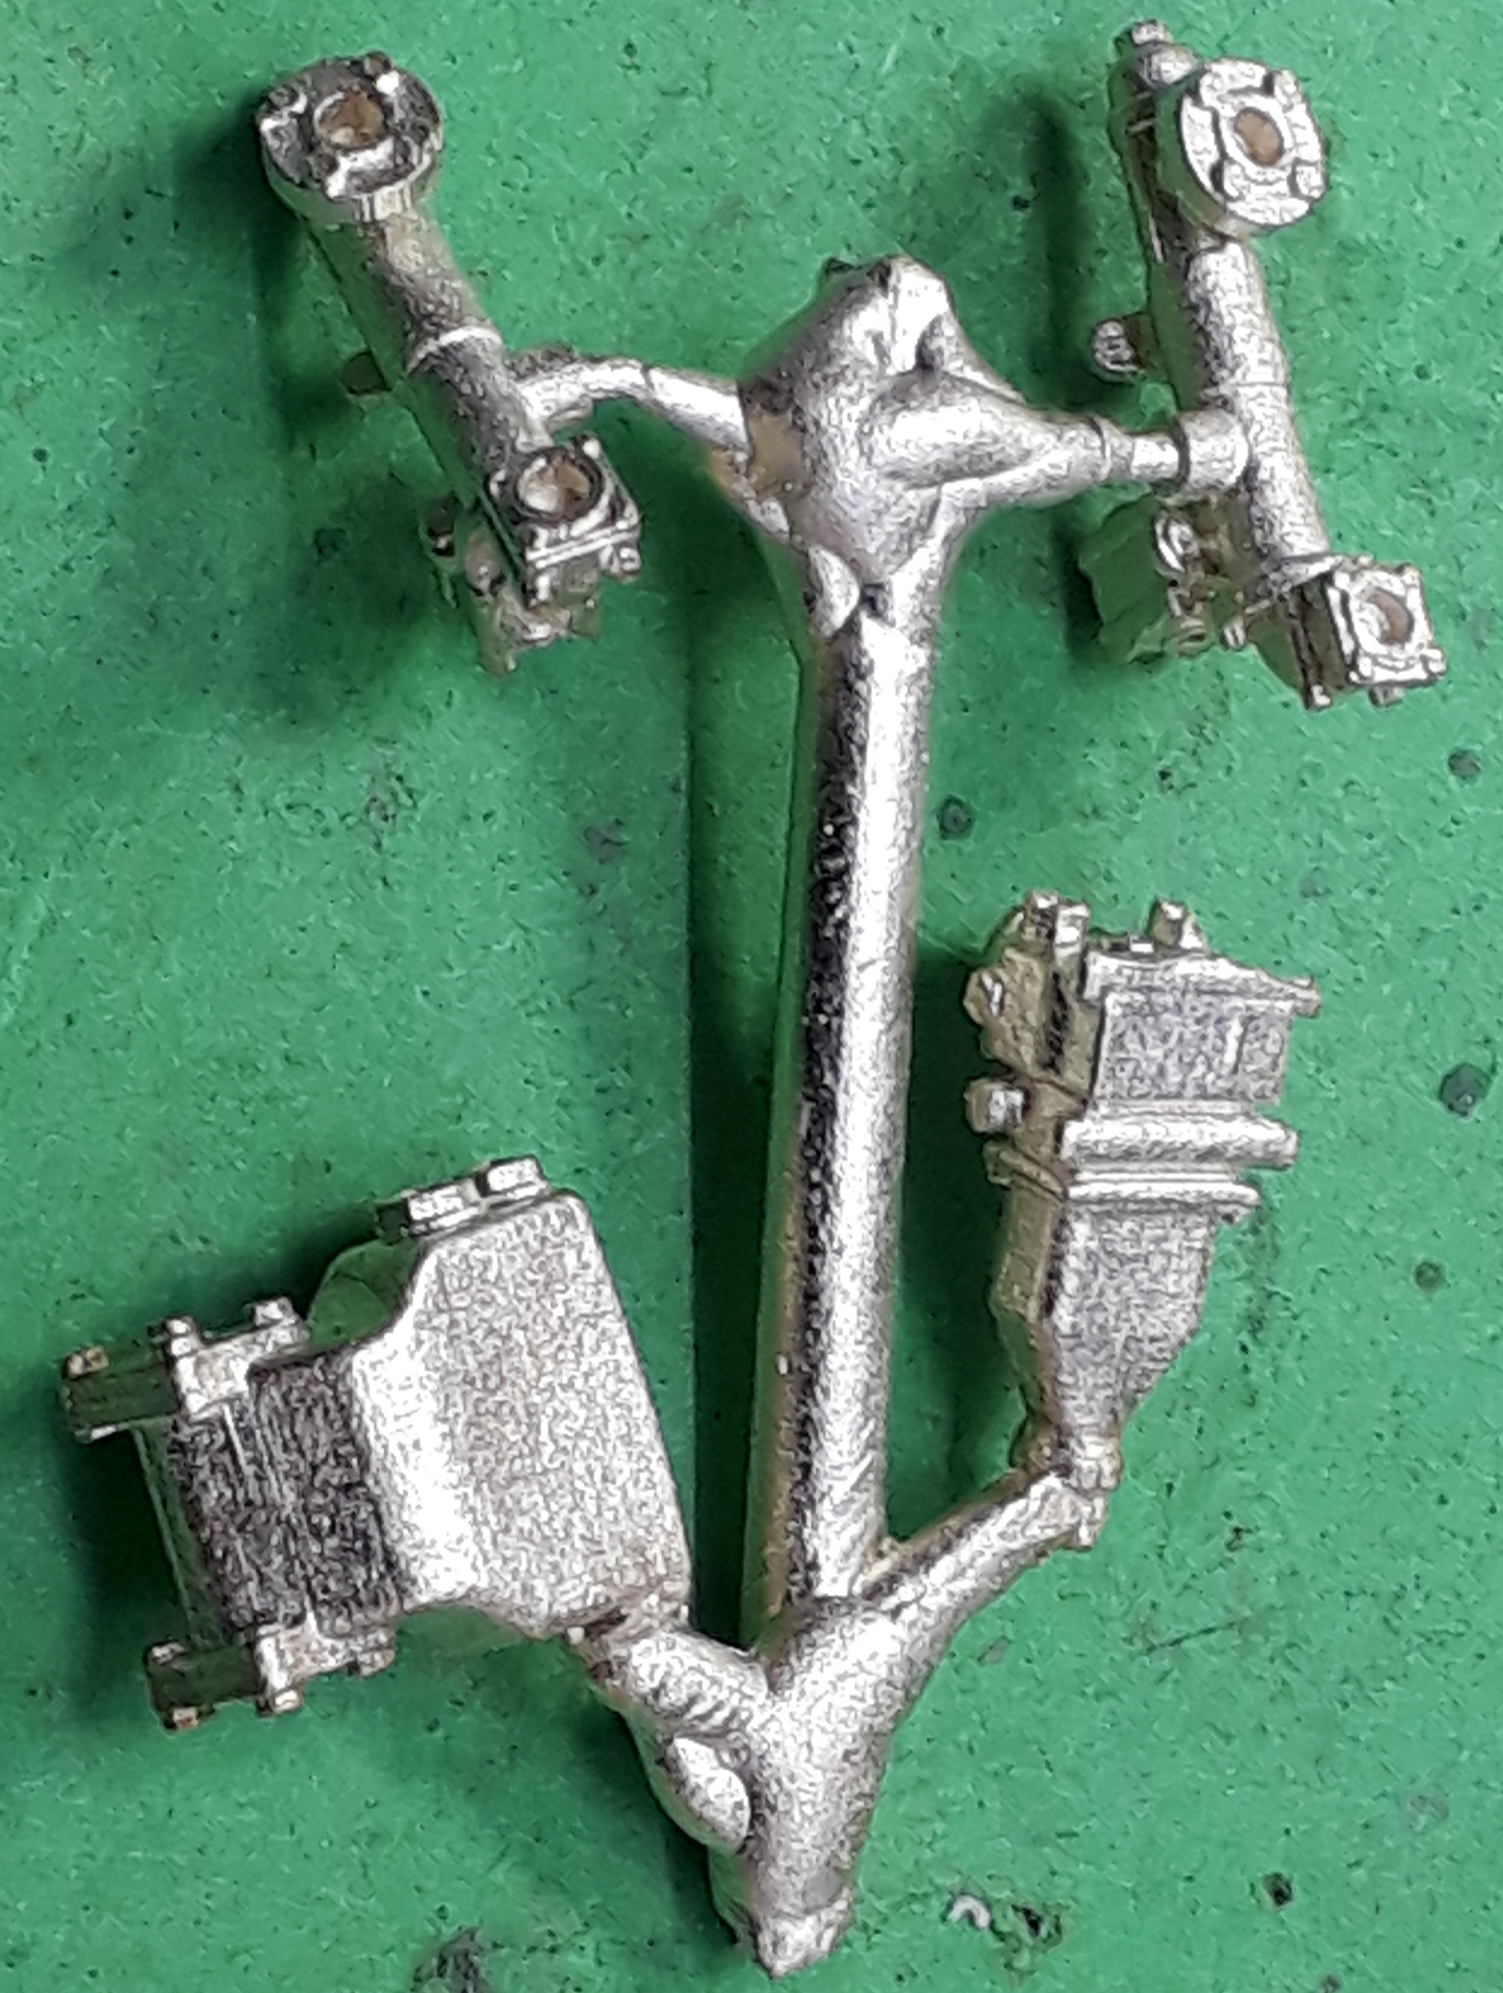
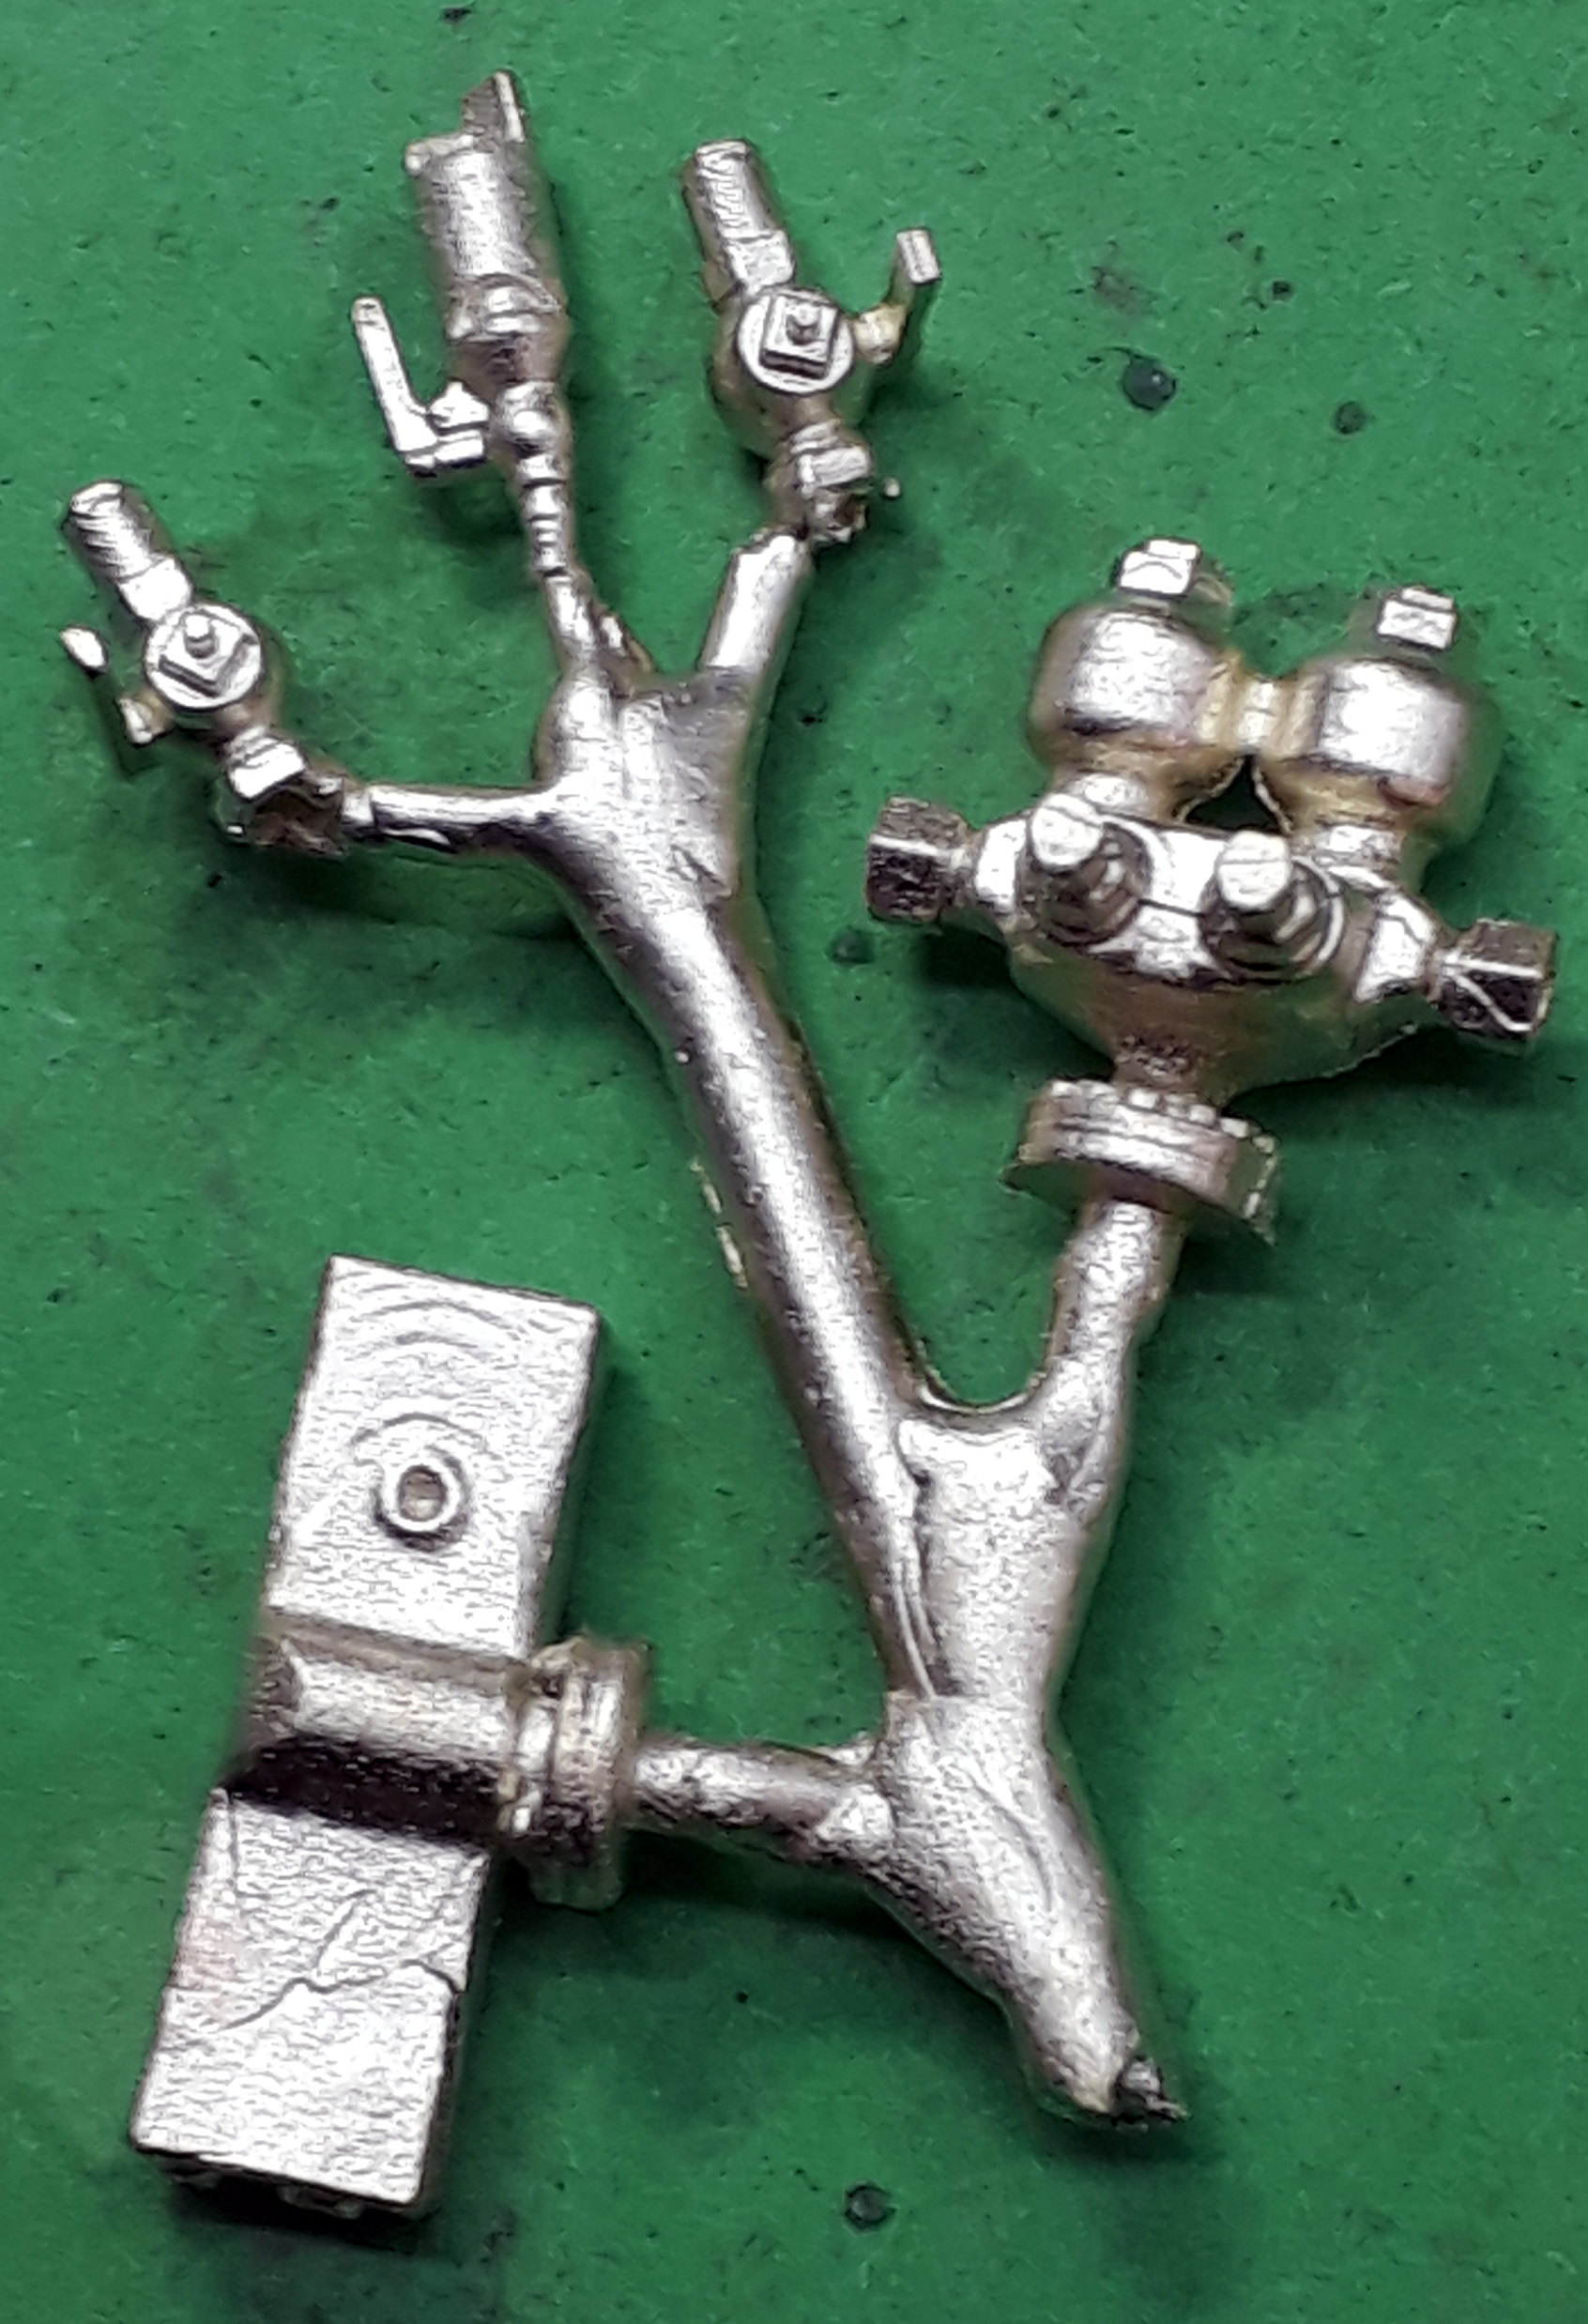
Next slight panic was the `put something in a safe place’ problem. I mastered some new parts for this as 3D prints and then had them cast in brass. Could I find them could I heck as like. My nearly tame caster came to the rescue and new castings arrived in just a couple of days and even their arrival hasn’t prompted the originals to appear.

This allowed progress with the pipework which on the original model was a bit underfed.

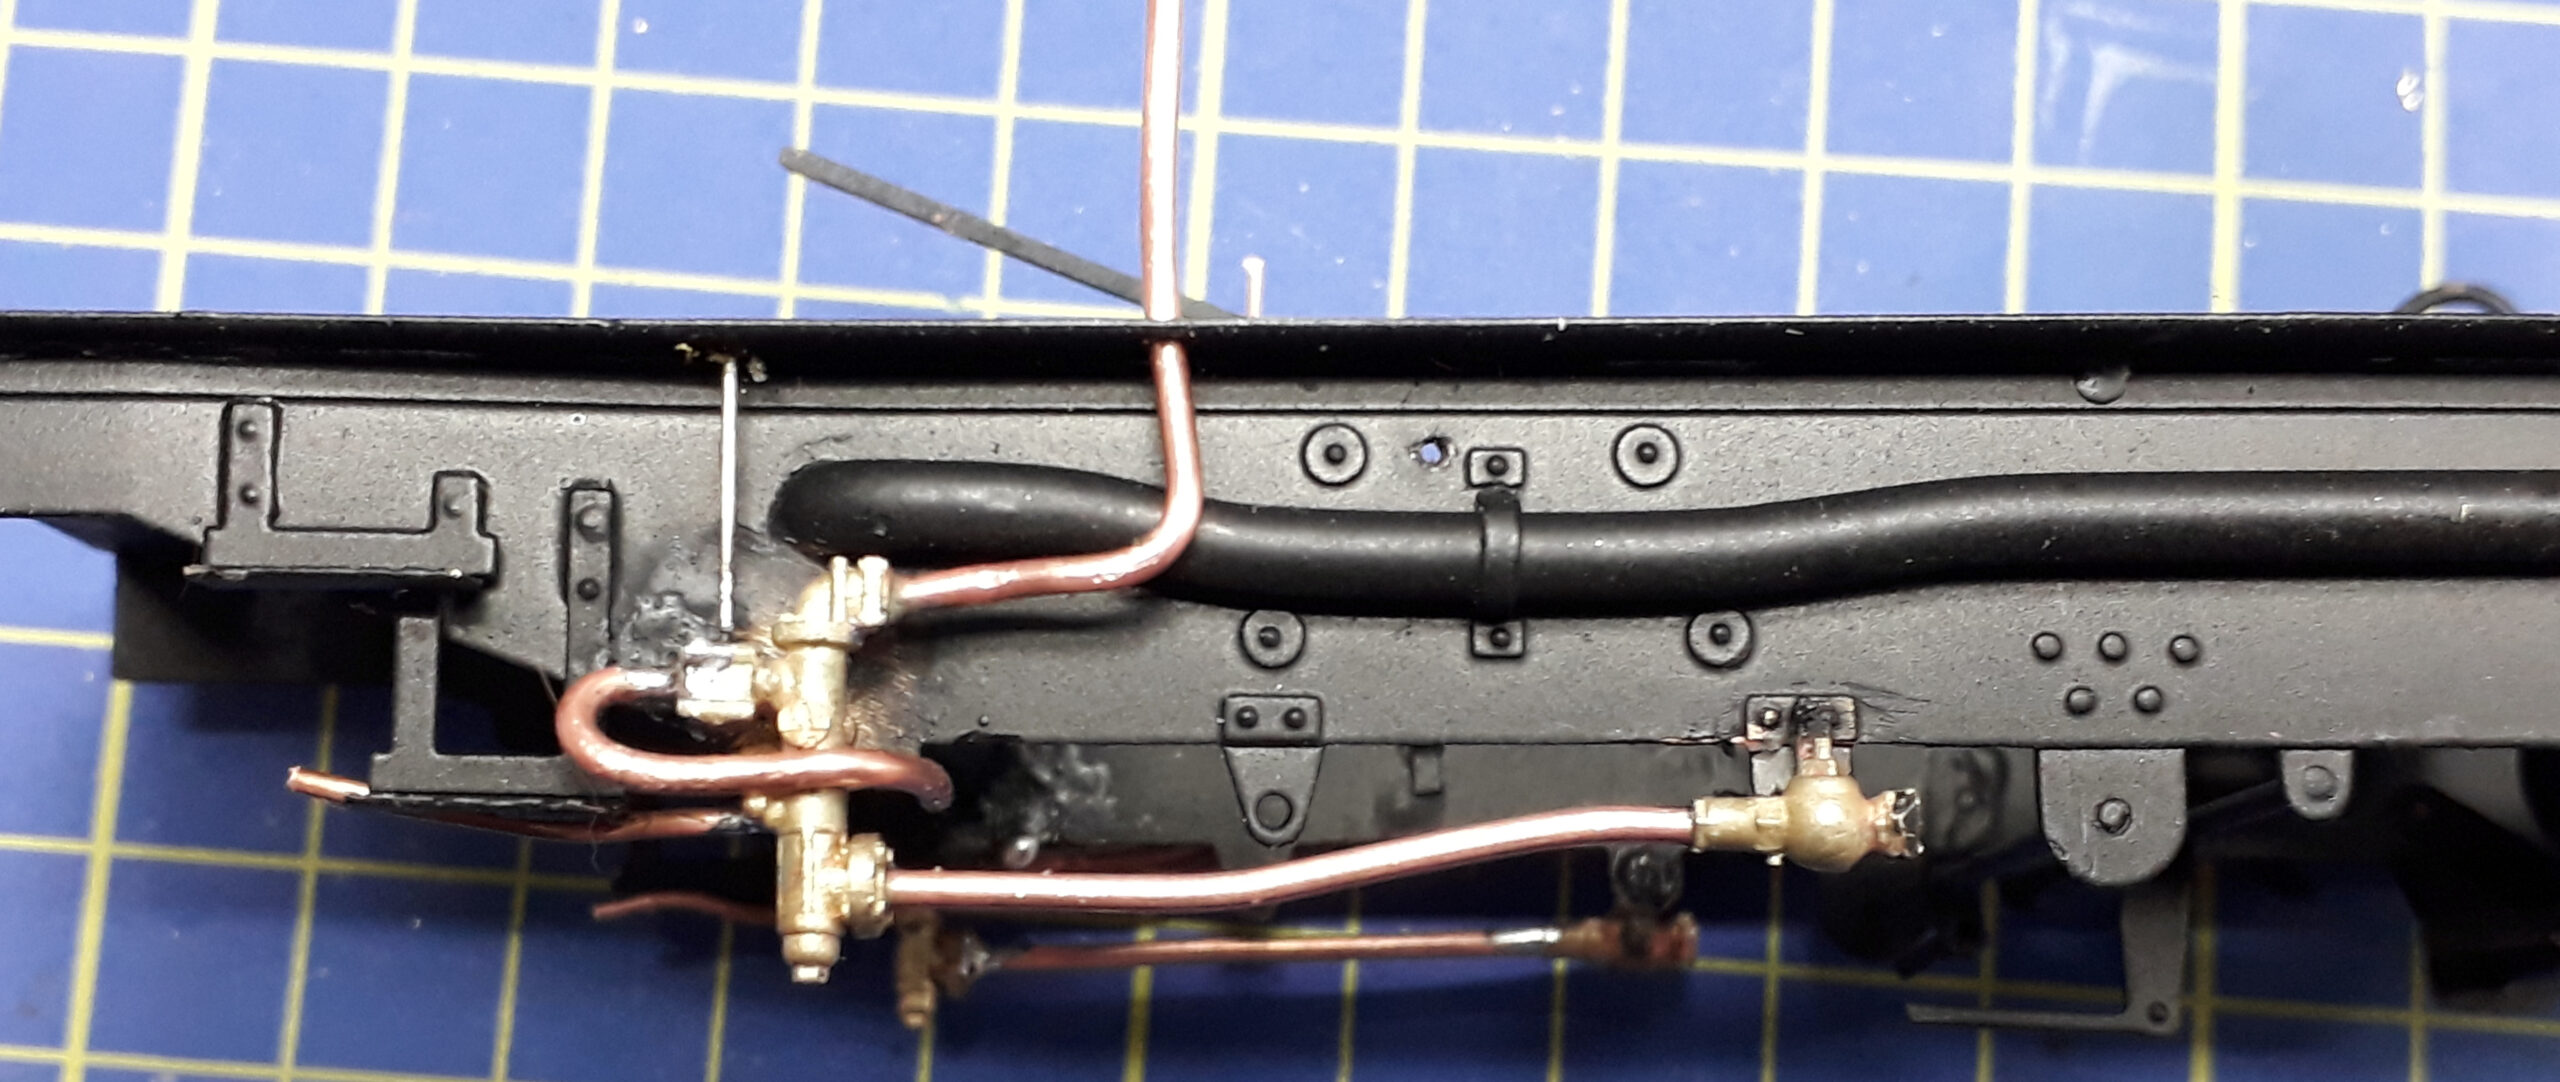
New injectors, top feed, manifold, ejector and water manifold allowed new piping to be made up with copper wire.

​These two pictures show the underframe plumbing with onward connections to the bodywork.

These were modelled on a mix of the plumbing on 130, 138 and 143 as they are in Wales.

I have to say that I am pretty pleased with the outcome and we’re still on course for Saturday


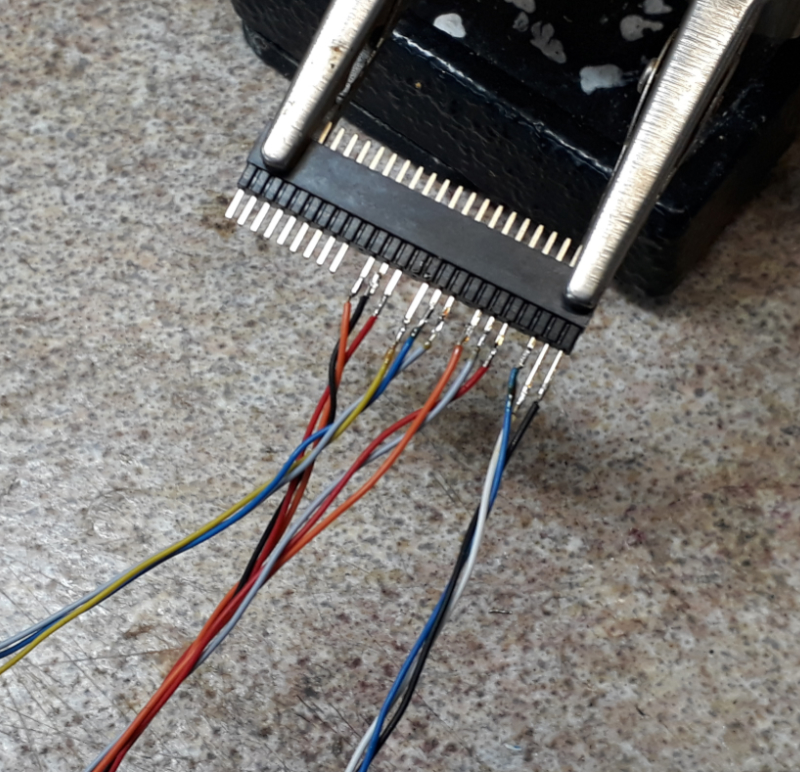
Next it was on to the wiring and some fiddly soldering. To connect the trucks to the main cradle there isn’t much space so I am using a smaller connector than I normally would and these have a bit of a habit of falling apart as you solder them causing at the very least some muttering under ones breath.

The loco is getting a Lais Adaptor board and a ZIMO MX645 Plux22 decoder installed along with a large keep alive.

The loco is getting a new style ashpan so this was configured to make a housing for the electrickery.  From underneath it presents a clean looking install

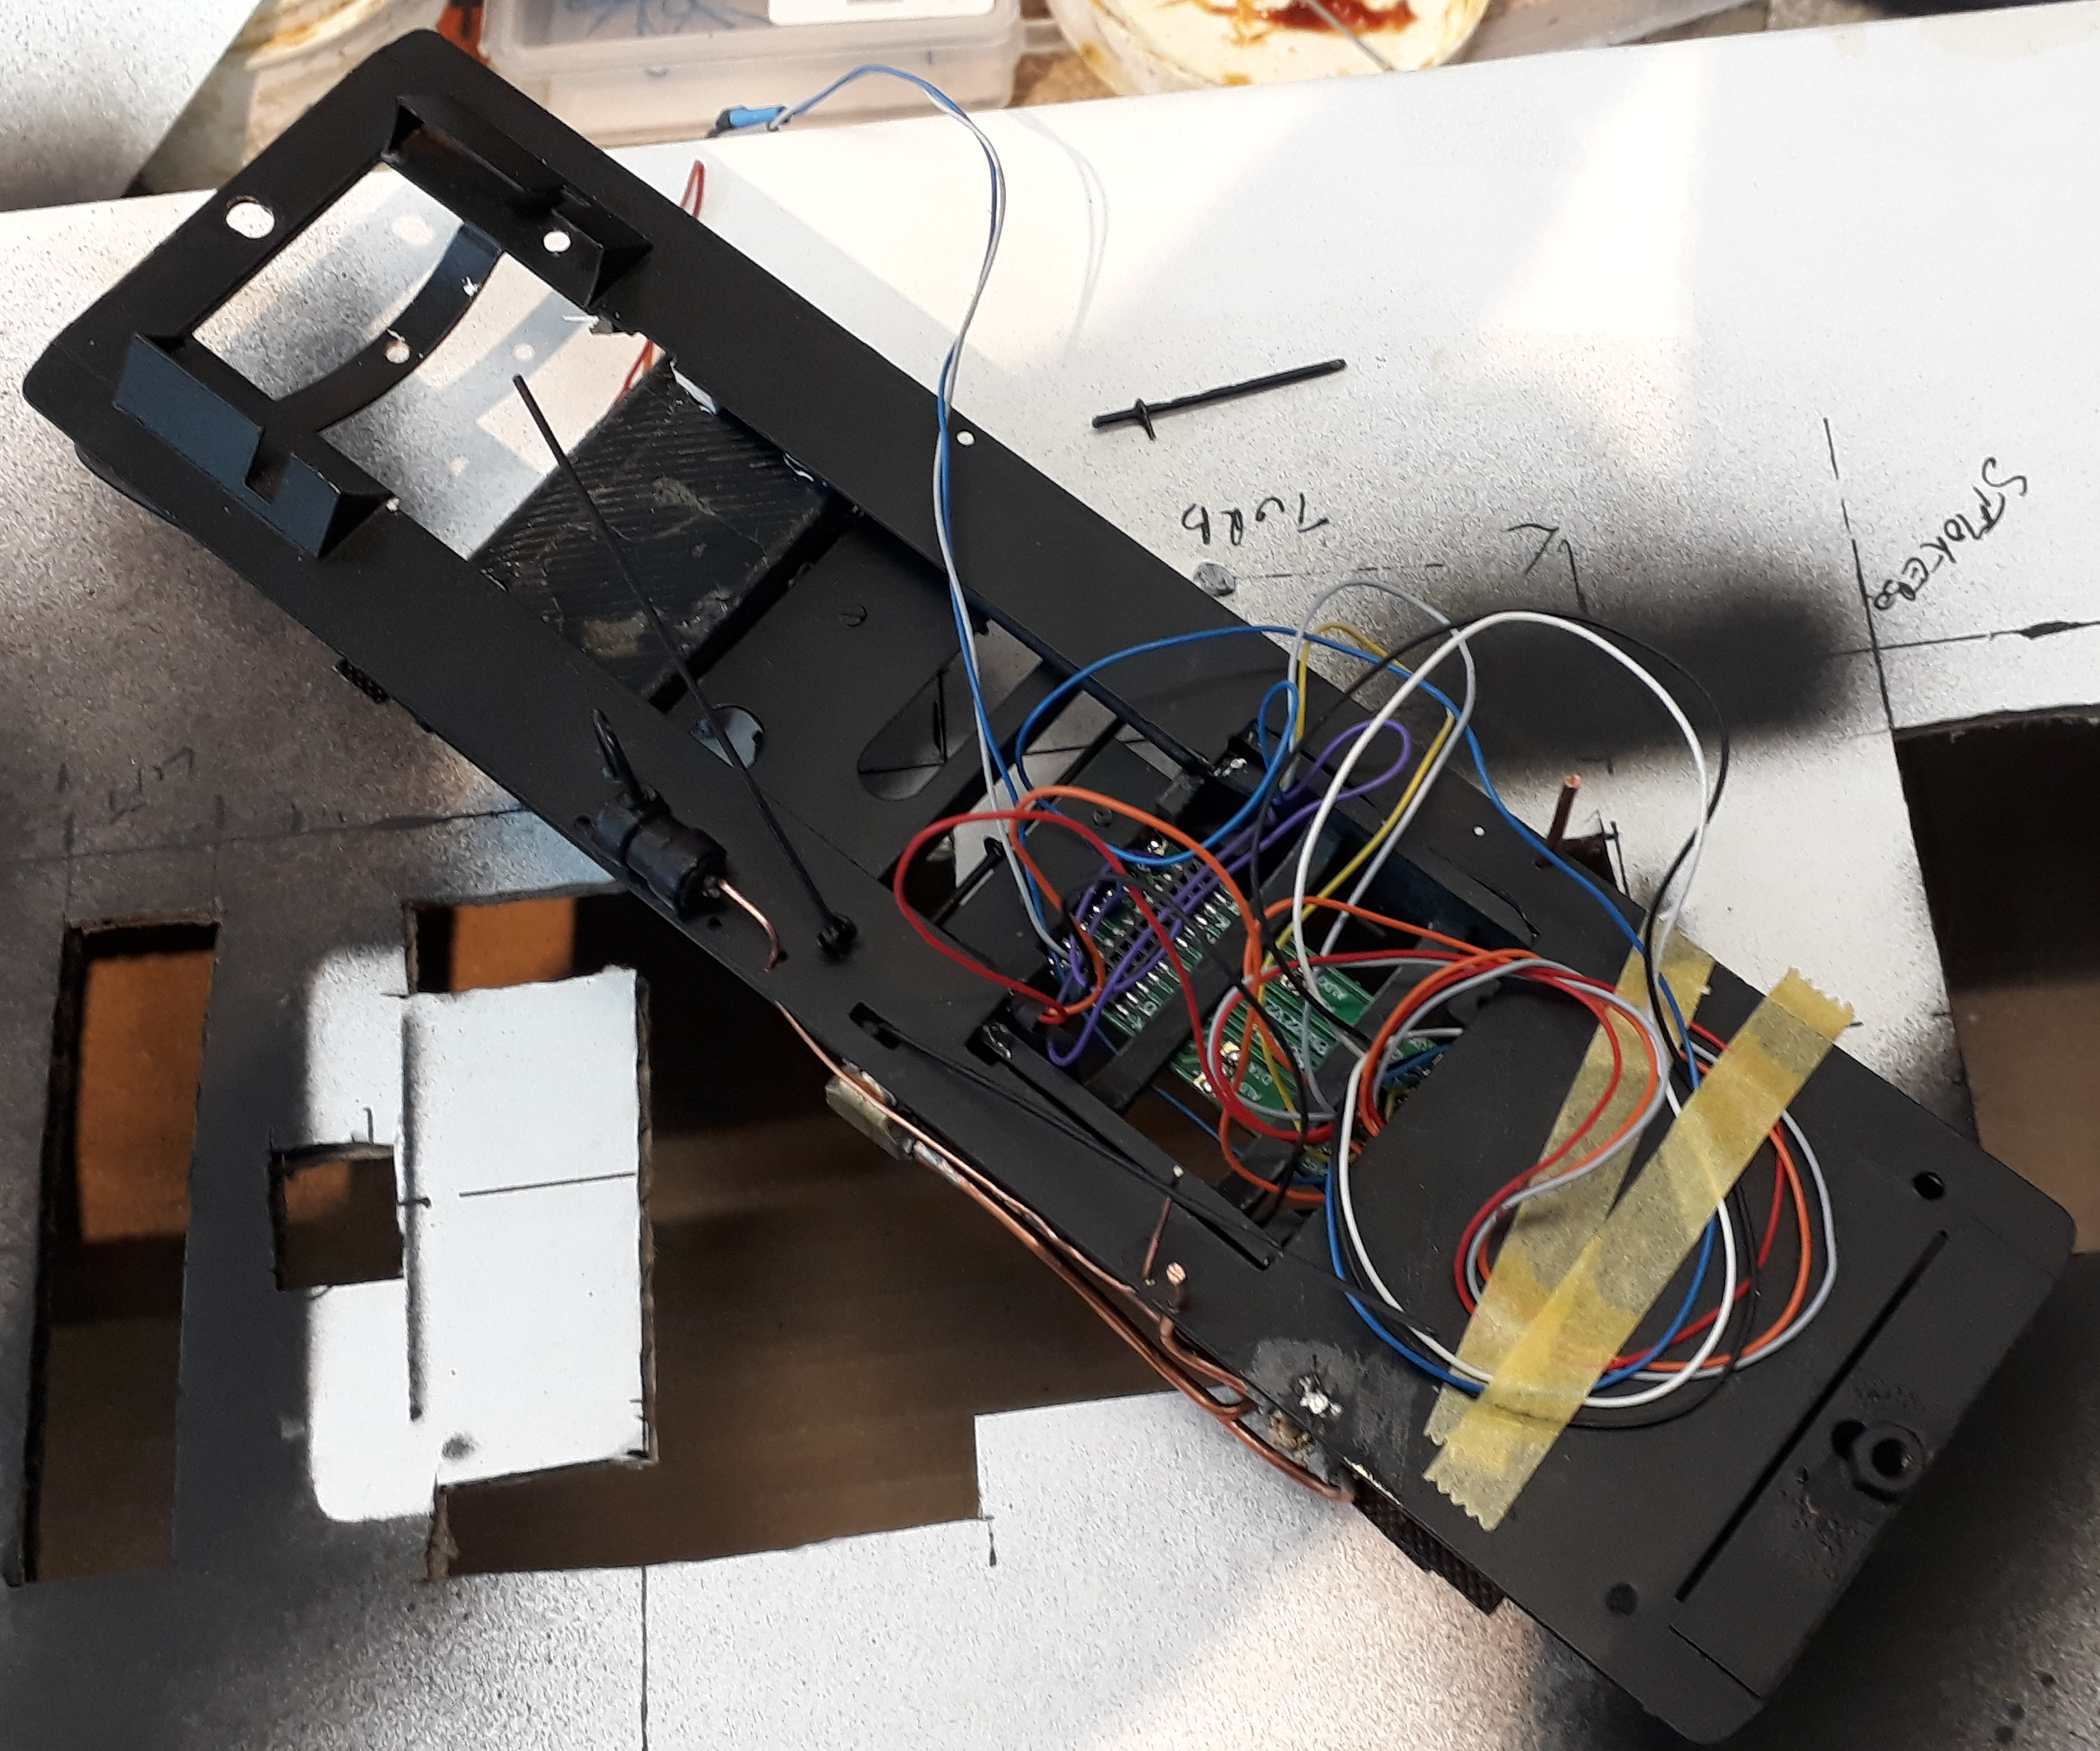
From above though its a bit of a rats nest but it will tidy up and allow spare wires if any reconfiguration is needed

Earlier today it all got connected up, powered up and tested. Much to my surprise both trucks went the same way and there weren’t any short circuits. Getting that far with the electronics was troublesome and required some ingenuity because I usually use my laptop for this stuff bit its currently away for attention.  Still on course for Saturday.

With the wiring proven through the bogies they could now be assembled having their bodies fitted and the the detailing that connects the top and bottom added.

The headlights are my products and they sit on new oil reservoirs that are my 3D prints.

Additional copper pipes have been added, lenses added and coal to the rear and a new water filler to the front.

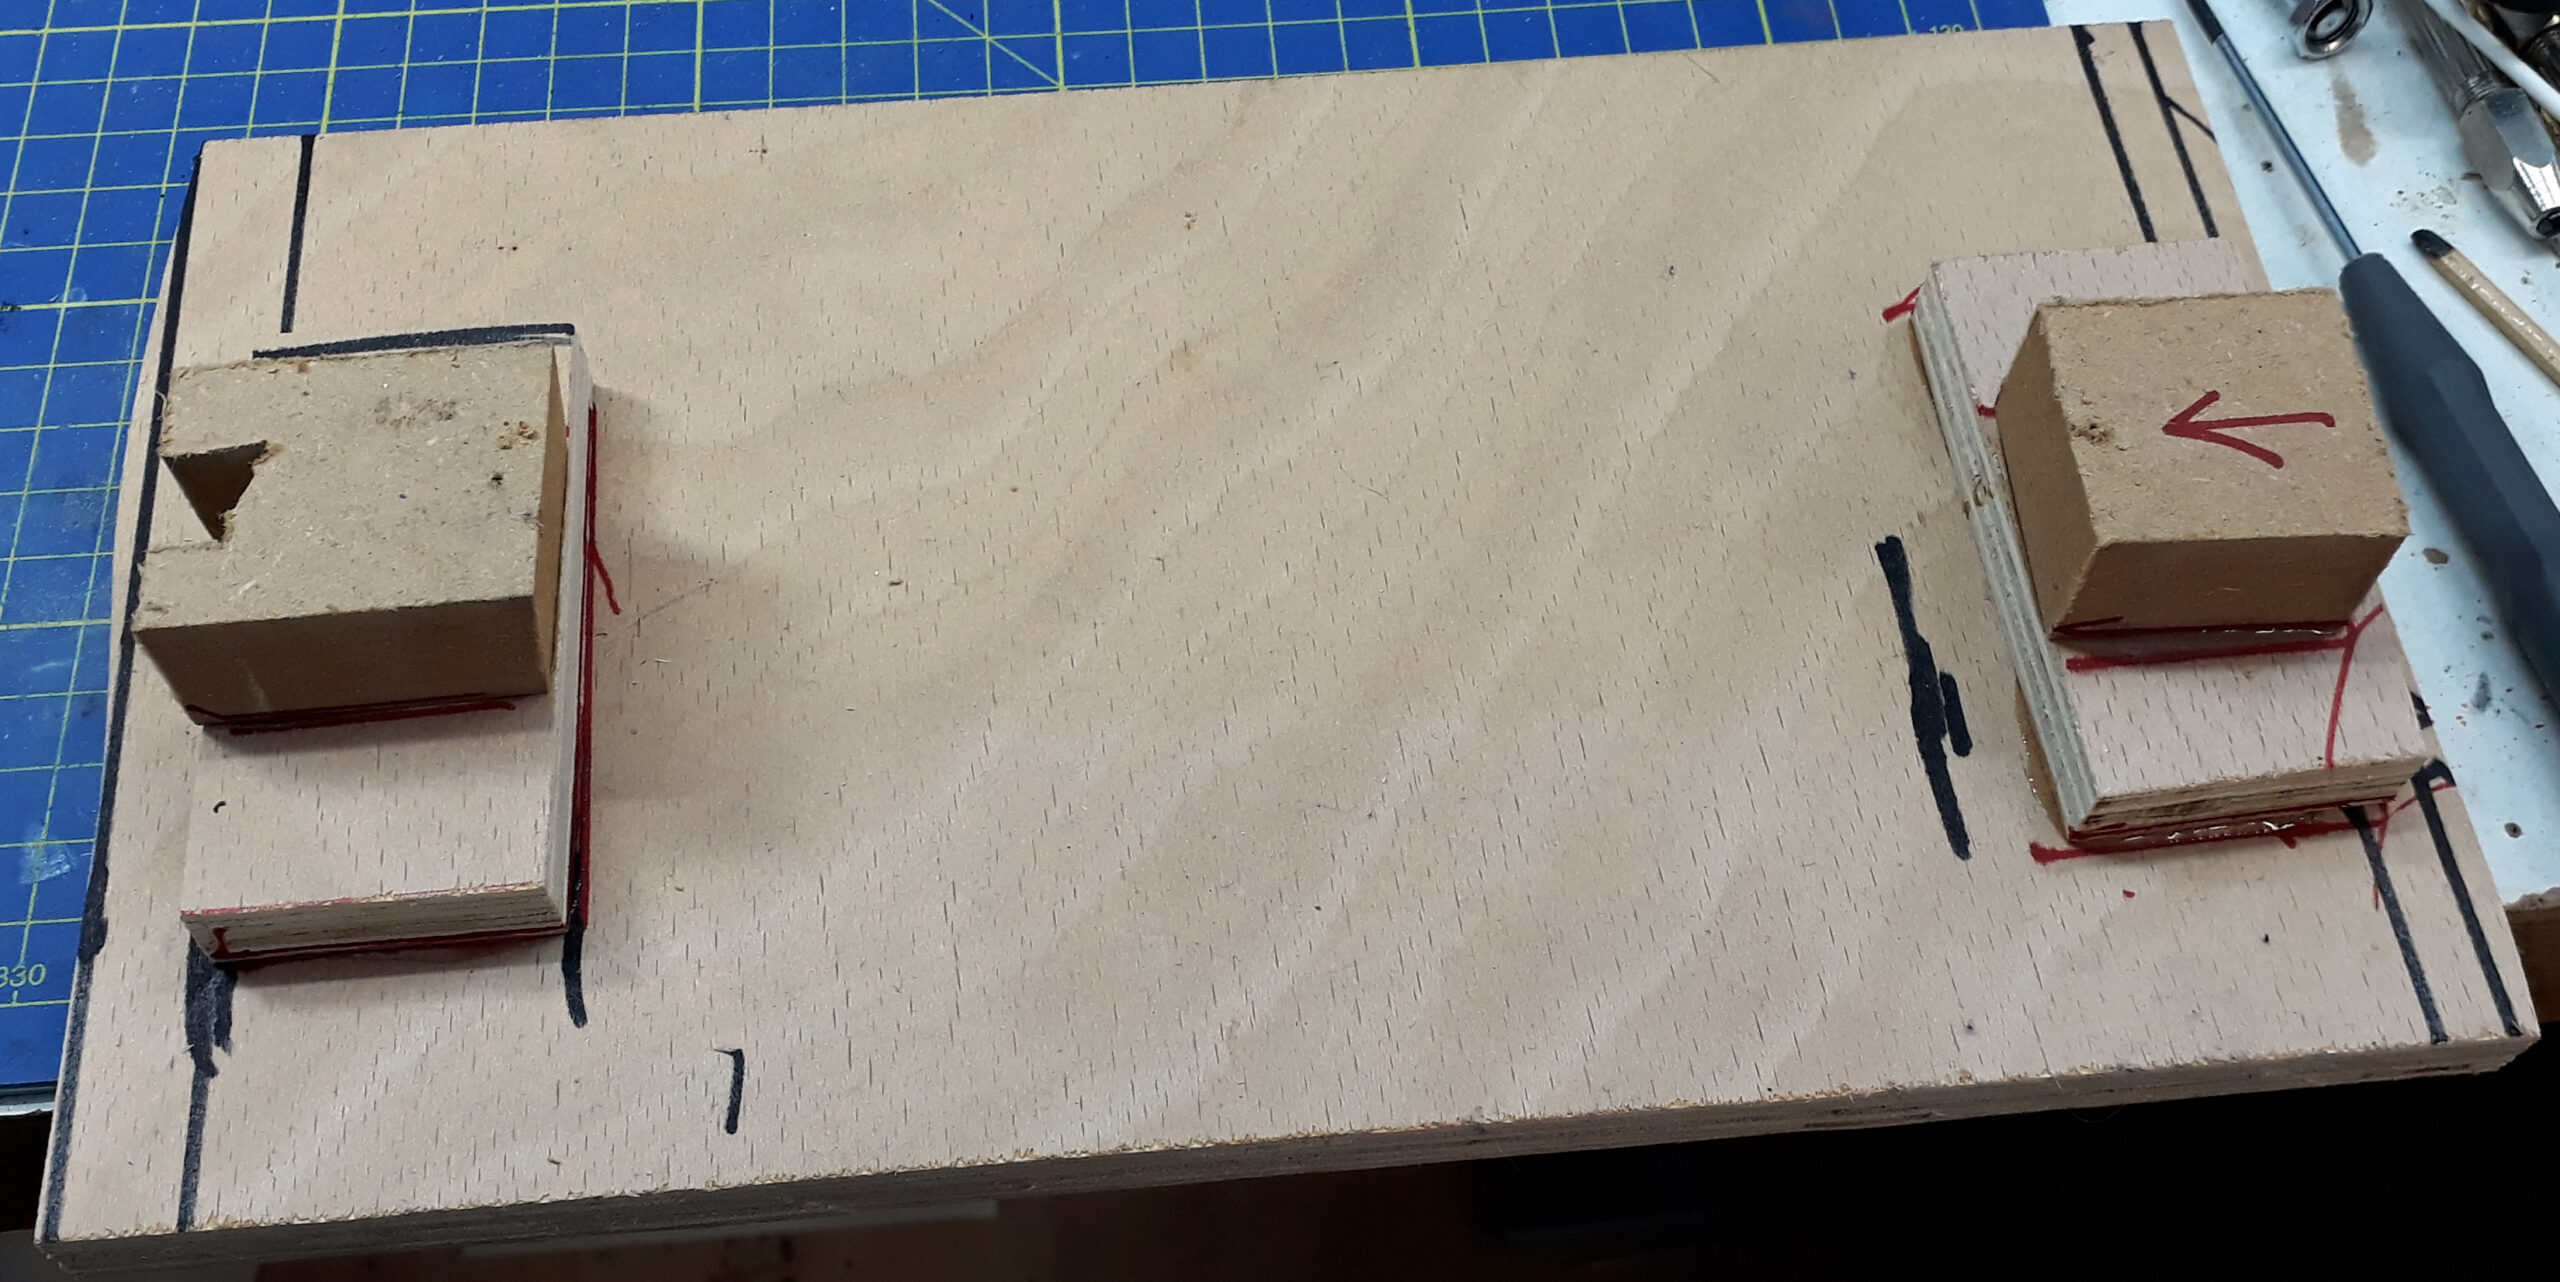
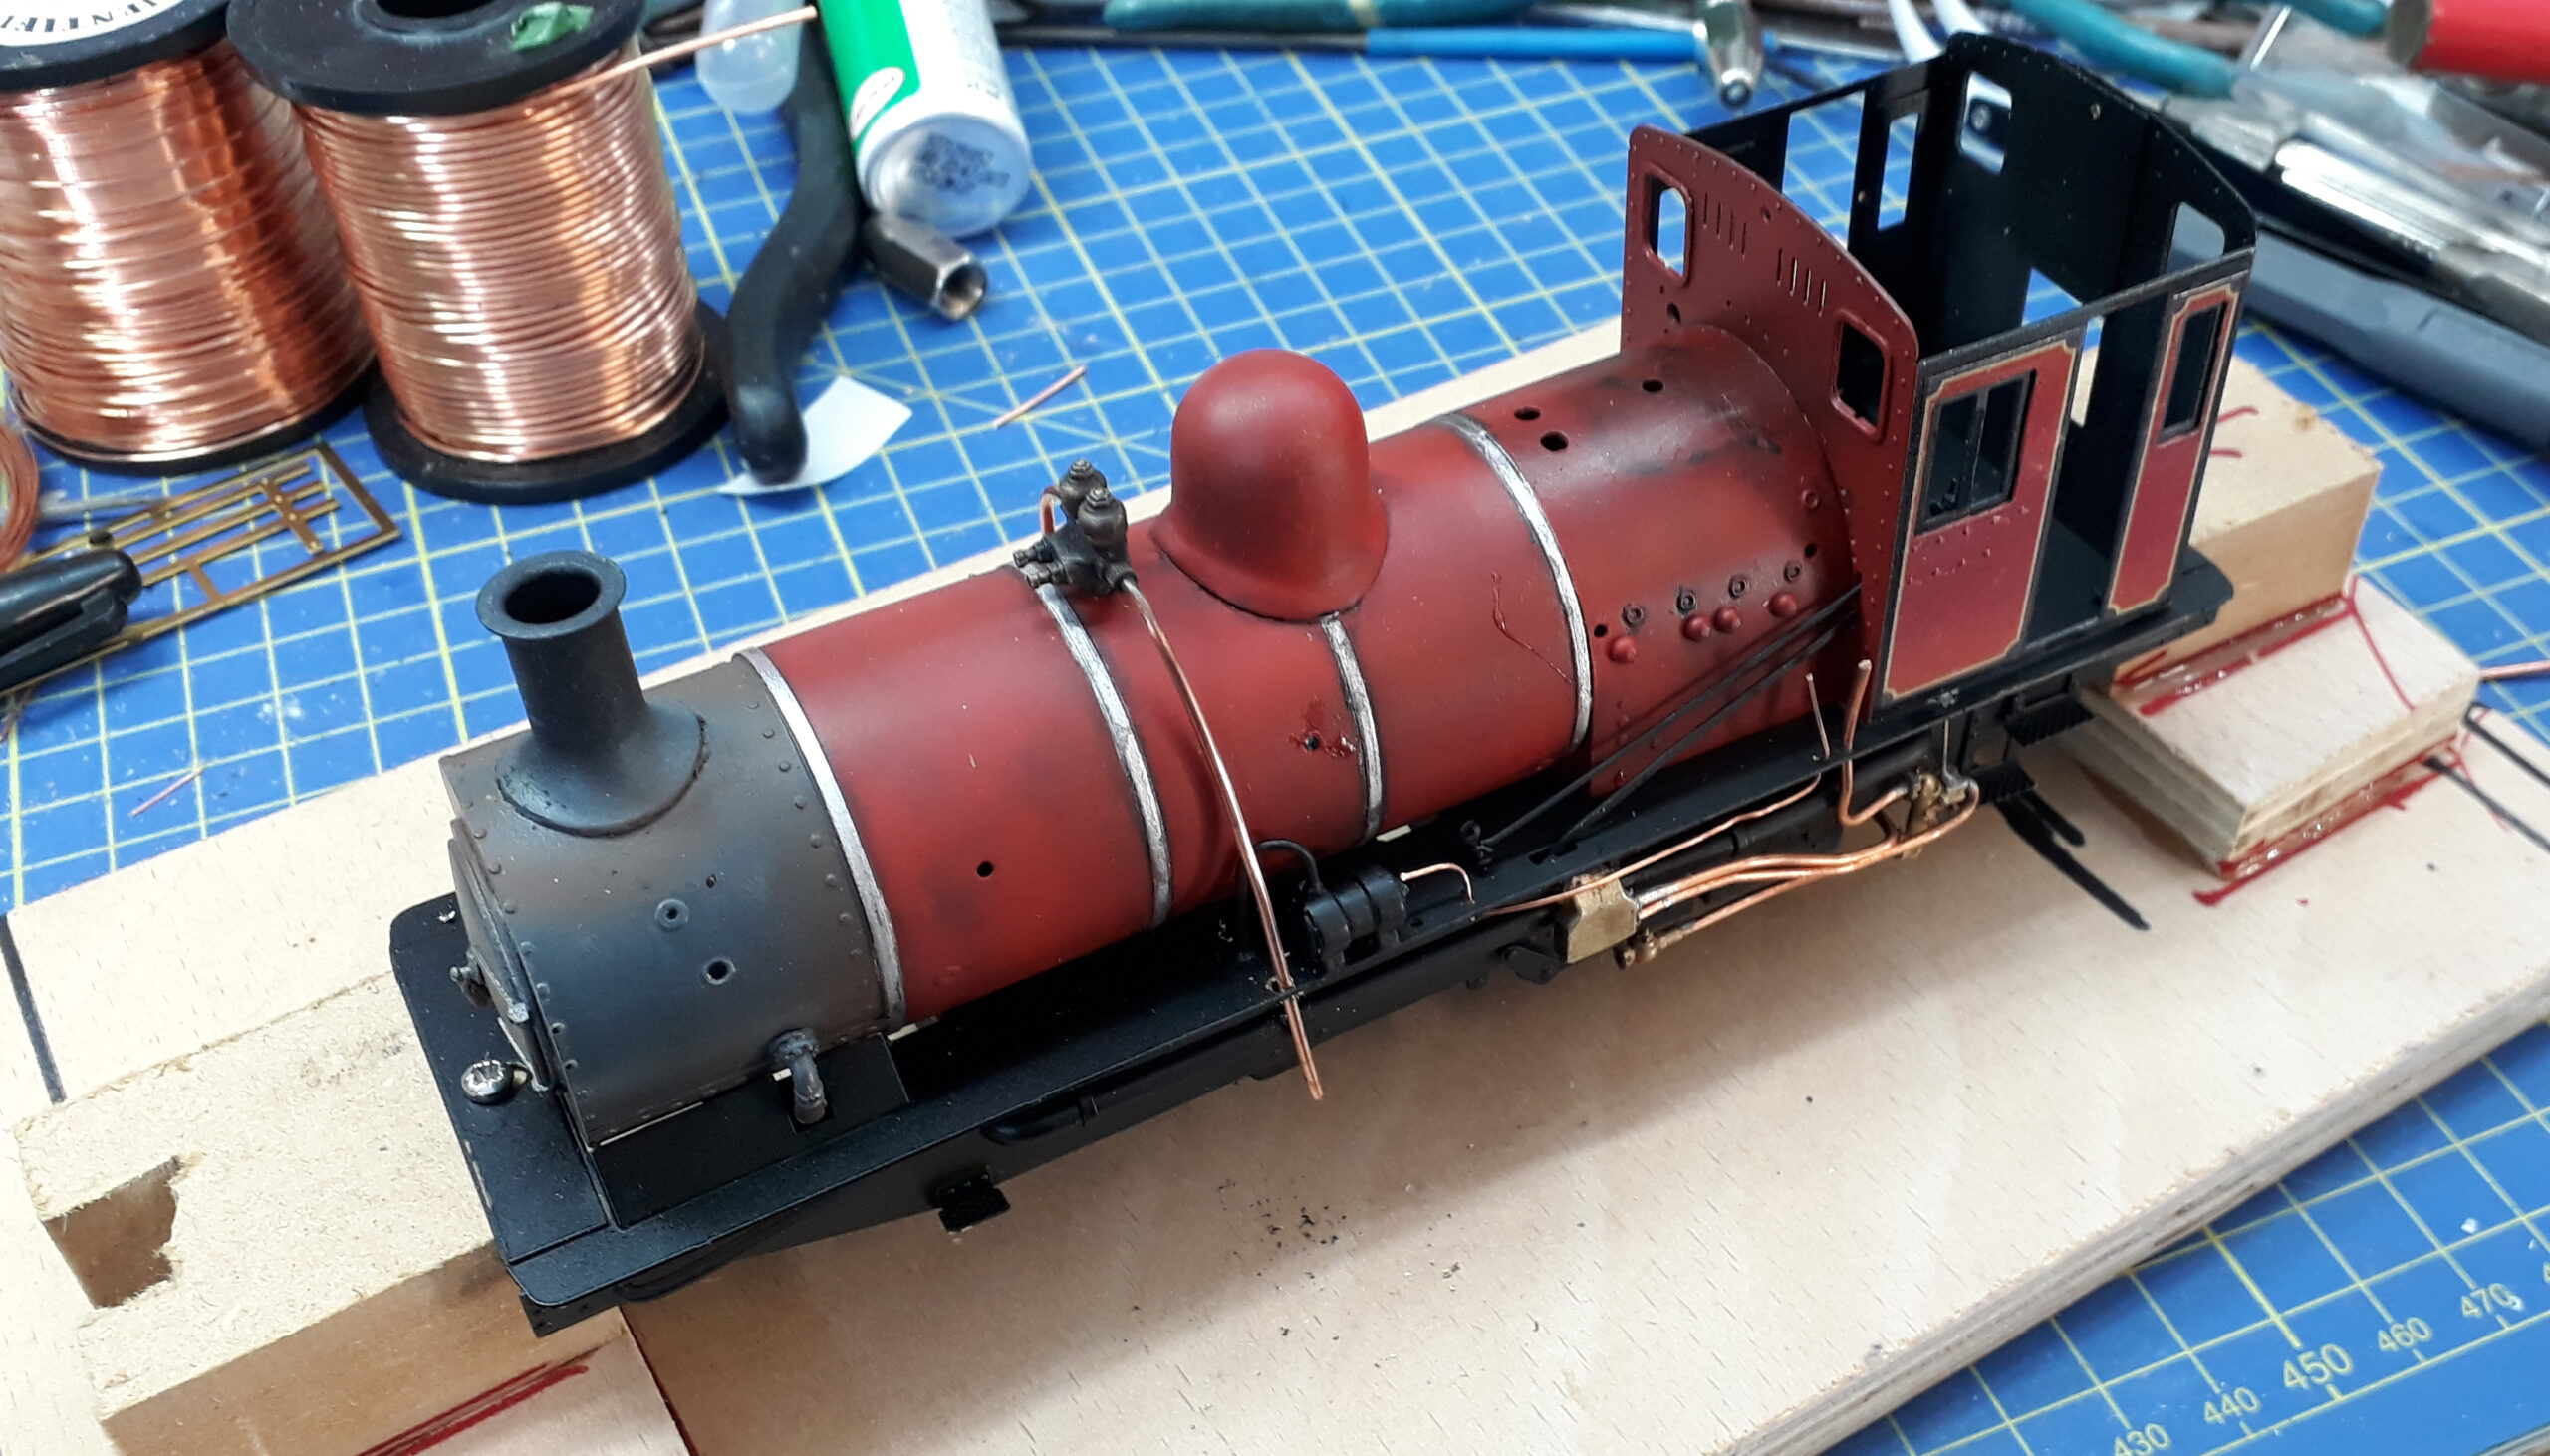
They have both had additional weight added. The loco superstructure has also had lead added so I hope its home layout is strong! Actually the weight of the boiler section and the protruding pipes on the cradle made me realise I needed away to hold them whilst I worked on it so I made a fixture glued together with 5 minute epoxy as I haven’t time to wait for wood glue.

This hold the loco thus……..

Its at this point it started to cause me to question my sanity

So what’s happened?

Trying to do two many things at the same time instead of letting them dry/set/cure I’ve just touched the painted and partially weathered boiler with a finger contaminated with muck from another task. To sort it properly I need to let it set up to do something about it. This also bought the realisation that Saturday was probably unrealistic both because of the wait times needed between operations but also because I had everything else to prep for the show on Saturday too.

After some thought the options are: –

  • Press on, meet the deadline whilst unhappy with the finish which will now be rushed at the closing stages or
  • With the new owners permission delay delivery for a couple of weeks to ensure its done and done right.

Its with its new shedmaster for a decision now. I am still having palpitations about as delivery equals a significant payday but I now can’t be sure it’ll be done for Saturday and I certainly won’t be happy with the finish.

Addendum to the original post.  Done properly rather than to a deadline has been selected.

Loading

Murder Of a Garratt – Colour Me Red

Murder Of a Garratt Pt3 – Colour Me Red

It’s been way too long since I reported progress with the Garratt and a long time since there was anything to report. Just as the first lockdown was looming as Covid got away from London our local hospital had a policy of no admissions & no surgery as it prepared for what was to come. I made the strategically dodgy move of winding up in hospital as an emergency admission and two days later having surgery on the grounds it was the quickest way to get rid of me.

The result was that I missed the impact of most of the first Covid lockdown as I was being otherwise unable to go out.  Recovery has taken a long time with all manner of side effects and a real blow to my mental health at the turn of last year. Being a one man band, Self Employed, Sole Trader I was cunningly positioned to avoid any of the various help schemes offered. As I was able to very slowly return to work in a limited fashion priority had to be given to business recovery, filling orders and making the retail stock.

It has taken ages to get to the point where I have the combination of the time, ability and desire to build models and if my heart isn’t in it the results won’t be what I want to achieve.

Anyway, enough of that. We left the saga with the tanks having their livery and lining applied by decal and I am really pleased with the way that they came out. The front tank has had the trough style water filler added as a 3D print.

There are decals for parts of the cab but the boiler is going to need painting but what colour?

For a start I am not a fan of the “it must be the right colour because the label on the bottle says it’s #138 red” idea. Believe me, paint colours don’t always work when scaled. I have a Blanche model painted with paint from the same tin that painted the real one and its doesn’t look right because the volume of it isn’t the same and therefore the way it reacts with the light is different.

There is colour matching to do that starts and continues…..

  • Mr Decal man please do me the decals to match 138 red
  • Decals Arrive: Colour is close but not 100%
  • Match the boiler paint to the decals
  • Get sneaky with the boiler paint

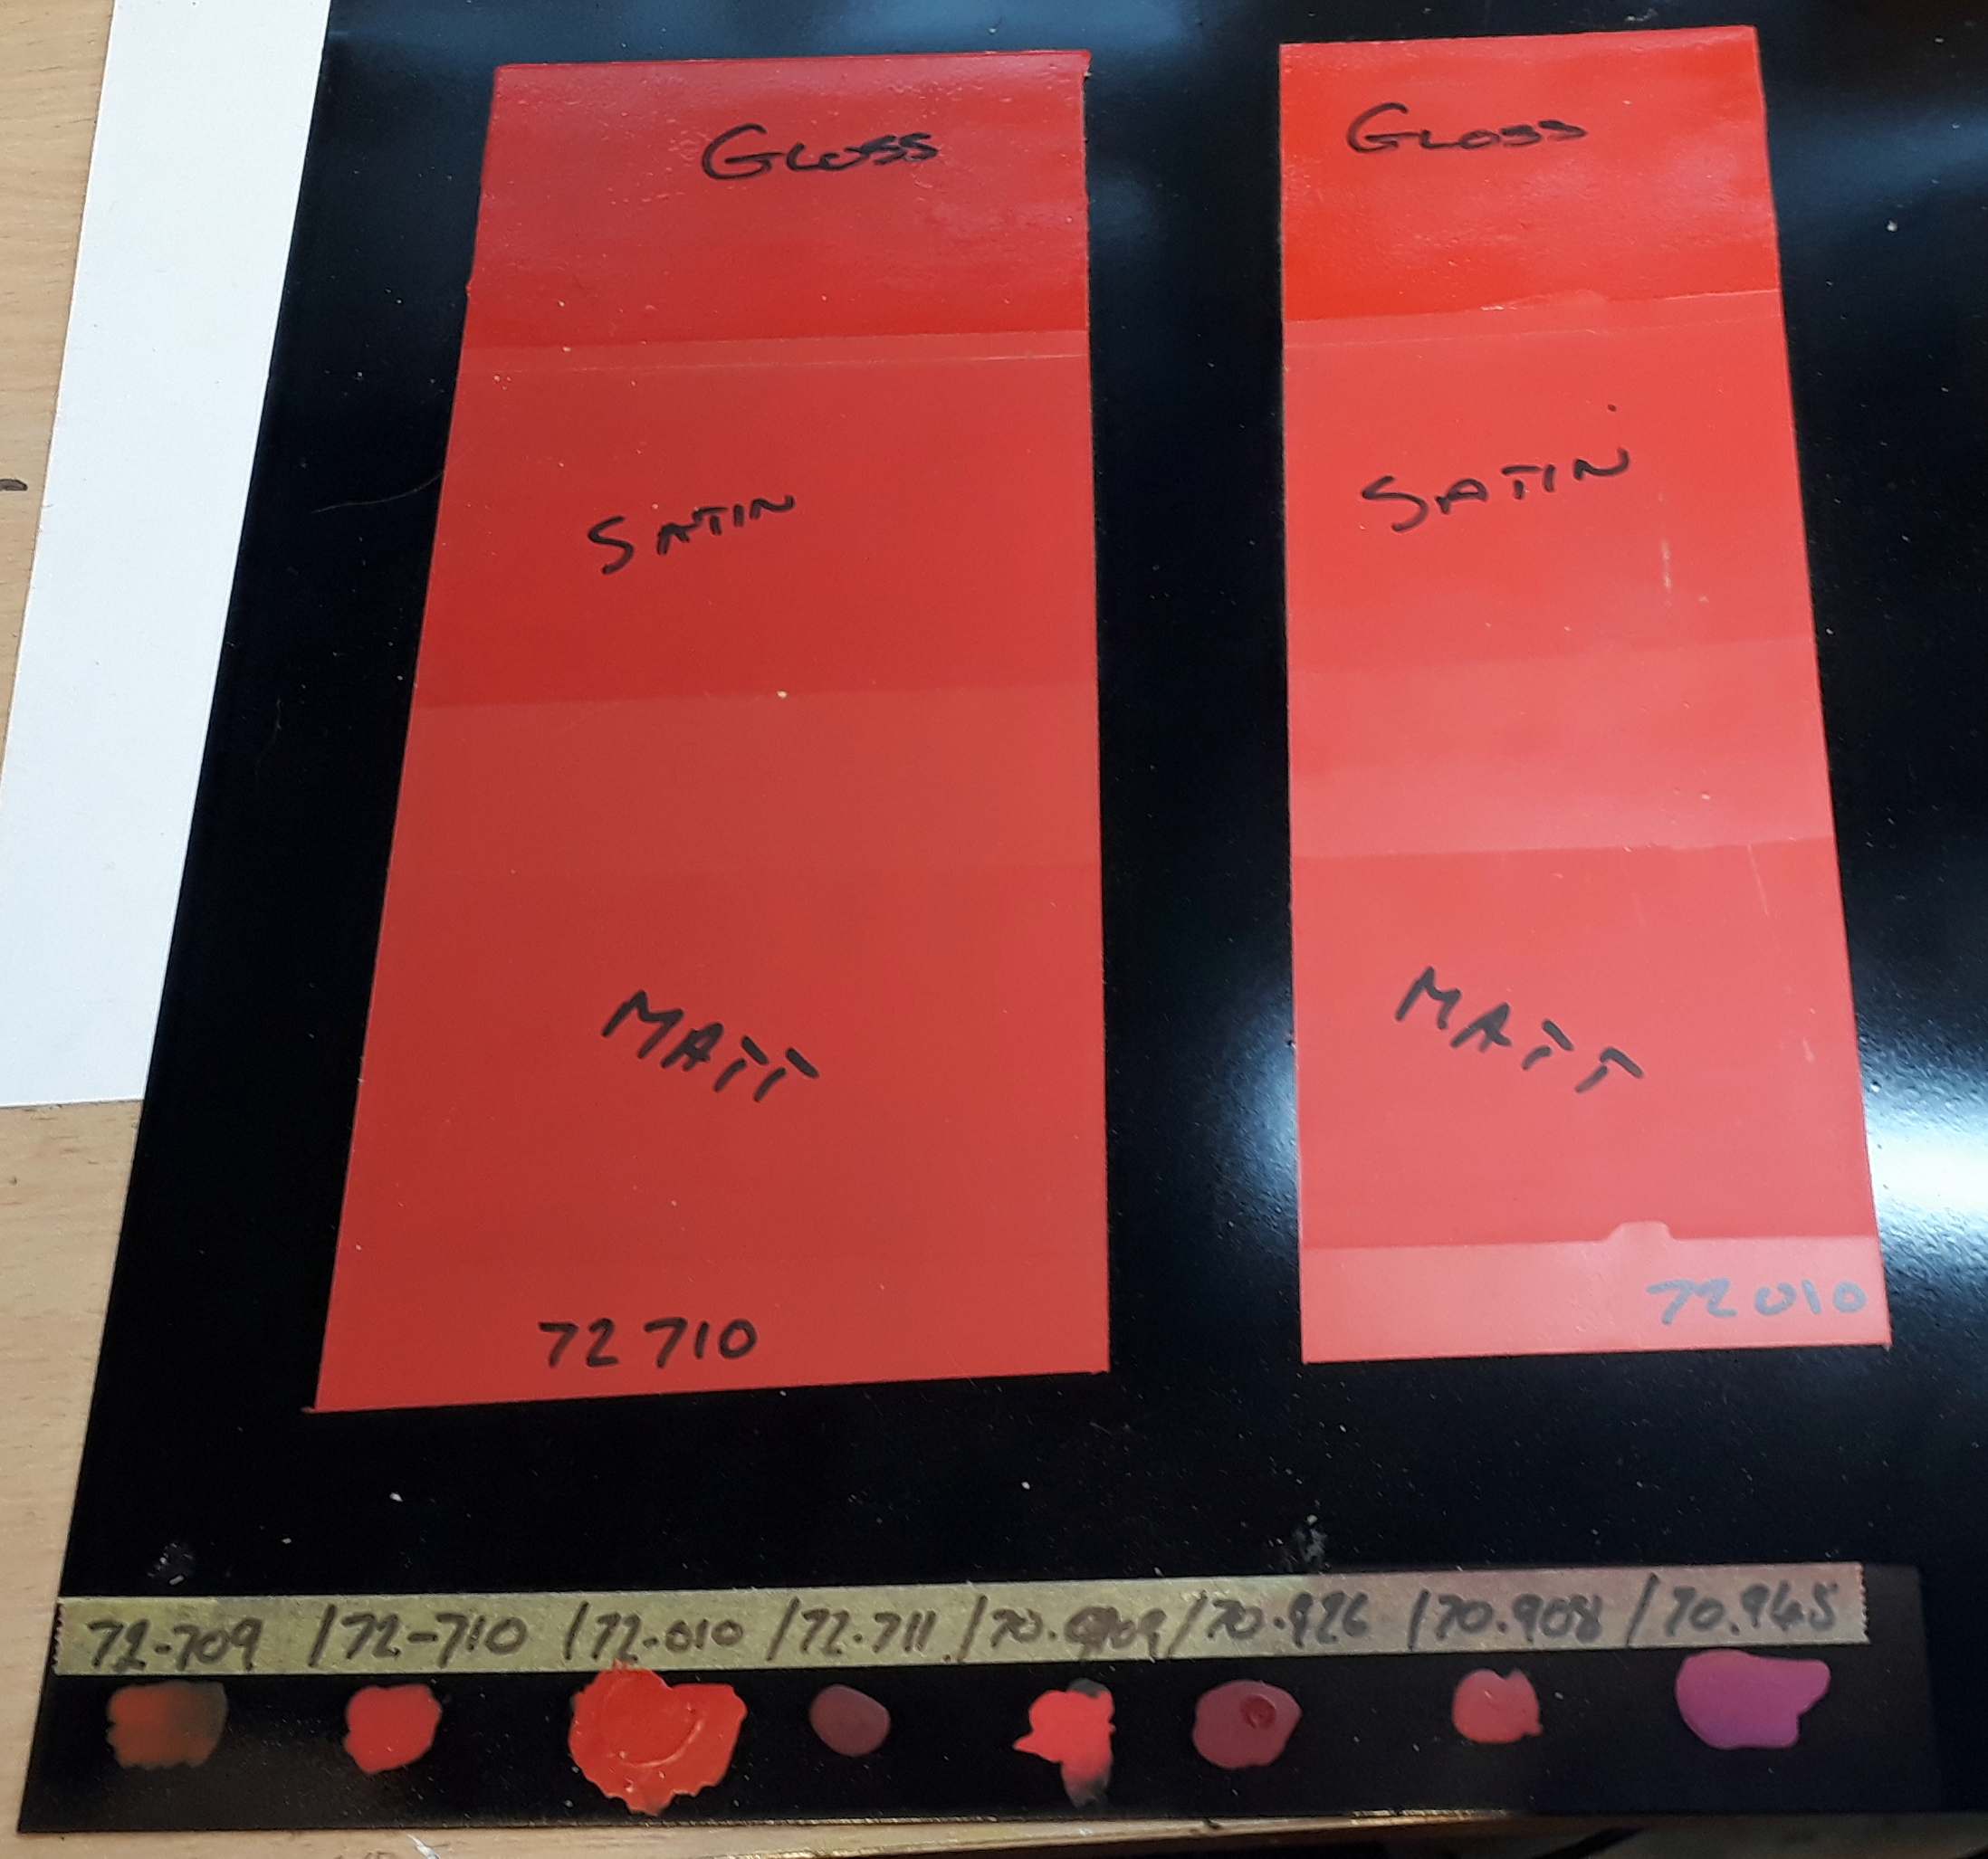
As I am trying to paint this as much as possible with acrylic paints I got a collection of reds and sprayed them on a test piece and then also over sprayed them with assorted varnishes.

Here’s the test plate with the paint splodges from each of the reds I had along the bottom. The larger panels are then painted with the two closest matches before applying the various varnishes.

I am trying to use acrylics as much as possible, and certainly for spraying, for health reasons and to avoid the pong of oil based paints.  At first I hated acrylic paints but then with practice, watching a lot of You Tube videos and the purchase of decent paints and matching products I am now converted.

Go on, admit it, you’re thinking WTF aren’t you?

This is another demonstration of a pet peeve of mine. When I do modelling demonstrations of soldering kits at exhibitions I regularly hear people say, “I wish I could solder like that”.  Well, once upon a time neither could I. I practiced, I learnt and I left a few pretty poor models along the way that ended up never being finished and in the bin.

Practice is the only way

When it comes to spraying I have been watching lots of videos by military modellers and learning from them. I’ve learnt about different primers, pre-shaders, washes, filters, pin washes and lots more. There’s loads but have a look at Nightshift

So, what’s this wrong boiler all about? This 0n30 Mogul has valiantly given its boiler to experiments with pre-shading prior to the body colour going on. The only time the red on the boiler was uniform from end to end was the day it came out of the paint shop. Actually, I’d argue that probably not even then as the light plays differently on the different bits.

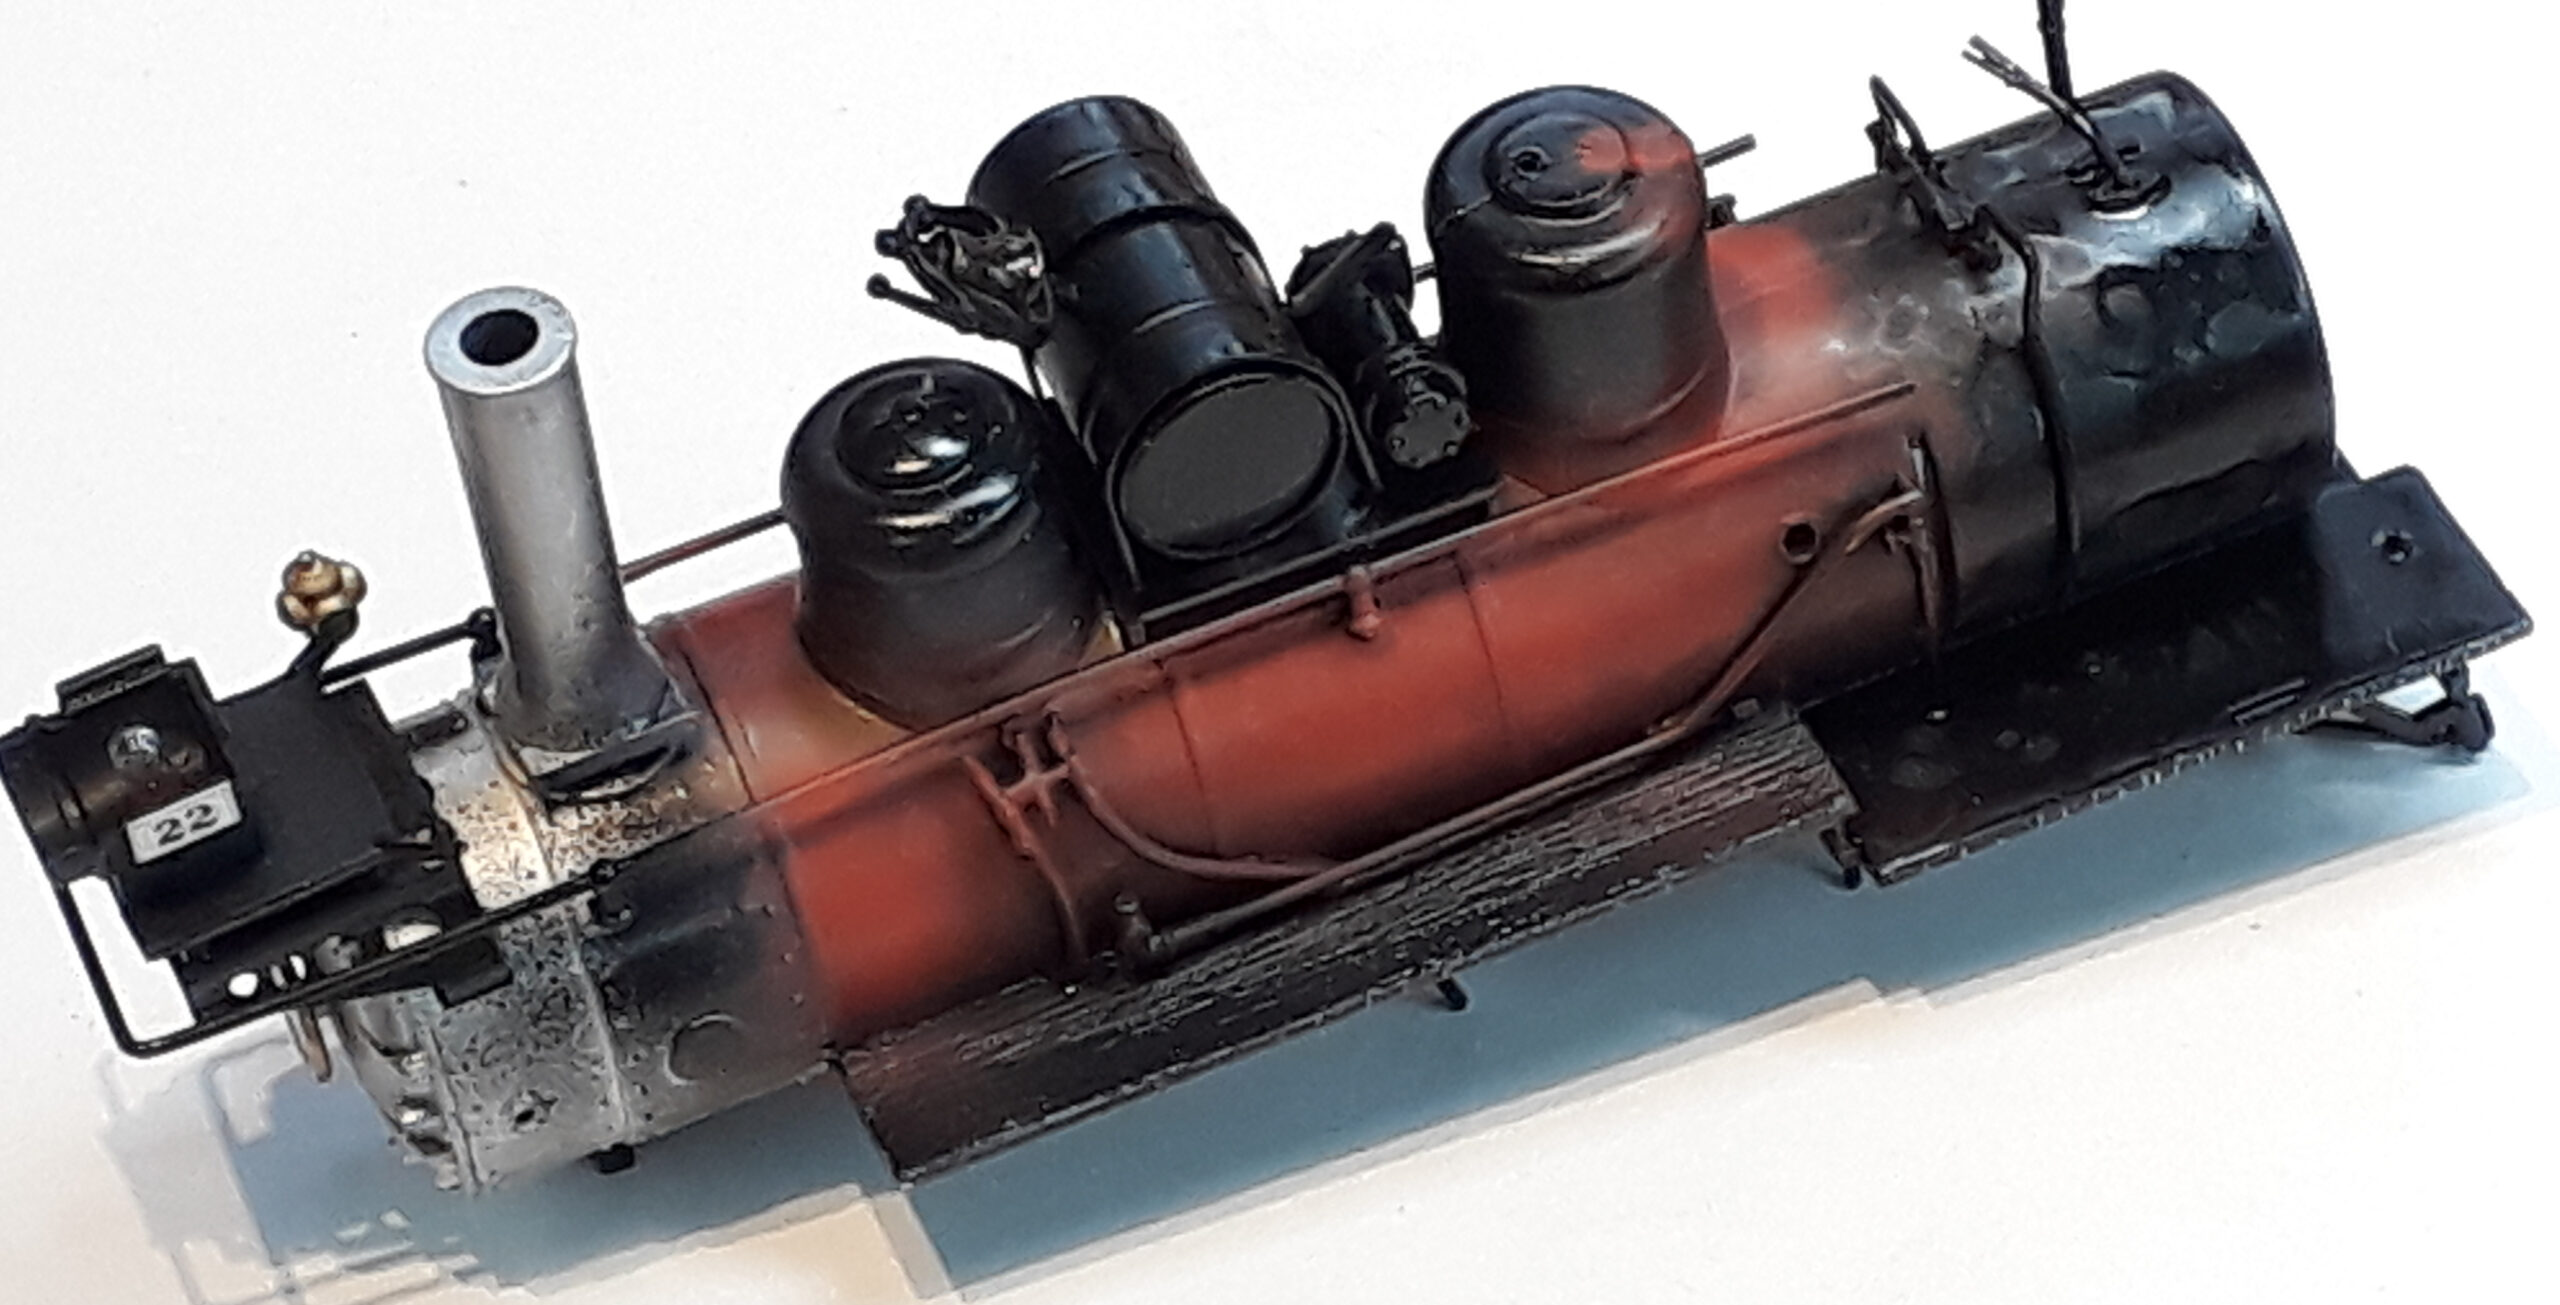
Given the boiler starts with a black base in a paint that is resistant to stripping that will be our base. Around the firebox and under all the plumbing will get a waft of black primer, a band of brown just behind the smokebox and white in between. They will be faded into each other. The idea is that when the body colour is sprayed on the pre-shading will result in subtle changes to the red.

So, what’s this wrong boiler all about? This 0n30 Mogul has valiantly given its boiler to experiments with pre-shading prior to the body colour going on. The only time the red on the boiler was uniform from end to end was the day it came out of the paint shop. Actually, I’d argue that probably not even then as the light plays differently on the different bits.

Given the boiler starts with a black base in a paint that is resistant to stripping that will be our base. Around the firebox and under all the plumbing will get a waft of black primer, a band brown just behind the smokebox and white in between. They will be faded into each other. The idea is that when the body colour is sprayed on the pre-shading will result in subtle changes to the red.

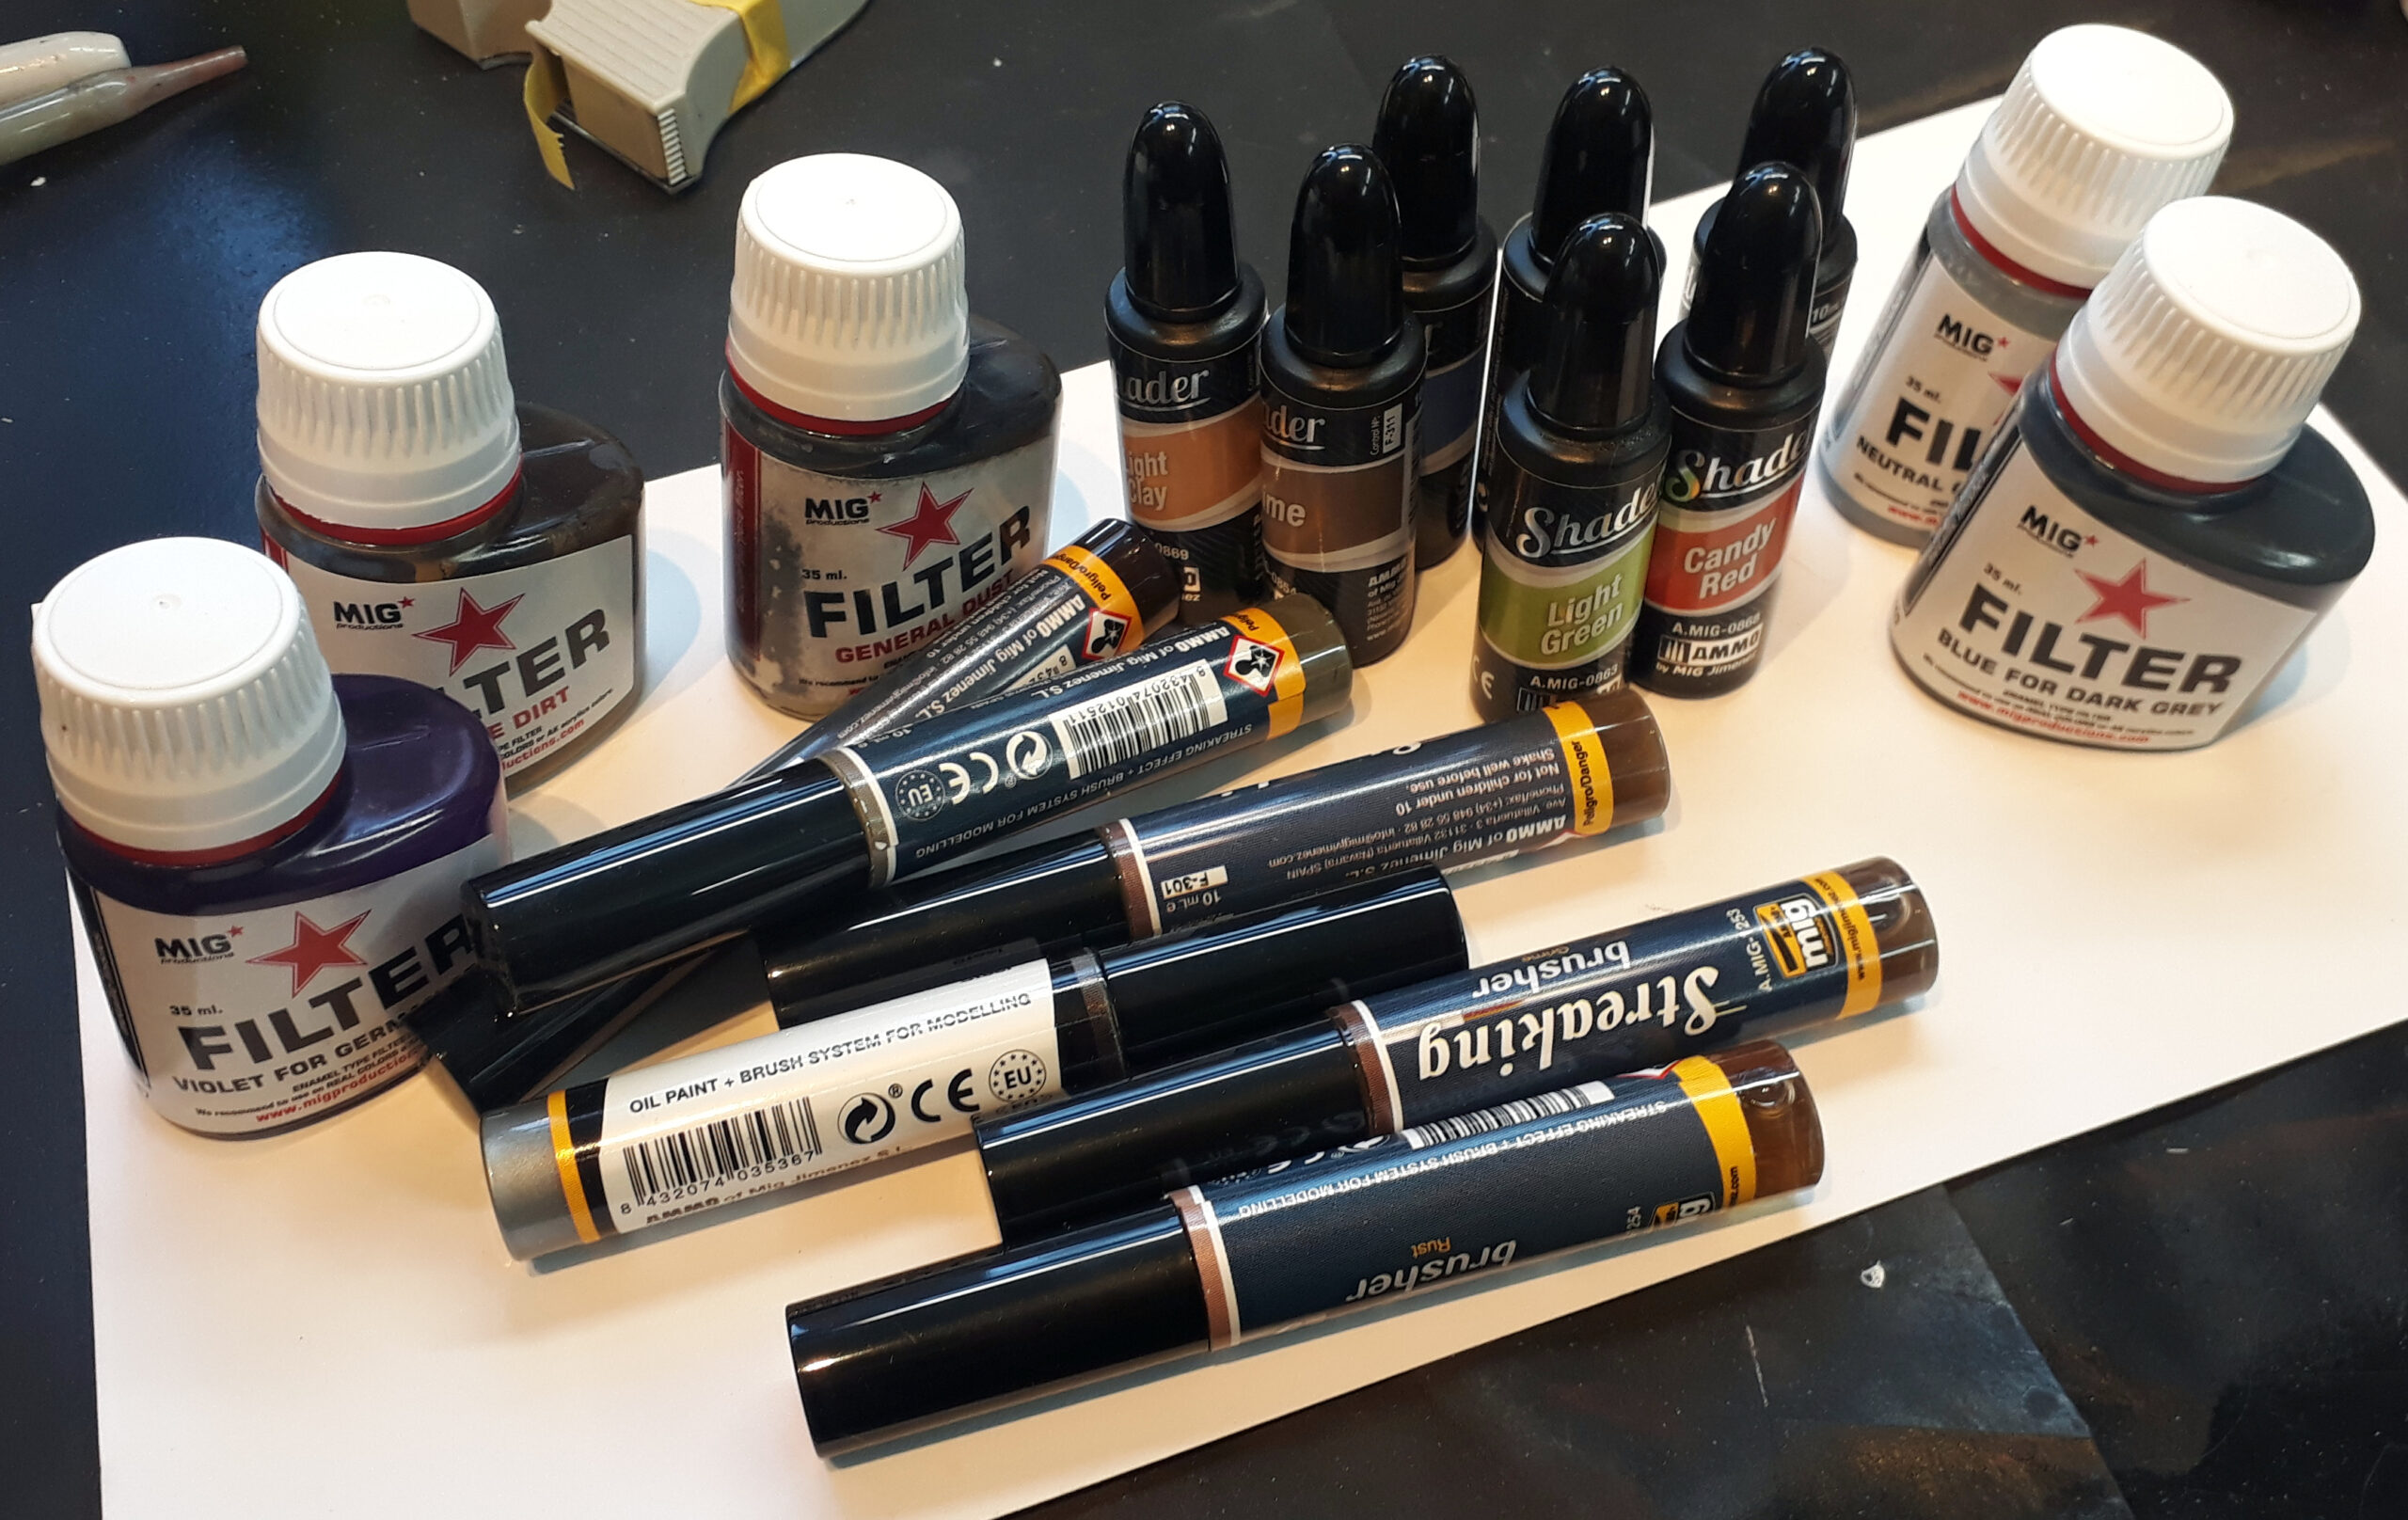
Further weathering will them be done with an assortment of products to add the patina of grime on a cared for but hard working engine.

I am not going to reveal any more on the painting until its completed now. Two reasons: I don’t want to spoil what I hope will be the big reveal and it might just end up in the paint stripper!

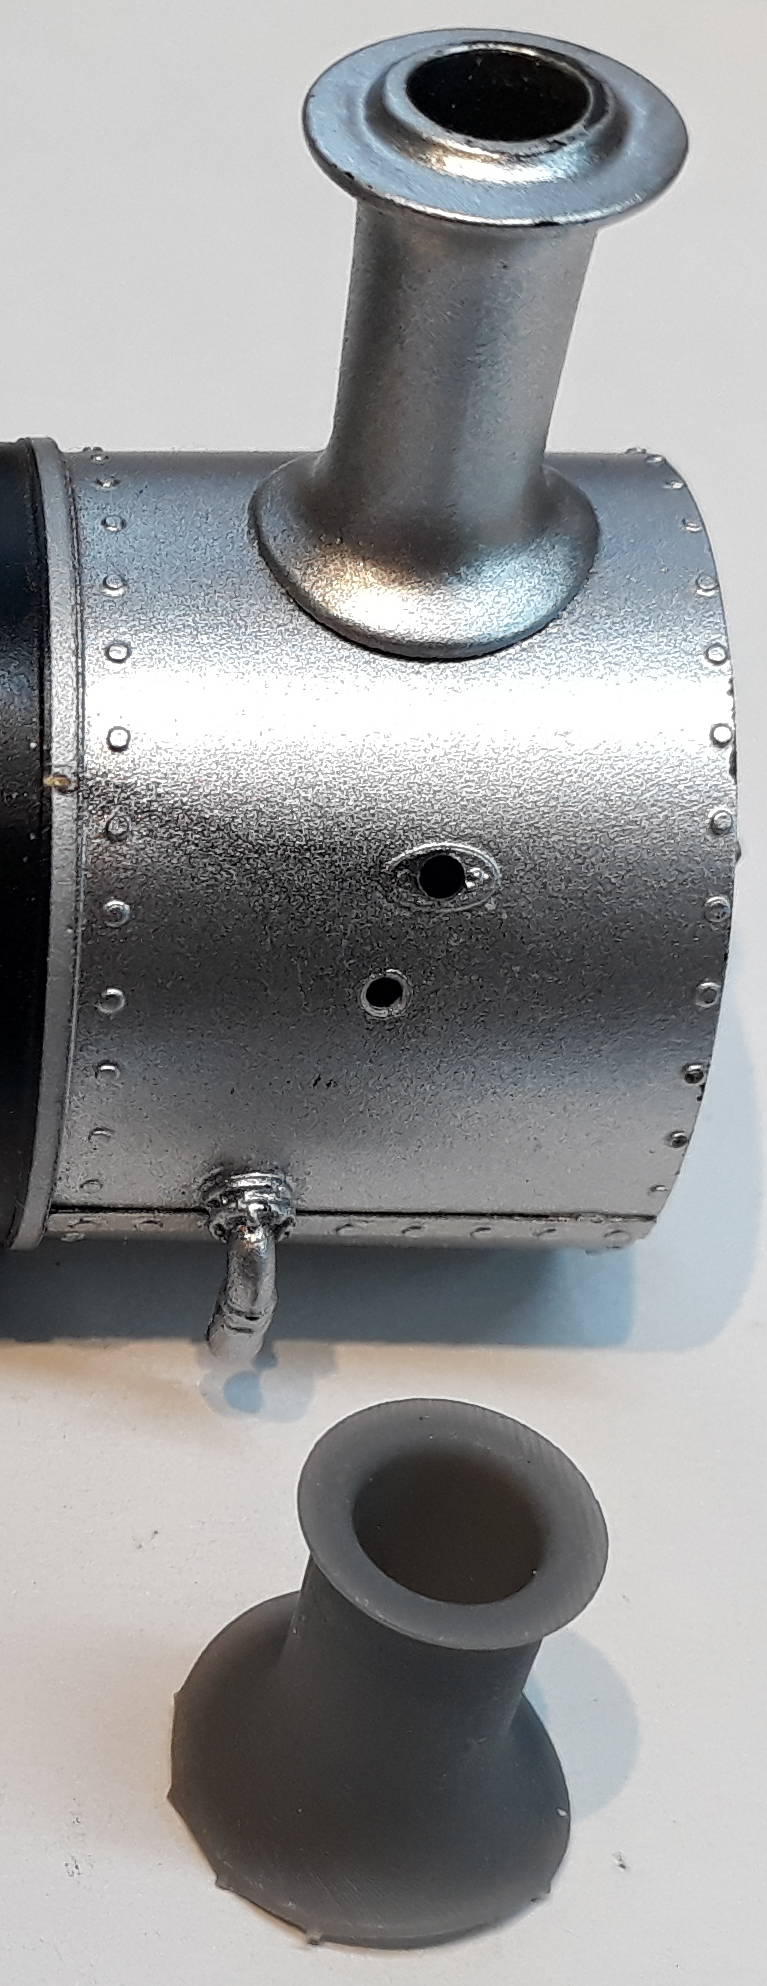
Lots of other bits and bobs have progressed. The chimney on the loco is wrong so I have a 3D printed replacement ready to go on.

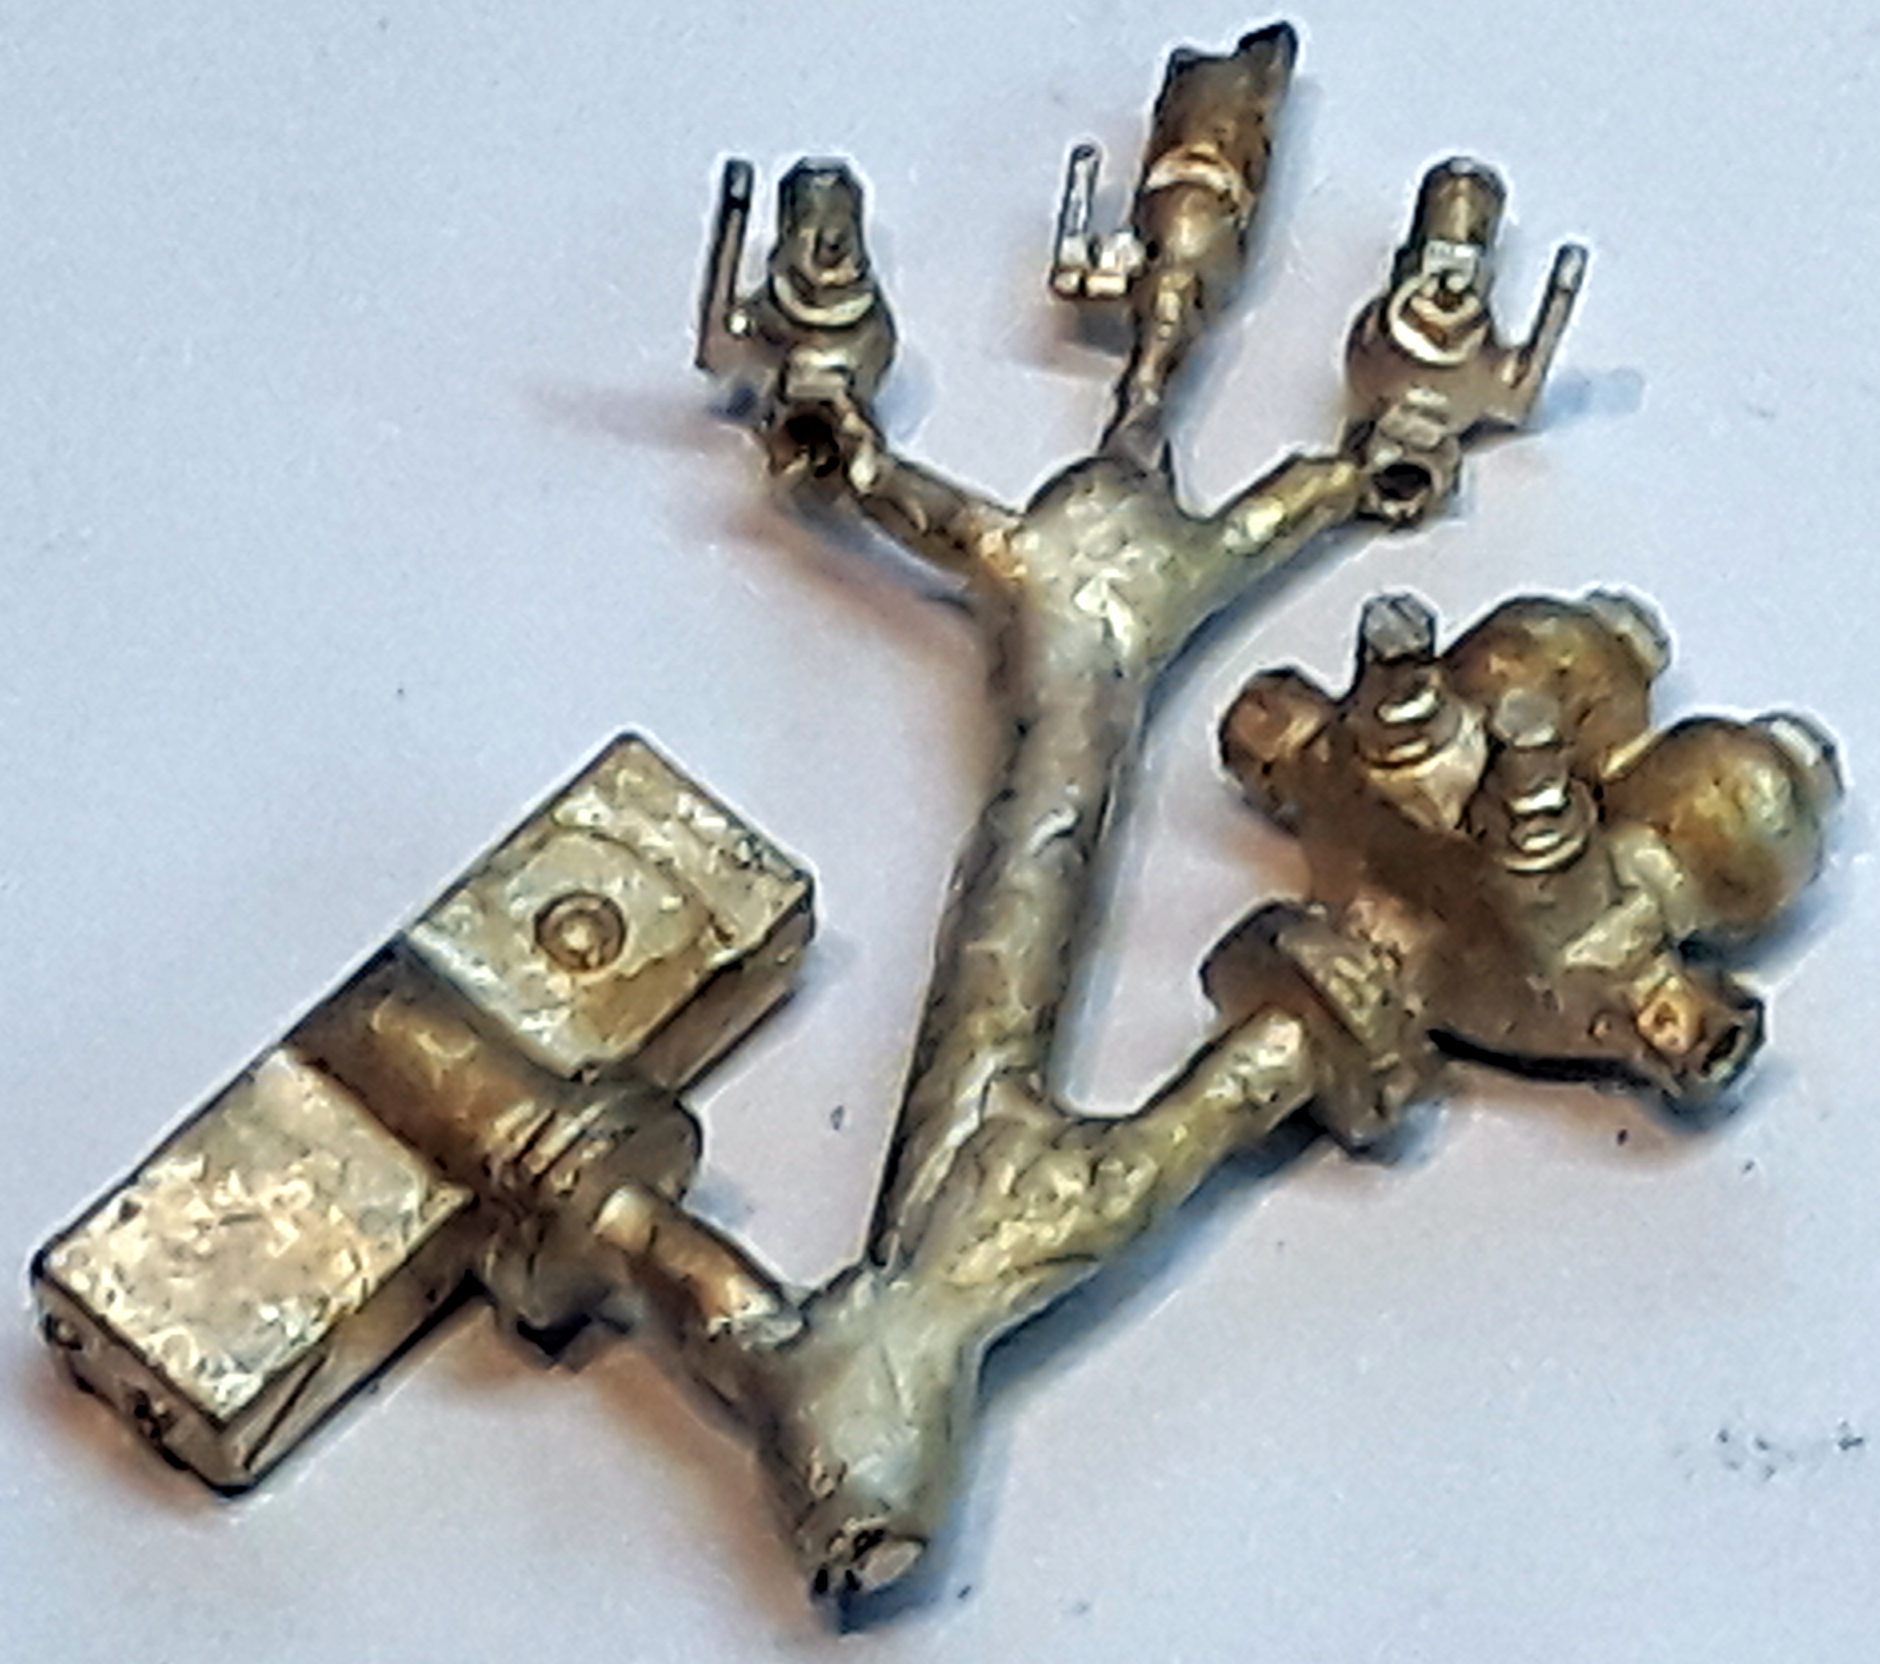
After a lot of delay and misunderstanding with the caster I finally got castings for the manifold, top feed, whistle and other valves. These are being prepared for fitting with pipes being made up now in copper wire

Not sure that I can put what I want to say into the right words here but I’ll give it a punt.  If I am not in the mood I can’t do a model justice. Mentally , I can find all manner of other things to do to avoid the thing I can’t really face. Then, the really daft thing is that I’ll do something that undoes the mental block and I end up cracking on with it wondering what the heck was stopping me. I am full on with this Garratt now but aware that there are a number of other projects all vying for my attention.

What I have learnt from the little mental health event earlier this year is that I can’t carry on like this  and so this is probably the last loco rebuild I do commercially.

The next instalment should follow shortly and it may well be the final part


Loading

Murder of a Garratt Pt 2 – The Resurrection

Murder of a Garratt Pt 2 – The Resurrection begins

Well, that caused a stir with comments like “you’re mad” and “you’d have been better off with a kit”. I would refer you to my comment “I wouldn’t have started from here”. It took me three years to pluck up the courage but once the first cut was made there was no going back.

At the end of episode one I said I had plans for Sunday to get more done before the T20 cricket on the TV. It didn’t quite work out like that. Some progress was made with the CAD and the M1.6 screws turned up but domestic chores and an urgent mod to a customer printed patterns were all that got fitted in around the cricket. The cricket was T20 England vs Pakistan at Old Trafford. England won and it was a cracking game. Continue reading

Loading

Murder of a Garratt – pt1

Murder of a GarrattIn this introduction to `Murder of a Garratt’ the first joke has to be “well, I wouldn’t have started from here”

Episode 1 is a bit long so you may want to get a brew!

The target of this build is a Garratt that is 138(ish) in lined red and the starting point is a Backwoods Miniatures 0-16.5 Chinese assembled ready to run Garratt in Black. Its been a project a long time in the making consisting of about three years plucking up the courage followed, so far, by three or for days of wanton destruction as I set about £2K’s worth of loco with a cutting discs, files and sanders.

The Backwoods Miniatures kit and the ready to run loco were the best NGG16 kit on the market – by way of being the only NGG16 kit on the market!  In truth its a bit, well, wrong.  The kit part of it (not talking accuracy here) is poor. Its origins are a kit designed for 009 from artwork drawn to 8mm/ft scale, twice full size. To work as a kit in 009 their have to be compromises on the level of detail that can be reproduced. This is all fine but it is still a challenging kit to build and get running well. Have a search for the Bron Hebog blog to see examples where a cracking result has been achieved.

Continue reading

Loading