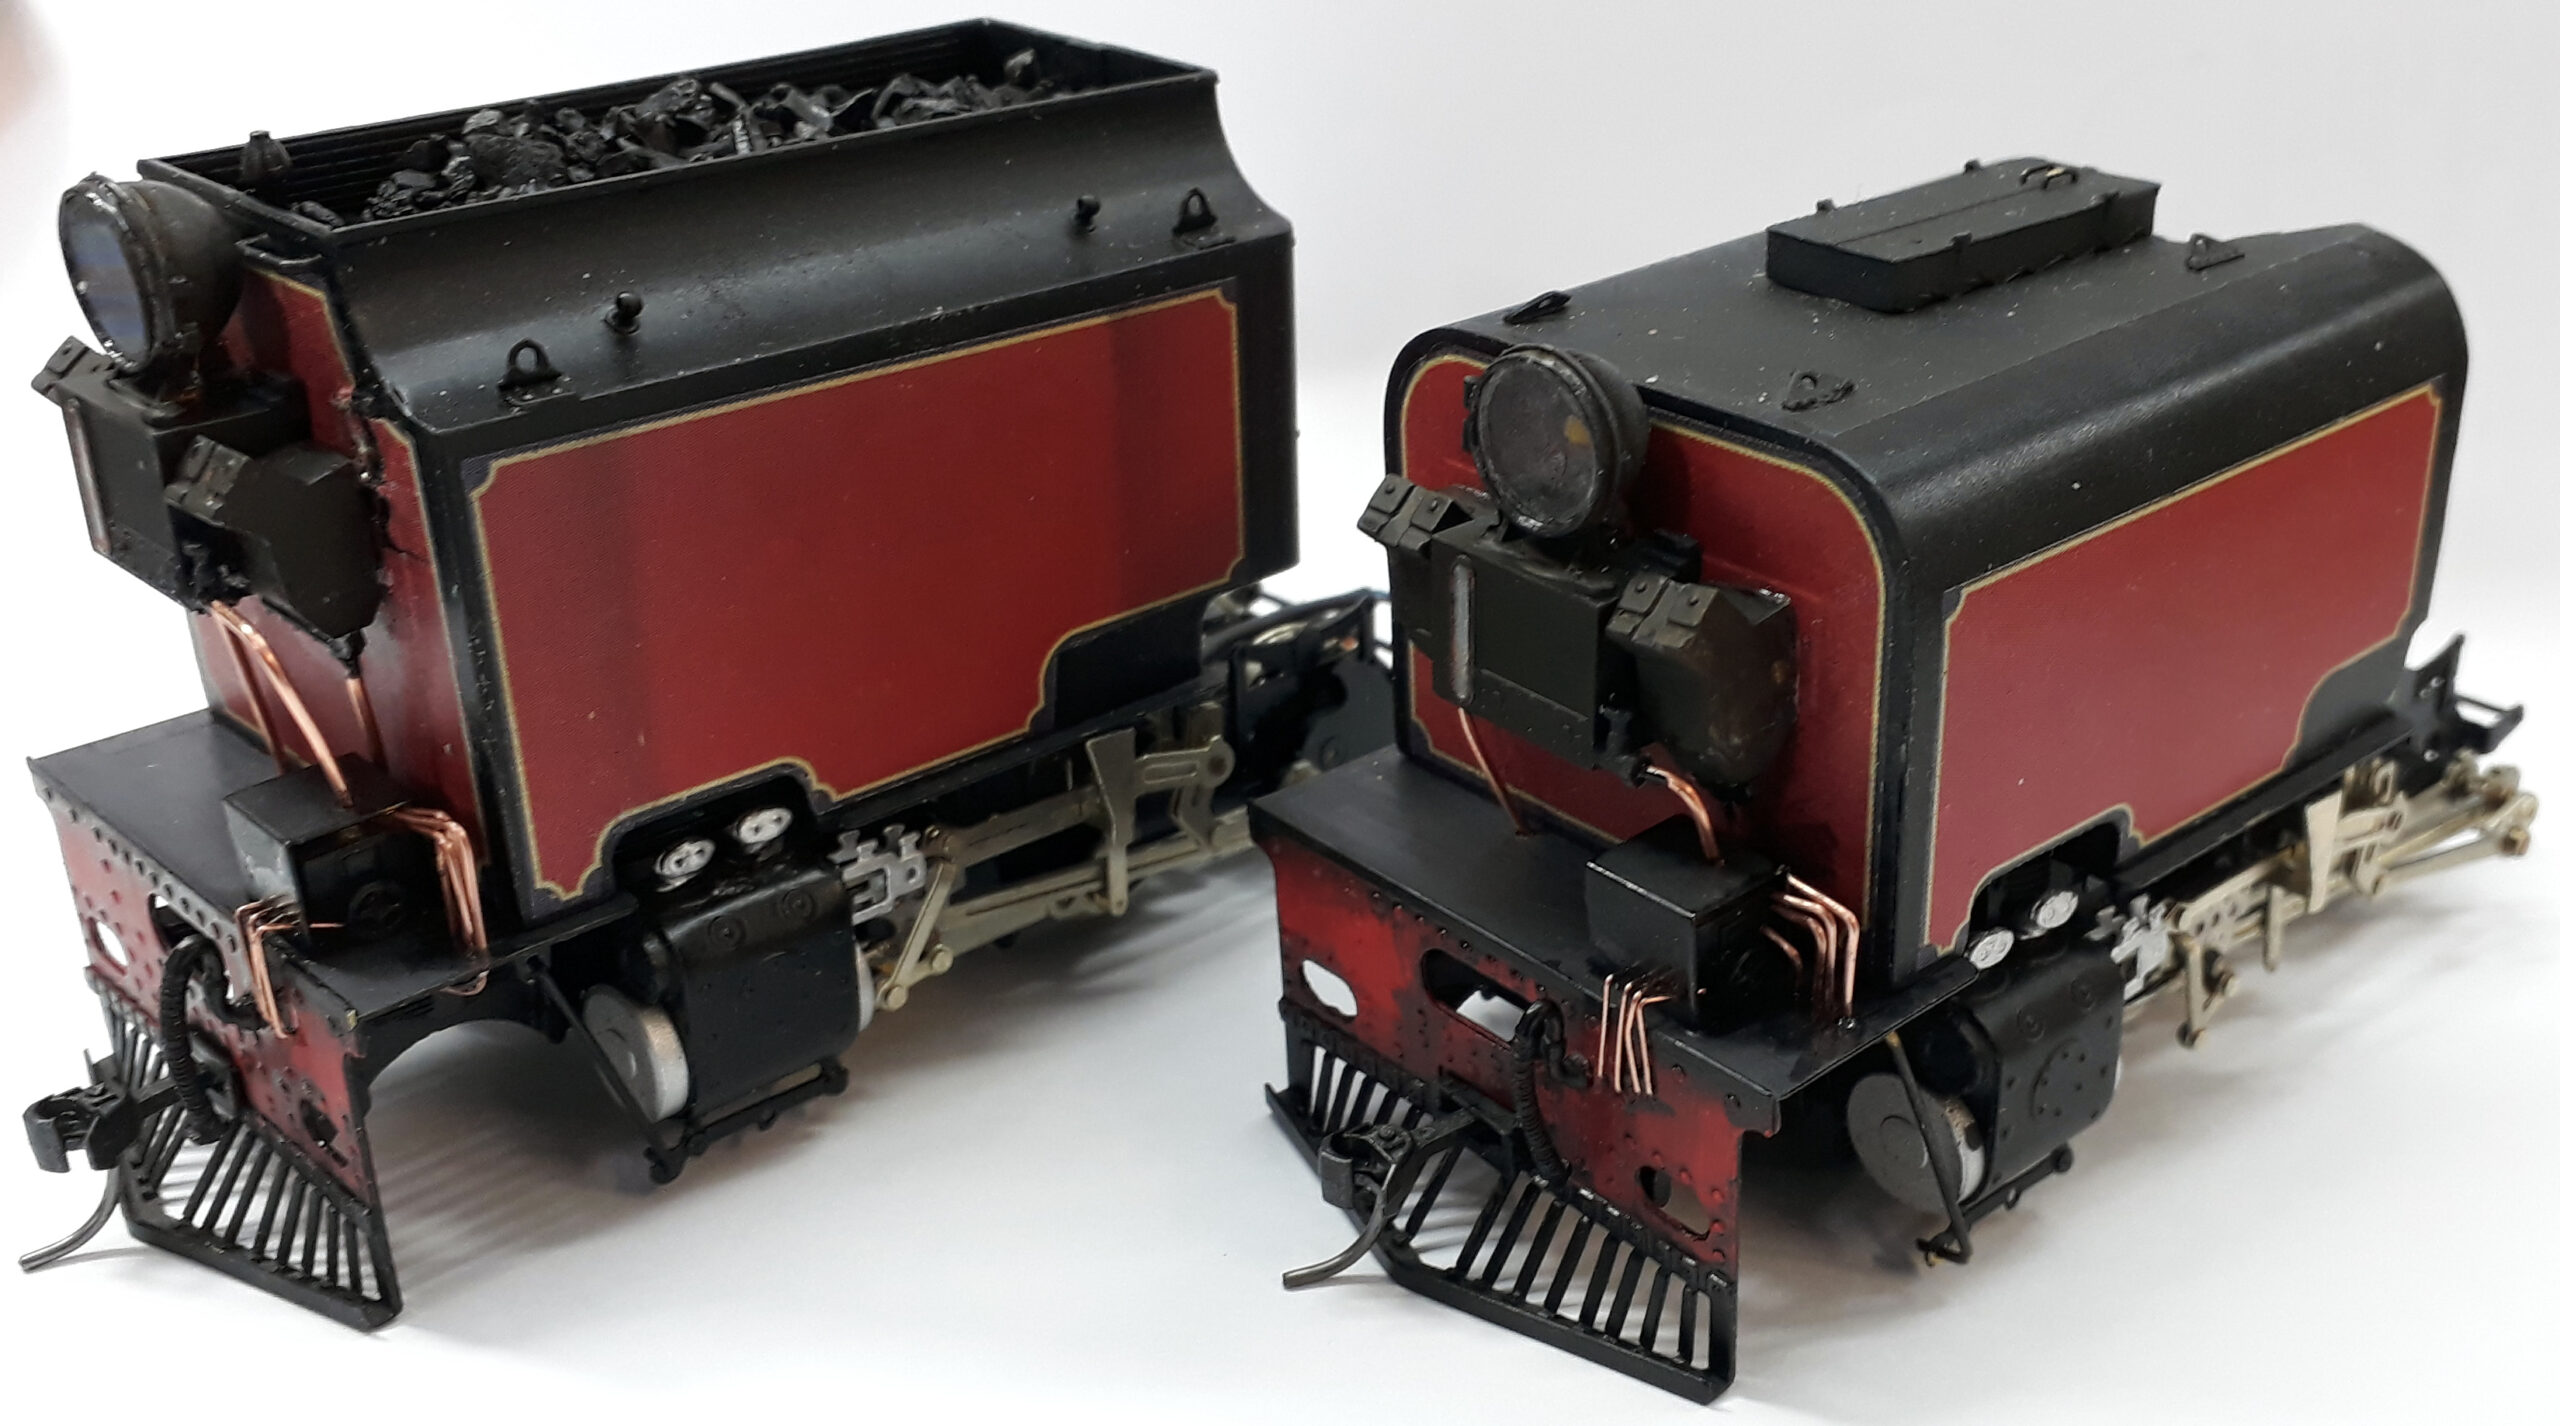
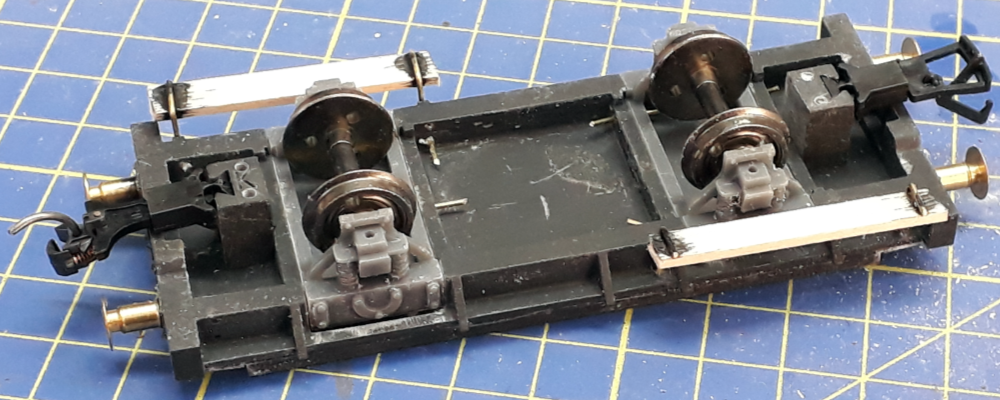
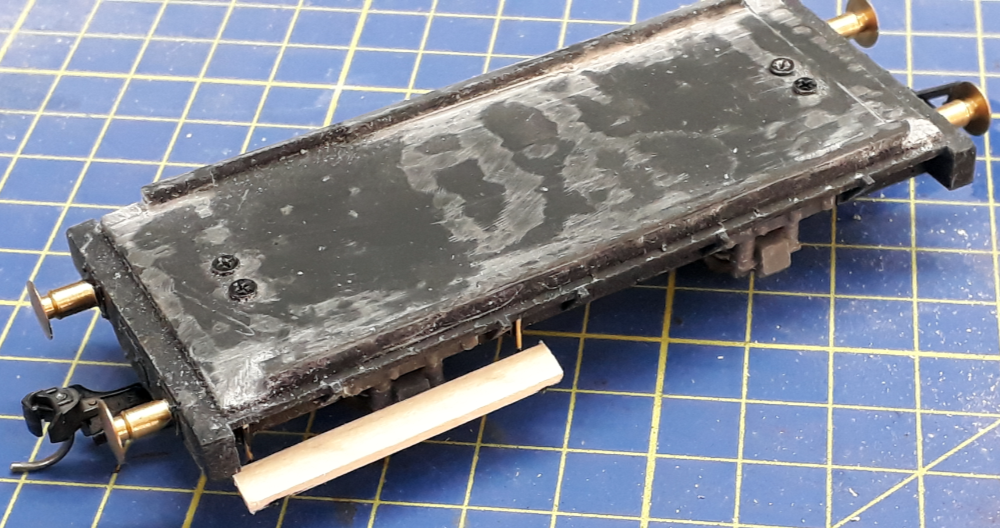
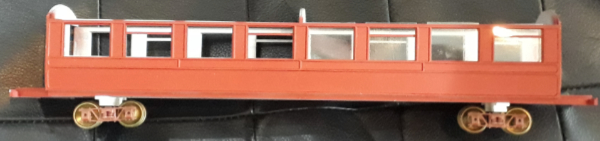
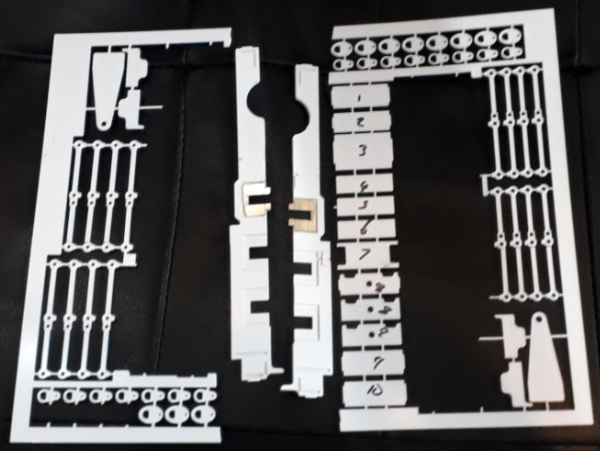
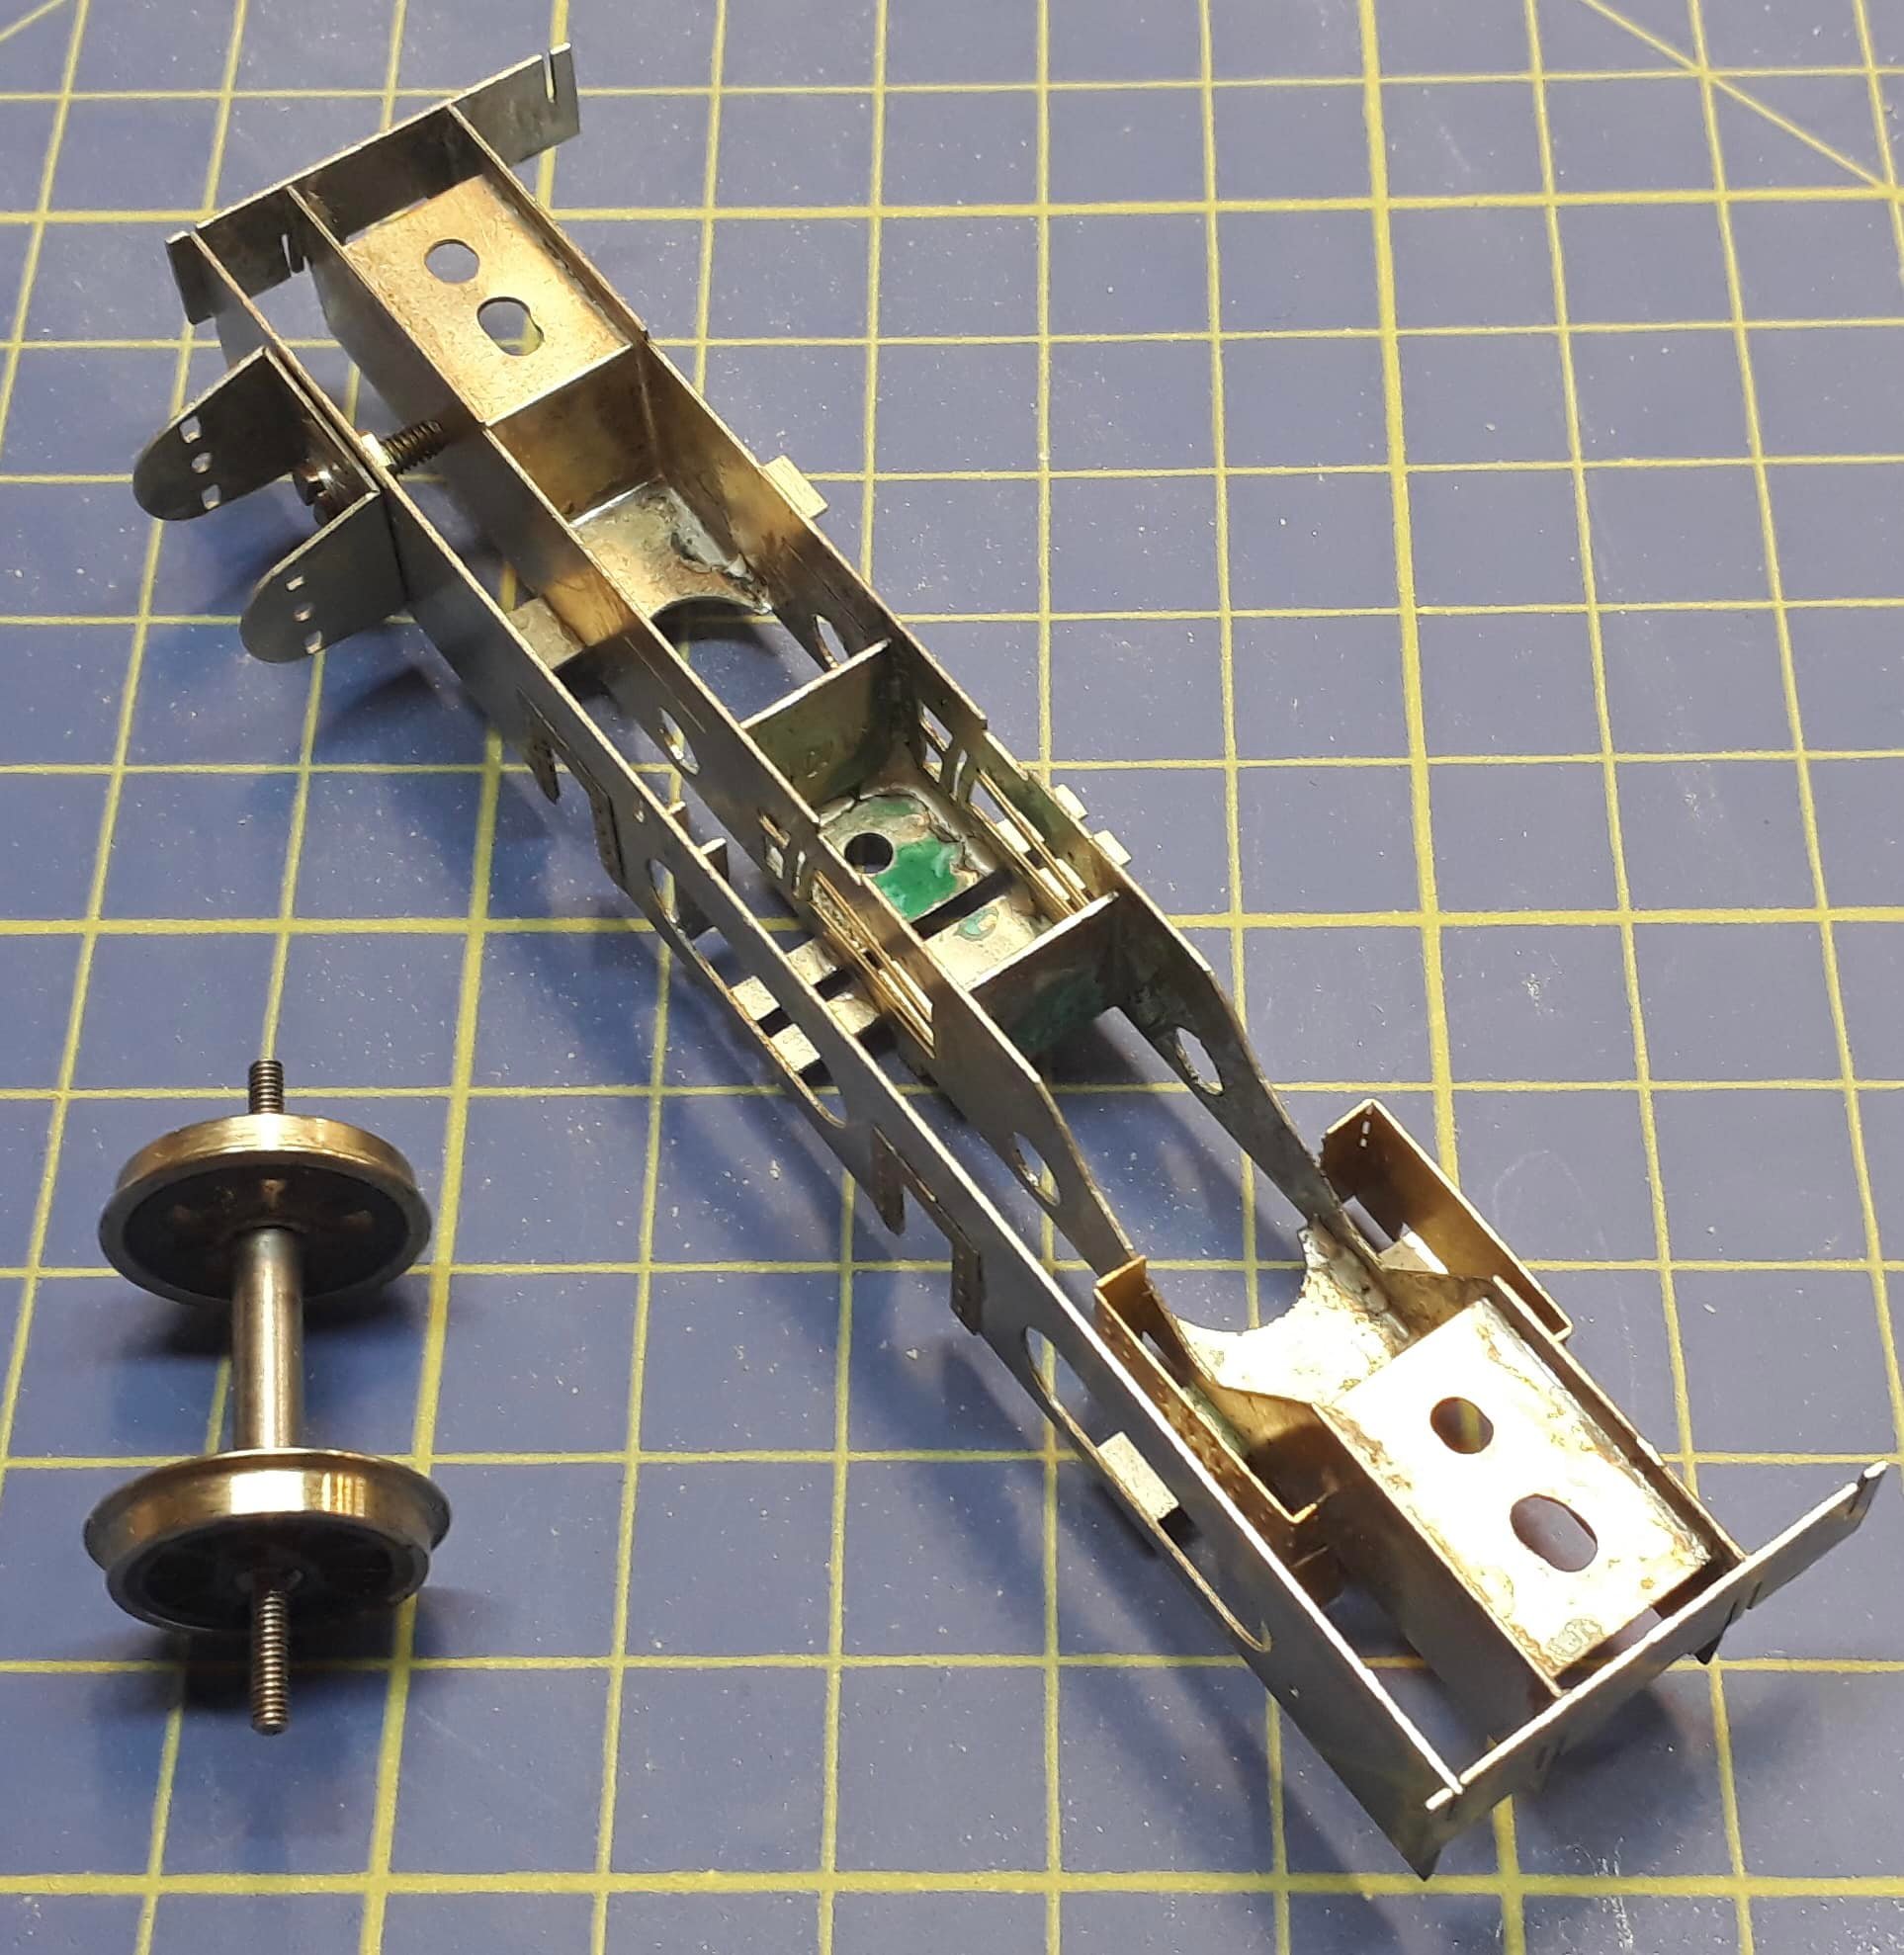
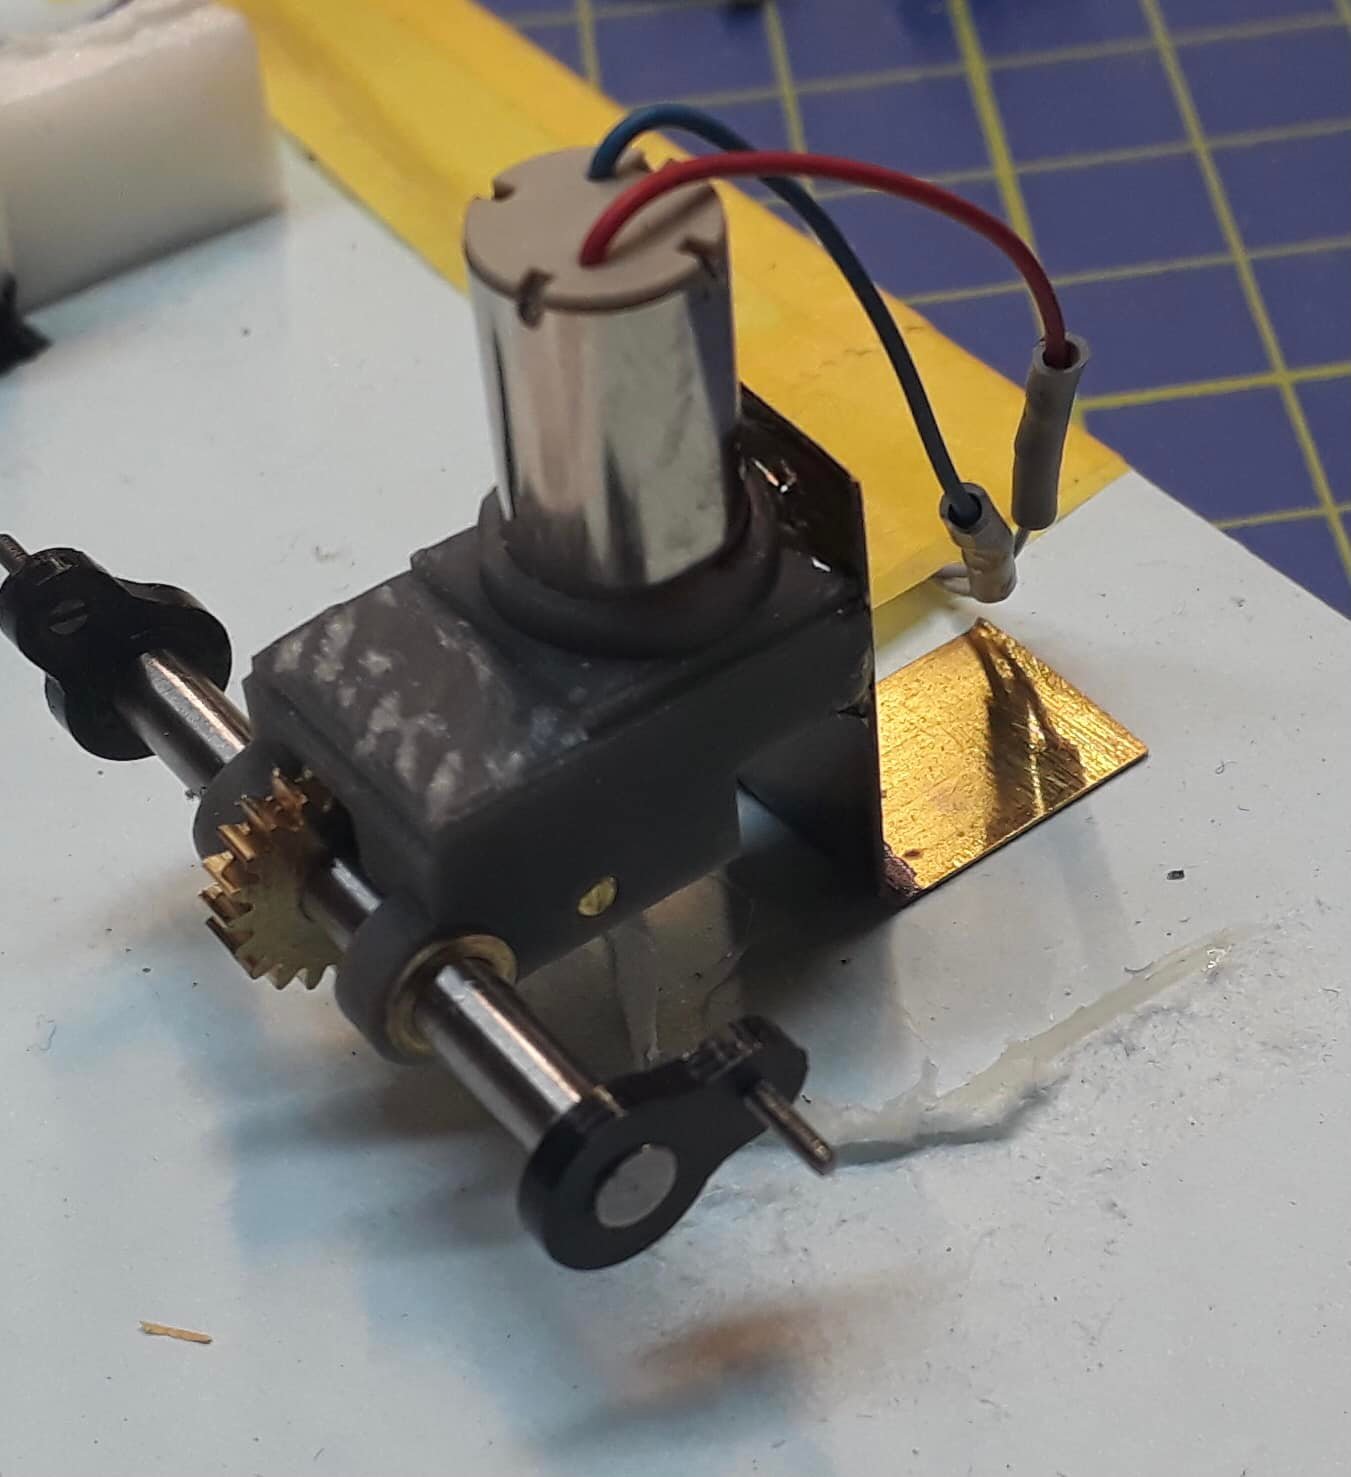
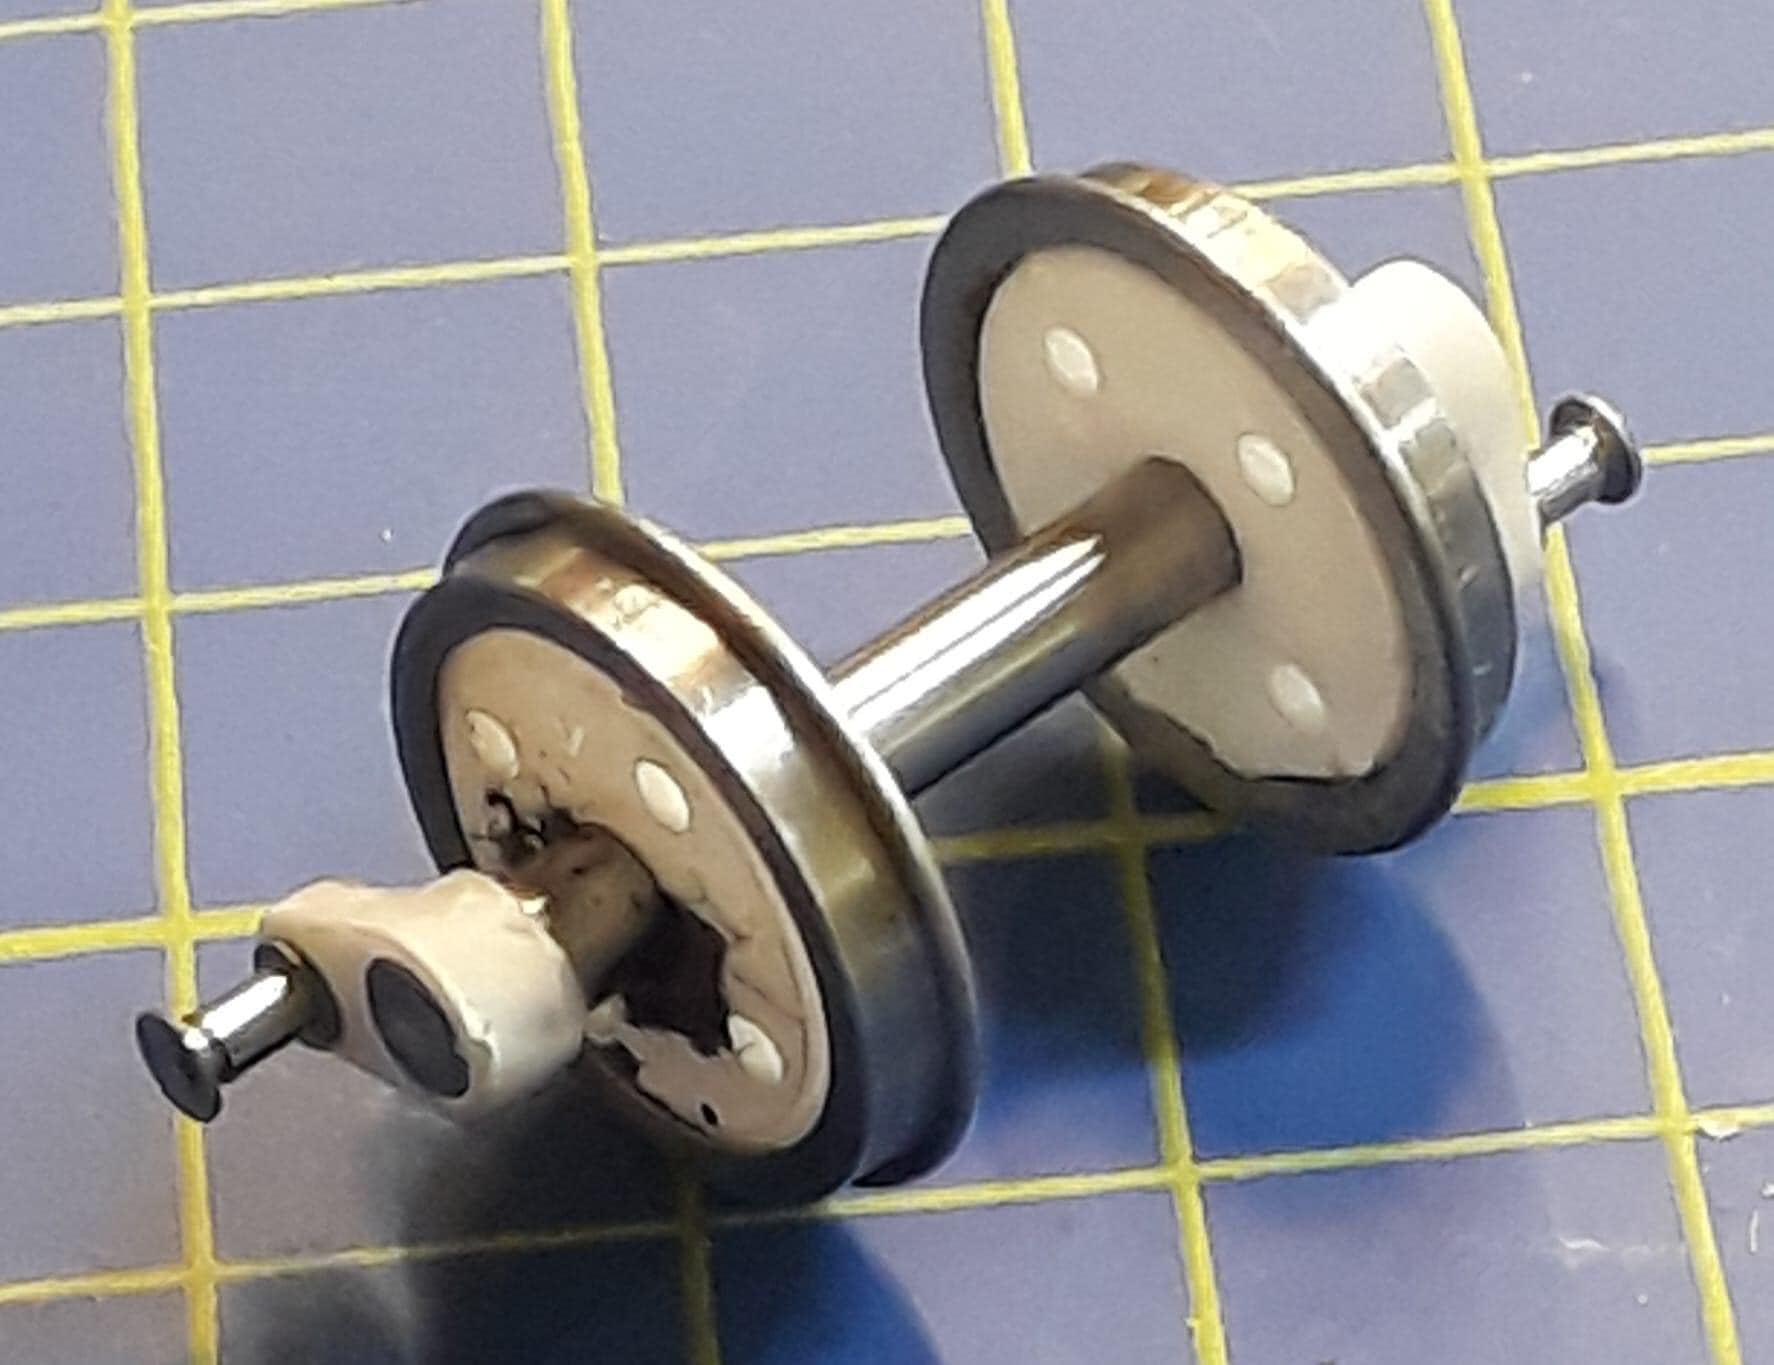
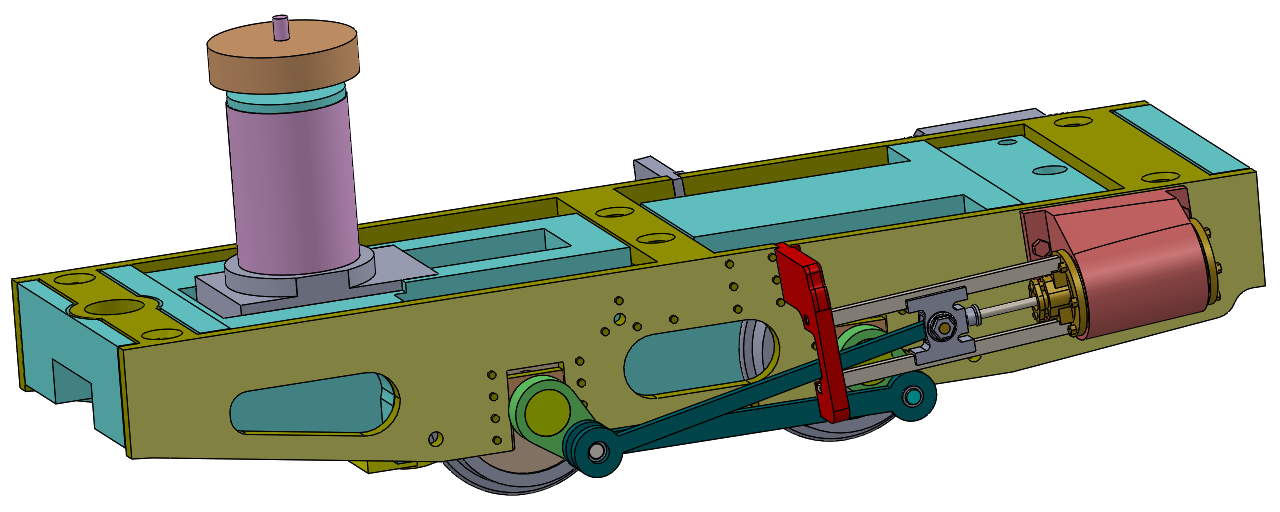
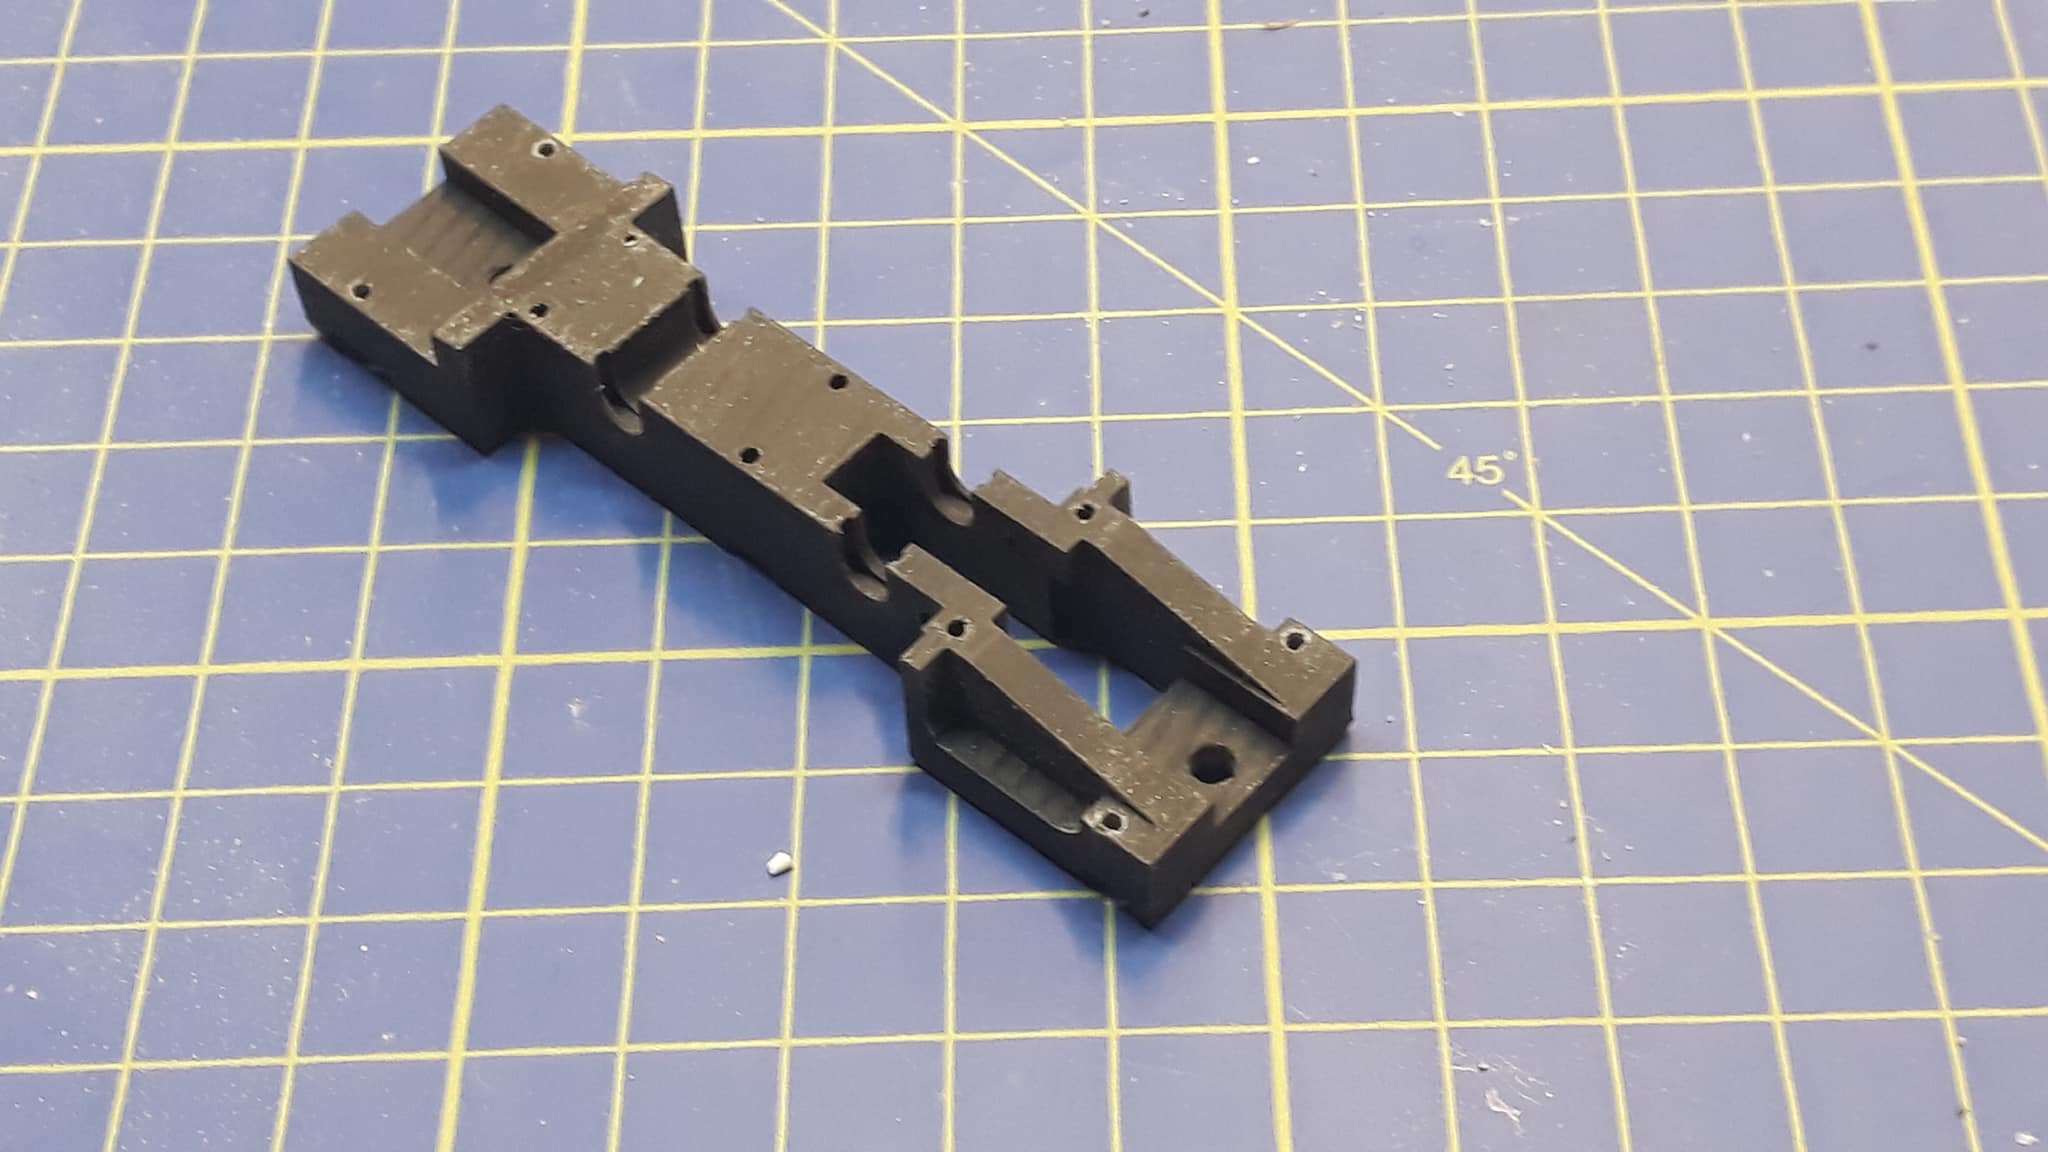
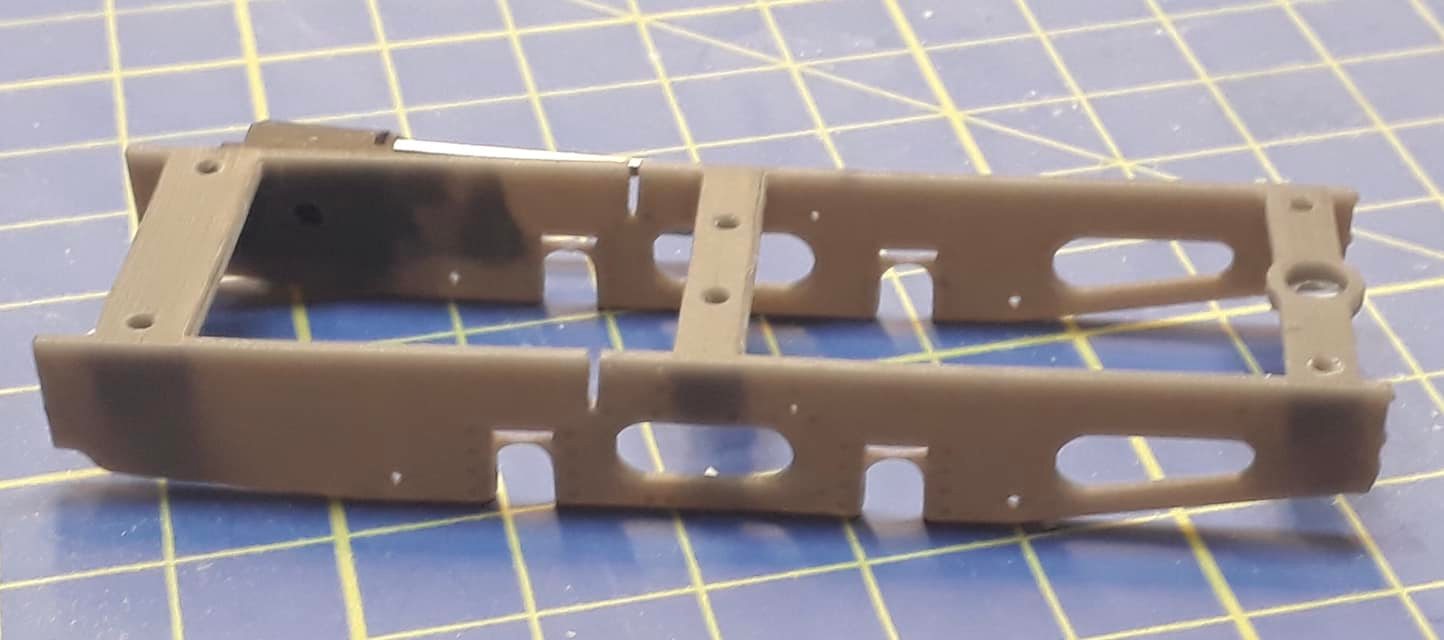
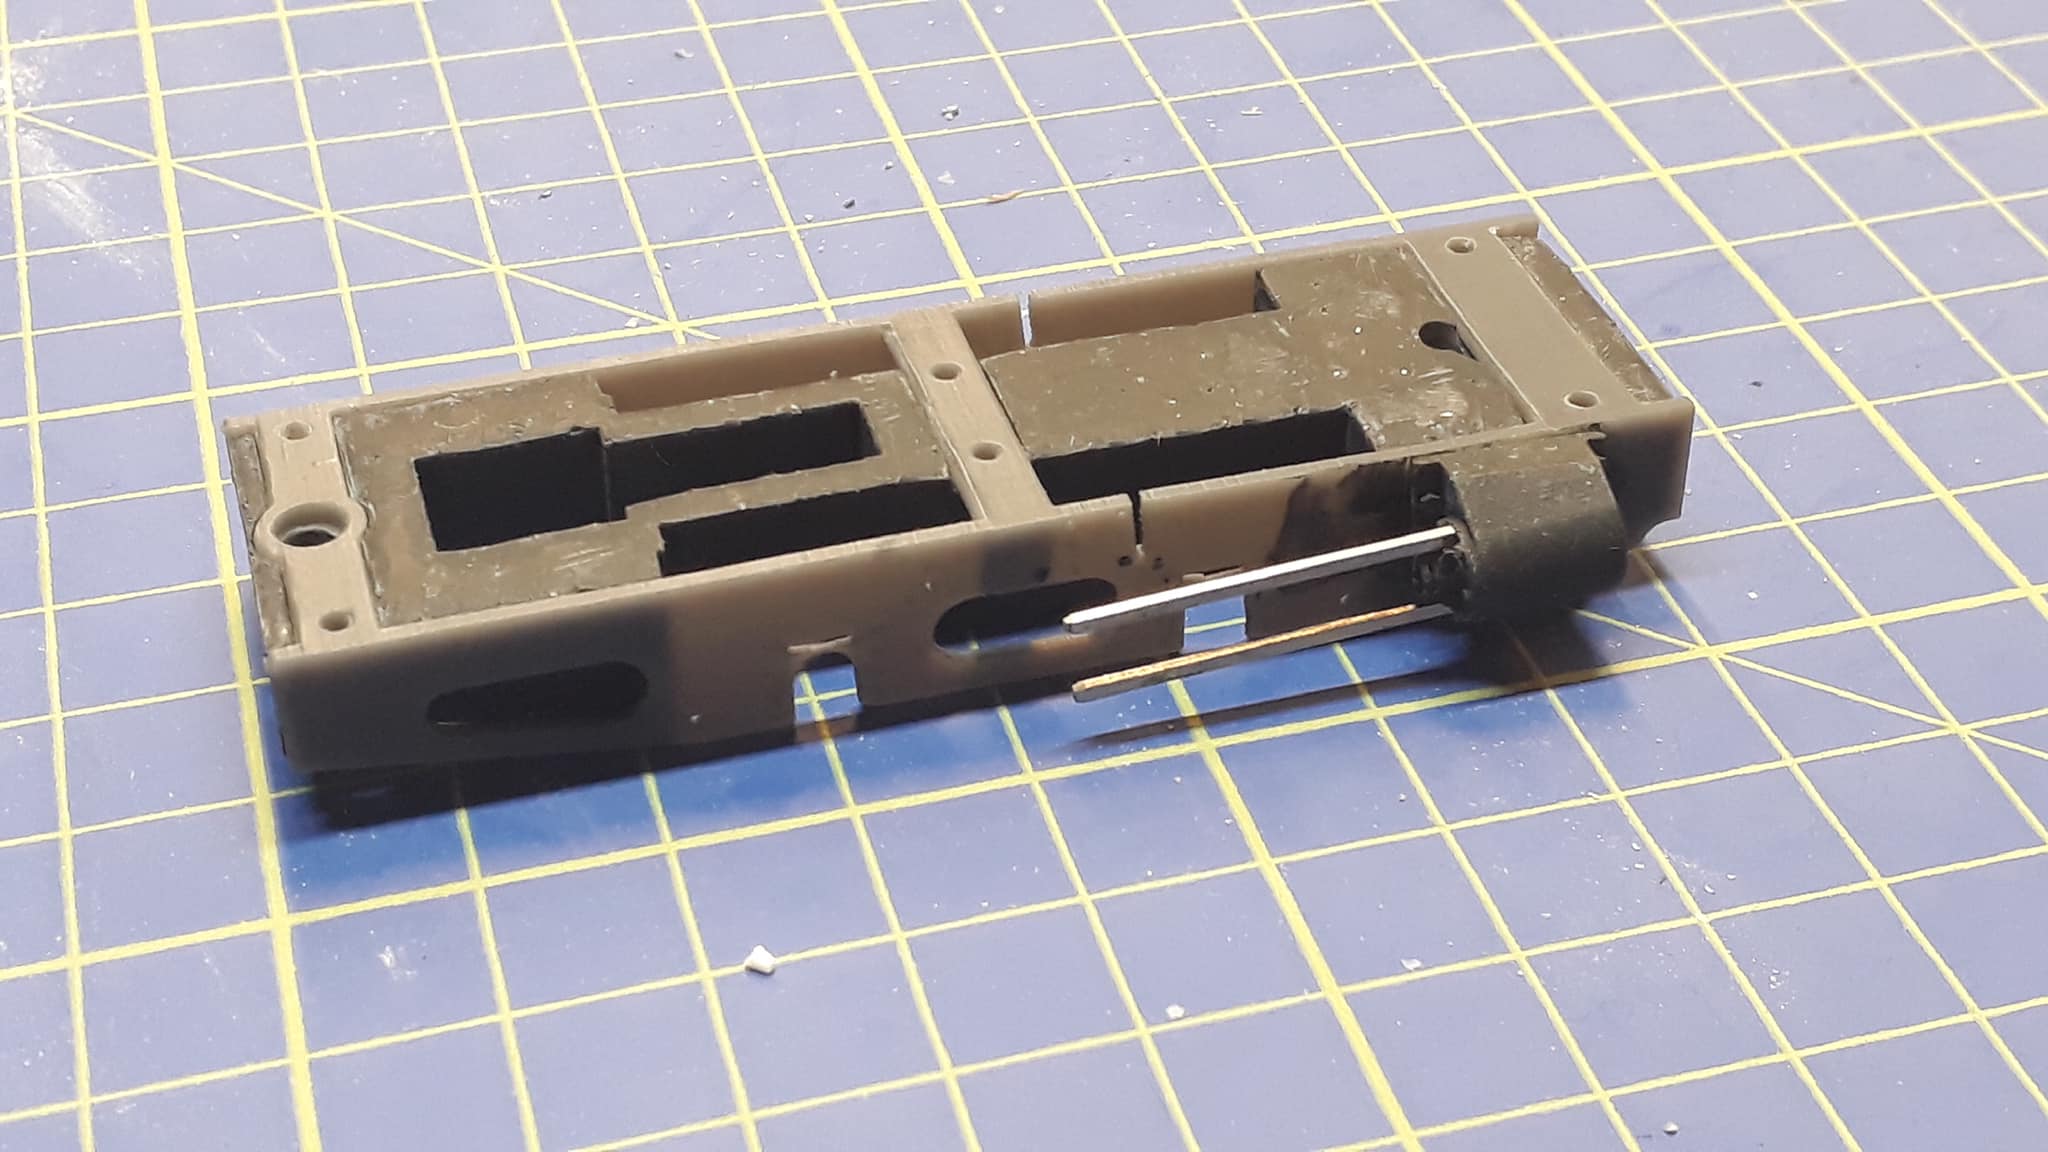
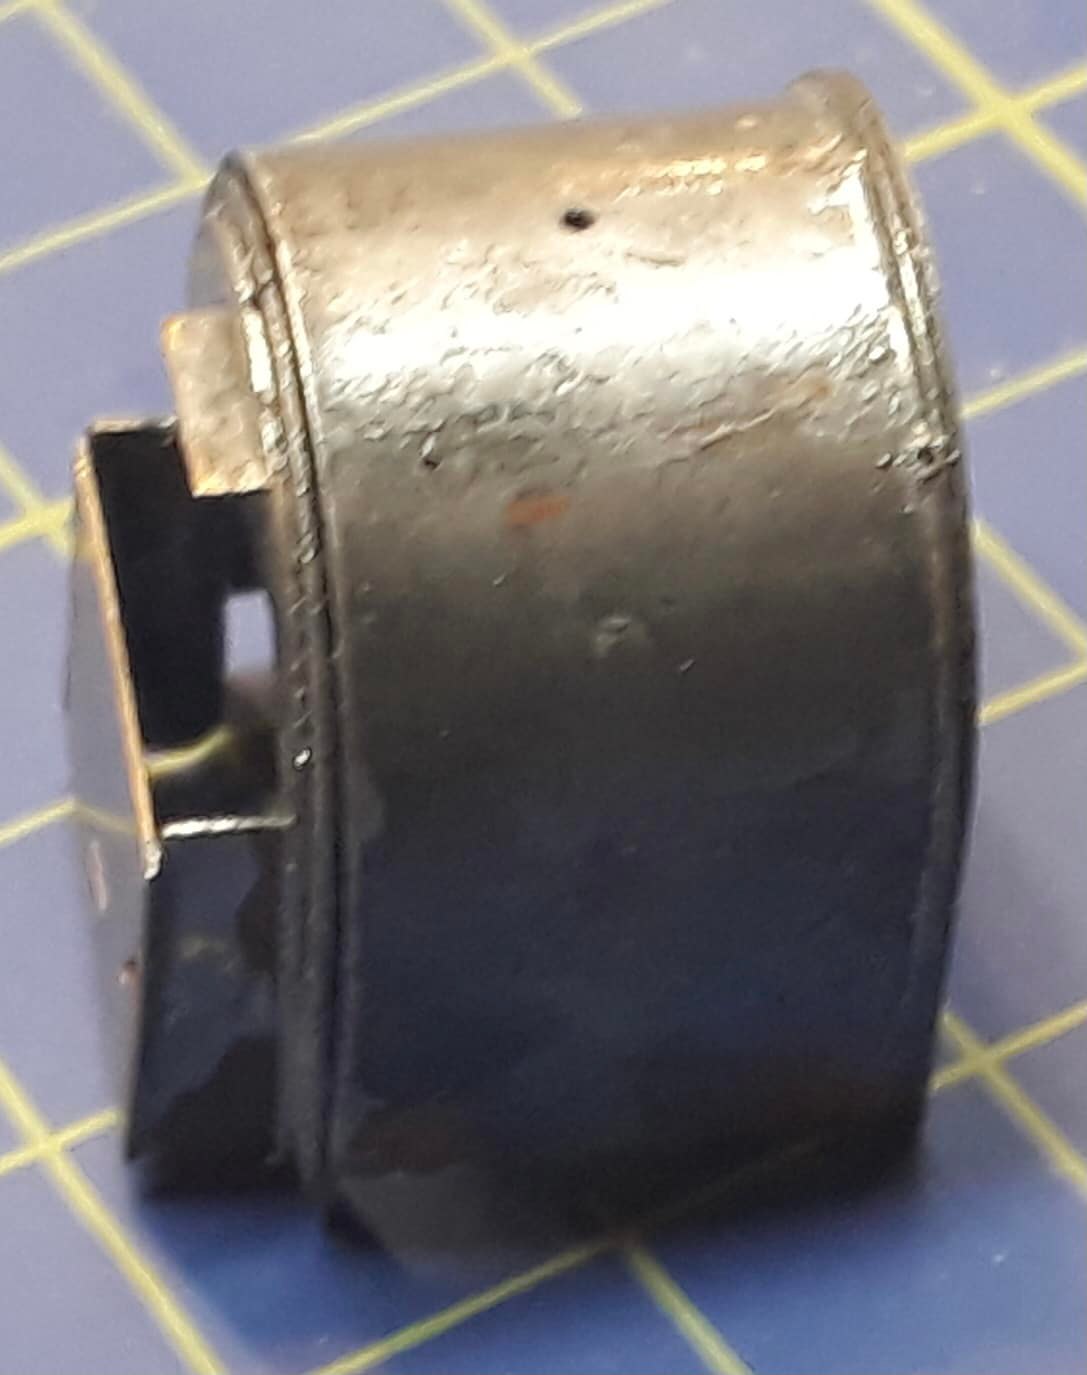
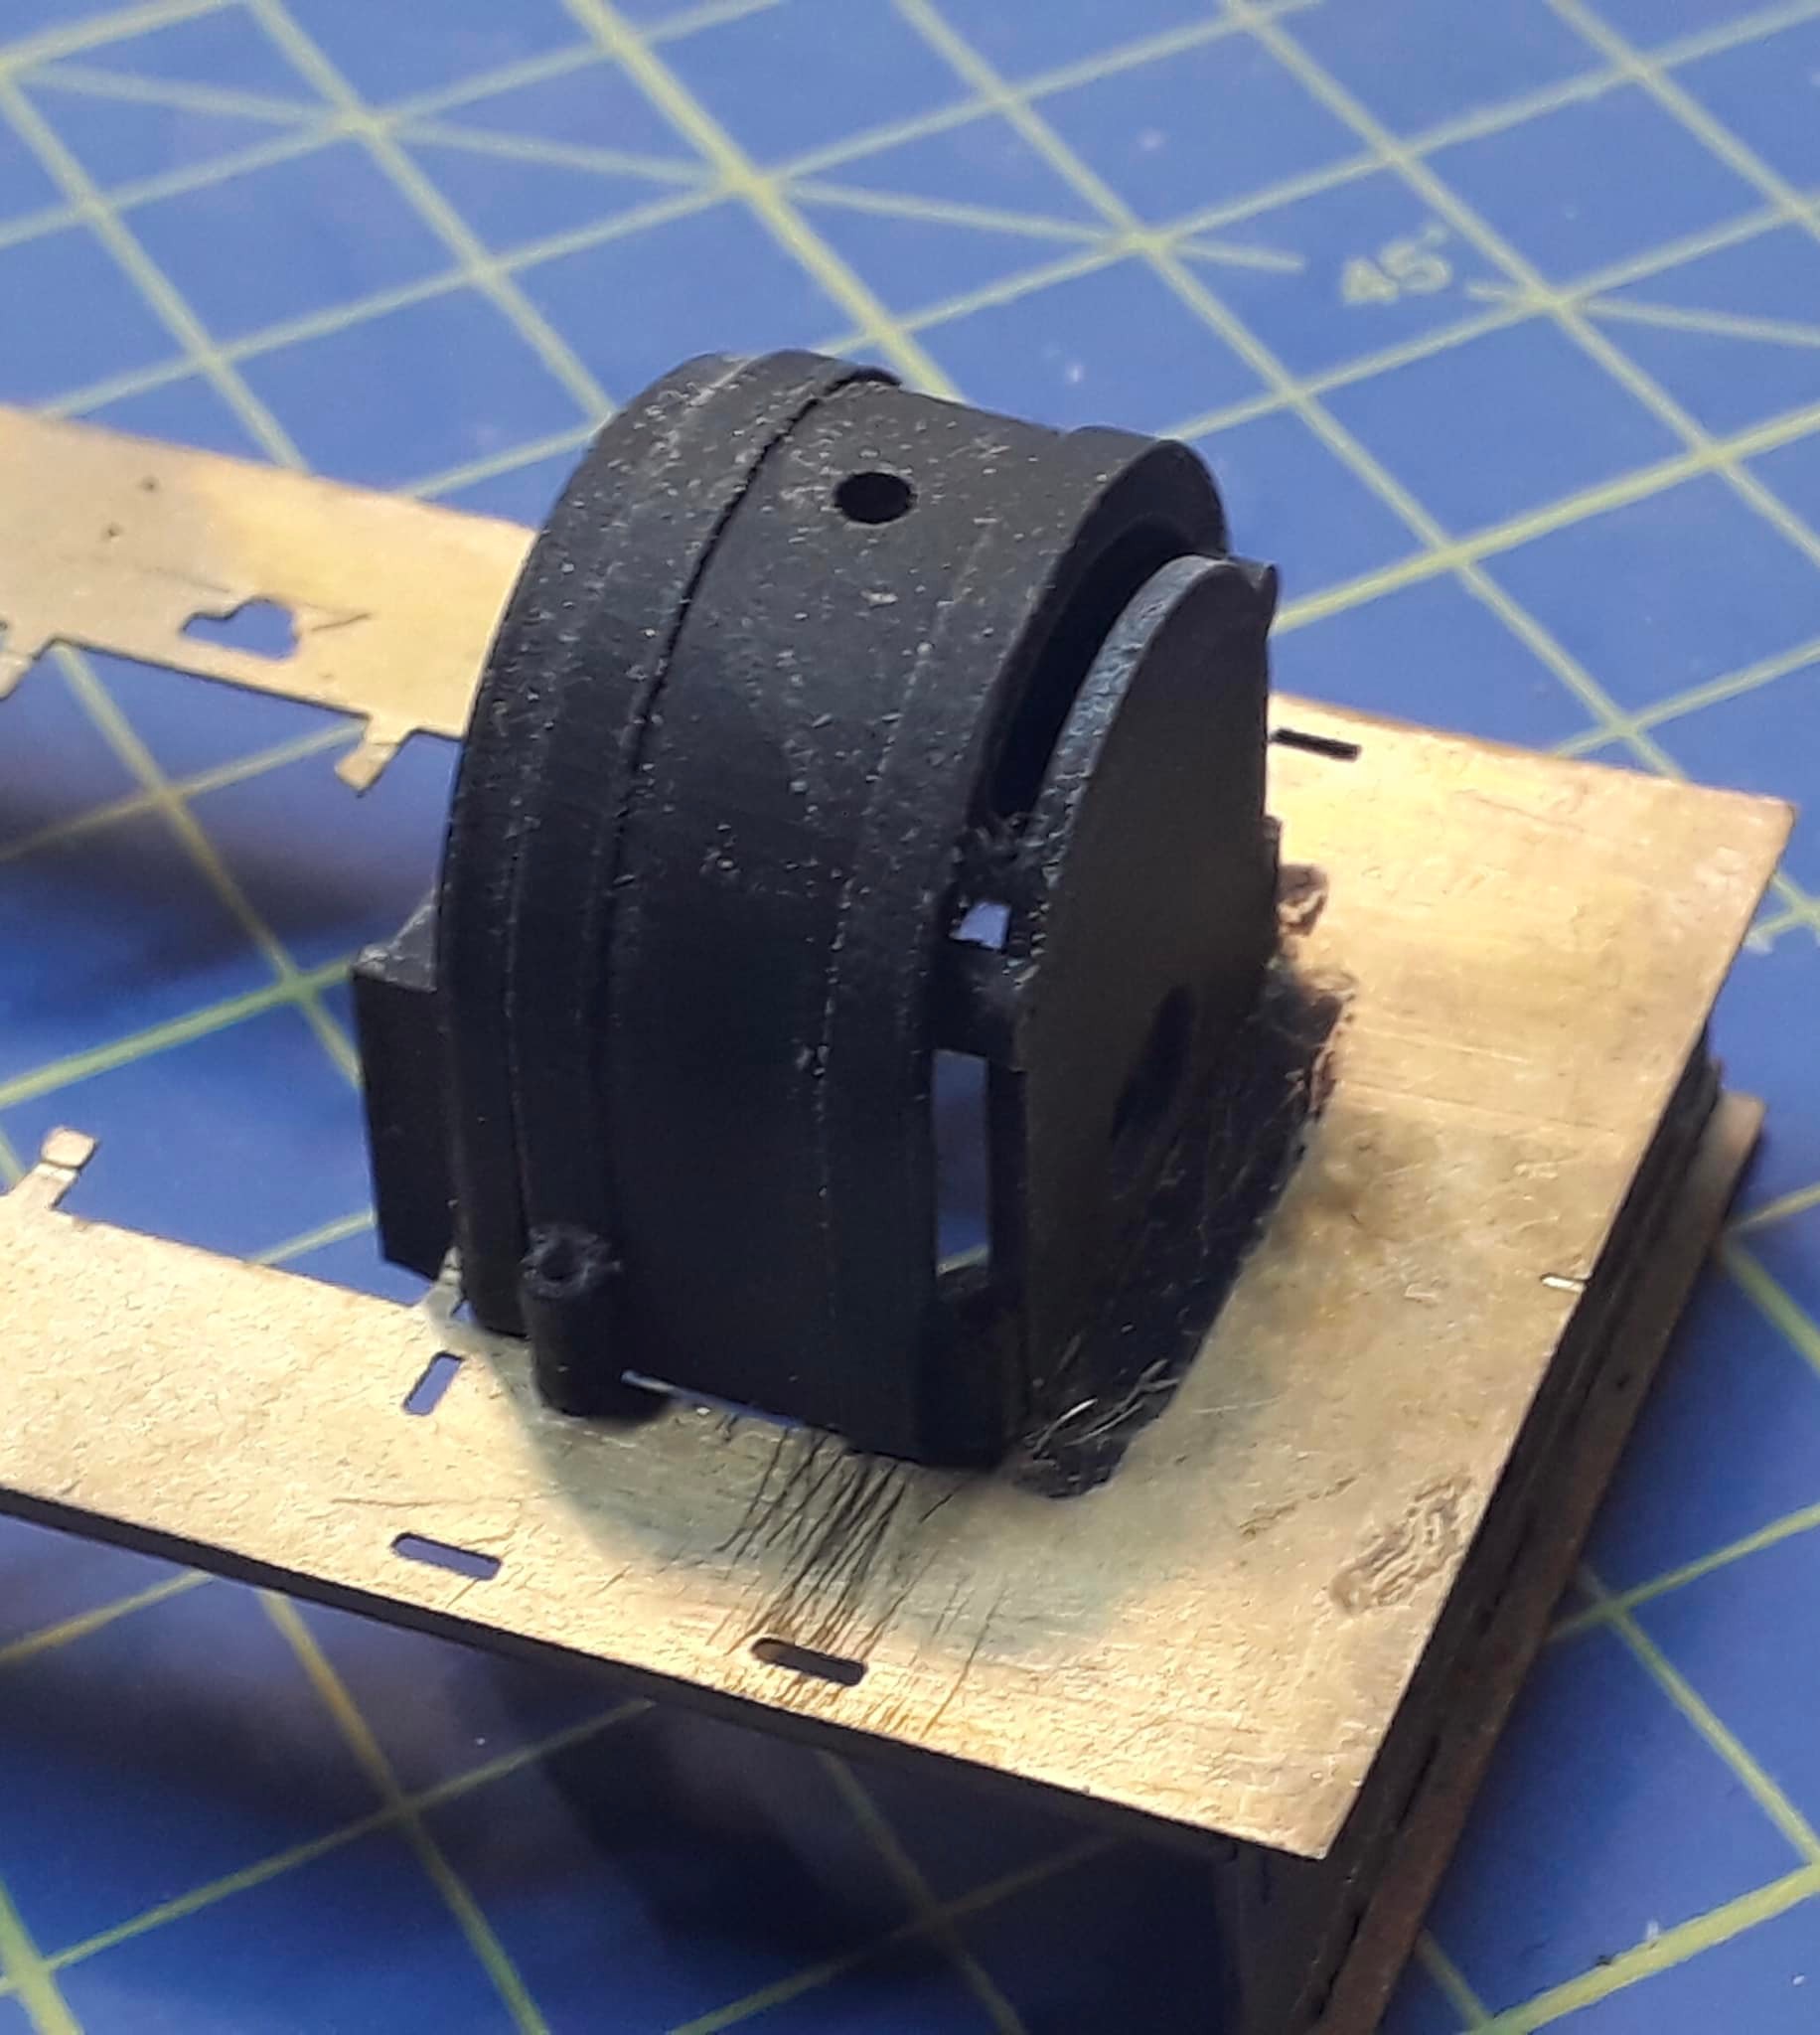
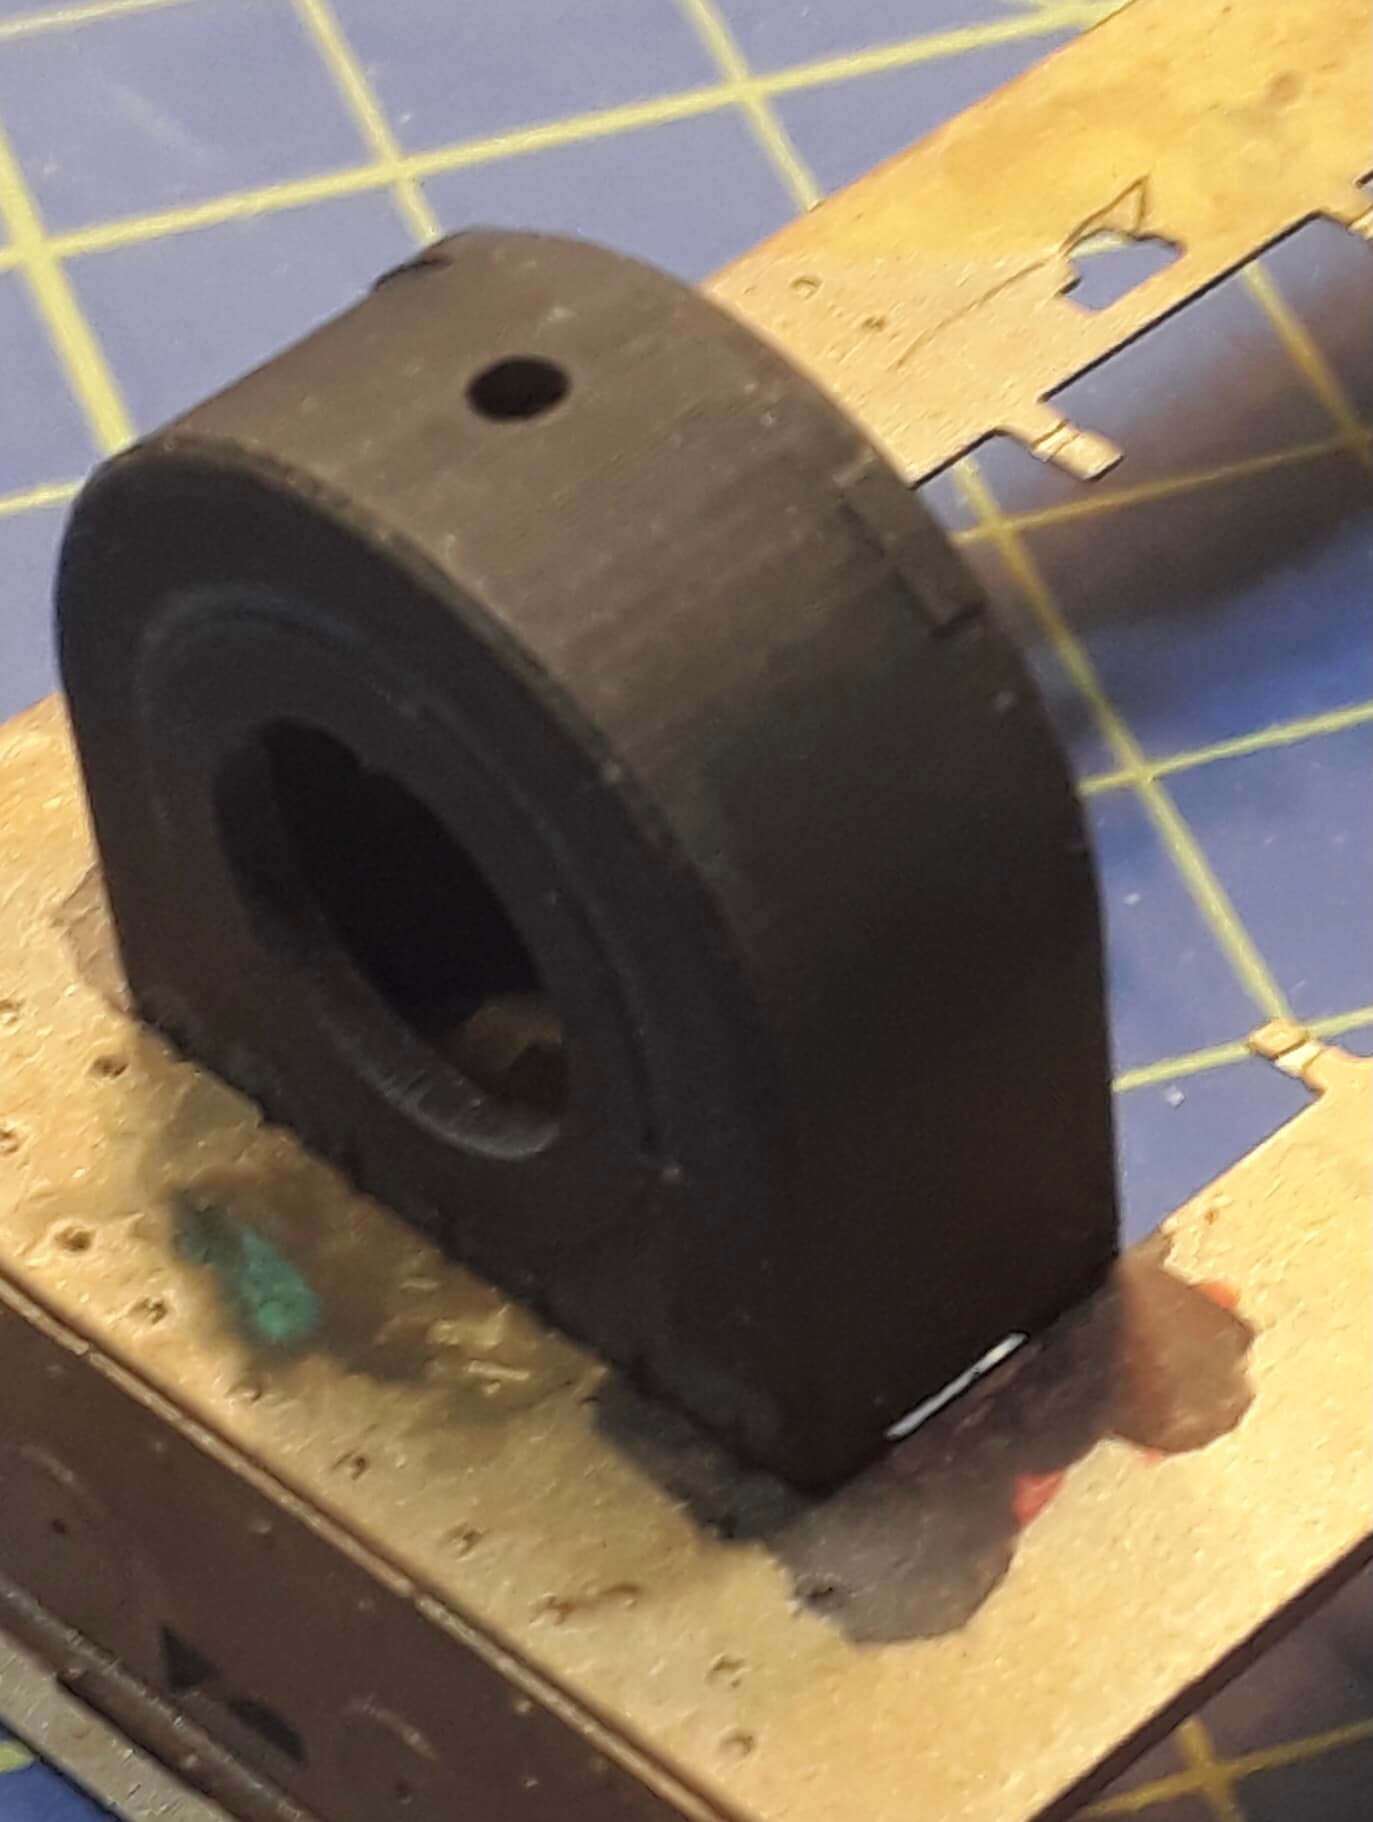
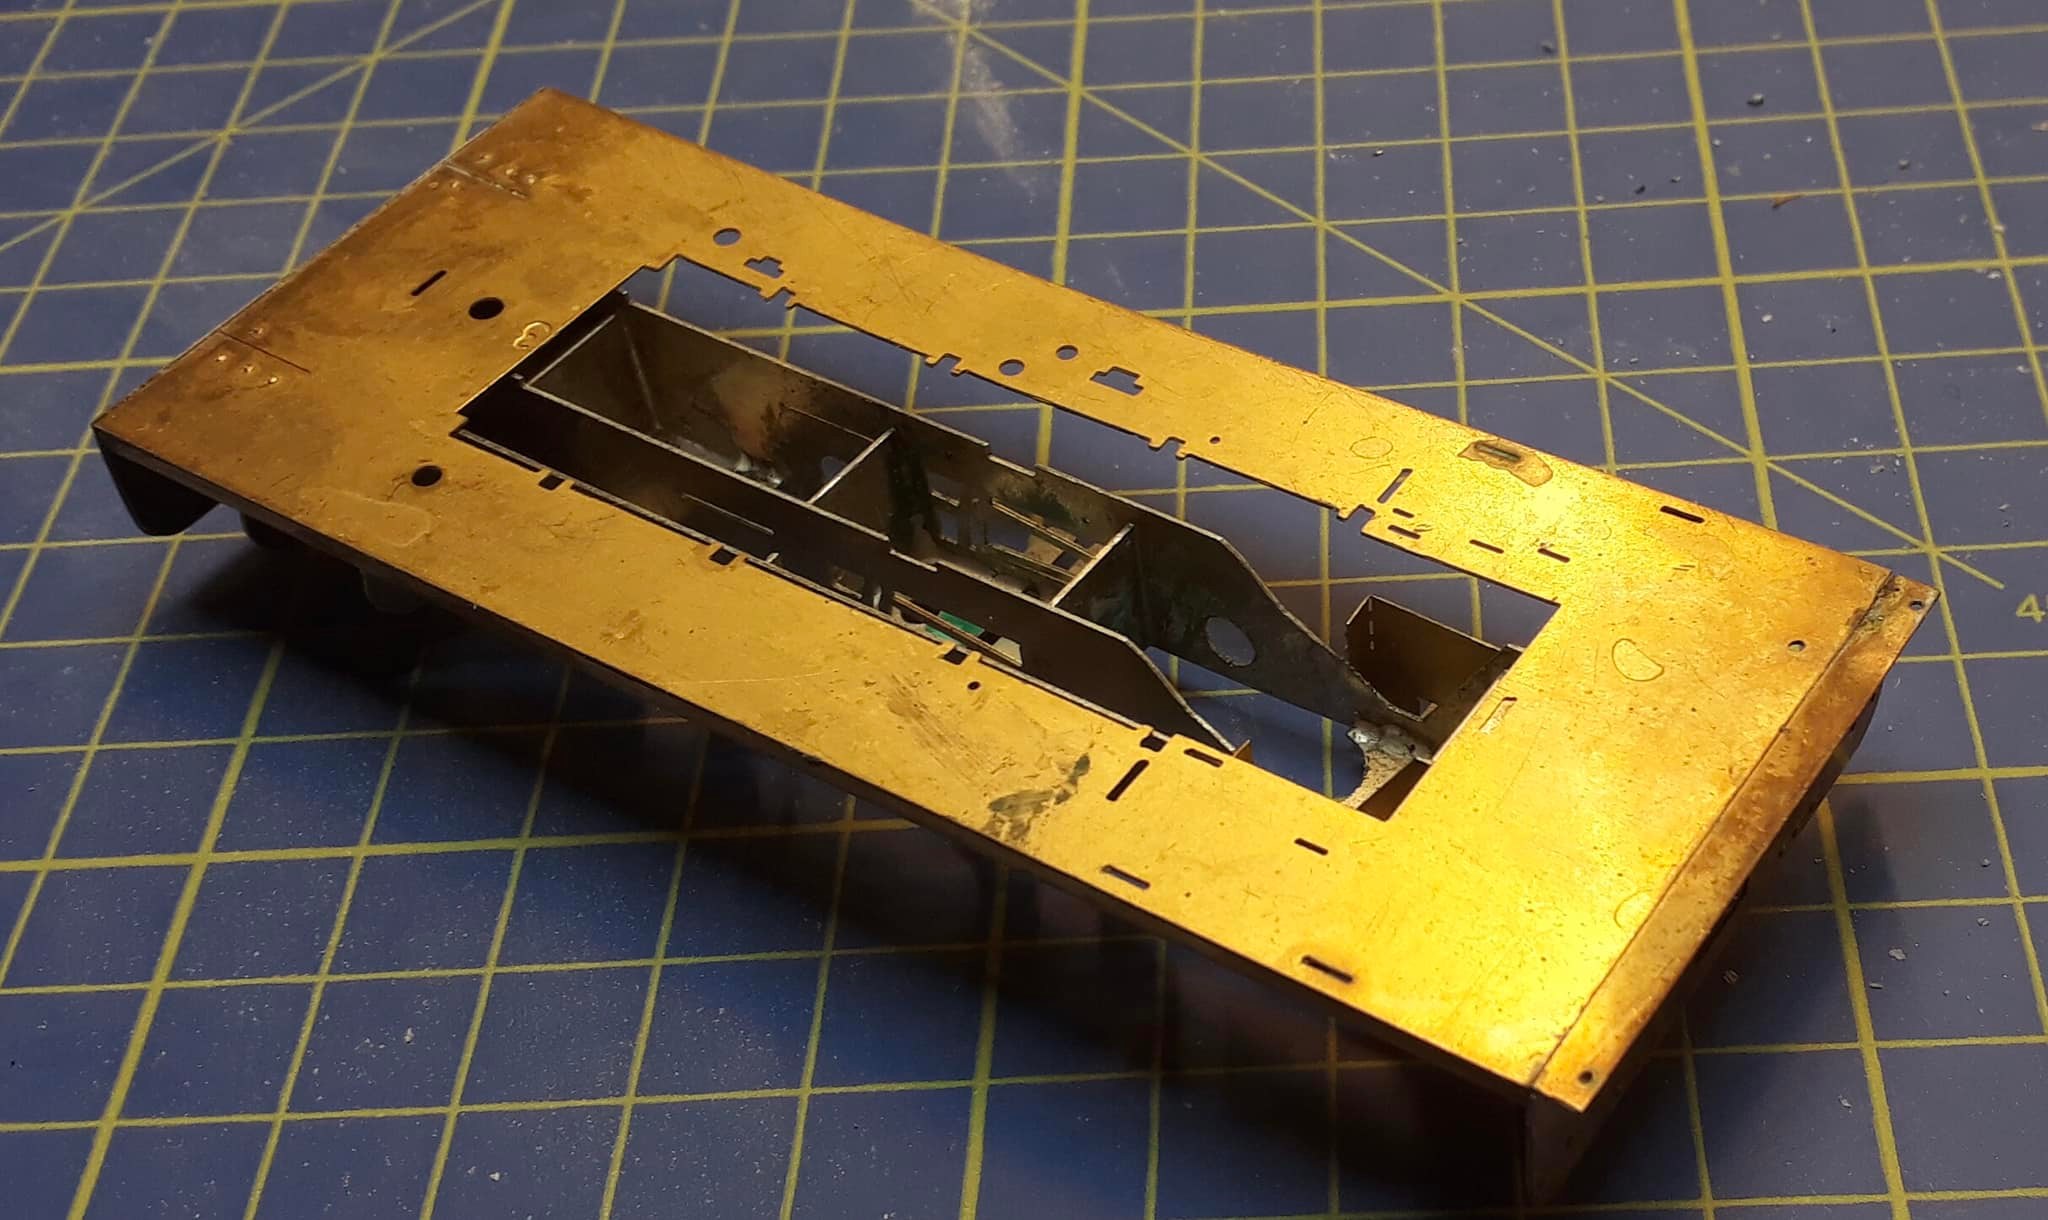
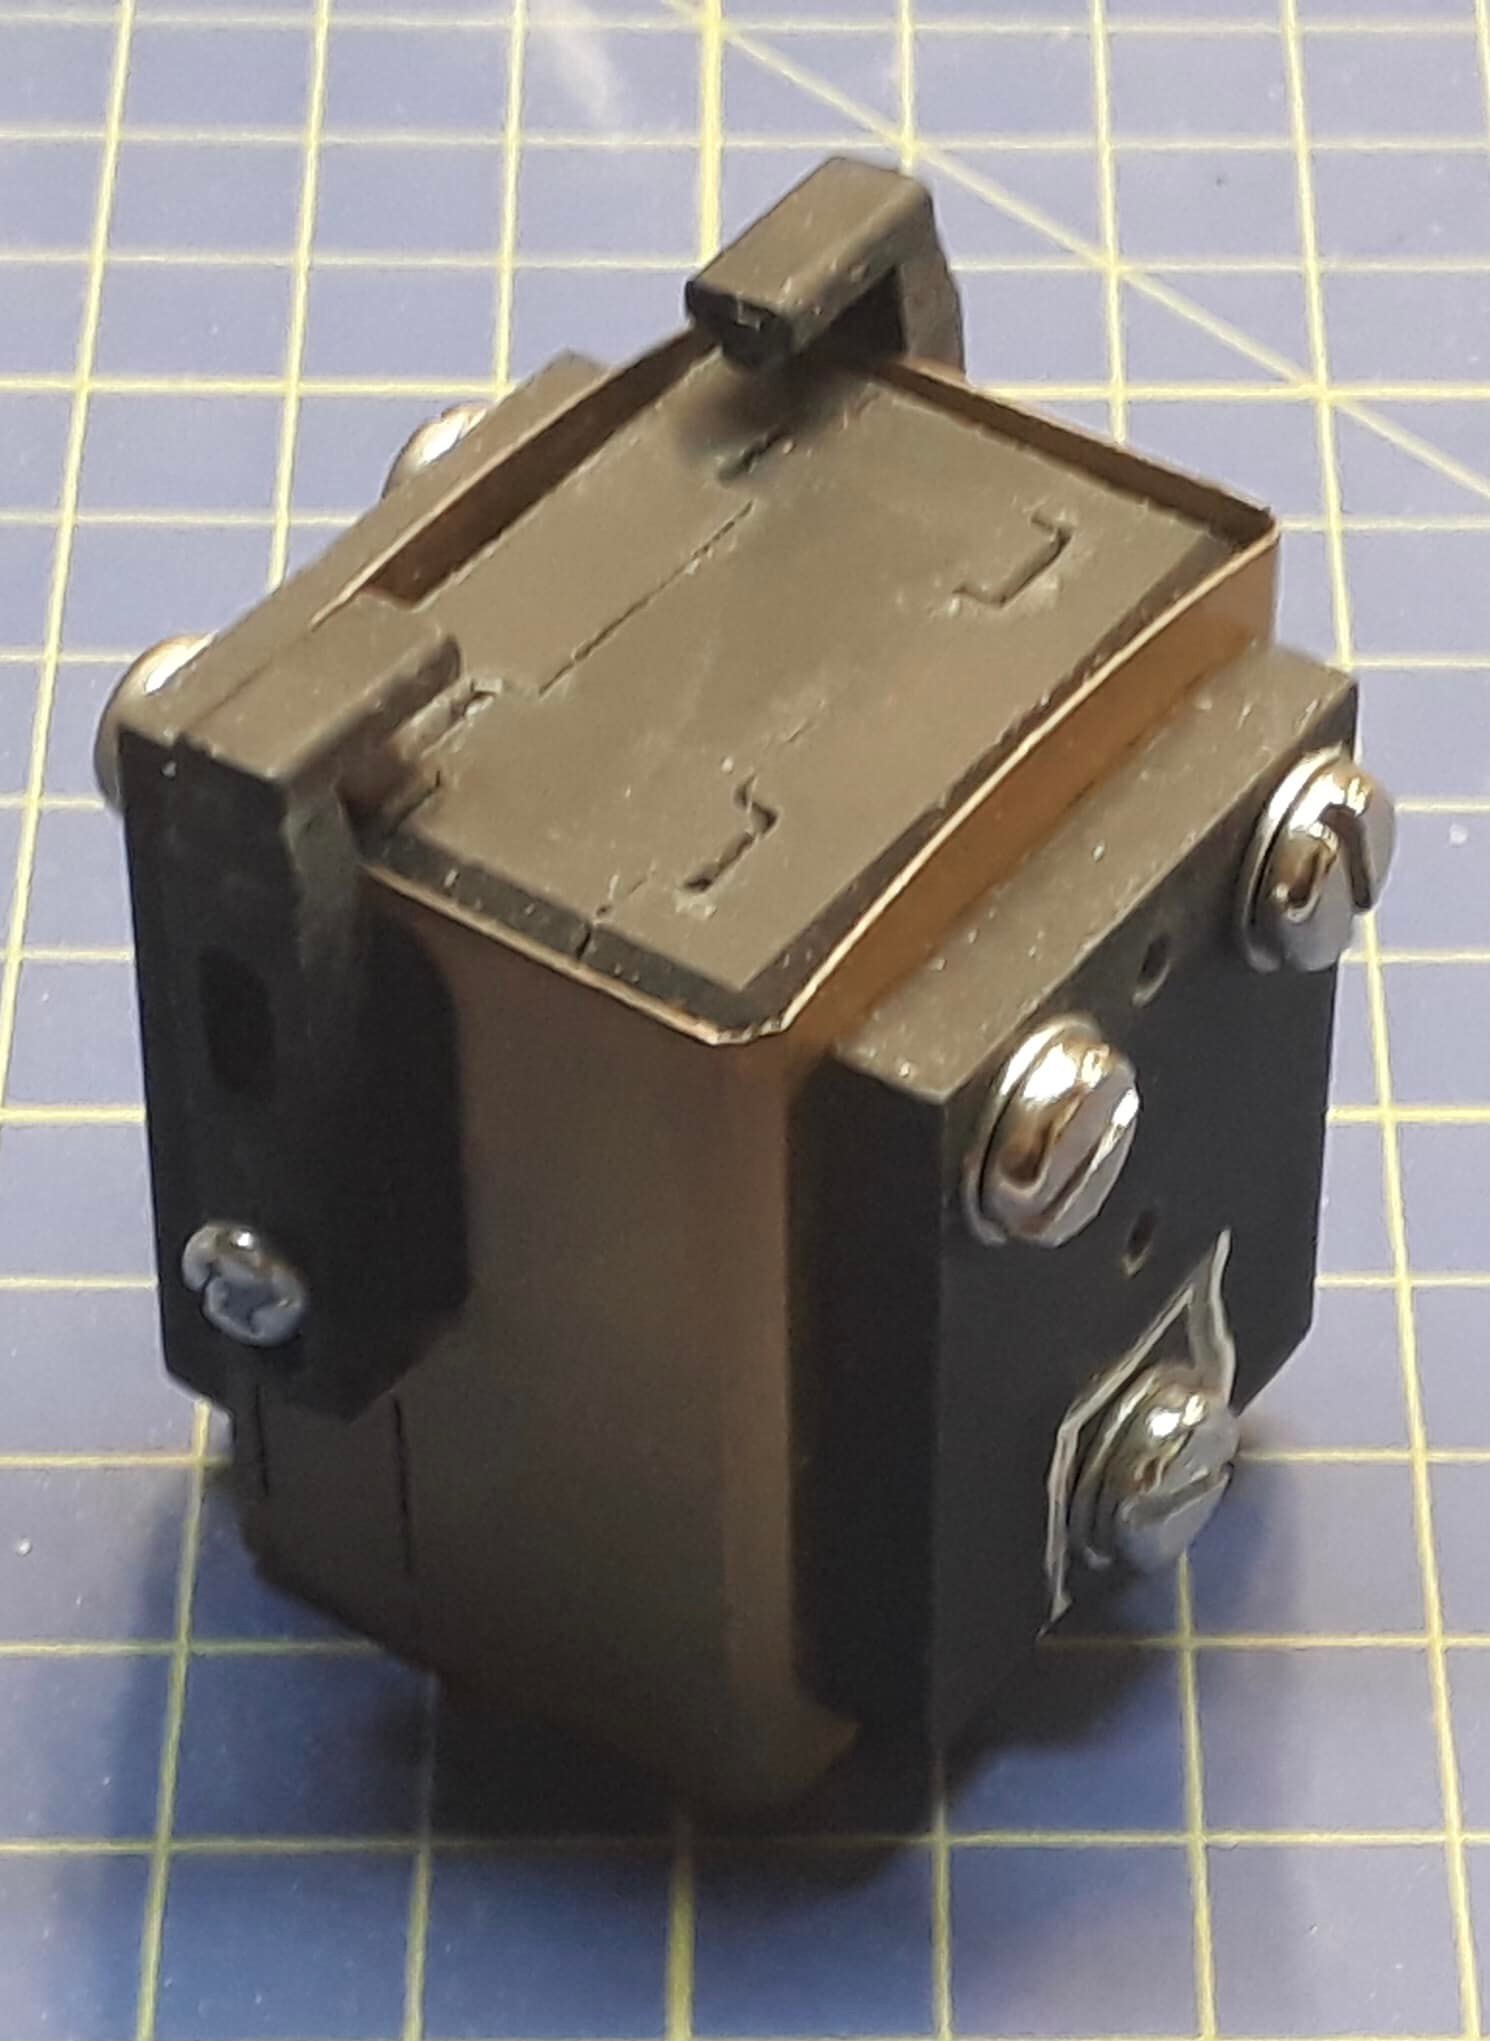
The one at the front is the one we are interested in.
This is a quest for information and, hopefully, links to some pictures somewhere. The starting point of this quest is that a friend noticed a similarity between a real loco and an available model chassis which has started a train of thought that might end up in a model.
The loco that has piqued our interest is a Bagnall 4-4-0 tank engine of which 35 were built for the Egyptian Delta Railway in 1898. So far we have found only one photo and that isn’t really clear enough to be of much help.
I have found an illustration of what I think is the same loco on page 31 of the Plateway Press book on Bagnall Locomotives.
We also have a General Arrangement drawing
I find it hard to believe that the one photo we have found in internet searches is the only photo of these locos.
Whilst I have a pretty extensive book collection it only has a few bits of Bagnall in it and precisely zero on railways of Egypt.
I wonder if anyone with more Bagnall info, knows more about Egyptian Delta Railways or is just better at Google than us can point us at more photos
In my latest Newsletter I set a couple of things running that are worthy of a bit more investigation than can be done within a quick and dirty newsletter so I thought I’d expand on these a bit in the blog format. First up…..
Rising Prices.
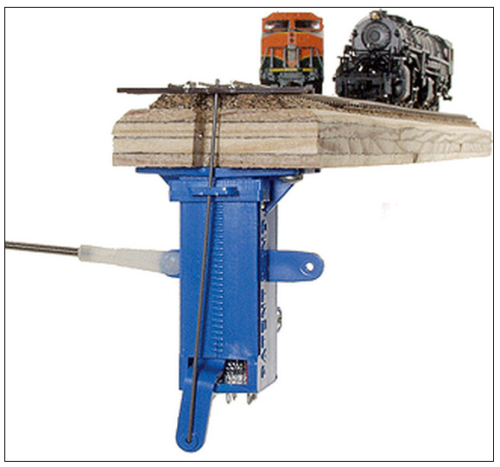
I was pondering, (talking to myself), about a reorder of the Blue Point Turnout control system parts and having realised that there would be a pretty massive apparent price hike. I think we are all aware that prices are going only one way and that it’s a pretty steep climb.
I’ve watched other businesses dealing with this and seen the lack of understanding of a vocal few. In this particular case its been watching DCC suppliers who have over the last few years absorbed price rises fearful that price rises will reduce their business but at the cost of reducing the money they made on each sale.
The Covid induced world shortage of electronic bits and price rises brought this to a head and to the point that the alternative to price rises was going out of business.
20% price rises in one hit was the result as was the noisy few moaning.
With bucket loads of hindsight a regular smaller price rise would have ended up with the same result but without the whingeing.
The circumstances of my worries are slightly different.
To the outside world I have stocked the Blue Point Turnout system continuously since around 2008. The reality at this end is a bit different. With shipping from the USA costing lots in 2016 I bought in a large (very large) supply of Blue Point stuff which because of its size has taken until now (July 2022) to sell to the point where most of it is out of stock.
I am now pondering a restock. The effect of not having ordered since 2016, prior to worldwide plagues and stupid political decisions, is a similar effect.
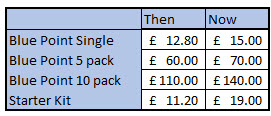
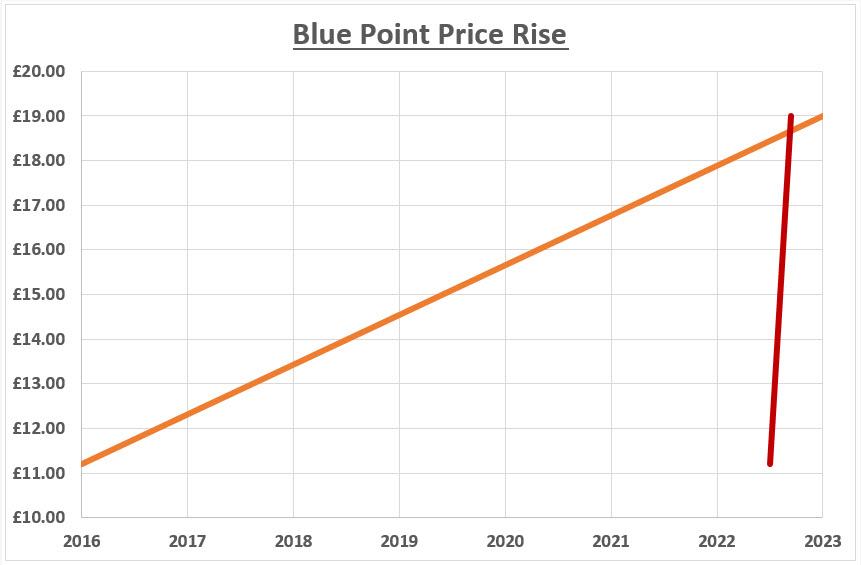
The price comparison looks like this. The 2022 prices are estimates at the moment. Actual prices will be around that but will depend on shipping, exchange rates and duties at the time they arrive.
The question I posed in the newsletter was “would people still buy them at this price?”
Several responses to the newsletter have been along the lines “that’s a reasonable rise across six years” and “If I need them then that’s the price I pay”. This is reassuring but suggests I haven’t truly explained what was troubling me.
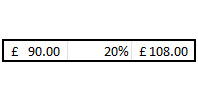
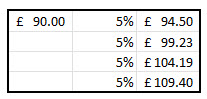
To try to explain this I’ve done a graph.
The orange line plots the increase across the six years and is, I think, the reasonable increase people are using to respond that its not unreasonable rate of increase and I’d agree with them but its not what many will see.
I preconditioned their response by telling the subscribers the 2016 and 2022 dates.
What was worrying me was what visitors to my website would see thus
Visit July 7th and see the starter kit is £11.20 but out of stock. Visit 8th July but now £19 and increase of 70% overnight. That might horrify a few people.
I was going to expand on what I wrote in my newsletter regarding the future of exhibitions next but I am going to leave that for the moment as there is a discussion going on elsewhere and I haven’t distilled all my ideas yet.
Saturday is Too Soon. Can we move to about next Wednesday?
This is one of those posts you can look at in two ways. You could be properly despondent about it or you could take the optimistic outlook of how far you’ve come with it. With a promised Saturday delivery the former is the one I chose and its taken me some time to even think of the second version let alone adopt it.
What has prompted this outbreak of gloom?
The Garratt has turned into a never ending saga. Nothing has gone horribly wrong (until tonight, more of that in a moment) but it just seems to go on forever. I keep ticking off jobs but the end doesn’t seem to get any closer. There have been some tasks on it that I really haven’t looked forward to and there are some that I’ve had to think about and try a couple of things before I’ve got it right.
Better do a progress update
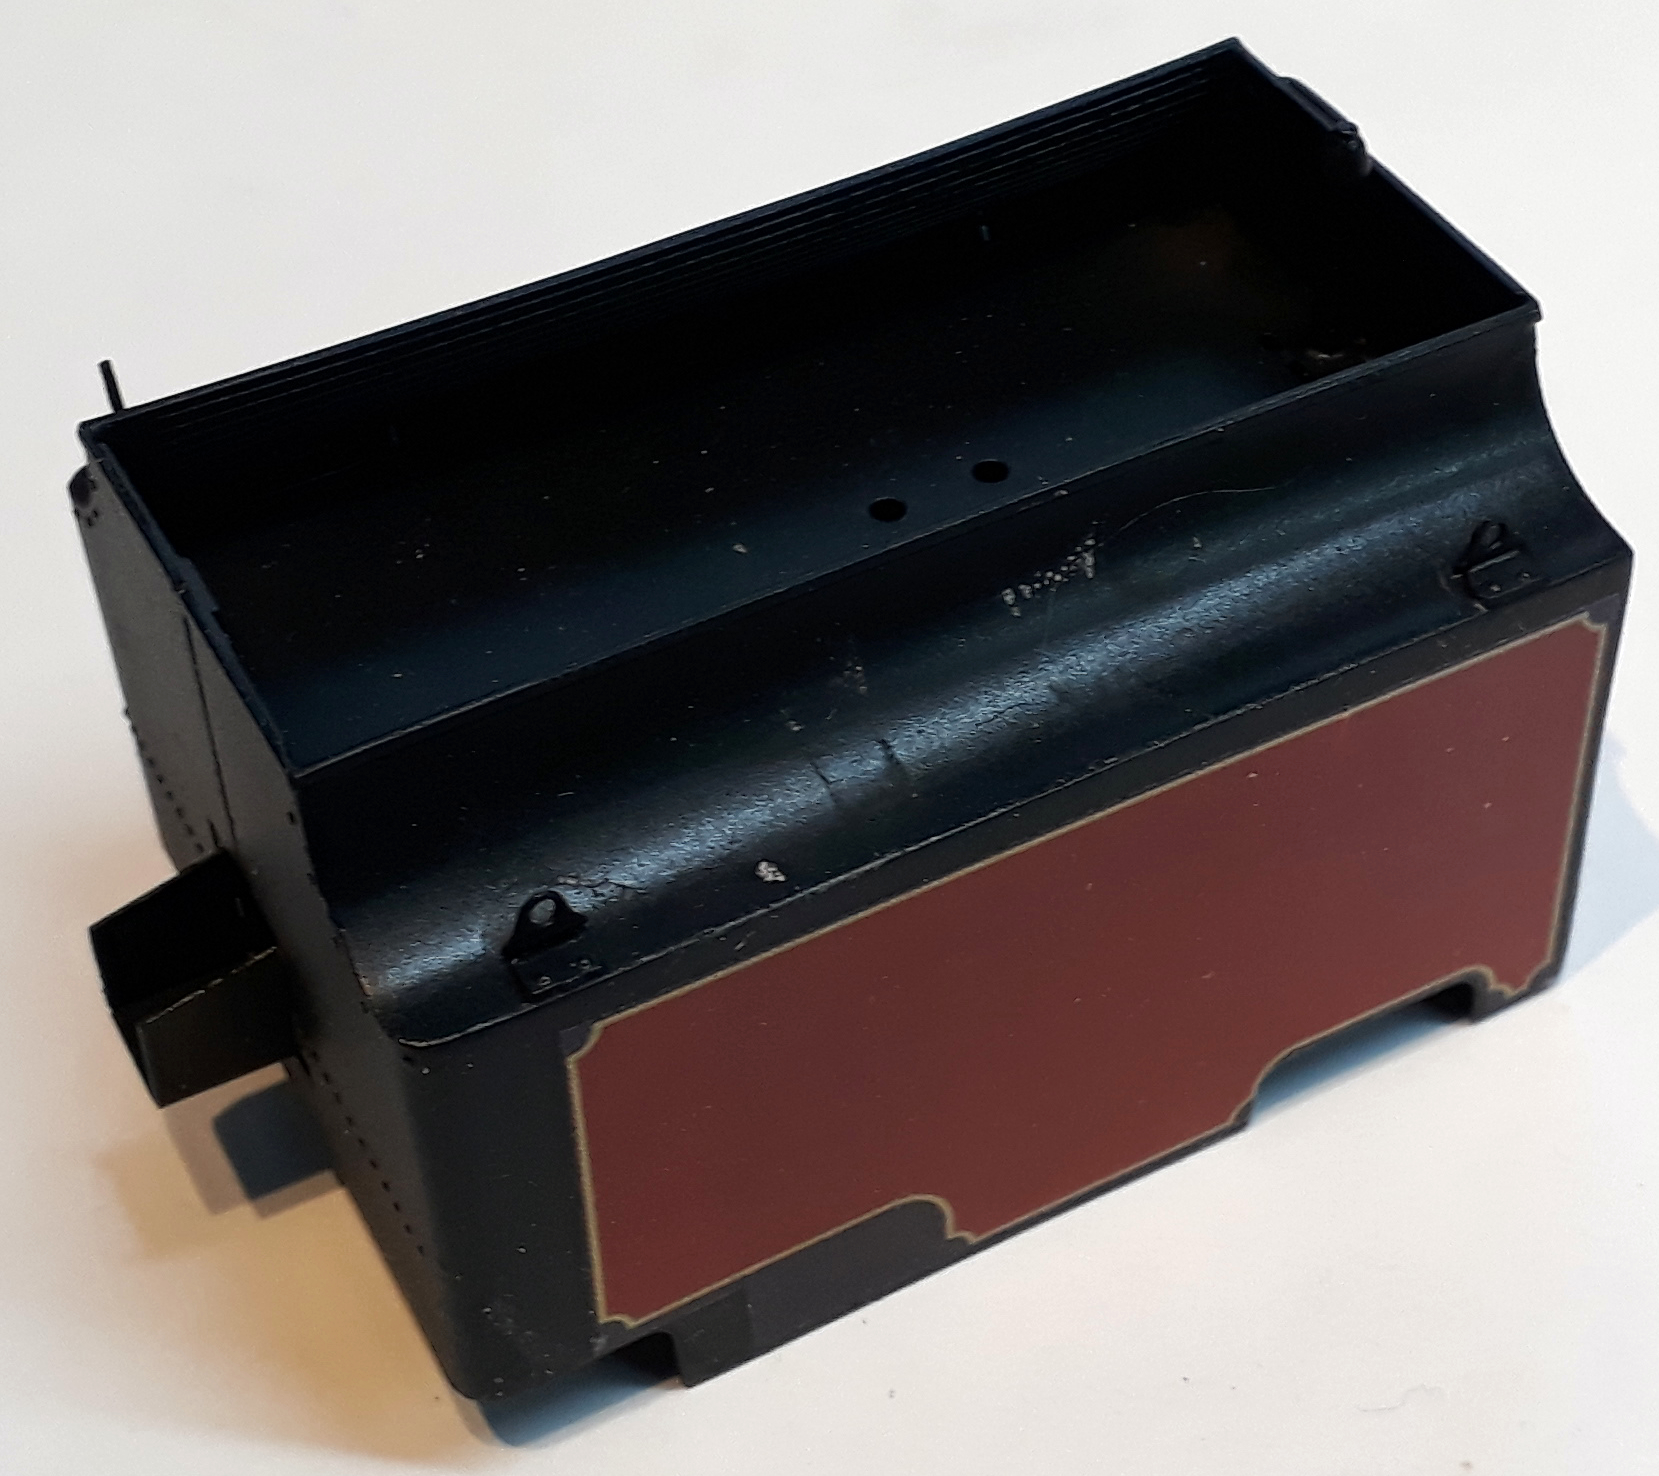
Well, this isn’t the disaster that prompted the current gloom but the masking tape used whilst I was painting the boiler bands lifted the paint on the firebox as it was removed.
This was despite doing all the usual things like using decent model masking tape, (can’t recall if this was Tamiya or MIG), desensitising it by sticking it to glass a couple of times to reduce the tack before using it on the models.
That was definitely a “put the kettle on” moment and pause for a think.
Must have been in a philosophical mood that day because I told myself `it obviously wasn’t stuck properly and that its better it did it now rather than at the end’. Yes, I surprised myself with that one!
Anyway, time to set about fixing it. The edge of the red paint was cut back to where it was stuck and then feathered in with Tcut. The black was then abraded and wafted with brown acrylic primer using a mask held away from the model so as the spray had a soft edge.
When that had dried the same soft edge spray was done with the body colour red. This was put in my warm cabinet and left to harden.
I then touched up the chrome bands and left them to dry.
Up to this point it has all been done with acrylic paints but now some early weathering was done with black enamel as a pin wash around the bands to pick out a line between them and the boiler. Other areas got the wash treatment with the black applied around details, allowed to dry a bit and then wiped away with a brush just damp with thinners. The leaves a black shadow around details. I think I got away with that one – still on track for Saturday!
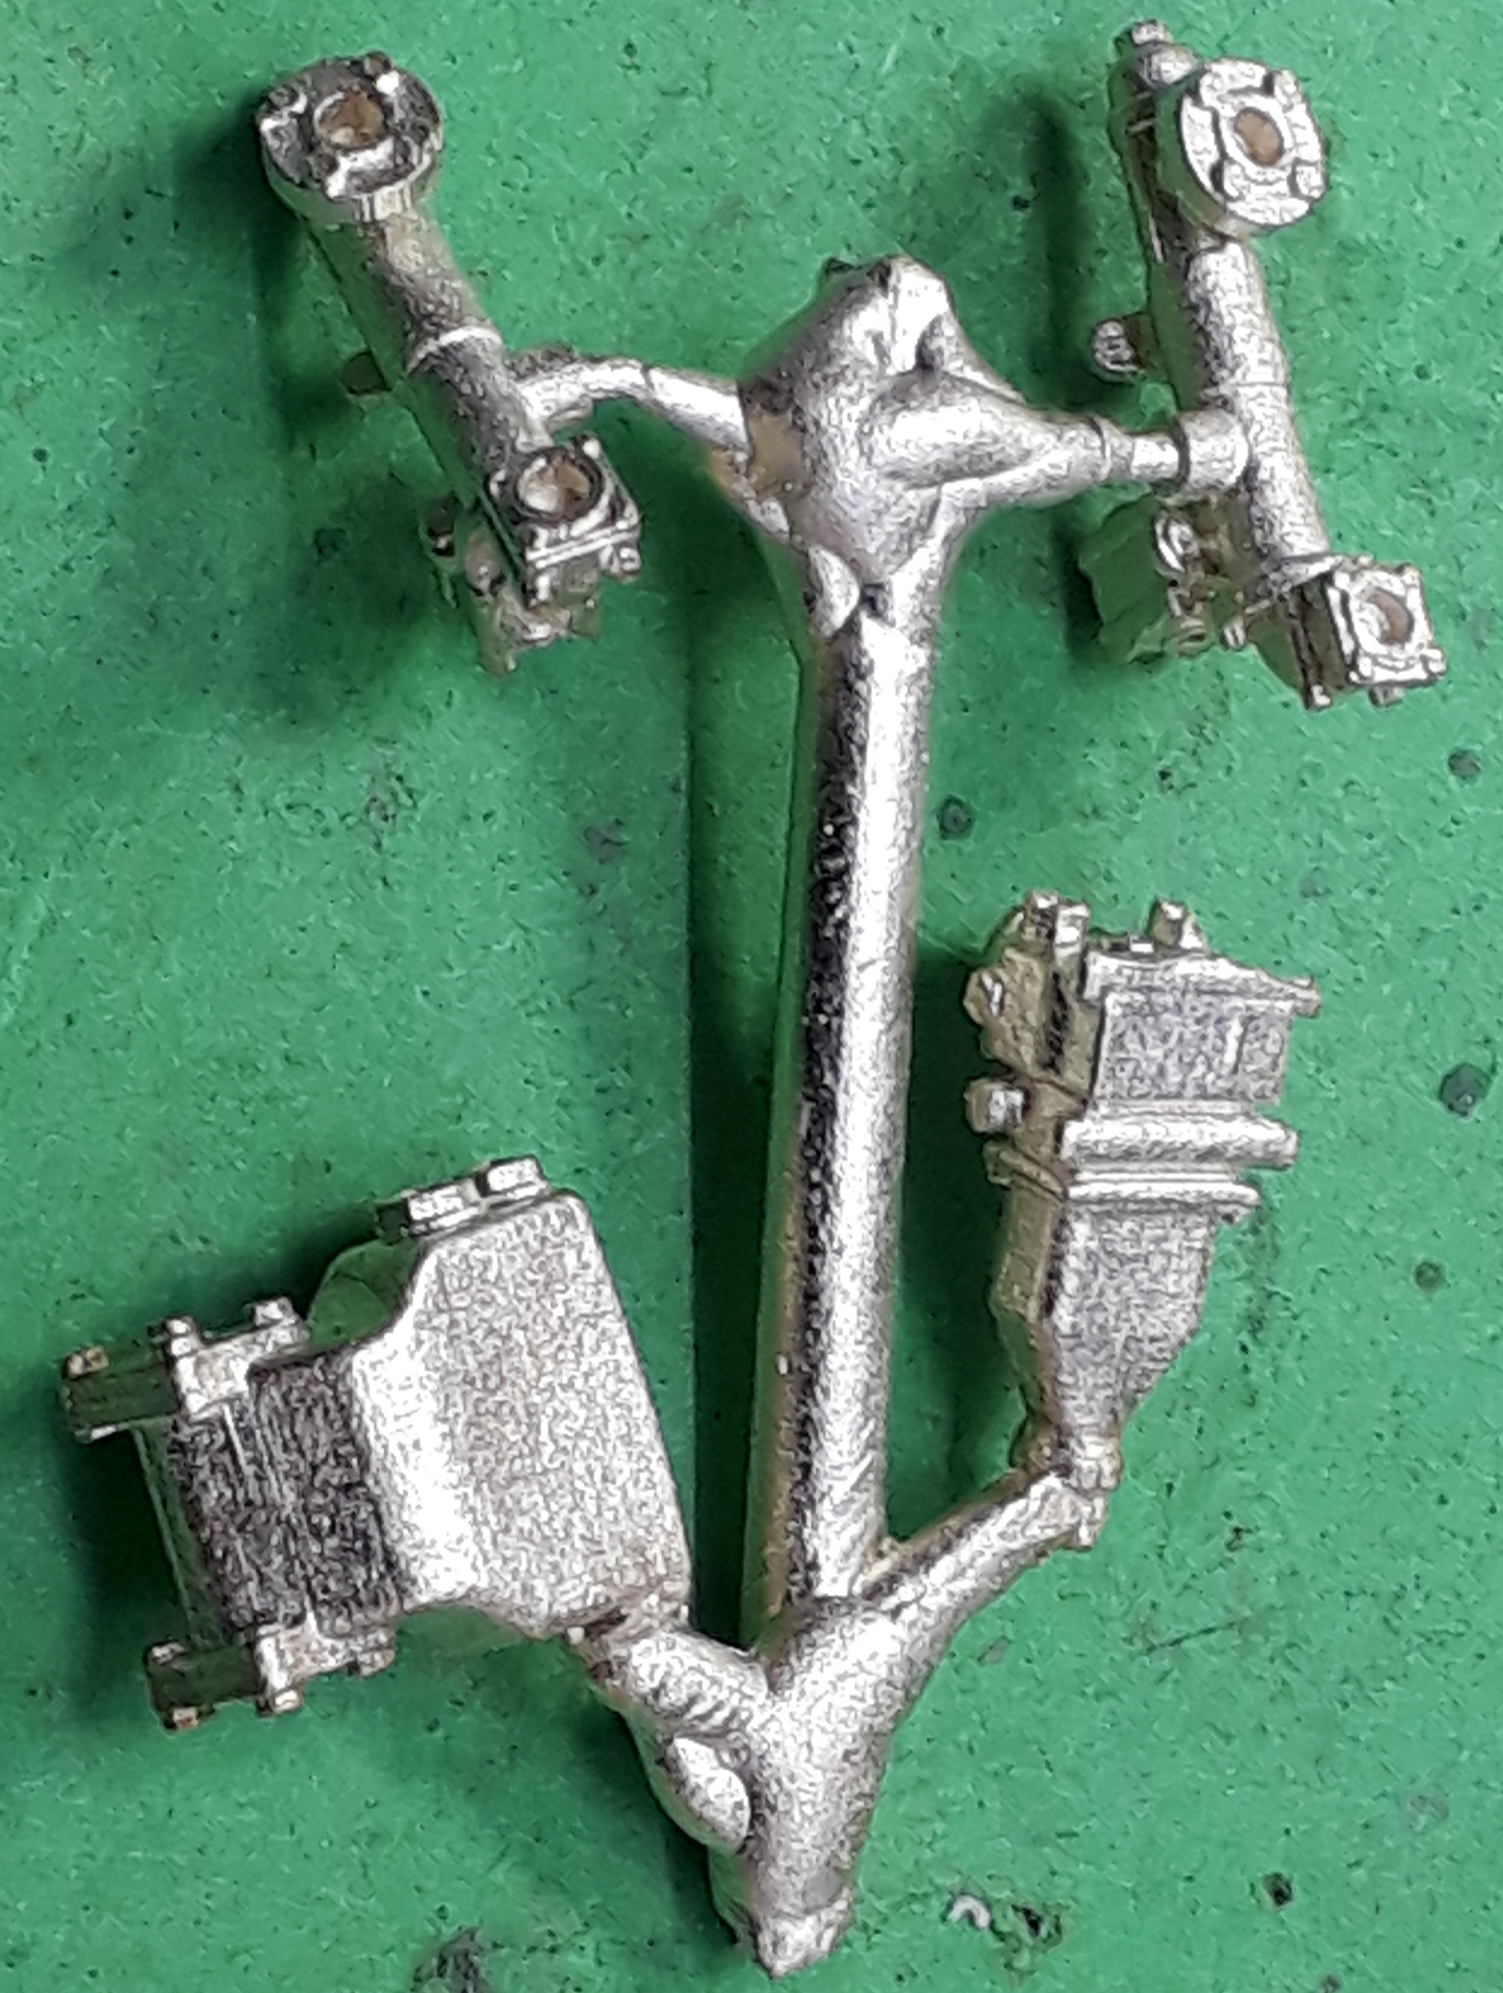
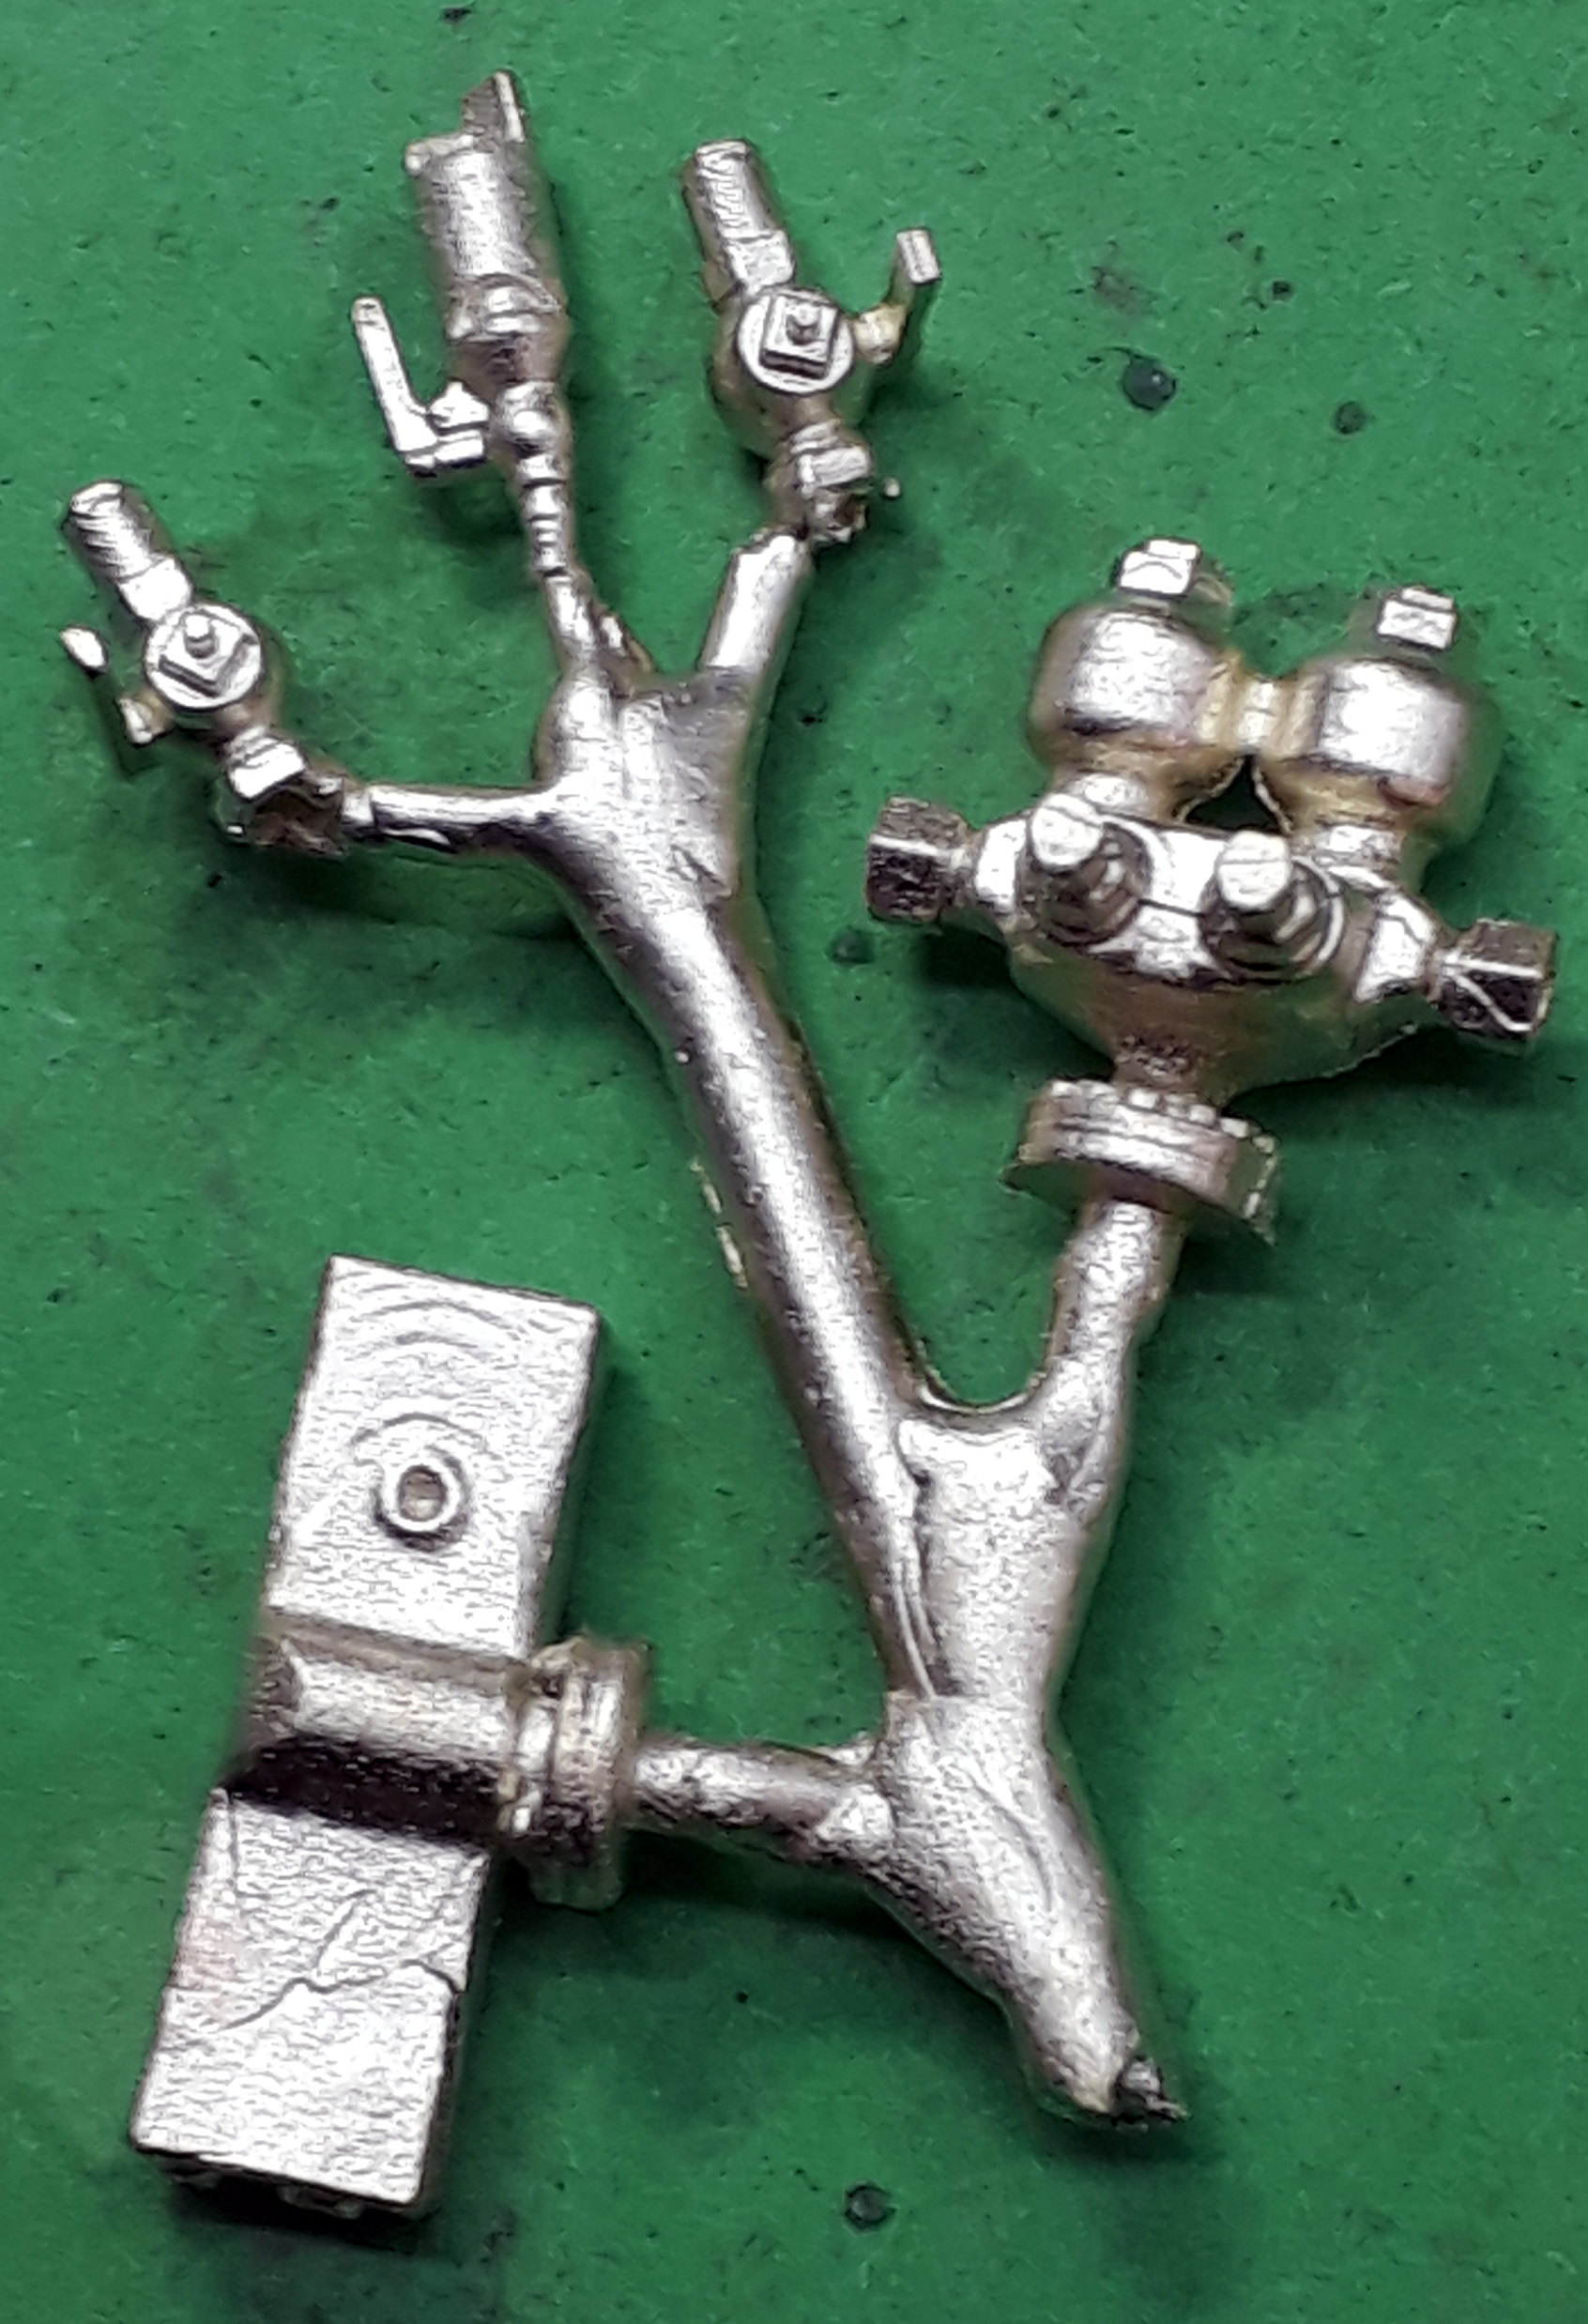
Next slight panic was the `put something in a safe place’ problem. I mastered some new parts for this as 3D prints and then had them cast in brass. Could I find them could I heck as like. My nearly tame caster came to the rescue and new castings arrived in just a couple of days and even their arrival hasn’t prompted the originals to appear.
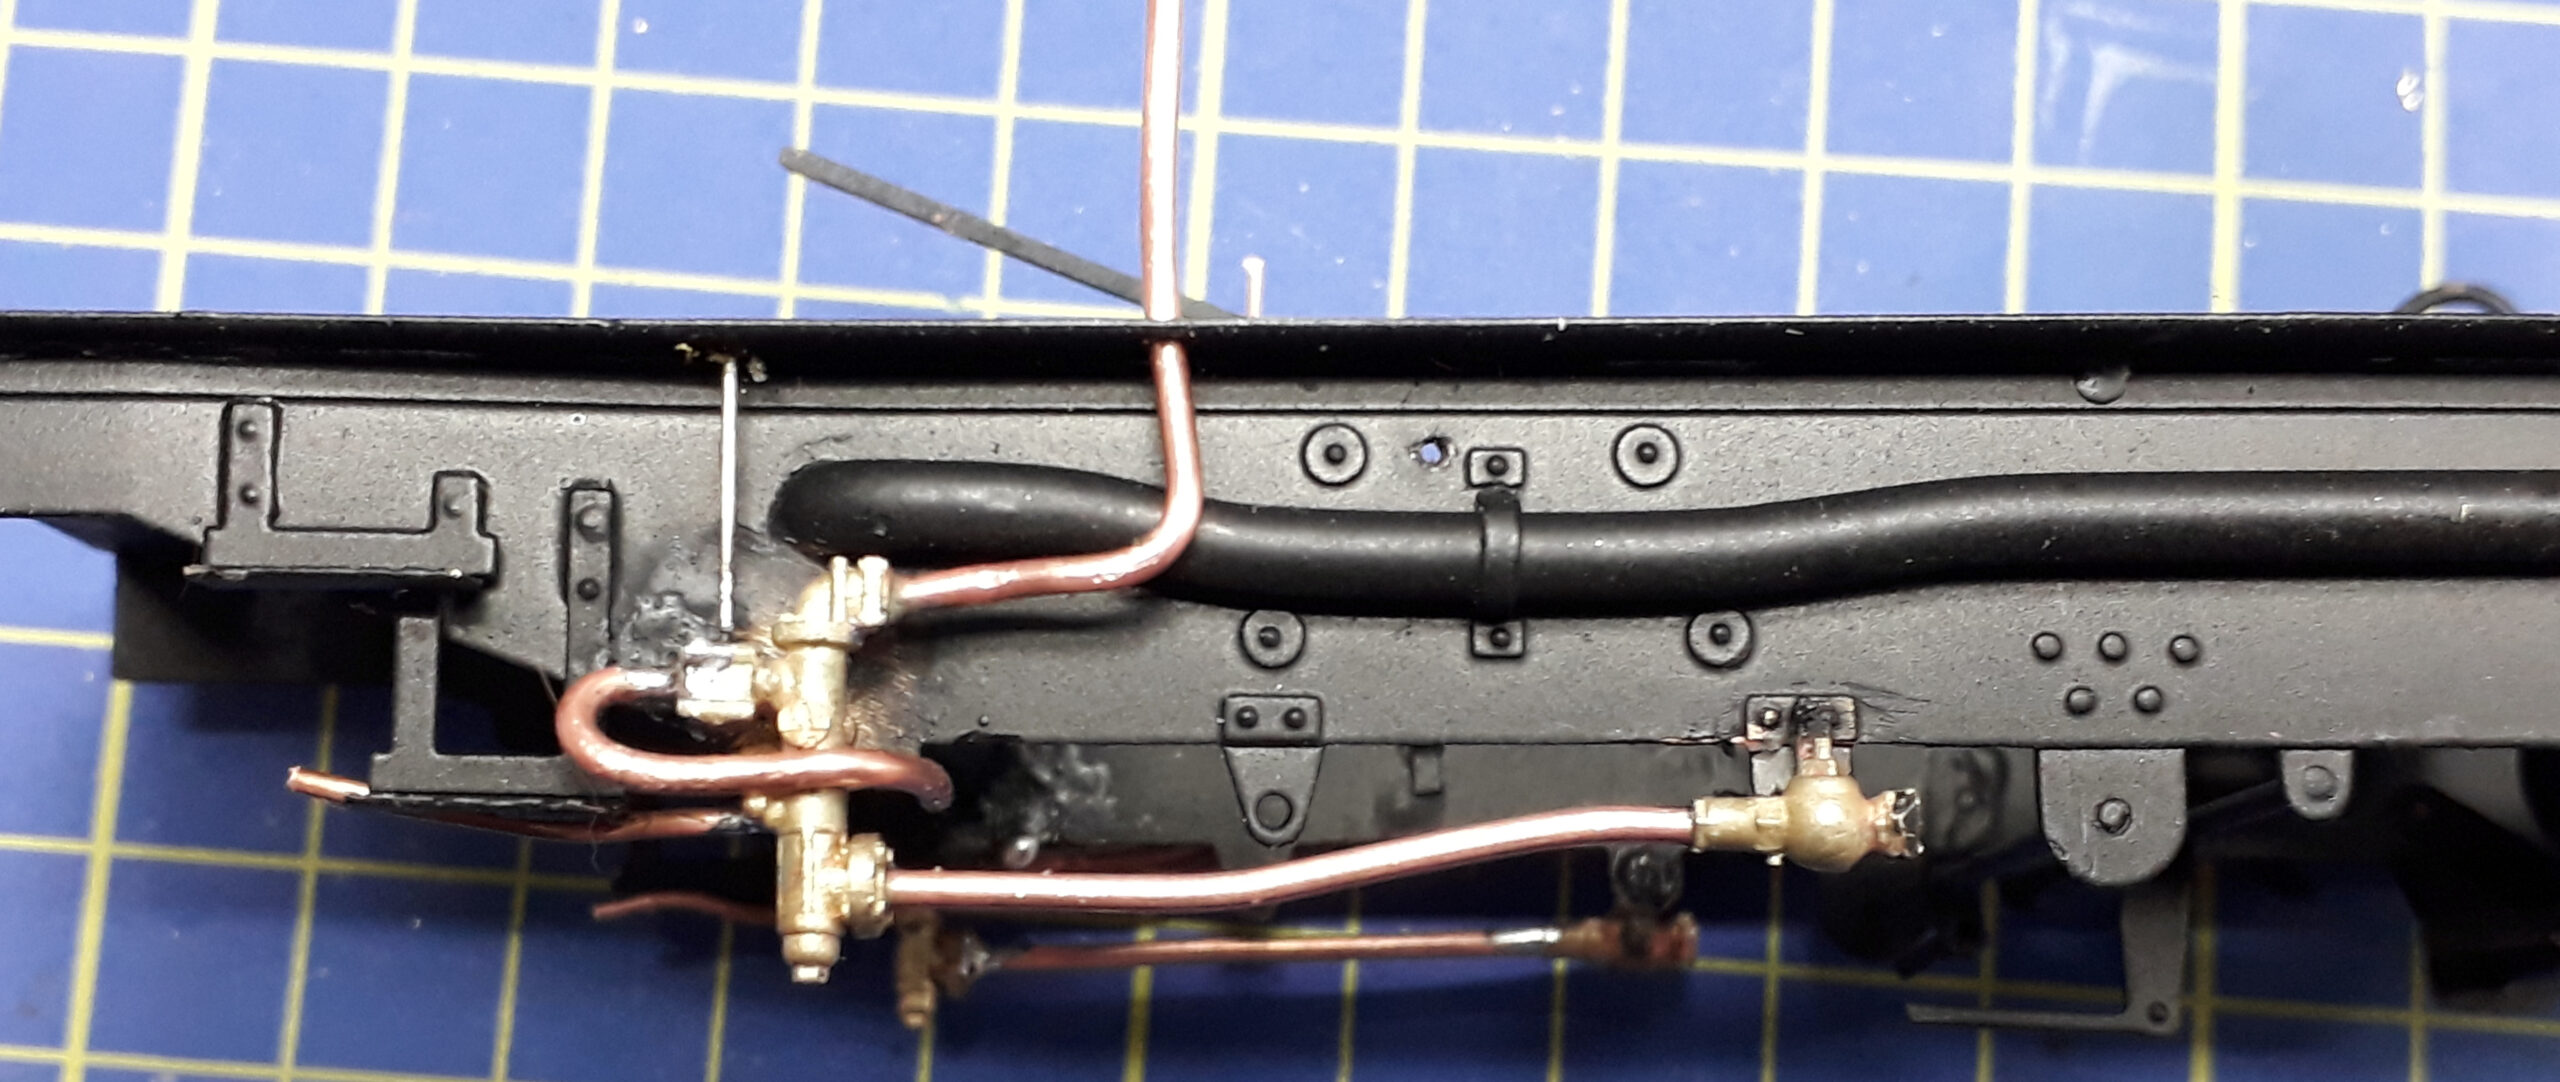
This allowed progress with the pipework which on the original model was a bit underfed.
New injectors, top feed, manifold, ejector and water manifold allowed new piping to be made up with copper wire.
These two pictures show the underframe plumbing with onward connections to the bodywork.
These were modelled on a mix of the plumbing on 130, 138 and 143 as they are in Wales.
I have to say that I am pretty pleased with the outcome and we’re still on course for Saturday
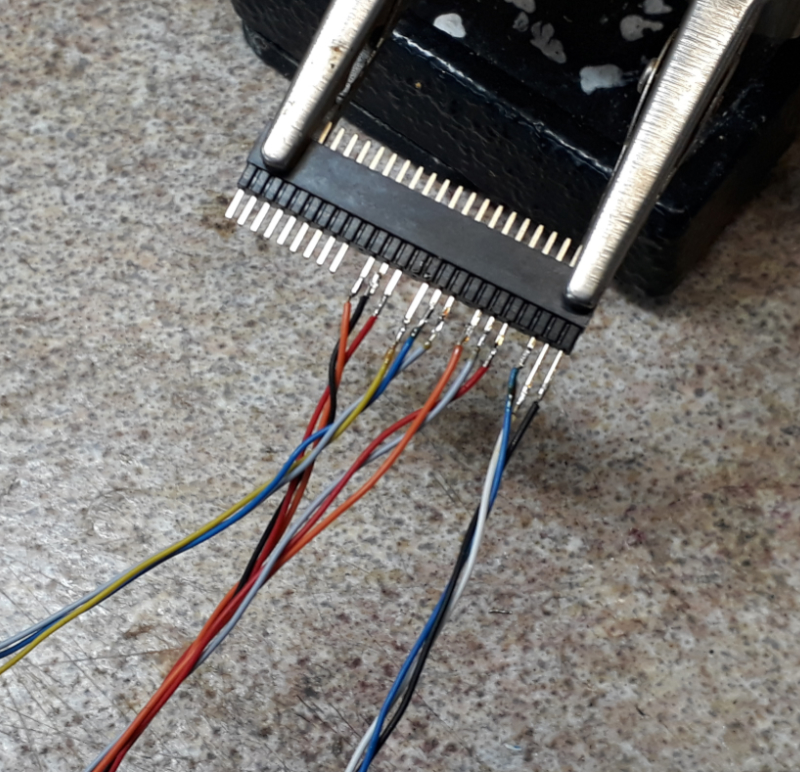
Next it was on to the wiring and some fiddly soldering. To connect the trucks to the main cradle there isn’t much space so I am using a smaller connector than I normally would and these have a bit of a habit of falling apart as you solder them causing at the very least some muttering under ones breath.
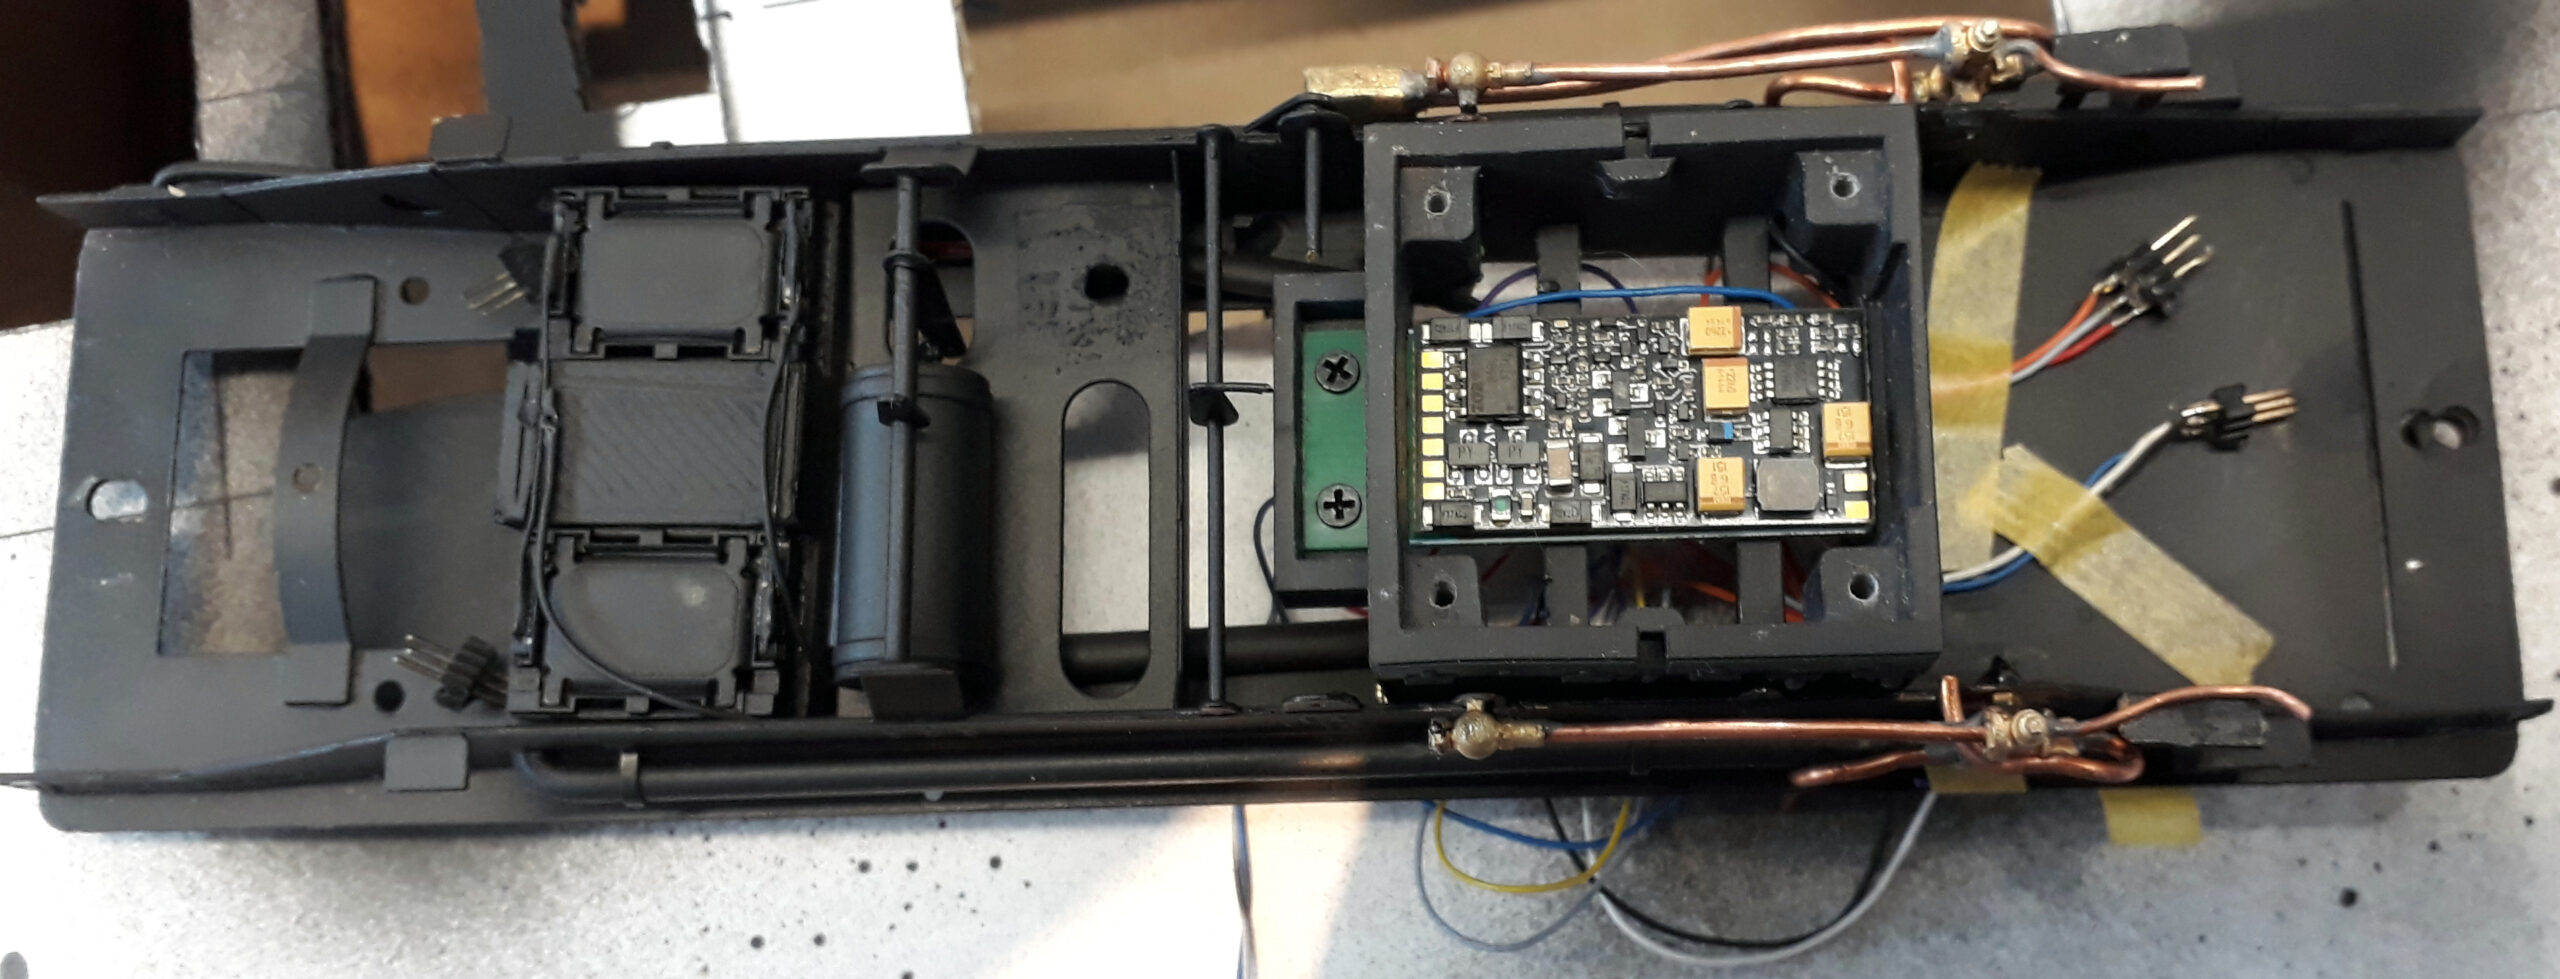
The loco is getting a Lais Adaptor board and a ZIMO MX645 Plux22 decoder installed along with a large keep alive.
The loco is getting a new style ashpan so this was configured to make a housing for the electrickery. From underneath it presents a clean looking install
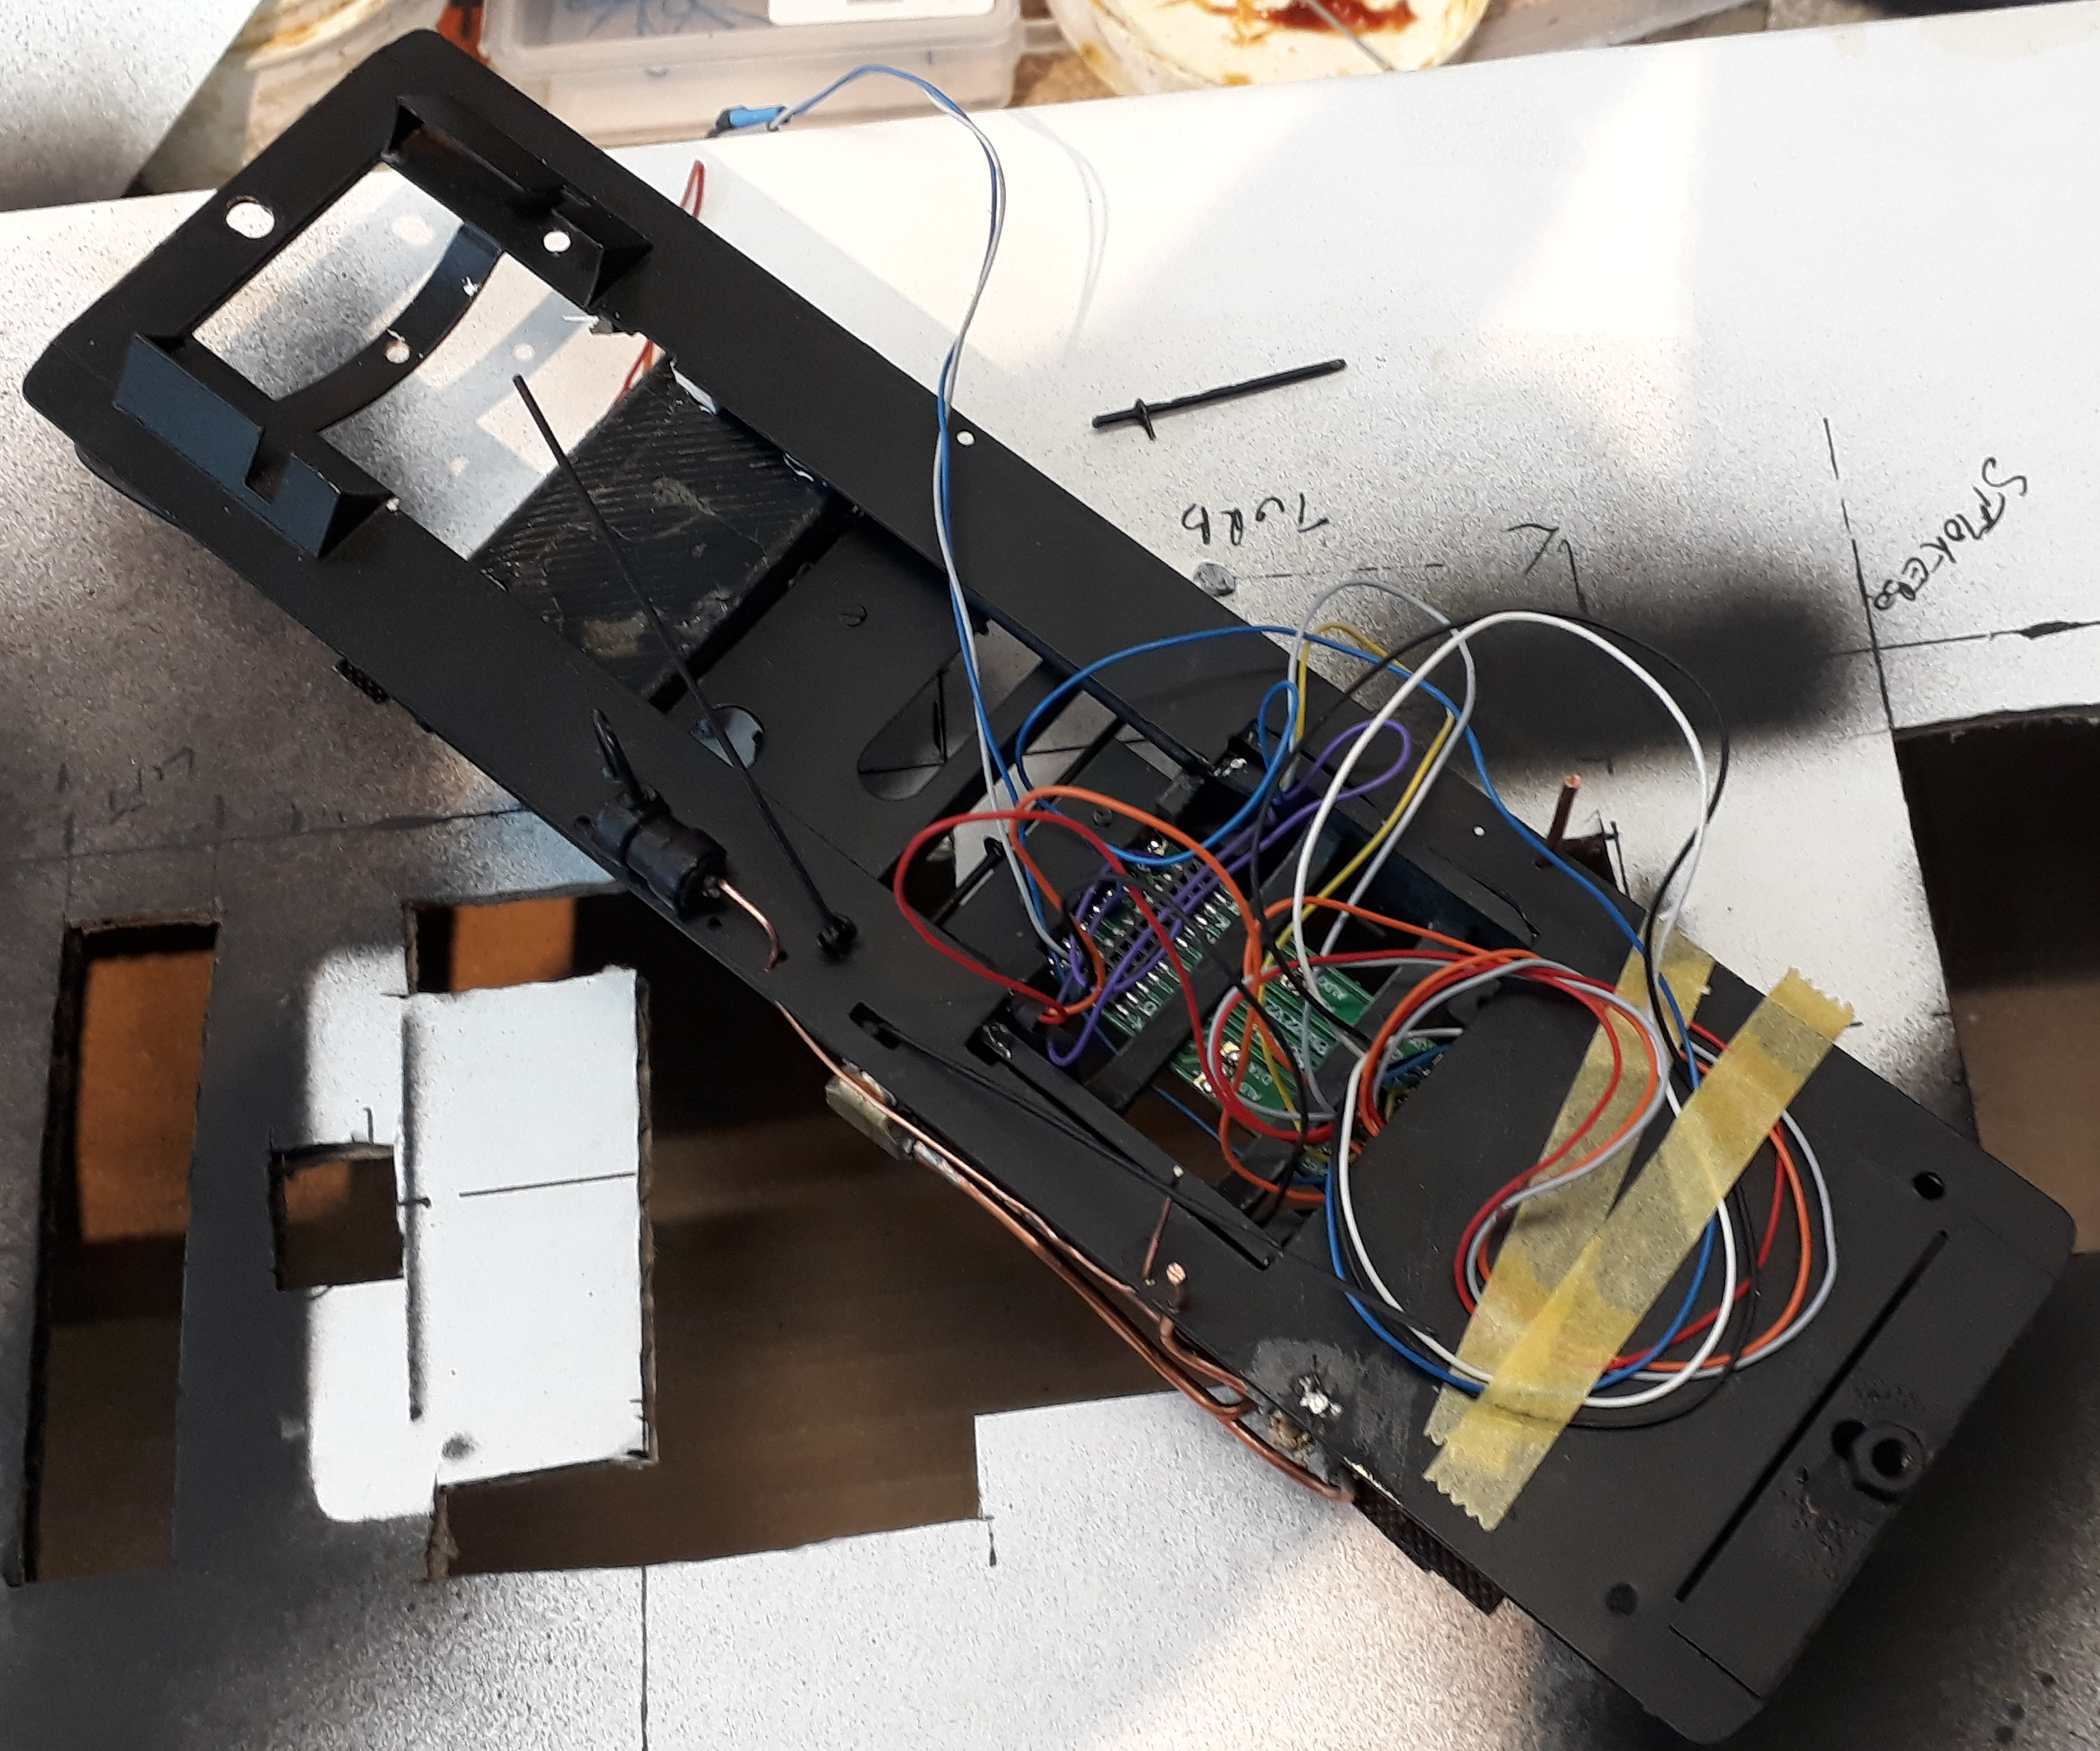
From above though its a bit of a rats nest but it will tidy up and allow spare wires if any reconfiguration is needed
Earlier today it all got connected up, powered up and tested. Much to my surprise both trucks went the same way and there weren’t any short circuits. Getting that far with the electronics was troublesome and required some ingenuity because I usually use my laptop for this stuff bit its currently away for attention. Still on course for Saturday.
With the wiring proven through the bogies they could now be assembled having their bodies fitted and the the detailing that connects the top and bottom added.
The headlights are my products and they sit on new oil reservoirs that are my 3D prints.
Additional copper pipes have been added, lenses added and coal to the rear and a new water filler to the front.
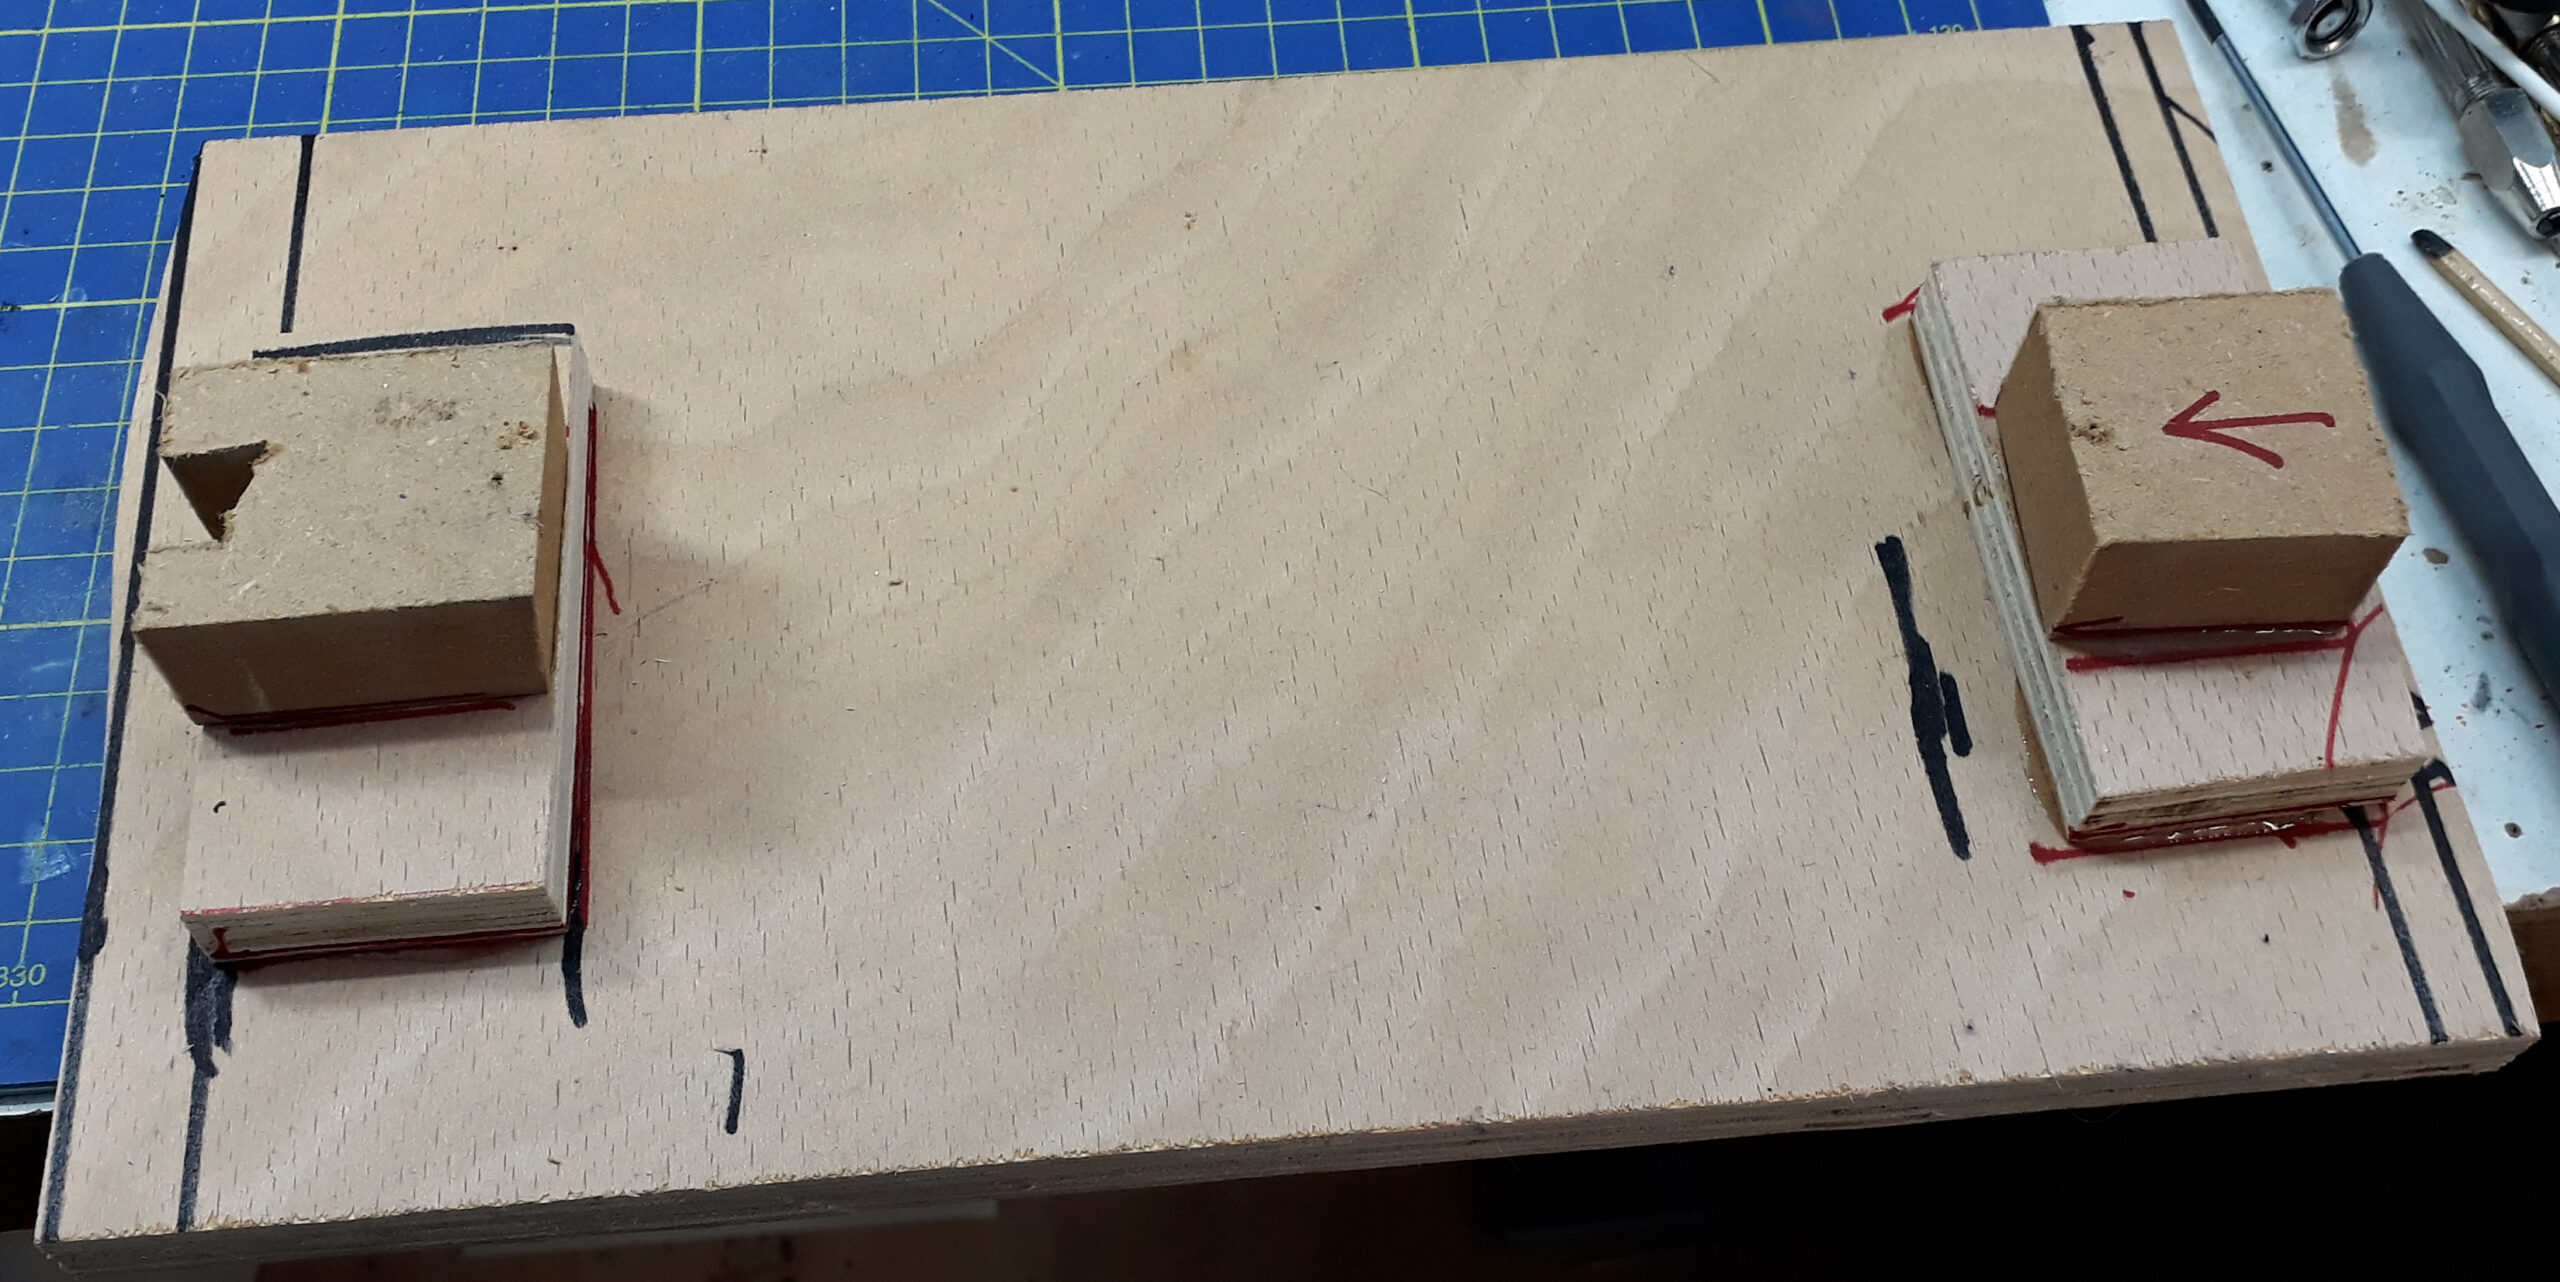
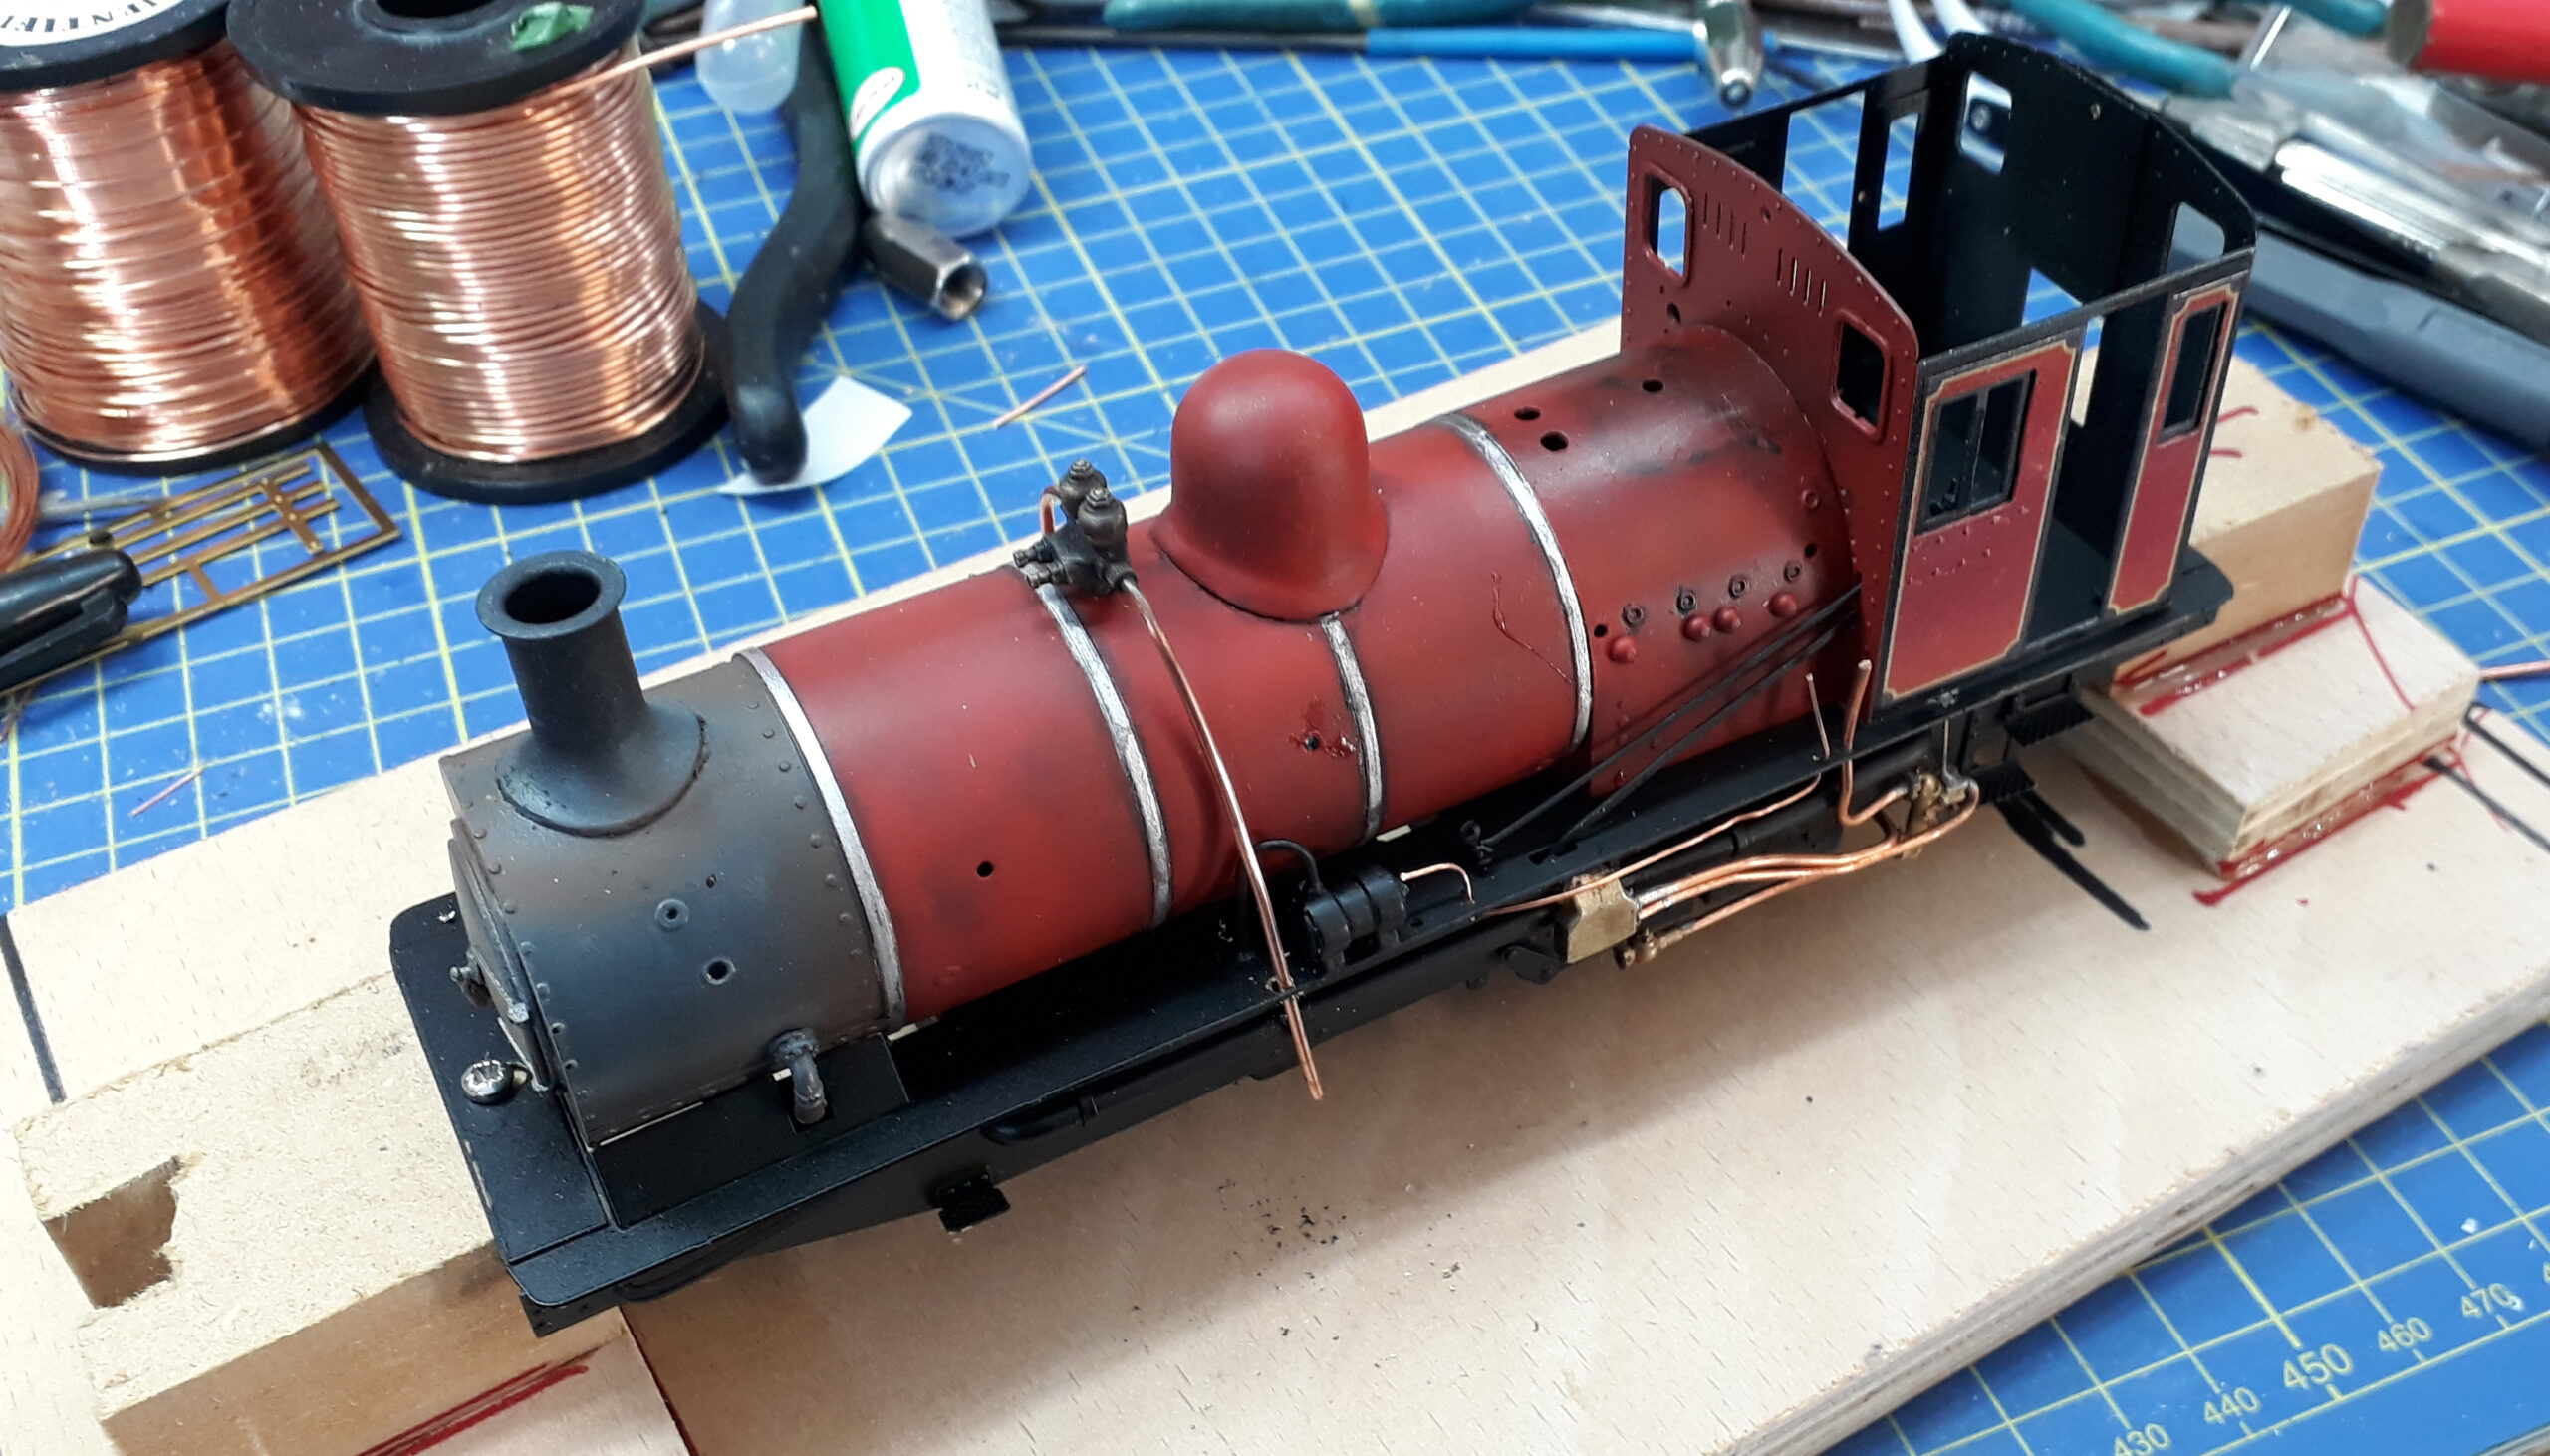
They have both had additional weight added. The loco superstructure has also had lead added so I hope its home layout is strong! Actually the weight of the boiler section and the protruding pipes on the cradle made me realise I needed away to hold them whilst I worked on it so I made a fixture glued together with 5 minute epoxy as I haven’t time to wait for wood glue.
This hold the loco thus……..
Its at this point it started to cause me to question my sanity
So what’s happened?
Trying to do two many things at the same time instead of letting them dry/set/cure I’ve just touched the painted and partially weathered boiler with a finger contaminated with muck from another task. To sort it properly I need to let it set up to do something about it. This also bought the realisation that Saturday was probably unrealistic both because of the wait times needed between operations but also because I had everything else to prep for the show on Saturday too.
After some thought the options are: –
Press on, meet the deadline whilst unhappy with the finish which will now be rushed at the closing stages or
With the new owners permission delay delivery for a couple of weeks to ensure its done and done right.
Its with its new shedmaster for a decision now. I am still having palpitations about as delivery equals a significant payday but I now can’t be sure it’ll be done for Saturday and I certainly won’t be happy with the finish.
Addendum to the original post. Done properly rather than to a deadline has been selected.
Procrastination is an Artform. Slightly silly title but I find myself sat at the computer procrastinating. I could argue that its not procrastination but I’m stuck waiting for paint to dry on a modelling project with a deadline, waiting for the 3D printer to print something, thwarted by some parts that are clearly in a safe place but that will turn out to be in the last place I look. Just to cap it all my wonky leg is giving me some gyp so I am supposed to be resting it.
Instead of all that I thought I’d write a little update on stuff that is `coming soon’ as they say. I posted some stuff on a forum and some other stuff on Facebook so I should pull it together here.
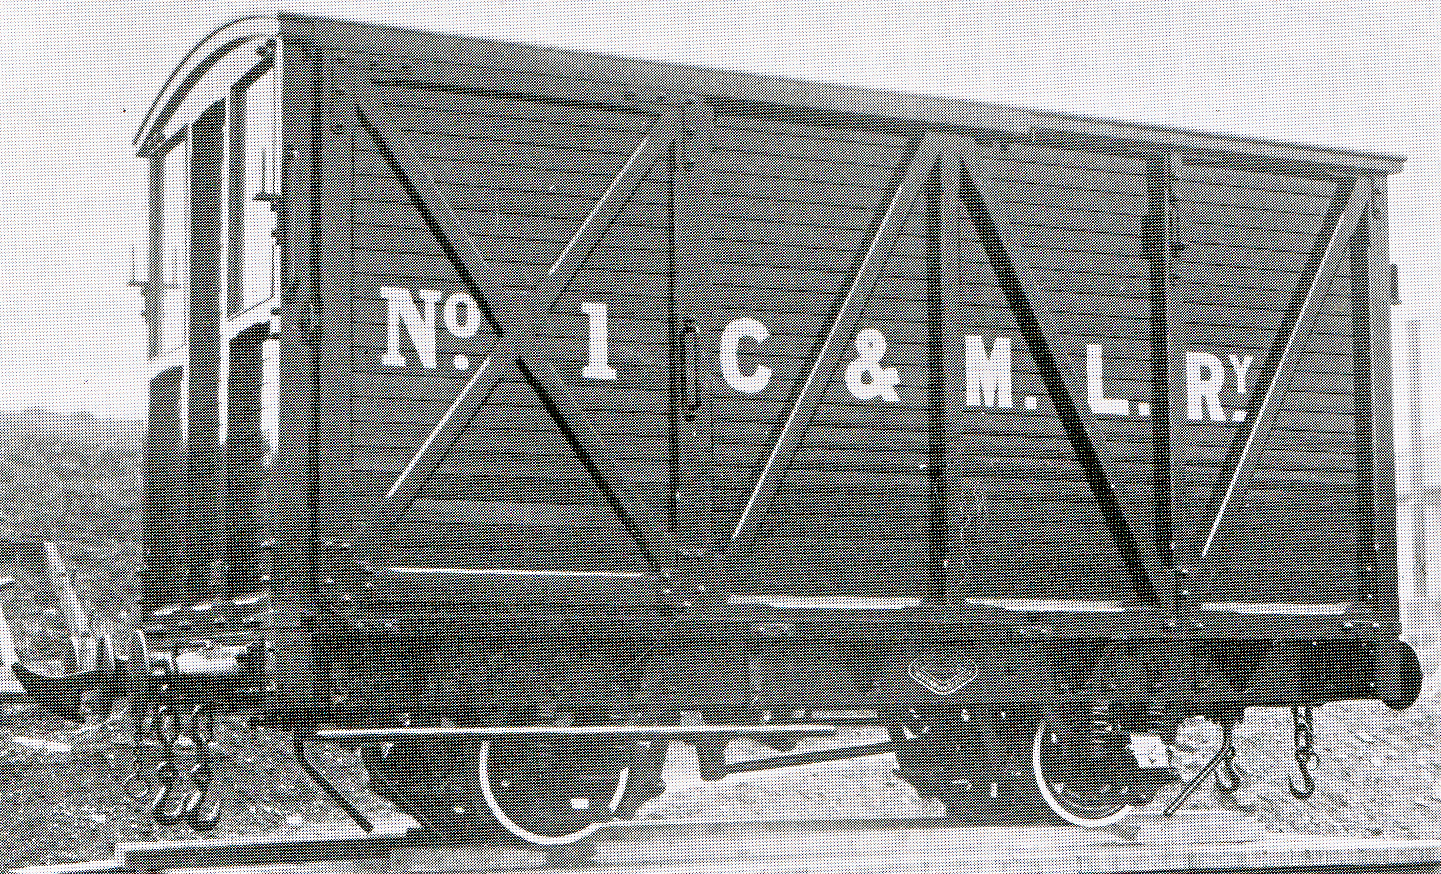
Campbeltown & Macrihanish Railway 8 ton Brake Van
All being well this should be out as a detailed kit in the not too distant future.
This is actually a kit that was started something like 15 years ago and stalled in the development when a friend, Tim, made superb patterns for the axleboxes but which wouldn’t cast. Tim wasn’t the sort you tell his work needed changing. We bottled out and the project stalled. Tim is, sadly, no longer with us and technology has moved on a bit so now seems to be the time to do it.
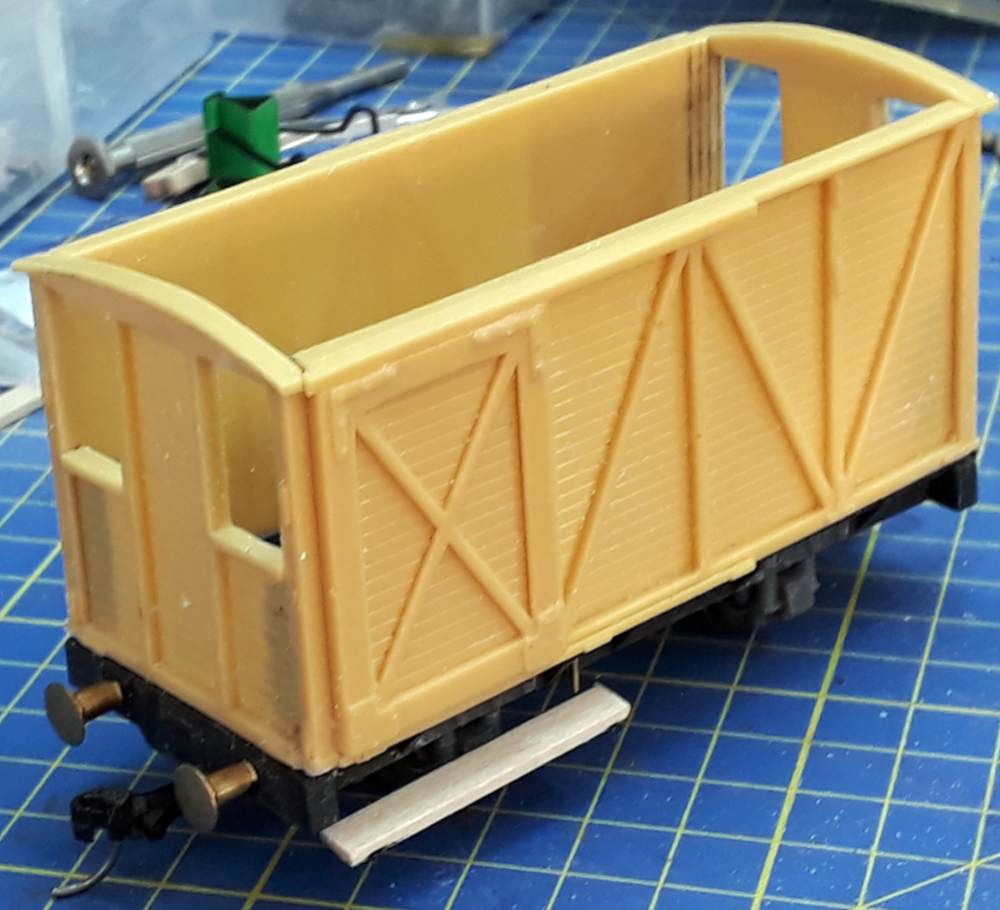
The body for the kit is a four part resin casting. When done originally the ends included the buffer beam but that now becomes part of the chassis. I did think about redoing this as a print but can’t justify the effort replacing a perfectly good part.
The, hopefully, innovative part is the new chassis which is 3D printed but with etched and cast added details and featuring 3 point suspension.
The chassis features separately printed axle units which pin into the main chassis, one end fixes in rigidly whilst the other end has a rocking hinge centrally placed.
This makes sure a relatively long wheelbase wagon stays on the track. The picture below rather exaggerates how this works in practice.
The aim is that the kit included NEM tension lock couplings which gives and easy provision for exchanging them for Kadee NEM couplings.
Also included should be spring buffers, cast details, safety chains, wooden floor, some internal details and, maybe, transfers.
I had a plan to have it available for the 7mm NGA Convention in June 2022 but that was before I came up against the current supply inertia in getting castings and etches done.
Including internal detail might be open to interpretation. I have a full size copy of the RY Pickering drawing that shows a couple of internal lockers and the brake wheel but after that it’s anybody’s guess. By all accounts the van got used very little. The man from the ministry apparently insisted on it so it probably only got used if he showed up. Given the remote location, that fact that they could pull the brake van or three more coal wagons and ran two rakes of coal wagons but had just the one van it was most likely to be found in a siding!
I’ve long been a fan of the Campbeltown & Macrihanish Railway and long ago when I had big lasers to play with these two things happened.
First is a C&M Rly coach made out of laser cut laminated sides. The plan then was for it to be a kit but the realisation that it was a foot long and would give the “will it go round my 6″ corners” brigade heart failure meant it didn’t go any further..
The second bit of laser nonsense was this. I laser cut, in plastic, a chassis for the C&M locos.
I think I quickly realised that it wasn’t going to be rigid enough and took it no further but I do still have the CAD which wouldn’t take a lot of effort to adjust it for etch construction.
Who knows what may happen.
Quarry Hunslet Developments
I have the Agenoria kits for all flavours of the Small Quarry Hunslet’s, Lilla and Manning Wardle Jubilee 1897 and, just at the moment, they are all unavailable due to the death of our whitemetal caster and the need to recover the moulds and find a new caster. The kits are designed to use some now obsolete parts so as I work to make them available again replacements are being sought.
This is taking far longer than it should and I am currently evaluating the alternative of making new patterns and going for all brass castings in the kits. To cap it all the mould for SL1, the Alice class, has been lost.
The first picture shows the traditional construction of the model with an etched working inner frame, cosmetic outer frame and a set of Romford wheels. This is all soldered construction and the wheels are captive once assembled.
Already there is a replacement drive.
Instead of the Mashima motor and 30:1 gears there is now a 12v coreless motor, flywheel and 54:1 gears. Don’t be misled by its tiny size. It’s amazingly strong and more than enough for a quarry shunter.
When doing these new parts and revamps I am trying to engineer out some of the painful bits of construction or, at least, the parts that seem to give people the most trouble.
One innovation is ready to go but I am wrestling with the issue of changing the original kits to accommodate it. The originals are from hand drawn artwork for the etching so not easy to mod.
The new innovation is assembled and quartered wheelsets.
The problem then is that having addressed the wheel & quartering bogeyman the problem has moved to having to slot the frames without damaging the positioning and making a keeper plate.
I’m still thinking about that one and it may get overtaken by events.
The new Alice Class?
I may have shown a similar CAD image before but things have moved on. This image now features the assembled wheelsets and the new drive incorporated but much more of it exists.
We start with a chassis block printed in a rigid resin
Then there is the frame overlay, 3 variants for Alice Class in a more resilient resin
Together with cylinders a full chassis is getting close.
Developments are not just confined to the chassis.
The firebox is a horrible fabrication that is made from flat and is difficult to get together truly. The right hand edge still needs filing quarter round to form the shiny bezel of the real thing
A printed version requires no bending and screws to the running plate. A polished brass casting for the bezel goes in after painting.
Same works for the smokebox. Saddle tank and boiler will be the same. All the rolling and bending designed out!
In some places the thin metal edge and strength are needed
The running plate will be a new etch but will feature added assistance to do the soldering
The cab for the cabbed Alice (Kit SL3) remains brass but printing now provides a tool to bend and assemble the cab
I’m aiming for and easy build Hunslet and may end up, with a few more innovations up my sleeve close to a ready to run one.
It’s been way too long since I reported progress with the Garratt and a long time since there was anything to report. Just as the first lockdown was looming as Covid got away from London our local hospital had a policy of no admissions & no surgery as it prepared for what was to come. I made the strategically dodgy move of winding up in hospital as an emergency admission and two days later having surgery on the grounds it was the quickest way to get rid of me.
The result was that I missed the impact of most of the first Covid lockdown as I was being otherwise unable to go out. Recovery has taken a long time with all manner of side effects and a real blow to my mental health at the turn of last year. Being a one man band, Self Employed, Sole Trader I was cunningly positioned to avoid any of the various help schemes offered. As I was able to very slowly return to work in a limited fashion priority had to be given to business recovery, filling orders and making the retail stock.
It has taken ages to get to the point where I have the combination of the time, ability and desire to build models and if my heart isn’t in it the results won’t be what I want to achieve.
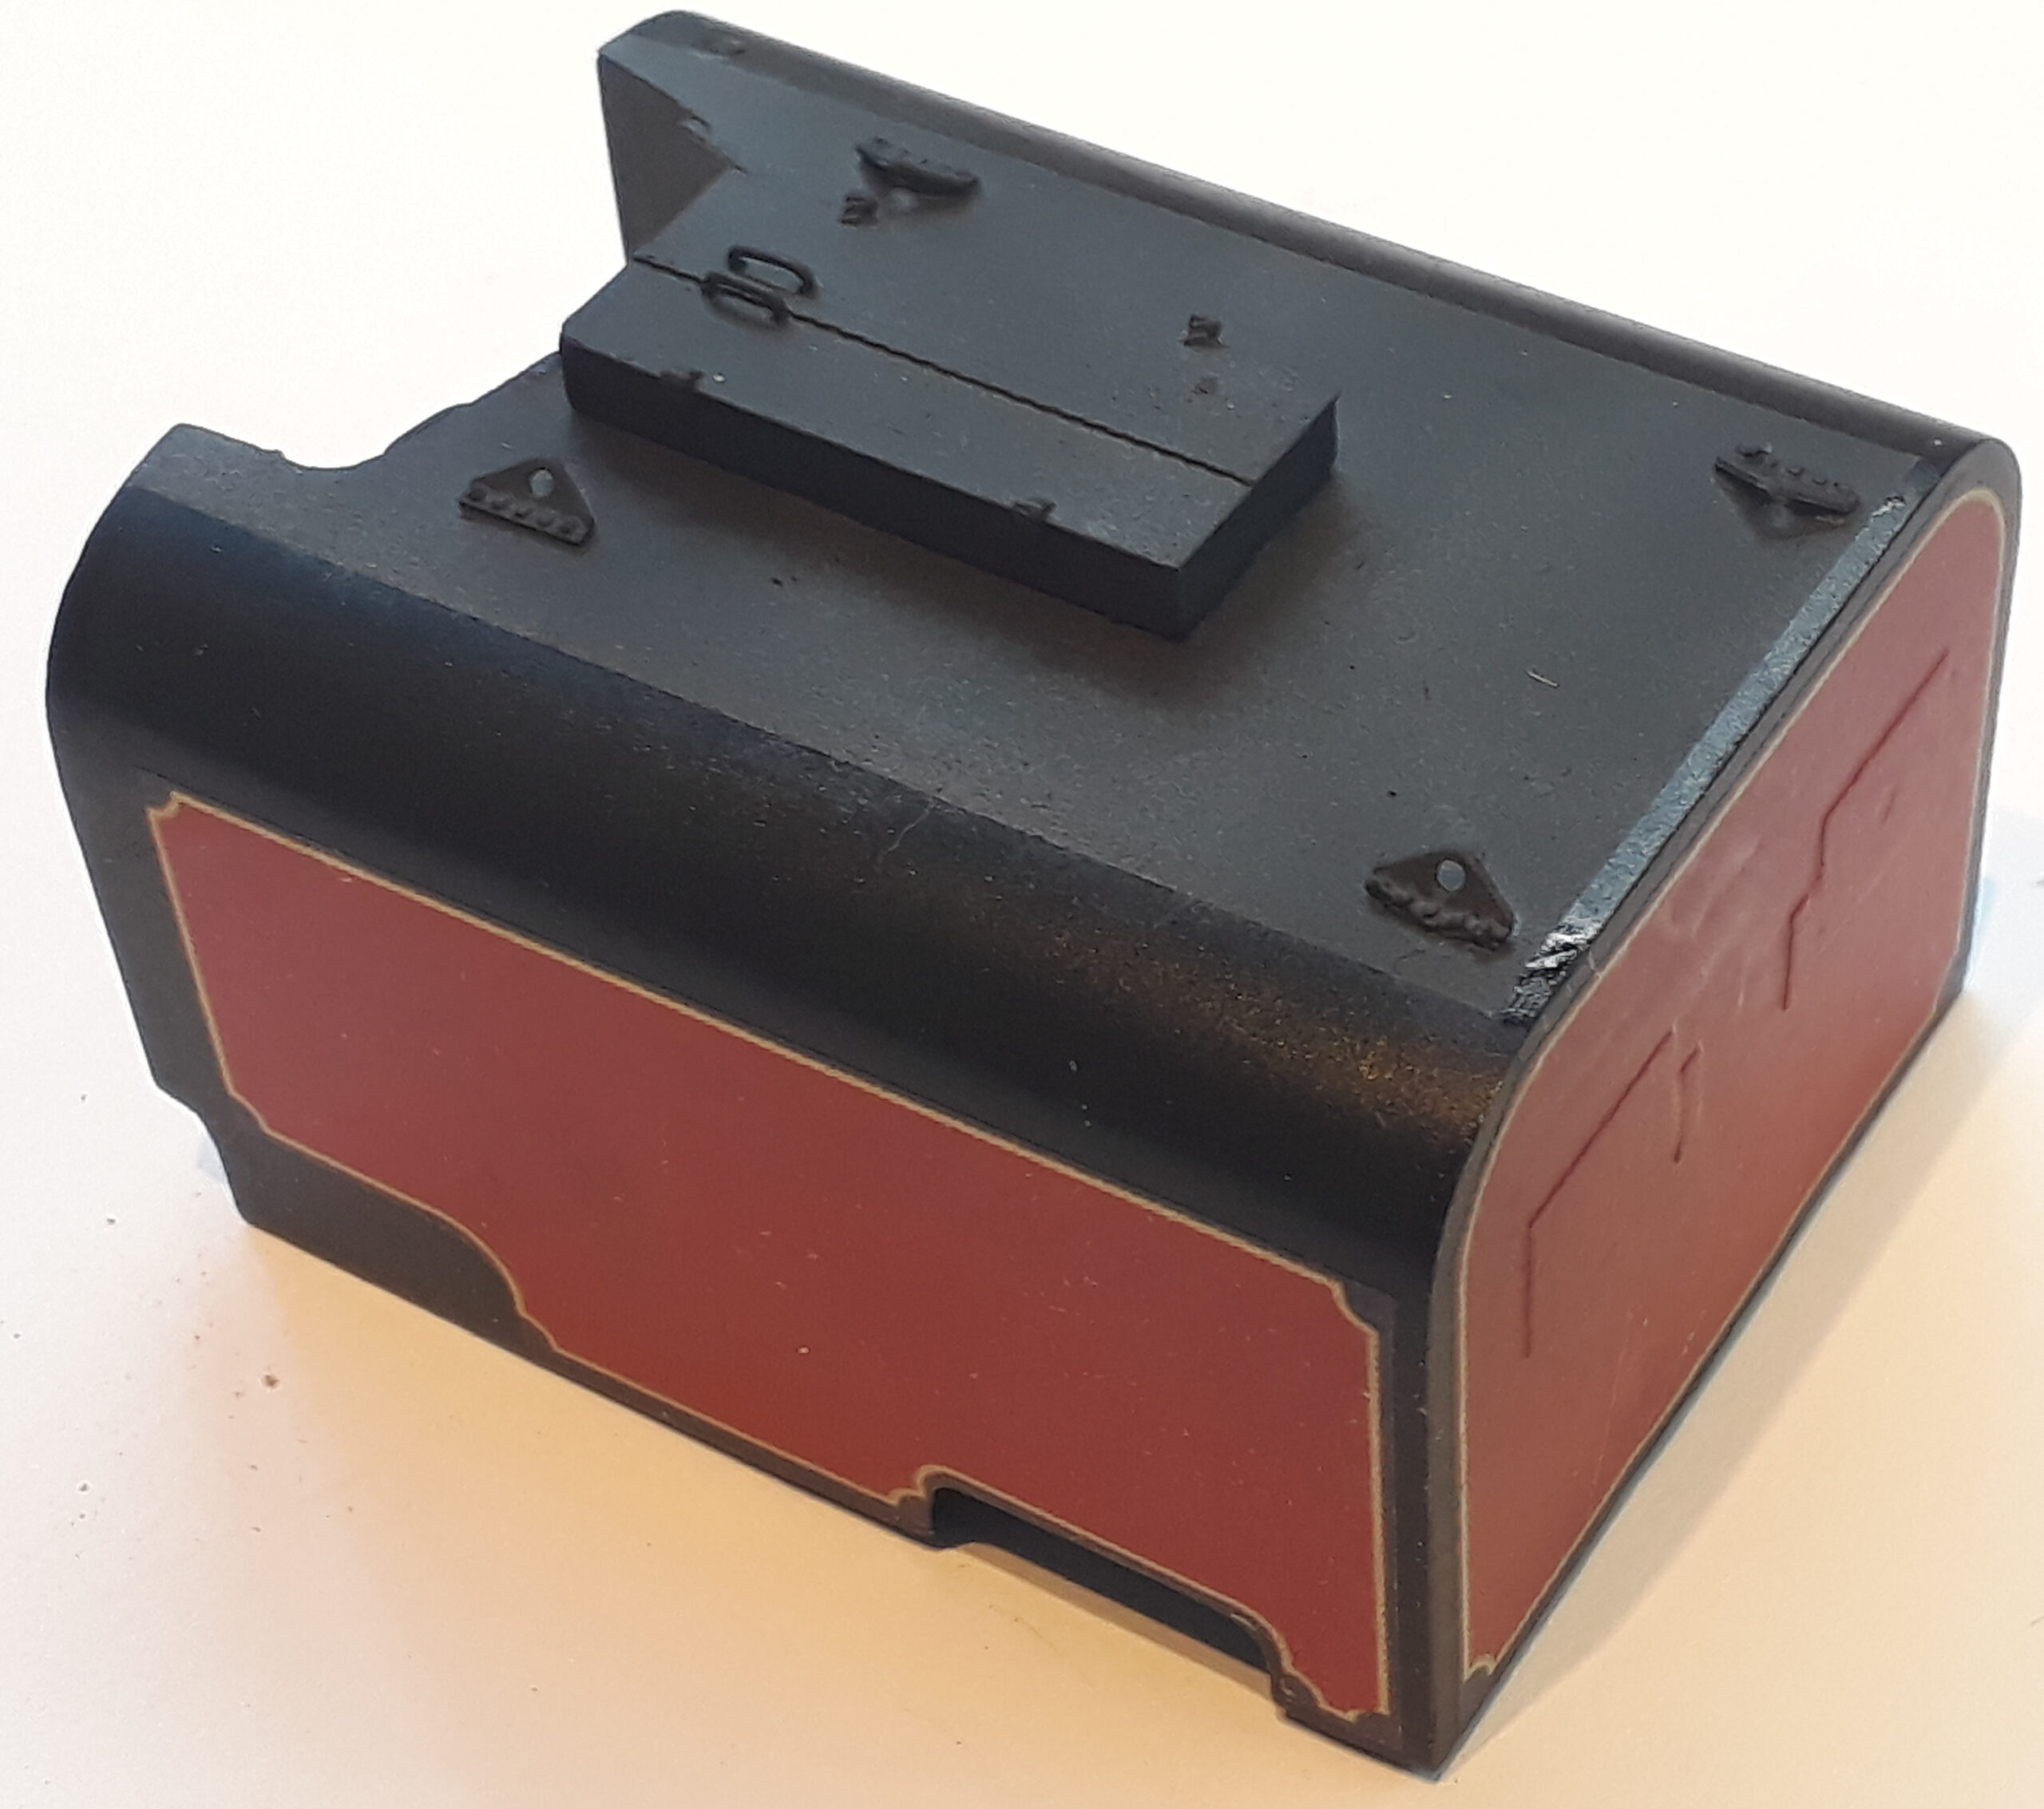
Anyway, enough of that. We left the saga with the tanks having their livery and lining applied by decal and I am really pleased with the way that they came out. The front tank has had the trough style water filler added as a 3D print.
There are decals for parts of the cab but the boiler is going to need painting but what colour?
For a start I am not a fan of the “it must be the right colour because the label on the bottle says it’s #138 red” idea. Believe me, paint colours don’t always work when scaled. I have a Blanche model painted with paint from the same tin that painted the real one and its doesn’t look right because the volume of it isn’t the same and therefore the way it reacts with the light is different.
There is colour matching to do that starts and continues…..
Mr Decal man please do me the decals to match 138 red
Decals Arrive: Colour is close but not 100%
Match the boiler paint to the decals
Get sneaky with the boiler paint
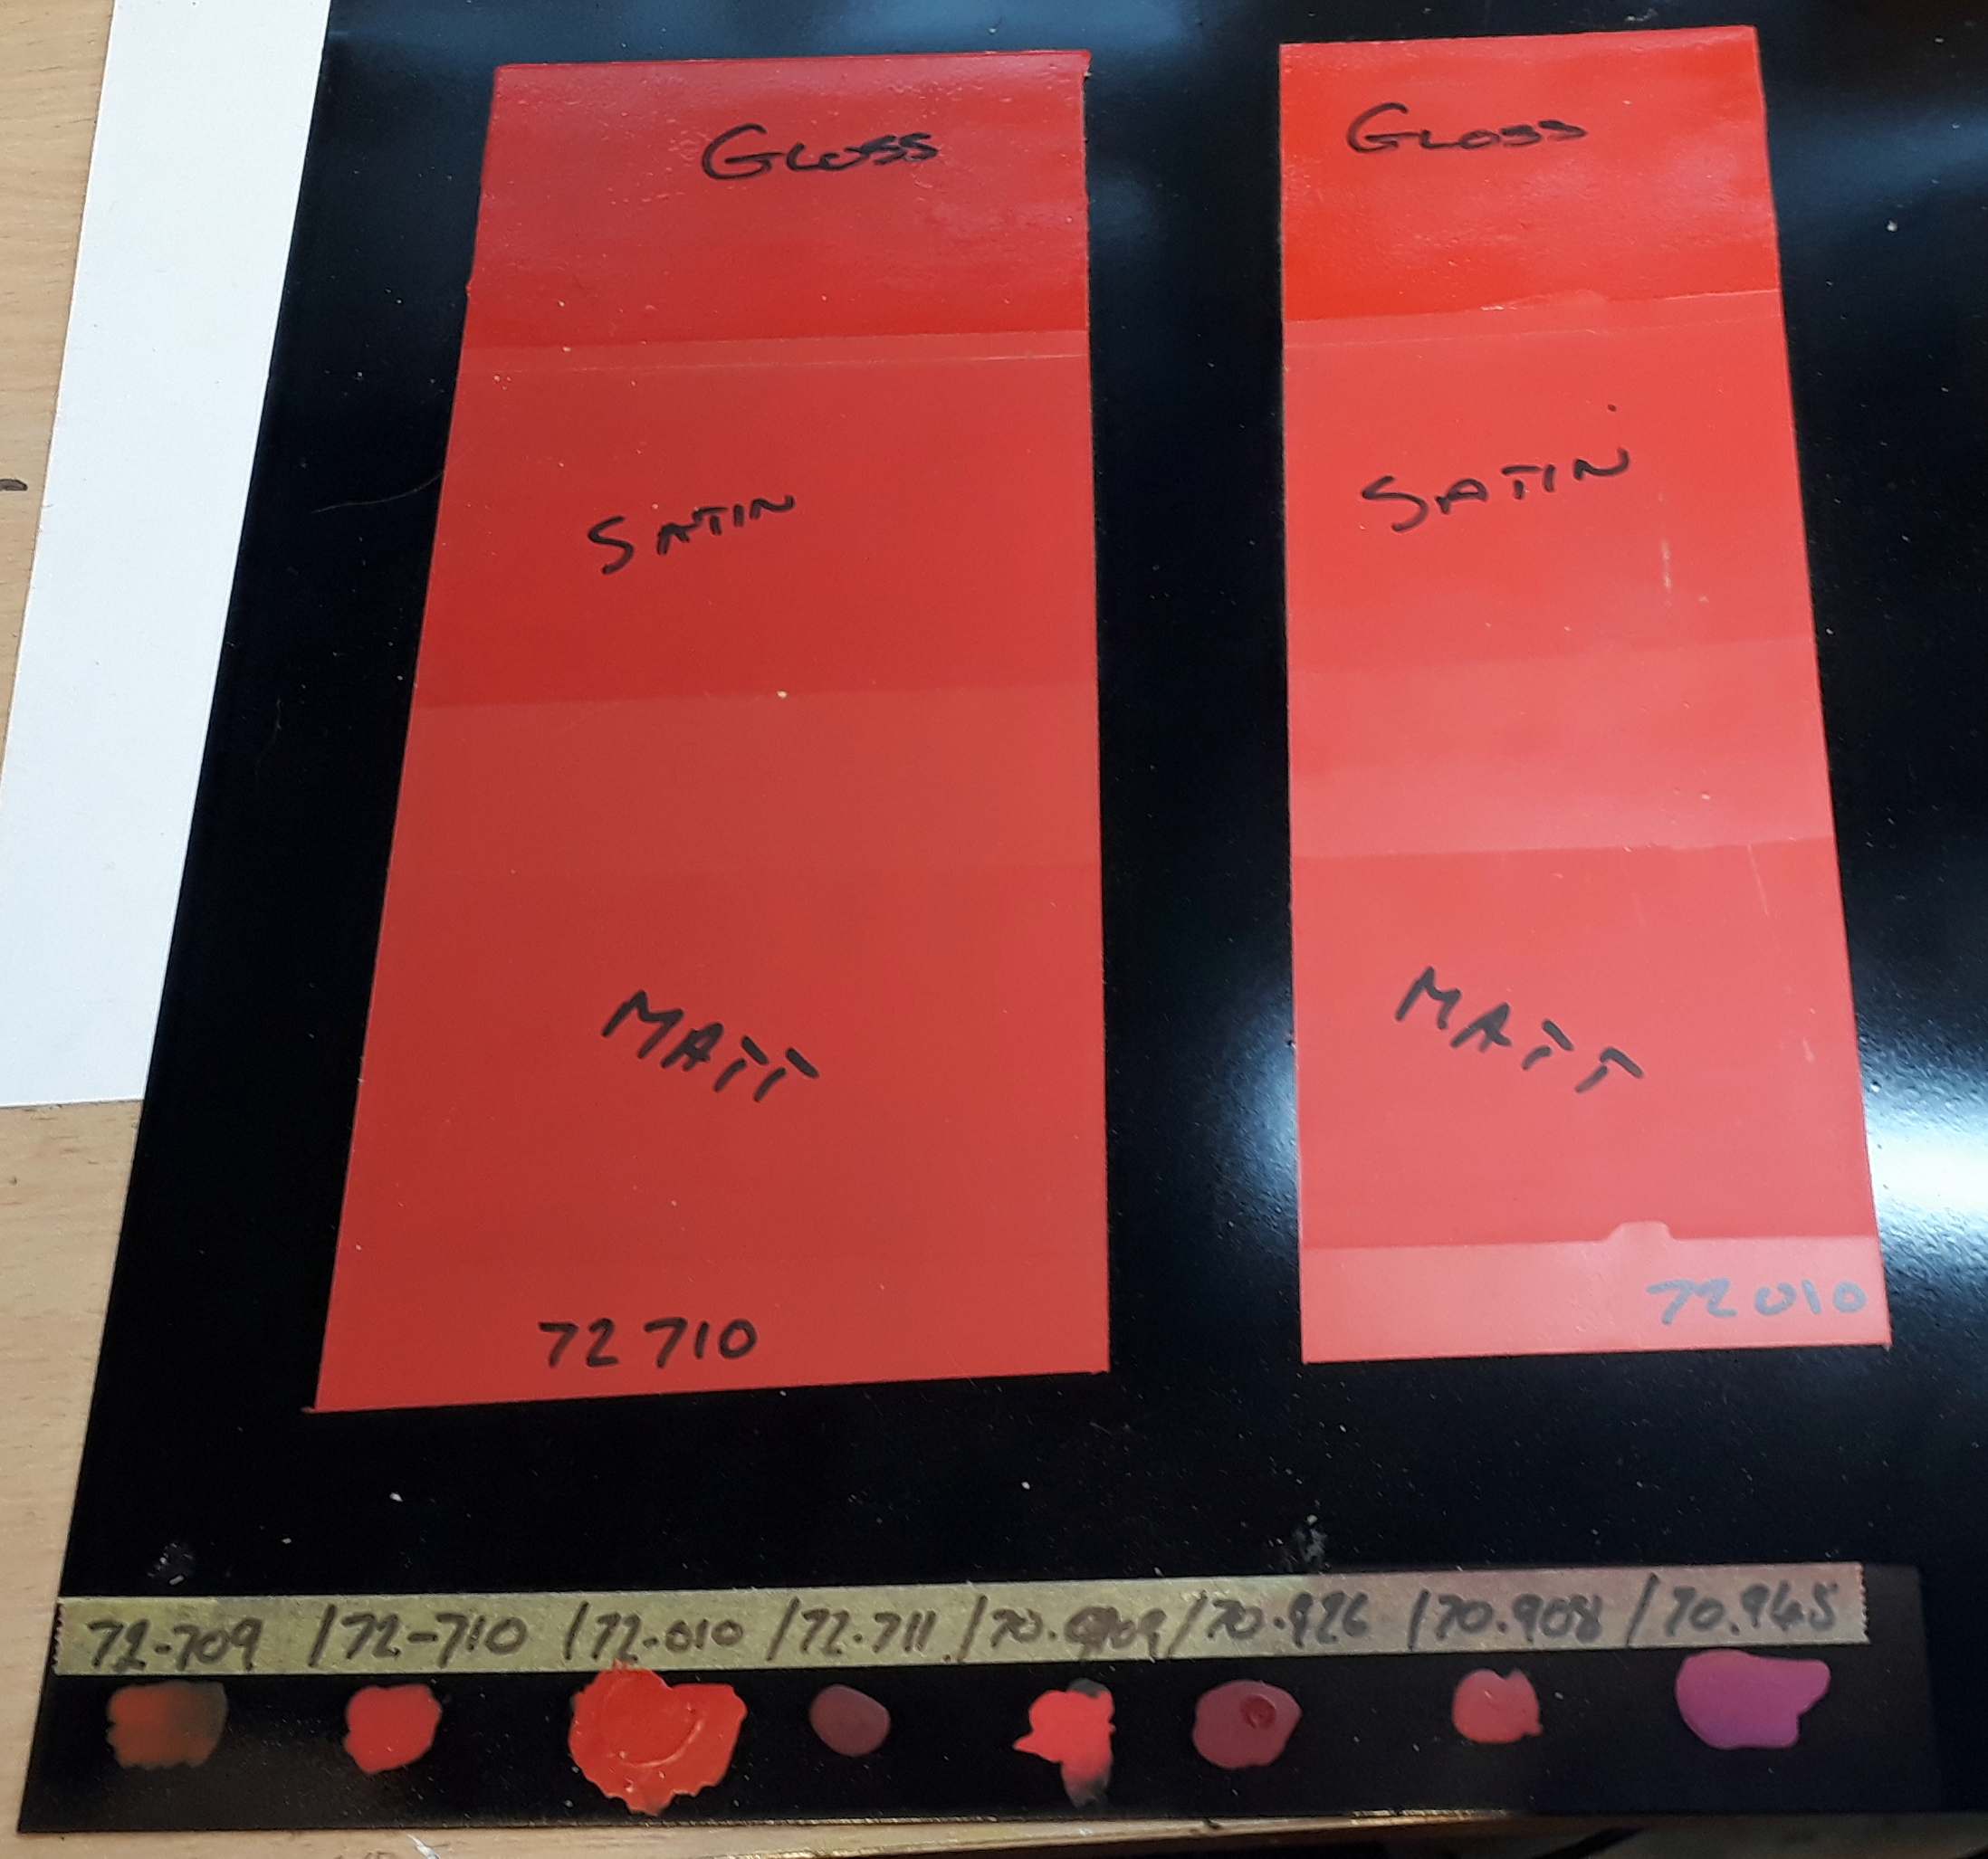
As I am trying to paint this as much as possible with acrylic paints I got a collection of reds and sprayed them on a test piece and then also over sprayed them with assorted varnishes.
Here’s the test plate with the paint splodges from each of the reds I had along the bottom. The larger panels are then painted with the two closest matches before applying the various varnishes.
I am trying to use acrylics as much as possible, and certainly for spraying, for health reasons and to avoid the pong of oil based paints. At first I hated acrylic paints but then with practice, watching a lot of You Tube videos and the purchase of decent paints and matching products I am now converted.
Go on, admit it, you’re thinking WTF aren’t you?
This is another demonstration of a pet peeve of mine. When I do modelling demonstrations of soldering kits at exhibitions I regularly hear people say, “I wish I could solder like that”. Well, once upon a time neither could I. I practiced, I learnt and I left a few pretty poor models along the way that ended up never being finished and in the bin.
Practice is the only way
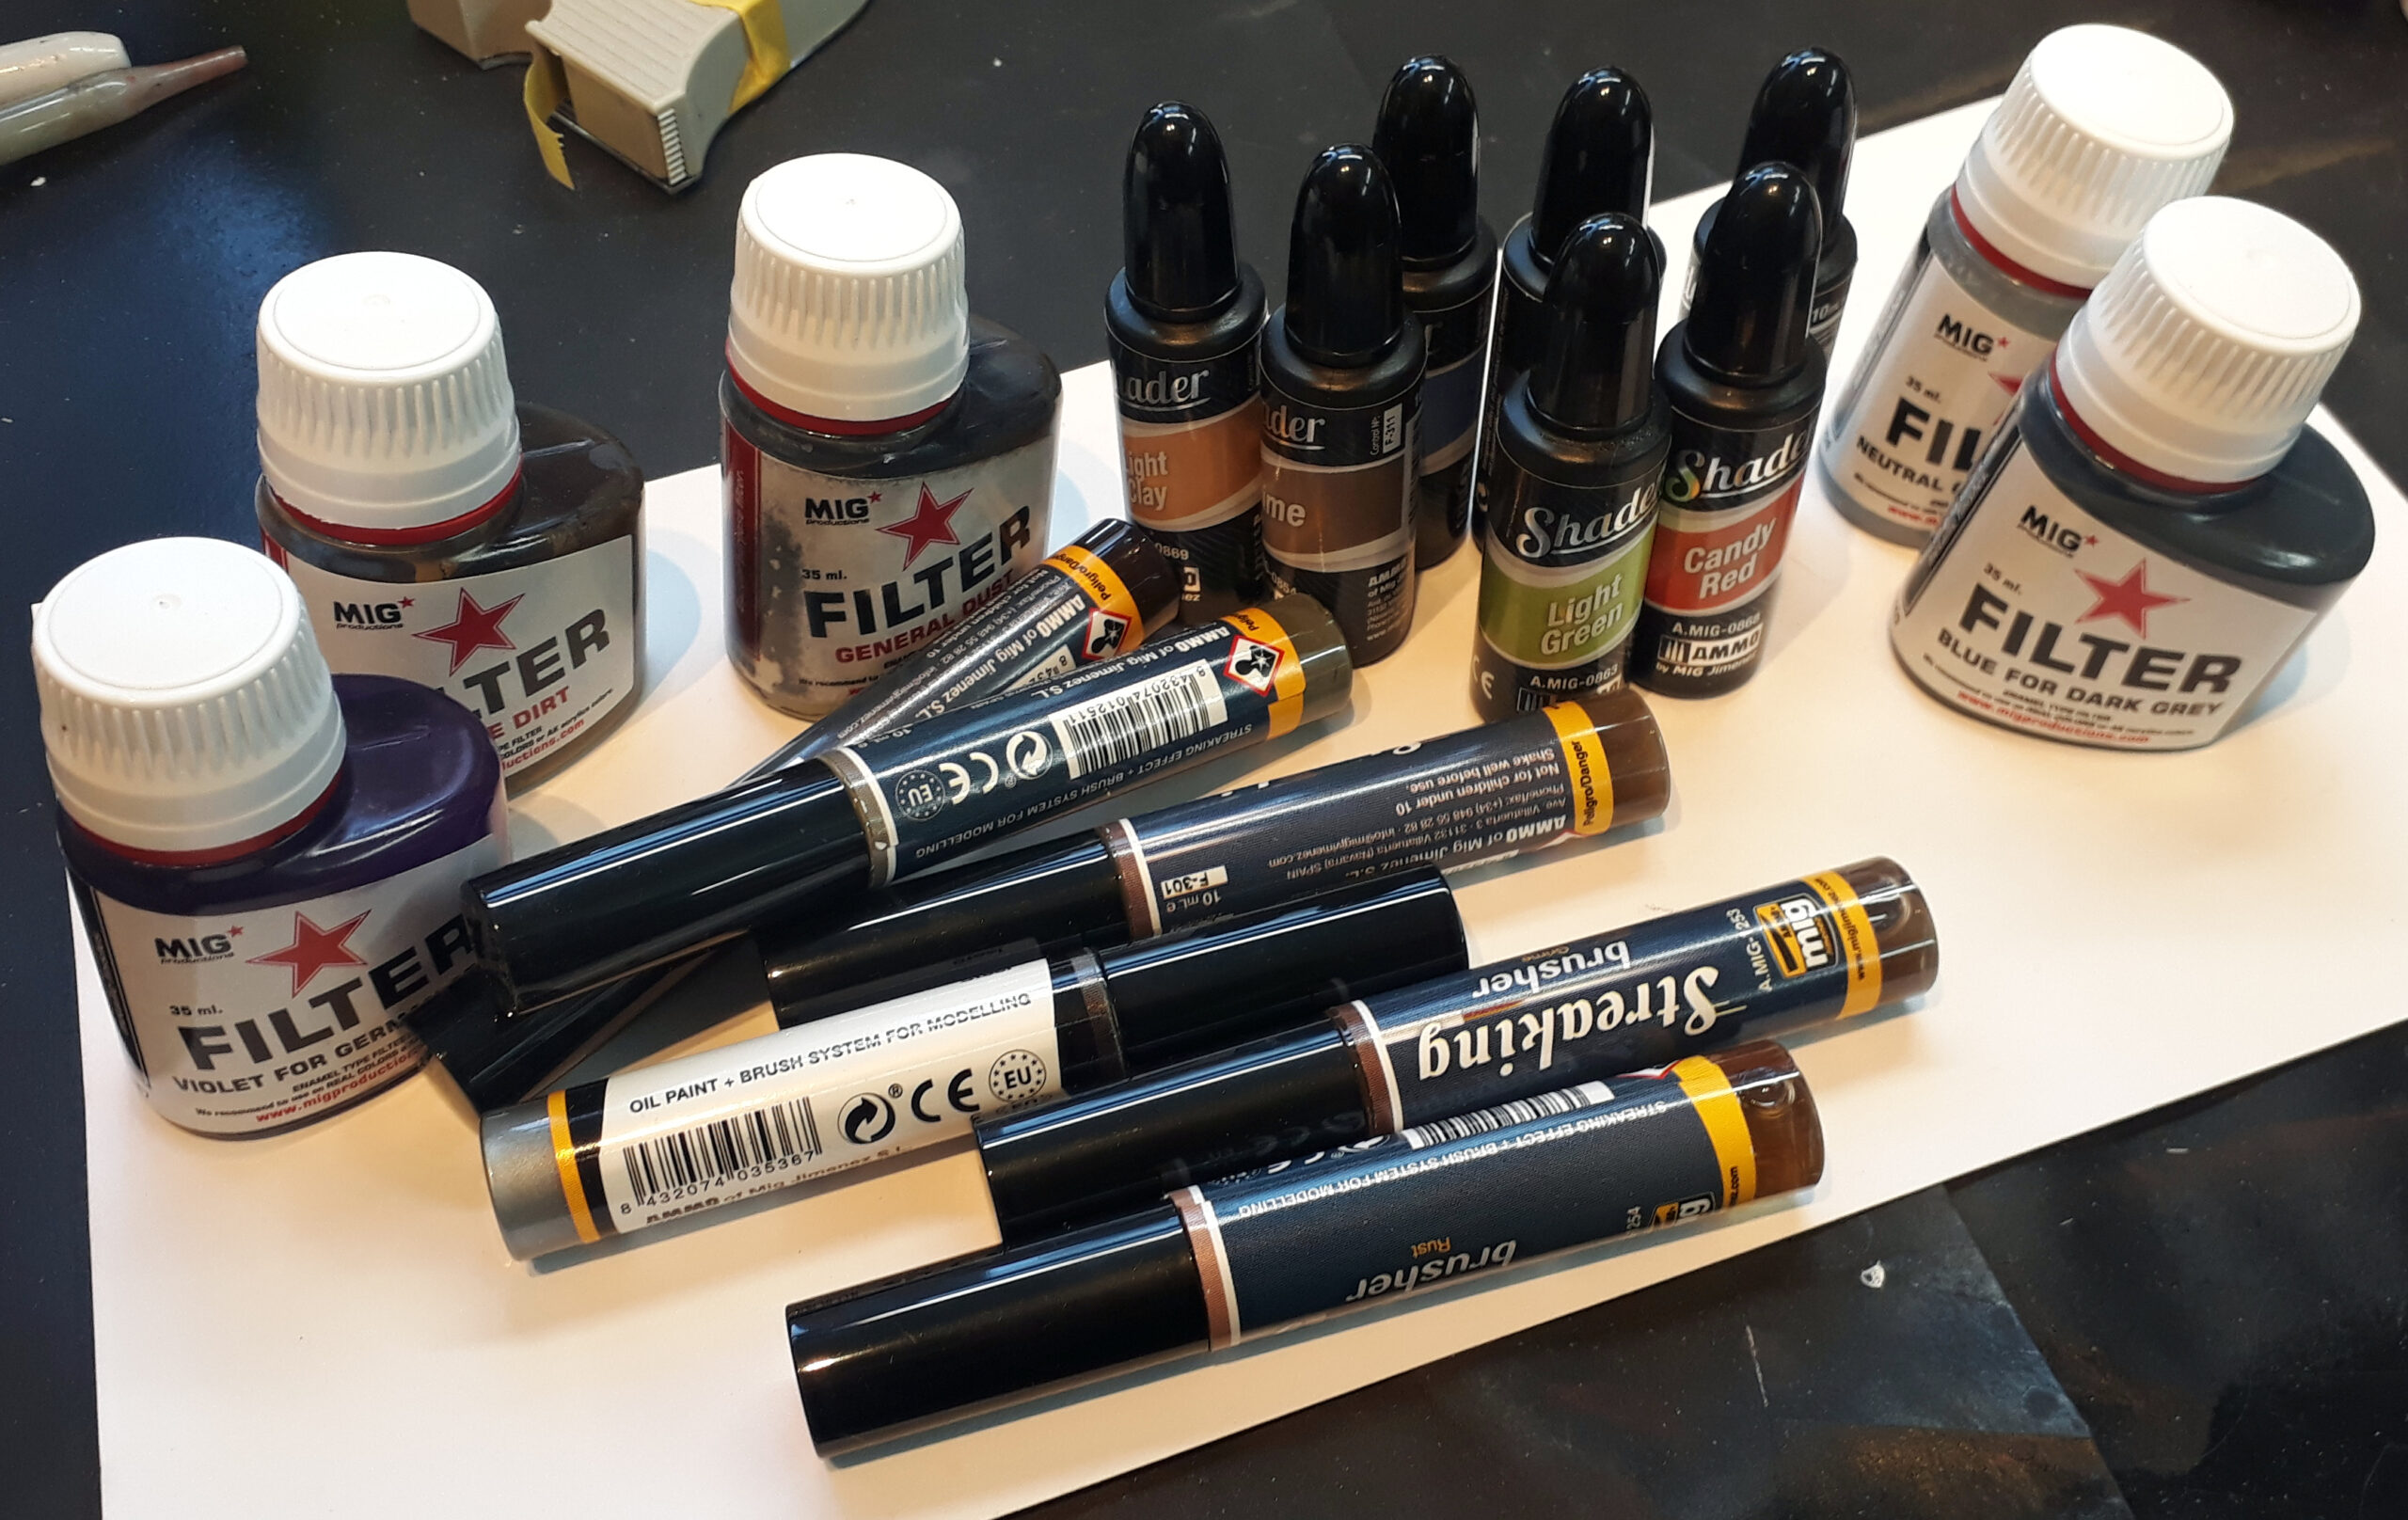
When it comes to spraying I have been watching lots of videos by military modellers and learning from them. I’ve learnt about different primers, pre-shaders, washes, filters, pin washes and lots more. There’s loads but have a look at Nightshift
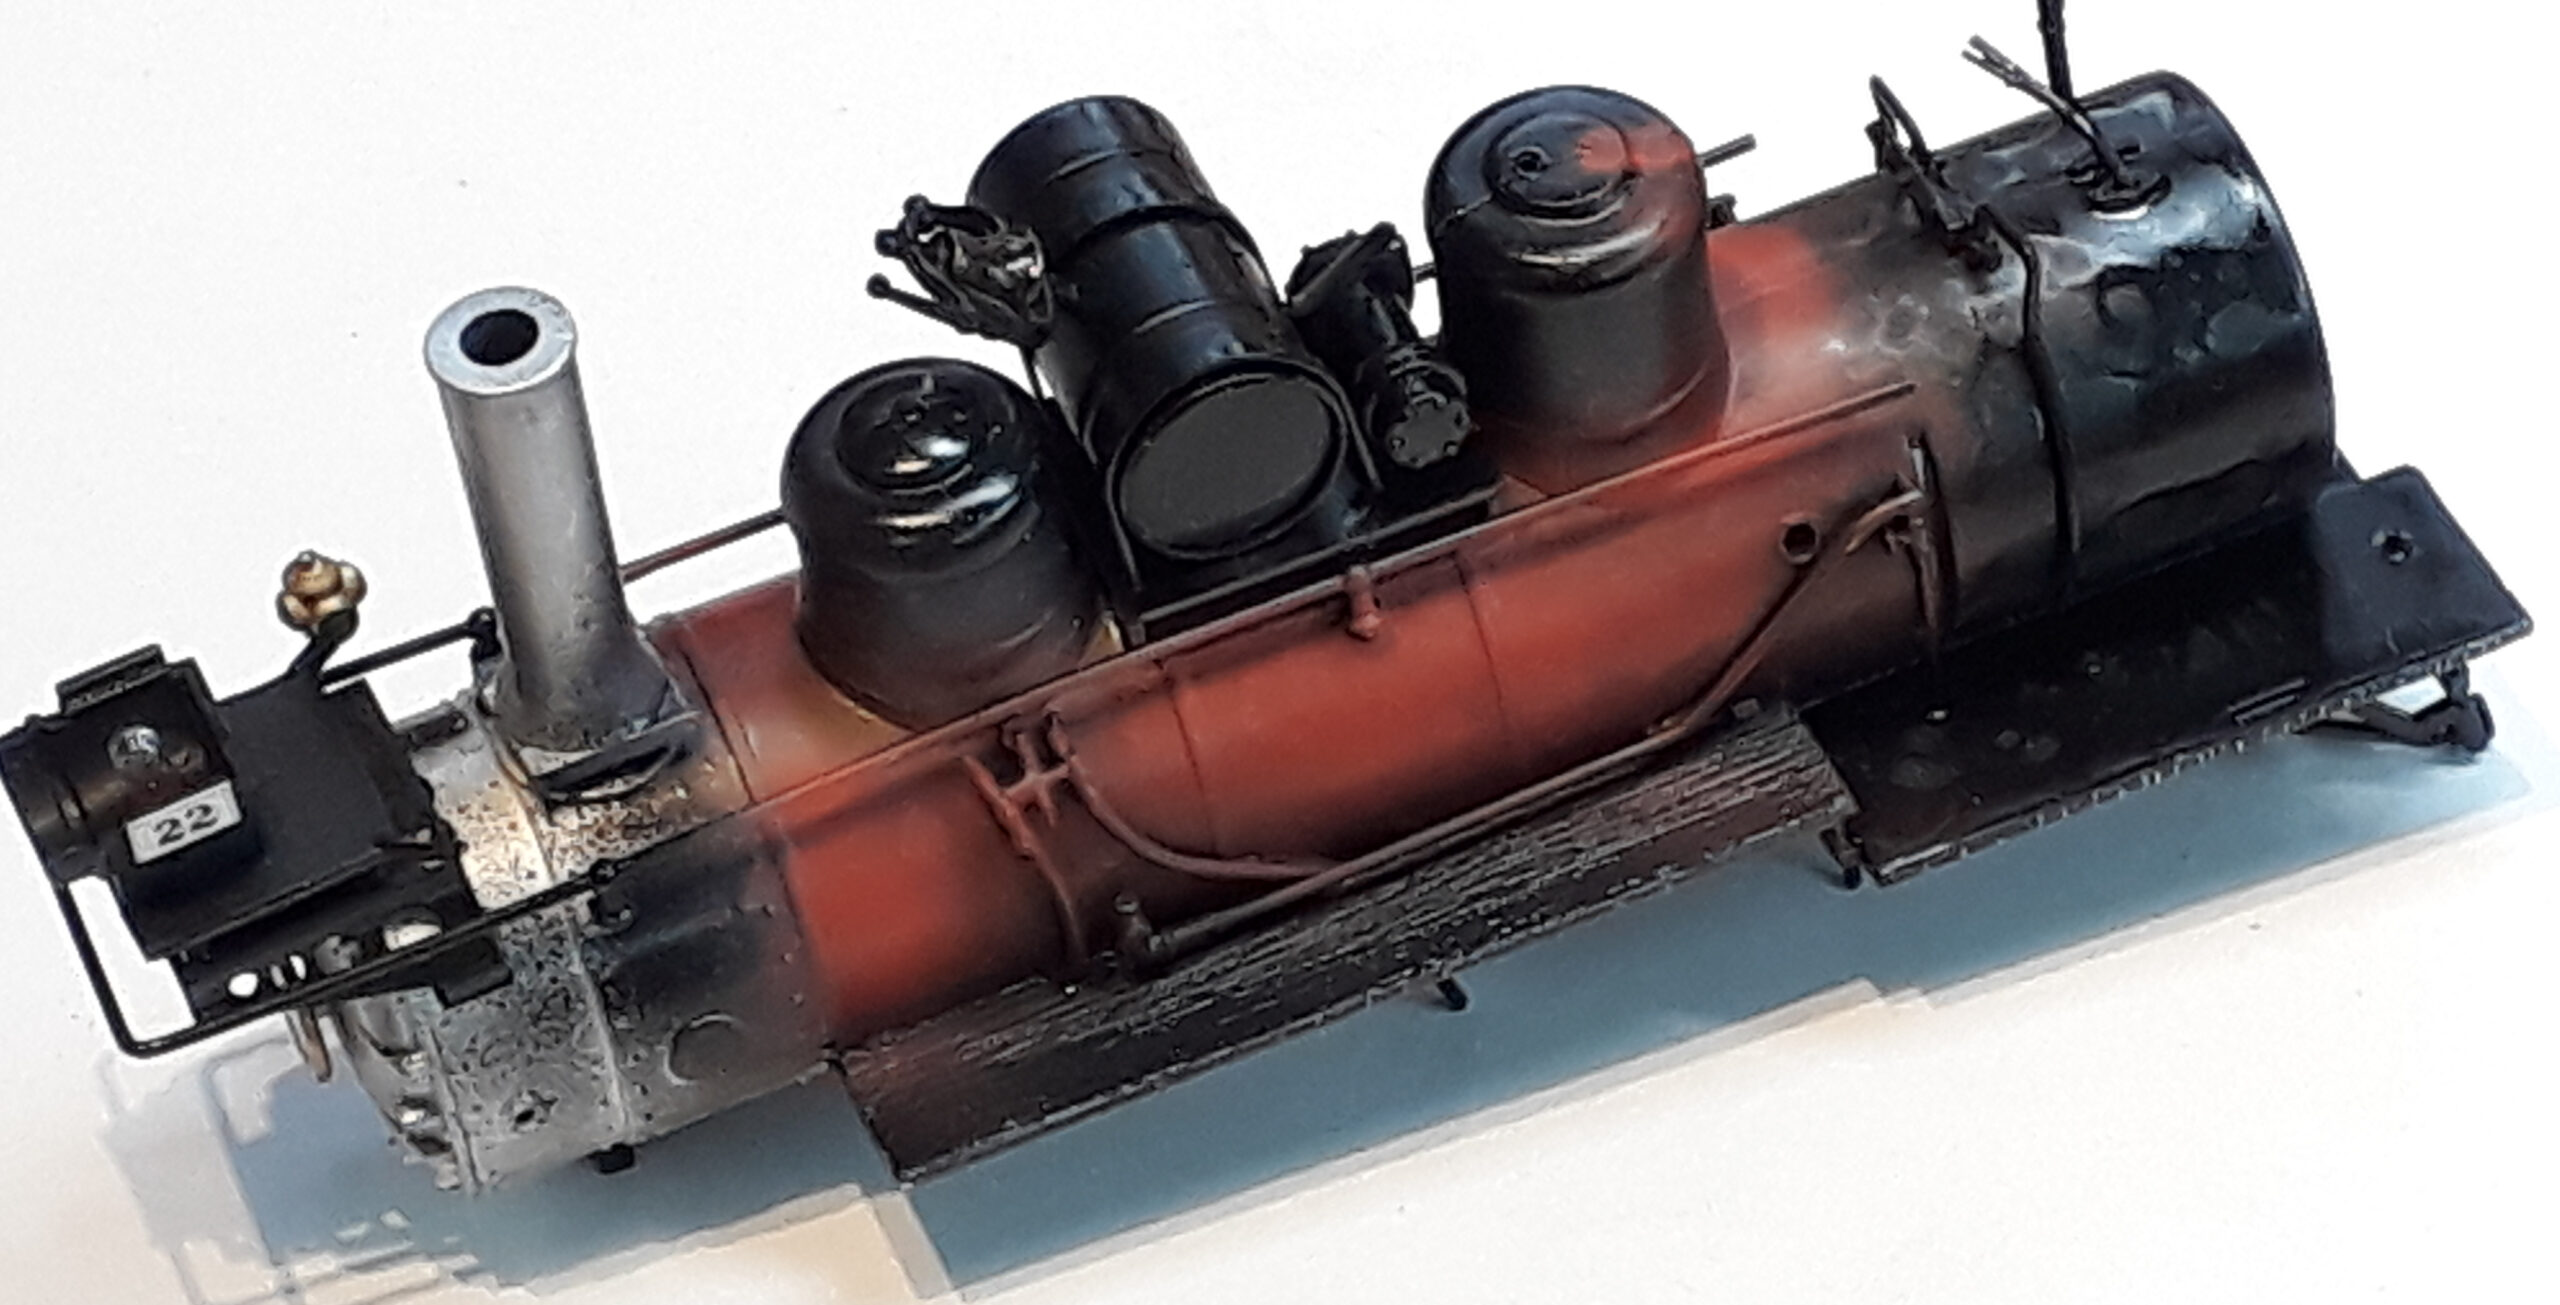
So, what’s this wrong boiler all about? This 0n30 Mogul has valiantly given its boiler to experiments with pre-shading prior to the body colour going on. The only time the red on the boiler was uniform from end to end was the day it came out of the paint shop. Actually, I’d argue that probably not even then as the light plays differently on the different bits.
Given the boiler starts with a black base in a paint that is resistant to stripping that will be our base. Around the firebox and under all the plumbing will get a waft of black primer, a band of brown just behind the smokebox and white in between. They will be faded into each other. The idea is that when the body colour is sprayed on the pre-shading will result in subtle changes to the red.
So, what’s this wrong boiler all about? This 0n30 Mogul has valiantly given its boiler to experiments with pre-shading prior to the body colour going on. The only time the red on the boiler was uniform from end to end was the day it came out of the paint shop. Actually, I’d argue that probably not even then as the light plays differently on the different bits.
Given the boiler starts with a black base in a paint that is resistant to stripping that will be our base. Around the firebox and under all the plumbing will get a waft of black primer, a band brown just behind the smokebox and white in between. They will be faded into each other. The idea is that when the body colour is sprayed on the pre-shading will result in subtle changes to the red.
Further weathering will them be done with an assortment of products to add the patina of grime on a cared for but hard working engine.
I am not going to reveal any more on the painting until its completed now. Two reasons: I don’t want to spoil what I hope will be the big reveal and it might just end up in the paint stripper!
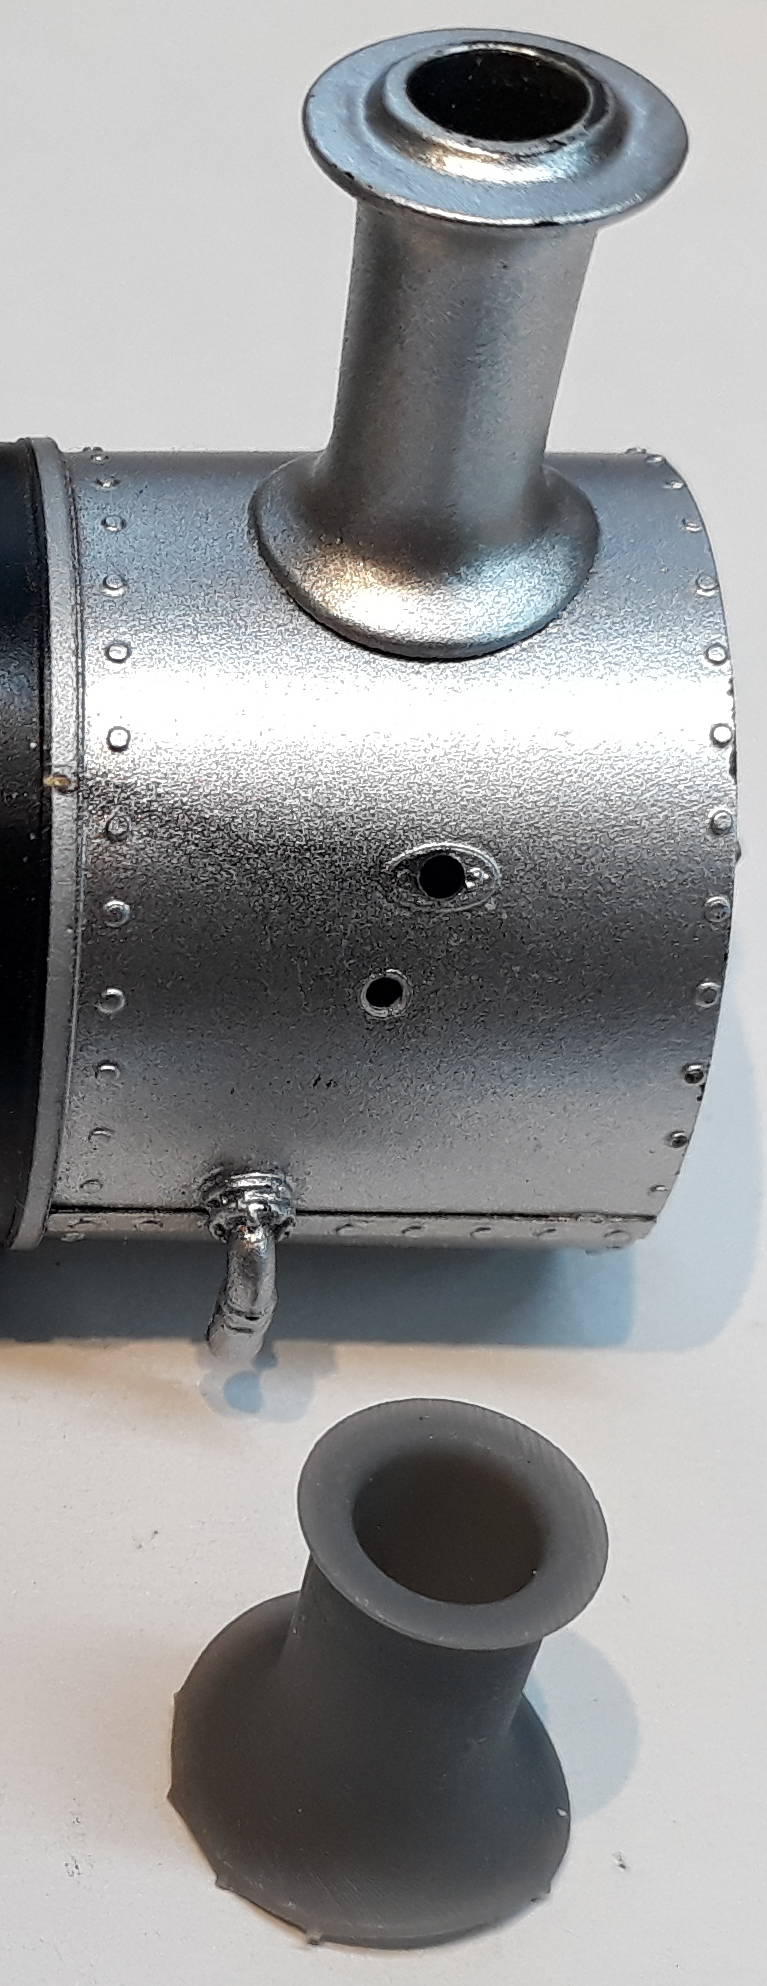
Lots of other bits and bobs have progressed. The chimney on the loco is wrong so I have a 3D printed replacement ready to go on.
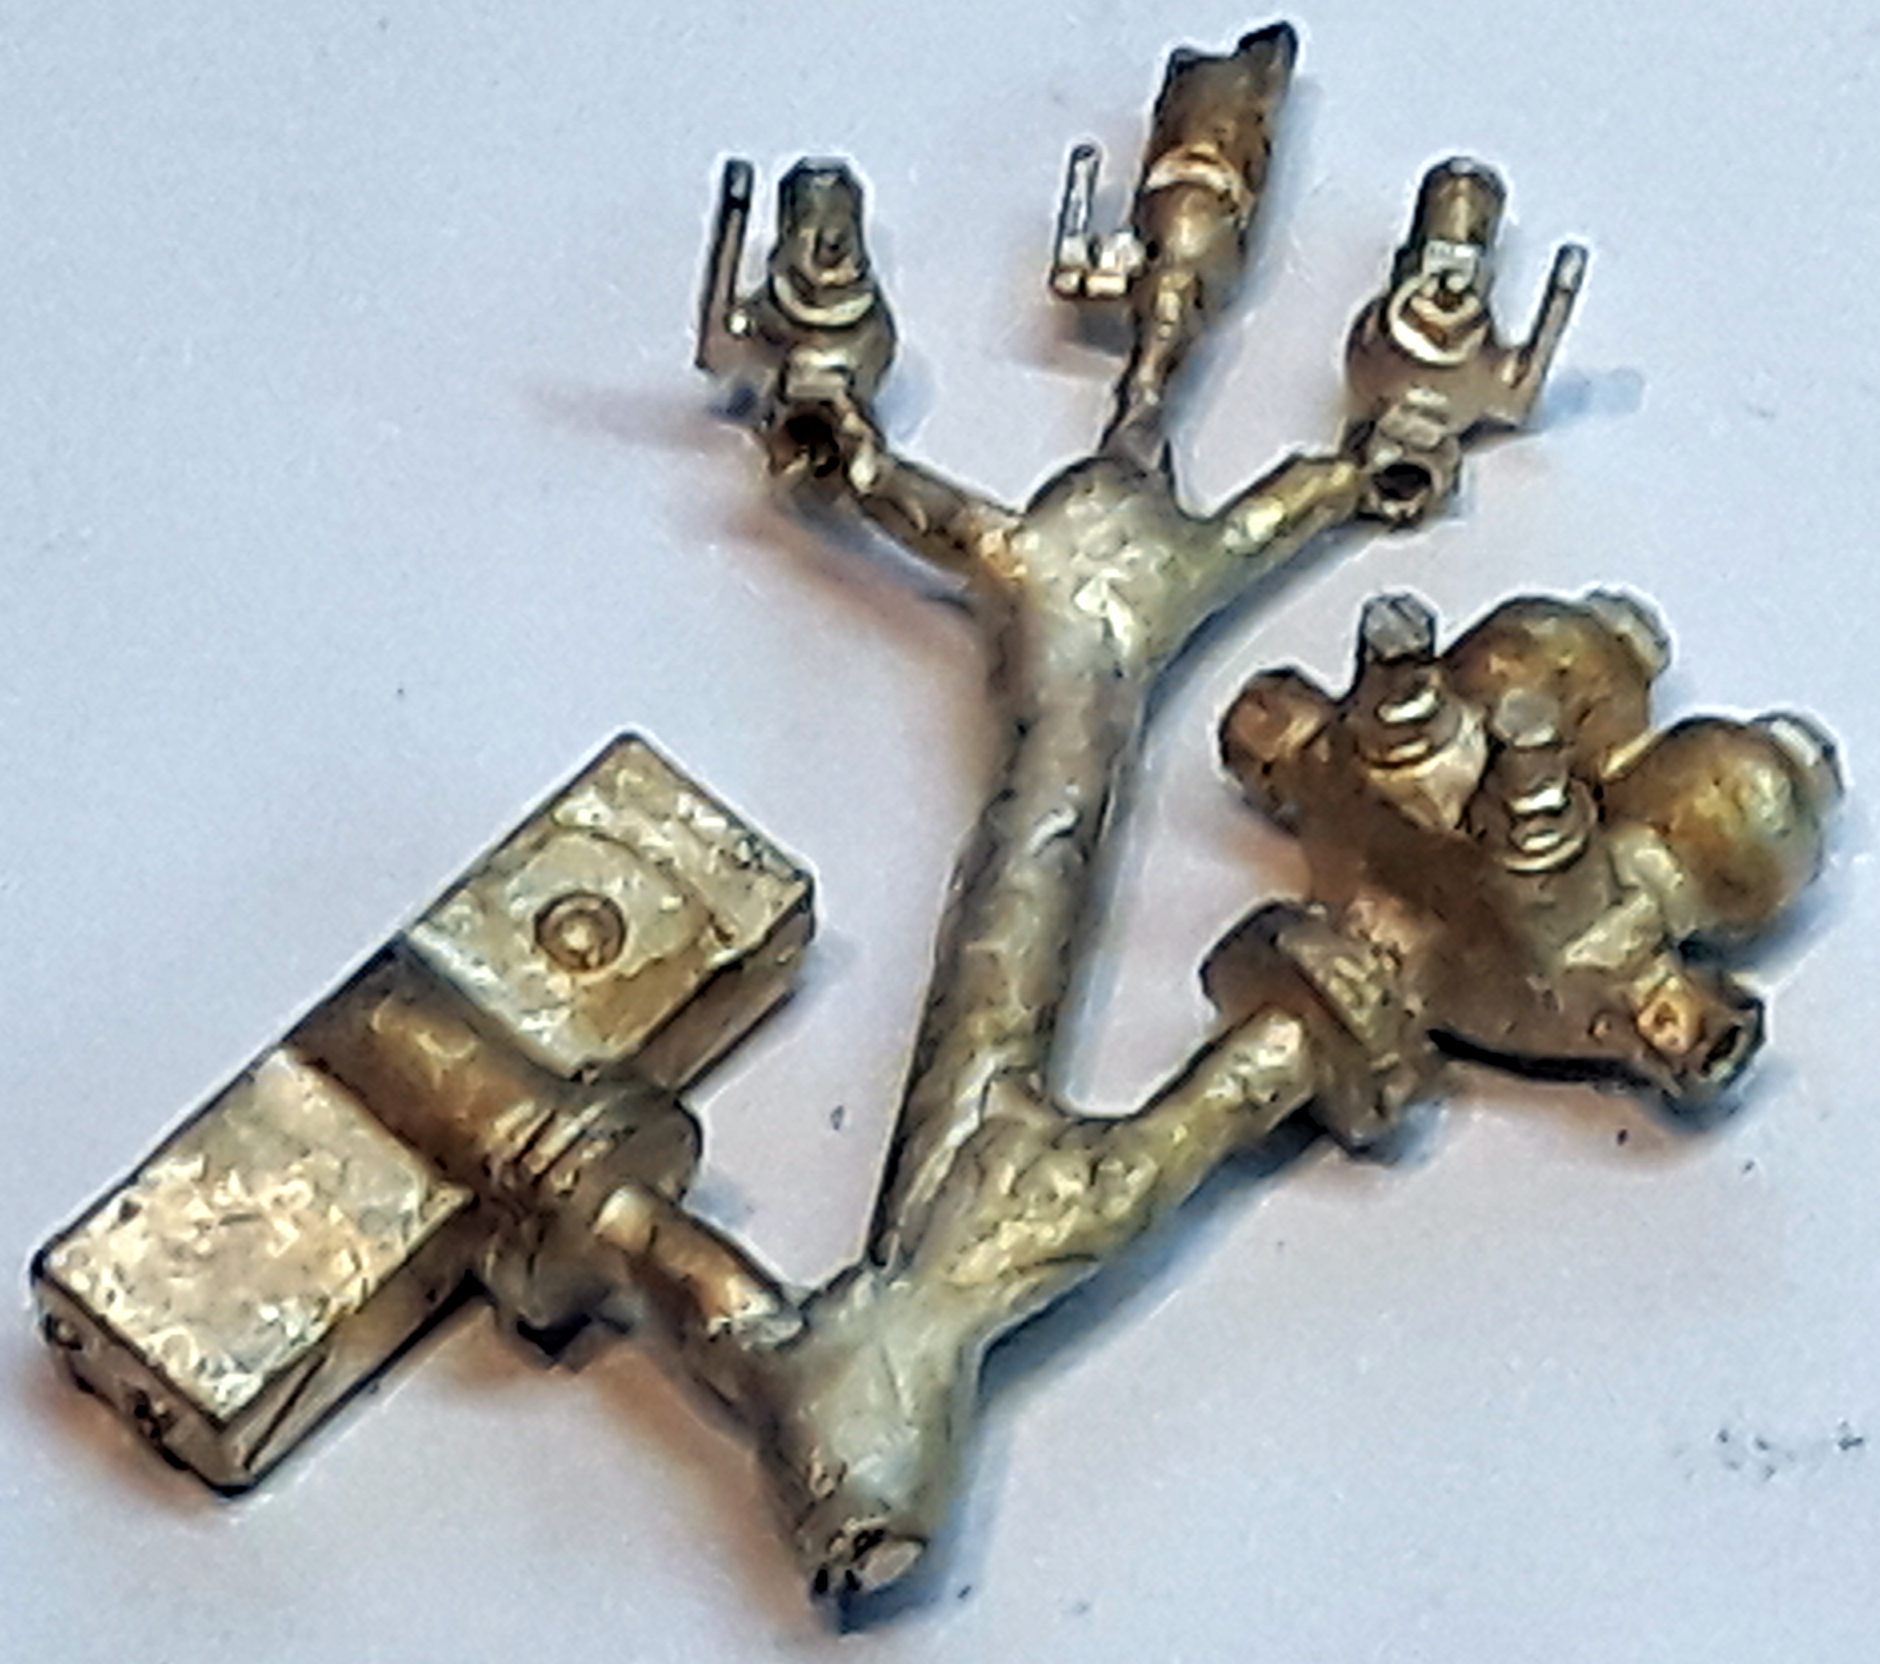
After a lot of delay and misunderstanding with the caster I finally got castings for the manifold, top feed, whistle and other valves. These are being prepared for fitting with pipes being made up now in copper wire
Not sure that I can put what I want to say into the right words here but I’ll give it a punt. If I am not in the mood I can’t do a model justice. Mentally , I can find all manner of other things to do to avoid the thing I can’t really face. Then, the really daft thing is that I’ll do something that undoes the mental block and I end up cracking on with it wondering what the heck was stopping me. I am full on with this Garratt now but aware that there are a number of other projects all vying for my attention.
What I have learnt from the little mental health event earlier this year is that I can’t carry on like this and so this is probably the last loco rebuild I do commercially.
The next instalment should follow shortly and it may well be the final part
An update to things happening on the Brymston RR is long overdue and will be along eventually but for now (spoiler alert) lets imagine that the RR now has its corner board and that there is some track on it.
Within that elusion the track will cross the join onto the next board and will need supporting and holding to gauge. So two lengths of double sided fibreglass PCB material have been cut, perforated and slit on both sides for insulation. The slits have been arranged not to coincide to maintain strength.
The rails have been soldered to the PCB’s whilst some bits of stick held them up against the underside of the rails.
Luckily the boards clamp together so there is plenty of force to trap a piece of clear plastic coated with Vaseline up the underside of the rails to prevent glue sticking across the joint.
Here one side has been glued and I am writing this whilst waiting for this to go off. The idea of the holes is to give the glue some key and to allow it to be forced all around the join. Two lengths of well know coffee store stirrer stick were also lathered in glue and slid in from behind so as to force glue into the join. When the fist lot has gone off I will glue the second side and then, later, cut the rails and hope the anti-glue strip did its stuff.
For belt and braces I may well drill a couple of the holes out and down in to the boards before gluing in some 2mm brass rod. The glued joint will probably be enough but the pins will give it some extra protection in shear if it gets clouted. Scenically the track will be in the gunge and weeds up to the rail head so the reinforcing won’t be seen
I’ve recently changed my view about the online conferencing app ZOOM. As a self-employed lone worker in a business of one I find I can talk to the staff without an app.
My limited exposure to it has been fortnightly model railway group meeting for a beer and annoyance with the other half’s zoom meetings where I have to leave the room.
The latter does my head in. There meetings would be over much quicker if they took it in turns to talk instead of talking over each other and operating on the `shouts loudest’ basis. I once held a Maritime Radio licence and a key part of that was “one at a time” and end what you’re saying with “over”.
NEVEROver & Out. Anyone who says “Over & Out” is a muppet.
`Over’ = said my bit, your go
`Out’ = we’re done goodbye. The equivalent of hanging up
So `over and out’ is, I suppose “your go but I’m not listening!
My exposure to ZOOM until this last week was with our Trent Valley Model Group. We have a quite liberal interpretation of the Trent valley but physical meetings were held in the Brunswick pub close to Derby station. Me, being in York and the last train home being about 8pm, I was lucky if I made it to one meeting a year. Since Covid happened we’ve met fortnightly and I have been to all bar a couple of them. We’re still taking the mick out of each other but without the travel.
So, the change of mind?
In the past I have done videos on how to do model making stuff and posted them on You Tube but they aren’t interactive.
In this last week I set up a zoom call with a customer building one of my kits who was struggling with assembling a number of parts. With both of us able to wave the relevant bits around in front of a camera and see what the other was doing I was able to show what was supposed to happen better than I could explain it and then check that he had done it right at his end.
Peckett “Thurwhit”, Alpha Cement, Purfleet, 7th August 1963 Picture by Geoff Plumb and used with permission.
What started as idle thinking about different Peckett loco’s as I was sound fitting a batch of Minerva 0 scale Pecketts has turned into a full blown project. I was musing that this Peckett, Thurwhit, would make a bruiser of a model with its dumb buffers, open cab and an air of industrial muck.
The full caption for the photo is, “A Peckett 0-4-0ST “Thurwhit” (Class R2 No. 1734 of 1927) has returned from the exchange sidings with BR into the yard at Alpha Cement works near Purfleet in Essex, Wednesday 7th August 1963. The three cement silos can still be seen to this day, just to the west of the M25 on the north side of the Dartford crossing of the River Thames. Slide No. 237.”
Initially I was just thinking about doing a model for myself. Then I showed some of my ideas on social media and now I find myself doing several. The donor model isn’t an R2 class but it has enough similarities to be a good starting point to alter and modify. There were two colour pictures of `Thurwhit’ that I found on the internet by Geoff Plumb so a first move was to seek permission to use them.
This was generously granted by Geoff and he pointed me to two earlier images online which opened a can of worms. Geoff’s photos showing Thurwhit with an open back cab were taken in August 1963 and it looks like its a warm day. The other photos were taken in April 1959 and show Thurwhit with a full cab back. So, is that winter/summer options or did it lose its cab back completely at some point between 59 & 63.
An internet search hasn’t revealed any further images of Thurwhit but records it was scrapped but not when.
I’d be delighted to learn more of its fate and to see more pictures of it. I know film was expensive and they were photographers but if only they had taken a picture of the other side and of the back.
CAD image of the dumb buffers
The model started with me doodling the dumb buffers in CAD which quickly became a set of 3D prints.
The first set, as is often the case, revealed some opportunities for improvement in a mk2 version.
I intend to redo the injectors as the donor models has some iffy red plastic impression of them.
Luckily, I know an man with a Peckett in a shed and I’ve asked him to take photographs with a ruler in shot.
It was about this time that I mentioned it in my newsletter and it generated quite a lot of interest and one of my readers then said “are you going to change the smokebox door”. Doh, I looked again and sure enough its hinged on the other side and has some extra dogs to keep it closed. My response was a bit cagey at the time not knowing how much apart the donor loco comes.
A lot is the answer.
The door comes off as does the ornate curved facia to the smokebox that Thurwit doesn’t have so it was out with the CAD again. So far this has produced a first sample to test the fit of the replacement and again, as usual, it revealed a slight adjustment to make prior to adding more detail to the door.
So to the O scale model: The base spec is to be: –
Donor Loco Minerva Peckett
DCC Sound and Keep Alive fitted ( you can buy them mint like this from me now)
Dumb Buffers with front handrail
New Smokebox front
Shorter Chimney
Open Cab Back
More Cab details to include the side curtains
Mechanical Lubricator
New Injectors, pipes and levers
A crew
That probably isn’t and exhaustive list as I keep spotting more stuff as a stare at the photos. The locos will be finished with a pristine paint job that I will then weather to look like Thurwhit that summers day in 1963. Target for completing the models is August this year (2022)
I’ll finish this piece with a few photos of some Ixion Hudswell Clarke locos (from Minerva’s predecessor) I did a few years ago and I’ve learnt a lot more about weathering since.
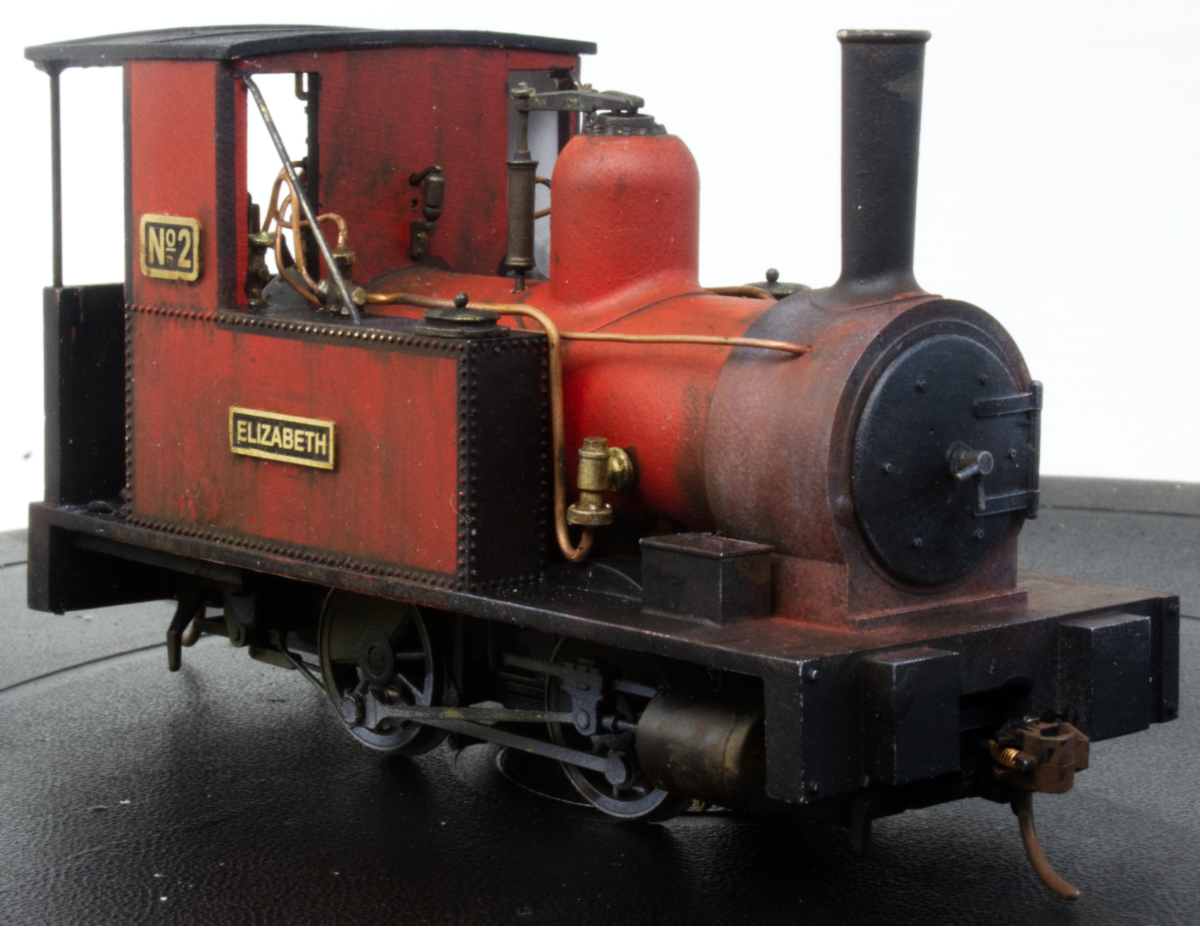
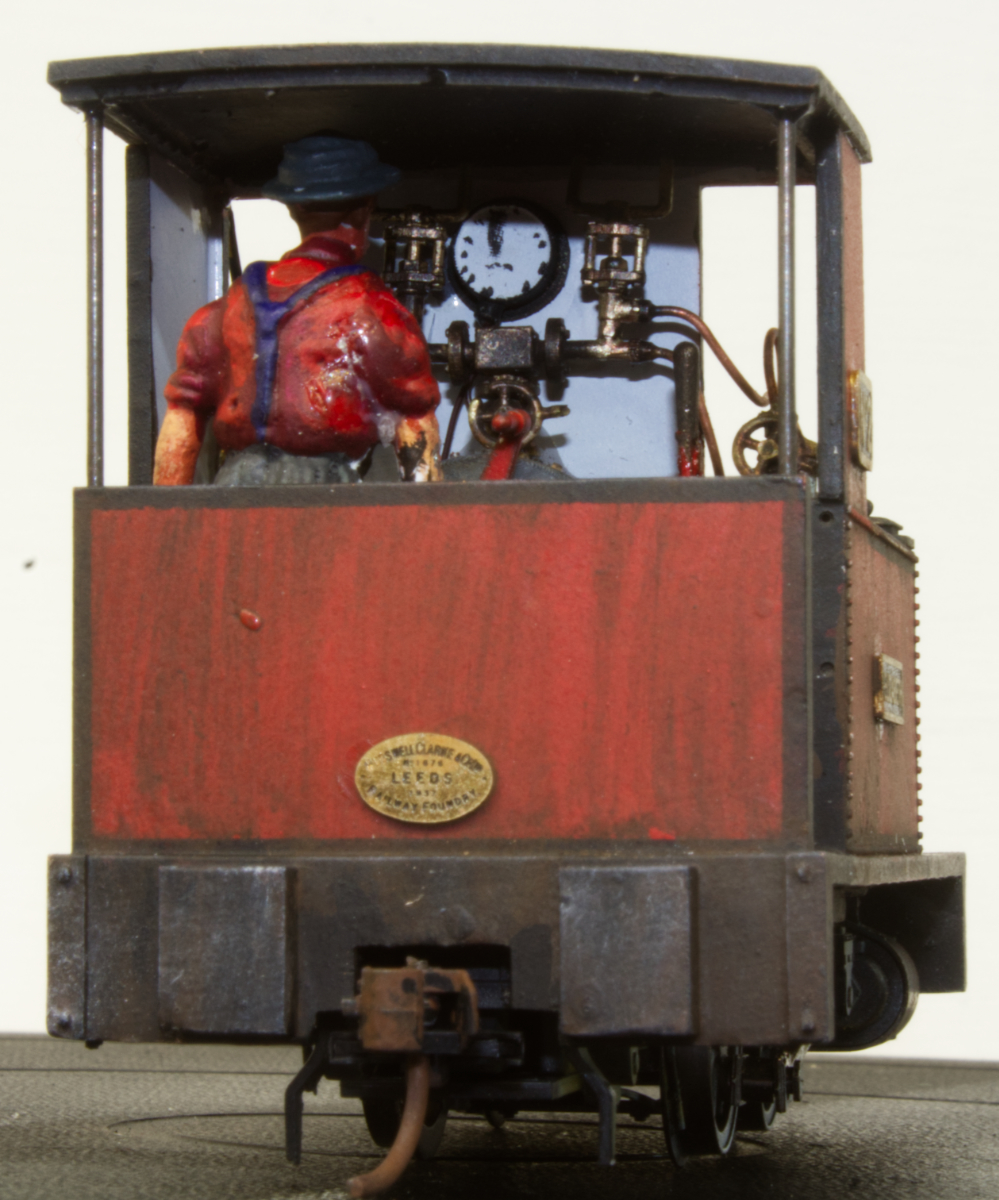
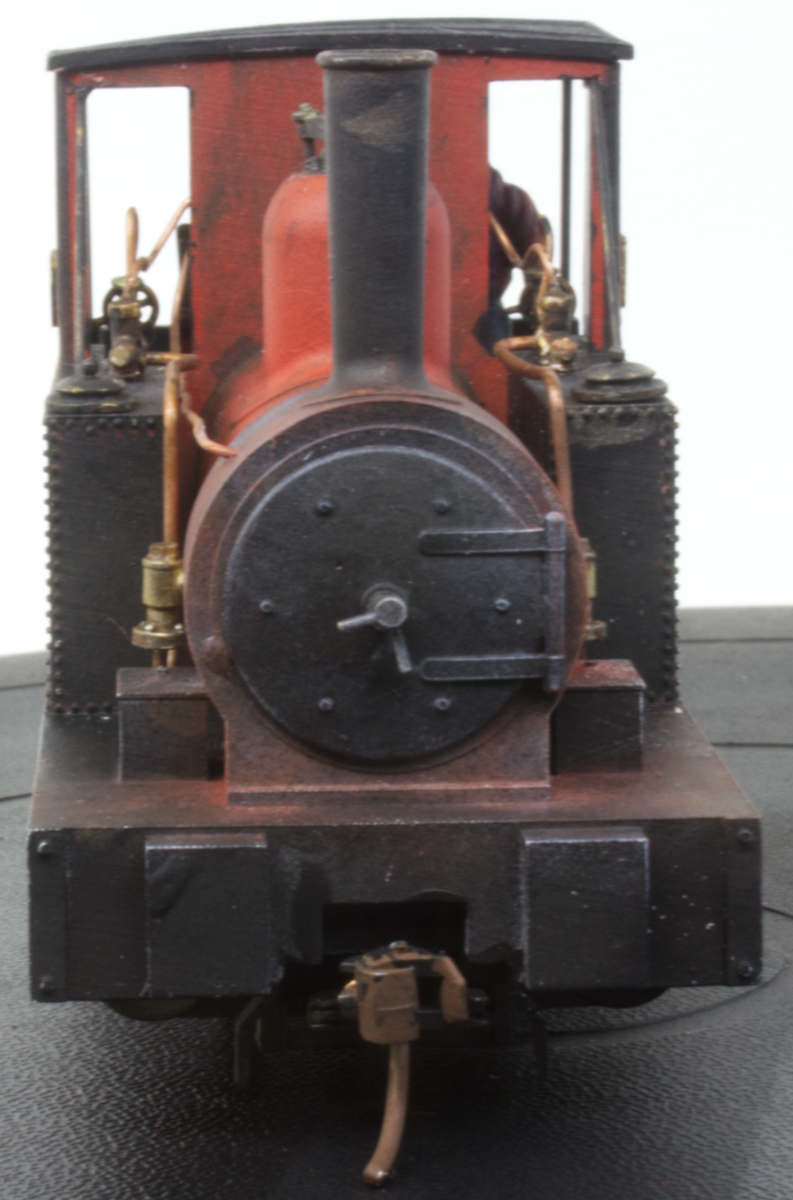
Meet Elizabeth. No longer an anonymous model the engine has a name and number. With the exception of two small jobs I’ll mention at the end she’s done.
These pictures are about the fifth set I have taken in the last two days. Why? I’m sure you’ve all done the thing where you finish a model, post a picture of it and as soon as you see the picture you see some glaring mistake? Here I’ve tried to get ahead of that game by regularly photographing the model and studying the picture, which end up larger than life on screen, to inform any further works.
Hopefully, each round refines the model so that there is less to do in the next iteration. Whilst I can see some things I’d do a bit different or change I think I’ve reached the stage where I am calling this one done. All the work today has been small refinements to the finish.
All the initial painting was doing by spraying acrylics with a lot of masking to get the borders and panels done. The detail parts were then added along with the driver. After that it was down to weathering, washes and powders. Having done the base colours in acrylic and having allowed it to harden fully the weathering has mostly been done with enamels.
Ihave been using some products by MIG called oil brushers. They’re a bit like eyelash makeup in that they come in a thin tube with a brush fastened to the lid. The brush is used to dot the paint on the model, lightly, typically around raised details. Its then left to dry for a bit and then is drawn down the model using a brush with white spirit on it. You can make it look like the grime has been washed down the sides by rain. There are lots of variables to play with here. You can vary the time you allow it to dry before working it and then you can remove more or less of it with the spirit. For an all over grime you can flood it with spirit to create an all over wash, draw it with a brush to streak it or by brushing spirit on and the wiping the brush on a tissue repeatedly remove it.
This was followed up with pin washes. Here some mucky colour is added to a mixing tray and a mixed with spirit to form thin washes of different colour density. A fine brush then adds this to the model along join lines and seams. Being thin it runs into the joins highlighting them. Again, leave it to dry for awhile and then tidy it up with spirit on a brush.
The final touch was to use some weathering powders. If you want to stick with the makeup analogy these are the blushers. With a fairly big bristly brush these are mixed on the pigment pot lid and then the brush is worked on an edge to removes most of the pigment before brushing it on to the model. The rusts and browns blend the earlier weathering whilst the white, used very sparingly, is flicked along edges to highlight them.
The trick is knowing when to stop. I can see more that I would do to this but at the risk of it all going horribly wrong. The final thing was to give it a very light coat of Dullcote wafted on from a distance to seal it all.
I mentioned things still to do. This is another advantage of photographing your own work as I noticed it needs it wheels cleaning after the painting and the trip arms of the Kadee couplings need setting up.
With that done its time for an orgy of bubble wrap and it can go off to its new home and I can have a major work bench tidy. It starts a job clear but rapidly fills with stuff until I’m working in a six inch square!

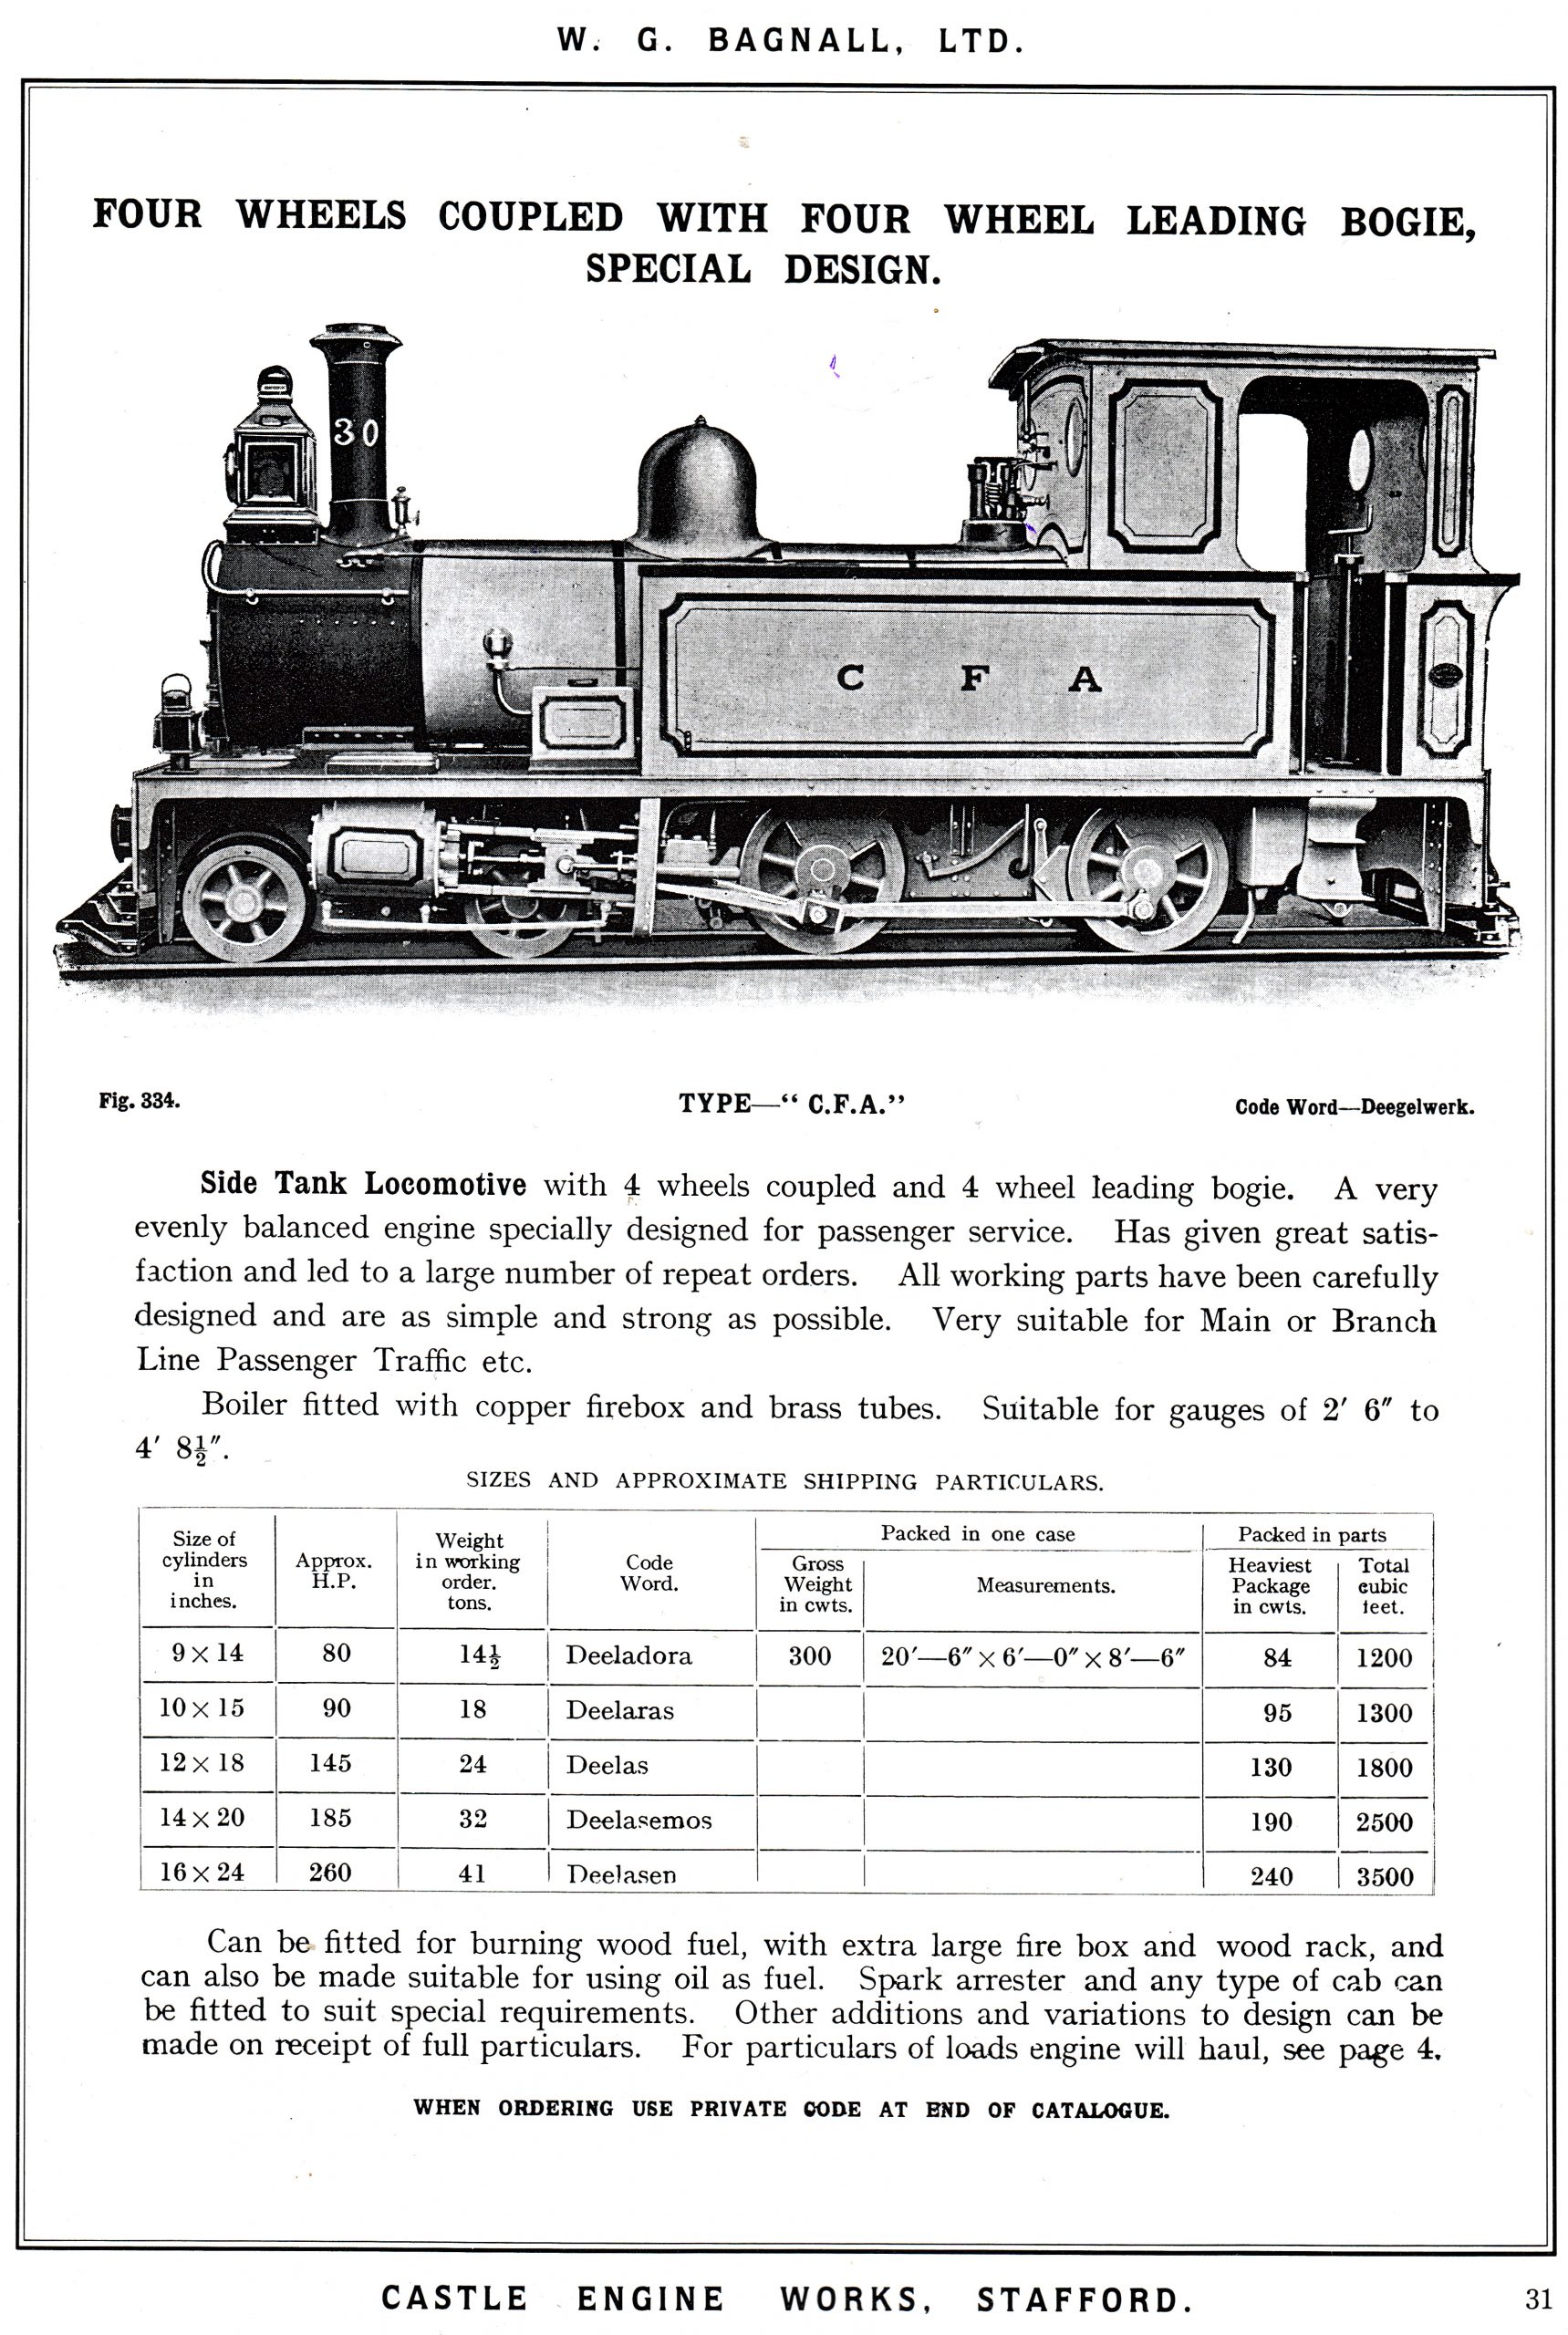 The loco that has piqued our interest is a Bagnall 4-4-0 tank engine of which 35 were built for the Egyptian Delta Railway in 1898. So far we have found only one photo and that isn’t really clear enough to be of much help.
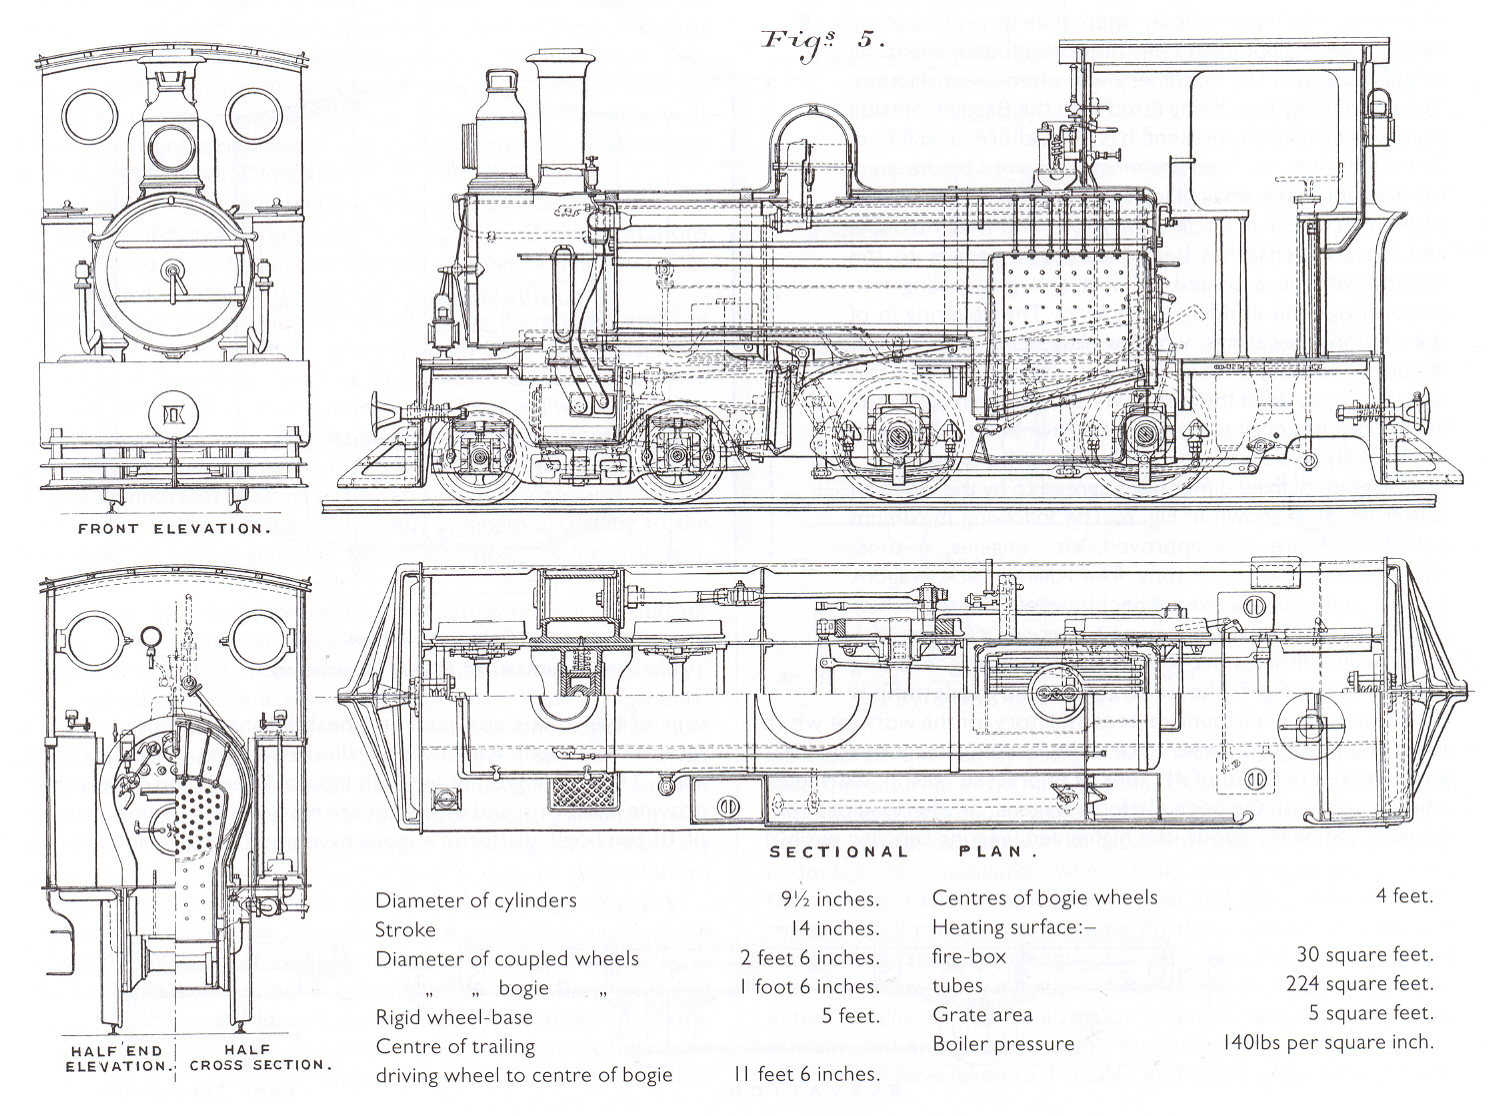 We also have a General Arrangement drawing