York Model Railway Exhibition. [A dose of realism].
This weekend is our local show. Its also one of the largest and a fixture in the exhibition calendar. For years now I have had a stand doing modelmaking demo with a bit of sales thrown in. Its evolved over the years to now have a standard spot [stand 116] on the top floor forming a narrow gauge enclave with the 7mm Narrow Gauge Association and the 009 Society.
There are now three of us making an exhibition of ourselves over the weekend, Adrian Gray, Phil Traxson and myself. Its turned into a bit of a social event for us and a chance for a good gossip with the visitors.
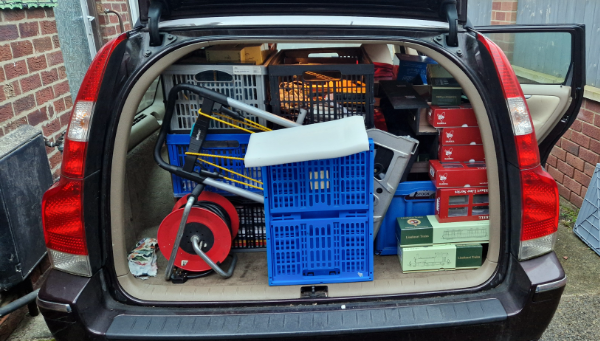
In the past the stand & display has filled the back of a Volvo estate and has taken several trips with trolleys by to able bodied people to shift it in and out.
The dose of Realism?
If you’ve read the previous two posts you’ll know about my wonky leg. I’m typing this just back from todays visit to the coven of nurses to have the compression dressings changed.
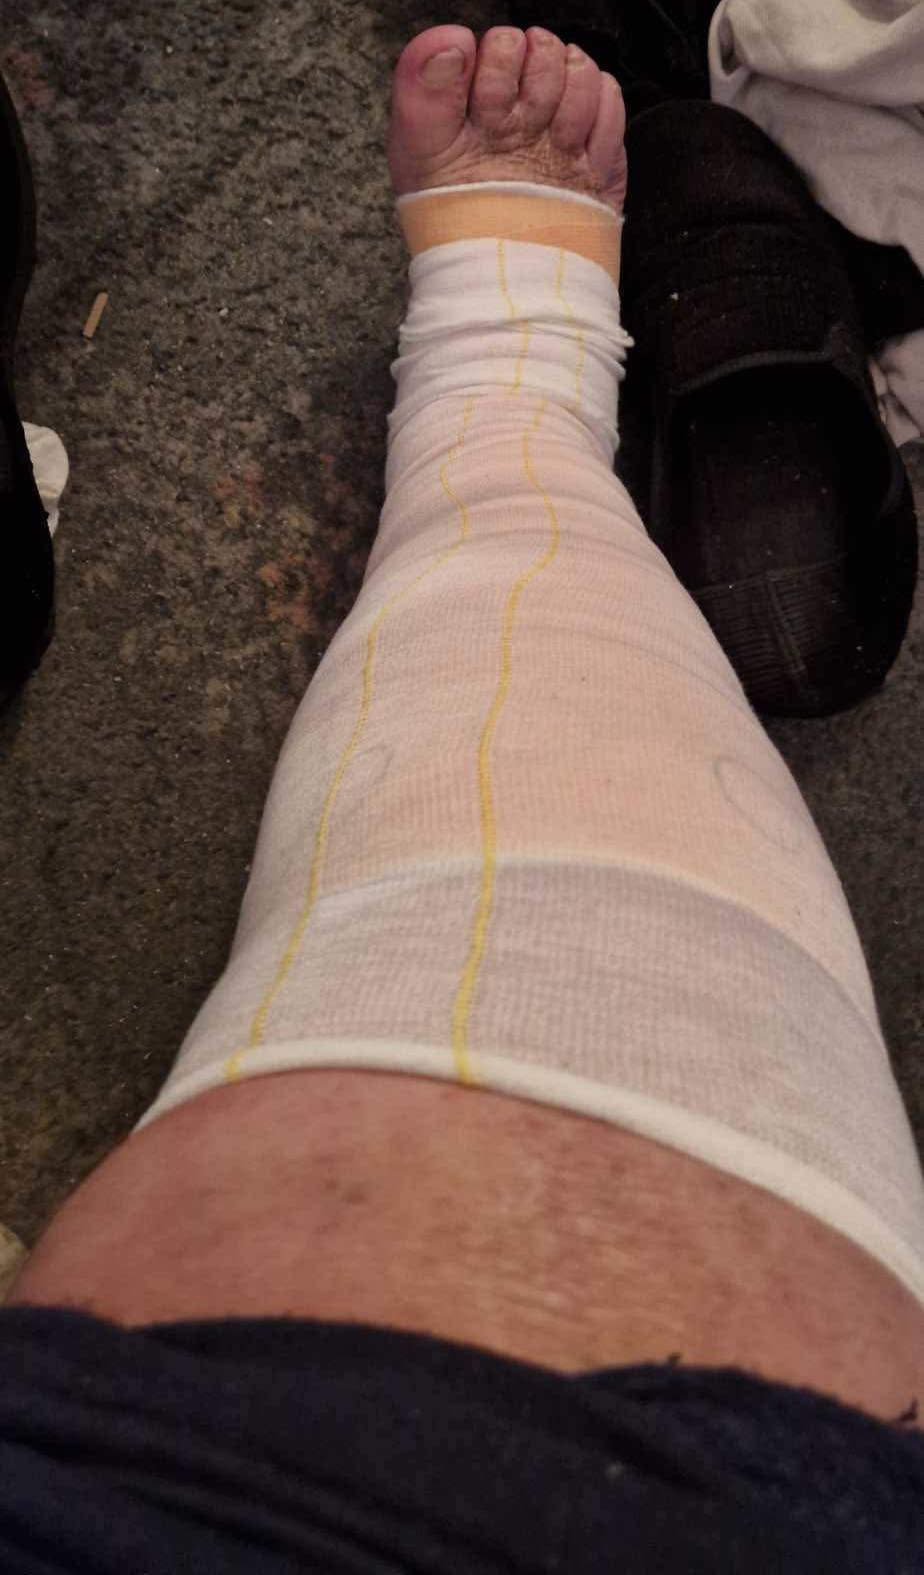
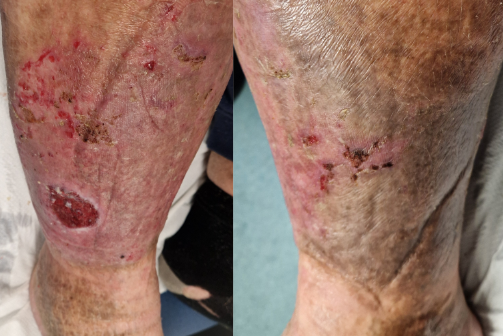
I’ll spare you the gory views of the leg but this is the dressing whilst its clean and fresh. Things to note:-
I can’t get a sock on
I have only one pair of shoes that fit.
Jeans don’t fit
Can’t walk far or for long
So the dose of realism is that our stand this year will be a minimalistic affair with just a bit of a display and three of use drinking tea, chatting and doing a bit of modelling. Sales may just amount to a couple of magazines.
I usually cart all my soldering and metalworking kit along to the show causing disruption in the workshop before and after the event.
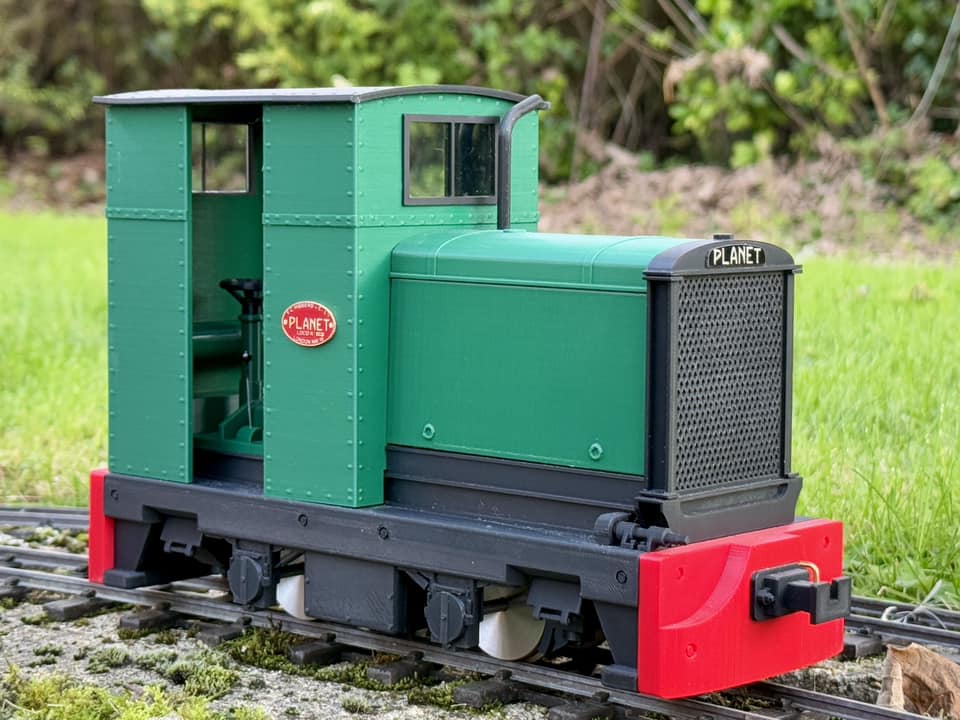
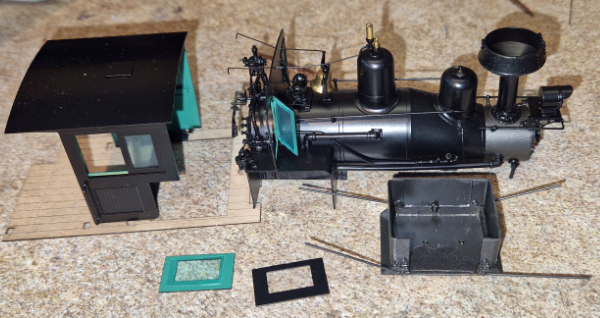
This year to keep things light and easily portable I have this box of bubble wrap and am thinking this will be a chance to do something different whilst also getting a model done that customers have seemed determined to keep me too busy to get built.
Now I do have a vested interest in this model as I am custodian of its prototype and have supplied quite a lot of detail for the design of the kit.
It also fulfils the need for a quickly available loco for the garden railway for those quick opportunities for a play without the faff of getting a steam engine out.
On the one hand its a complete pain in the leg whilst on the other its something different and possibly progress in the right direction.
This whole leg saga kicked off 30 years ago (see previous post) but this outbreak started in December and has been bloody agony throughout. All the nurses at our Doctors, (The Coven) have been brilliant but they’re not specialist wound nurses, some of them are just HCA’s so can only do the basics and then have to seek guidance for more difficult stuff.
Once upon a time it would have involved at referral to the lymphedema clinic at York District Hospital, as I was about 12 years ago in a previous outbreak. It was a “world leading” department and my referral resulted in probably the longest trouble free period. Someone decided they didn’t need it and closed it down.
N0w the process is that they refer the wound online to a tissue viability specialist who seems to pick things off a list with a pin to try, so far to no avail. Back in my late teens & early twenties meeting so many nurses was a dream night out but the problem now is one of consistency as you can see a different one each visit so they can’t tell if its changed since the last time the dressing was changed until one of the rising stars took a picture on her phone (well done Sarah, don’t ever loose your phone, your photo gallery must be pretty gruesome). That made me think that should be a pretty standard thing to do so I have been photographing my leg each time the dressings are changed.
Another problem is that they have their set ideas and each of them has a slightly different view and sometimes I can be telling them about the previous dressing/treatment/outbreak/cure and they’re clearly not listening. I’ve been telling them for weeks that its n0t the ulcer that hurts but all the breaks in the skin around it caused by the dressings and constant compression but they’re not listening and are just in ulcer car mode. There seems to be no recognition that the person with the most experience of my bad leg and the treatments is me! I told one that this September is the 30th anniversary of wonky leg to the response, “I’m only 21”.
Progress in the right direction? Yesterday I saw a new member of the coven albeit only on alternate Fridays and it was a bit of a revelation. Rachel is a wound care specialist nurse who just deals with things like my wonky leg. I spent an hour with her discussing and creating a care plan and it was a revelation.
Initial Care & dressing
Next stage care
Maintenance
Prevention
The first thing is to get it healing and she has changed every aspect of the stuff in contact with my skin. The second is to really turn the screws on the compression. This has two functions, one is to squeeze the muck out of my compromised circulation and the second is to force blood to the surface to do the healing. In the past when I have had this (twice) its been done thigh to toe and is totally impractical and didn’t last very long. It depended on which of the three nurses who could apply it did it. With the worst it was round my ankles like Nora Batty’s stockings in less than a day. This lot is staying in place and despite it being uncomfortable and a bit painful its a lot better than the full leg version. I might not be able to get my shoes on or some narrower trousers but I can at least bend at the knee.
If this works it will be followed by something the maintain the improvement along with, hopefully, some preventative drug therapy and then a longer term regime to stop it happening again.
What I have on now is supposedly two layer full strength compression. Actually works out at 7 layers. There’s dressings on the wounds, (silver bearing stuff – stings like fcuk), none stick mesh, absorbent pads, sort of cotton wool padding/bandage, layer one of tight compression bandage wound one direction, layer two compression (a sort of plaster on a roll & sticky) wound the other way and finally yellow line tubular bandage.
Each of the compression layers are calibrated to apply 20 somethings of force (can’t remember the units she used, not PSI).
It wasn’t uncomfortable at first but it’s designed to tighten and it’s starting to ache now.
That’s got to be enough gruesome stuff. I’ll try and make the next post some actual model stuff but please, if I am doing something for you this treatment and disability isn’t short term and getting anything done takes a lot longer than it would normally.
Hopefully by the time you read this, or because of it, I will have done a newsletter to my regulars saying I won’t be at Narrow Gauge North 2025 having had to withdraw at short notice. I felt more of an explanation is required.
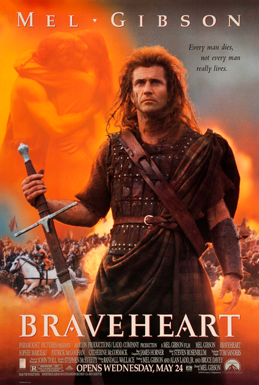
Its all Mel Gibson’s fault!
30 years ago, this coming September, as I had not long moved to York a load of us from work went to the Odeon Fleapit across the road to watch the 4 hour tedium that is Braveheart. [Cinema still there but now an Everyman with comfy seats].
At the end of the tedium I went to stand up but my right leg had got bored much earlier and abandoned me. This proved to be a deep vein thrombosis, initially misdiagnosed, eight weeks in hospital and permanently screwed circulation in my right leg. Thus started a 30 year on/off saga with problems with my right leg and it was all Mel Gibson’s fault! *
–*in the run up to the DVT I had also done a long haul flight from the far east and spent a week bouncing around the outer Hebrides in a yacht but Mel was the most immediate culprit – and its funnier.
The upshot of the screwed circulation is that my calf swells and contracts on a daily basis. Skin isn’t meant to do this so its tissue thin and fragile. It gets one hell of a regime of creams, bathing and skin care but every once in awhile it gets away, cracks and gets infected. The results are very painful, the treatment is antibiotics and compression hosiery. When it goes properly wonky it results in leg ulcers which up the pain to “can’t walk”,” can’t sleep”, “can’t concentrate” levels of agony. The flare ups also appear to linked to “excursions” with the INR level resulting from the daily dose of warfarin I take……
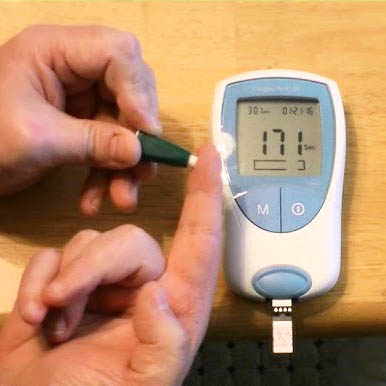
INR – International Normalized Ratio – is a measure of how long it takes your blood to clot. I guess a score of 1 is for normal folk. Mine is supposed to be kept between 2&3 and is checked regularly in a test which involve bleeding onto a chip plugged into a machine that whirrs for a bit then goes “Bing” and announces a result. Now the flaw I am finding with this is that if they start you on Warfarin you get a test done a week later, they’ll then do another a week after that and if its in range they’ll go to two weeks, then four out to twelve weeks between tests. If at any time you go out of range the periods drop until it stabilises again. The flaw is that if you get to twelve week tests and for some random reason your INR goes haywire then it can be well after any damage is done before its spotted.
Seems I am quite stable at getting up to 12 week tests but also appear to be prone, about once a year to sudden excursions of my INR going higher than 3 which doesn’t get caught until its too late.
Warfarin is also rat poison (I’ve found that medics don’t like you calling it that) and it works by thinning your blood to the point where skin, veins and arteries can’t keep it in.
My skin being in the state it is isn’t very good at keeping the blood in at the best of times so not long after an INR excursion ulcers appear on my leg that get infected and then take ages to clear up.
If you’re at all squeamish leave now and don’t click the continue reading tab
This is a post to introduce a new project to rebuild two Shays. The puntastic title is already dated as the project has expanded to being a four shay project. The project is inspired some treasure found on a shelf that I had forgotten about completely.
Sample completed rebuild
Back in 2005 Keith Wiseman commissioned a Korean brass manufacturer to make two new brass bodies to replace the T boiler Shay produced on 0n30 by Bachmann. The kits changed the body from a T boiler to a wagon top boiler body with two different eras of decoration. The 1890 version has fluted domes etc whilst the 1920’s version has more modern style boiler decorations.
Working with Keith I imported a load of them for sale in the UK. I also stashed some for myself with the intention of doing one of each for myself and a couple of each to do for sale. None of that happened and they got stashed in a cupboard only seeing the light of day until a recent sort out.
This series of post will tell the tale of converting Bachmann Shays using the Wiseman Brass bodies with the addition of some regauging works. At the time of writing this paragraph four loco’s are in the scheme but it could increase to a maximum of three of each style with two 1920 era bodies left.
I recall that the whole production with the Korean Manufacturer turned into a bit of a saga stretching over many months. I the end I imported thirty of them and stashed these six for my own use both for my layout and to do some conversions for sale. I just never got round to doing them and they moved to hide at the back of a shelf.
What’s in the box
Each box contains and detailed brass boiler, cab front and backhead, A cab and a new ashpan. Full instructions for the conversion are also provided. The detail is exquisite.
Not included is a donor shay
Upgrades and Plans
Motor
The Bachmann motors are prone to letting the magic smoke out so whilst the model is this far apart one of our new coreless motors will be fitted.
Gears
Prone to splitting the bevel gears will be checked thoroughly and probably be changed for the revised spec Bachmann ones or the NWLS metal ones if I can find some
Bunker
The rebuild reuses the original Bachmann bunker and to my mind that leaves it still looking like the Bachmann Shay. I will be having a good peruse of the definitive Shay locomotive book with a view to providing a different pattern bunker
The full fat spec is for a rebuild of the chassis to ensure the gears are sound, one of our new coreless replacement motors, wiper pickups, DCC sound, keep alive plus a crew, additional details, re-livery and weathering.
Three of the engines also need regauging which will be dealt with as a separate topic
What’s in the brass kit?
Each brass kit contains these main components.
In addition there is a pack of screws, a laser cut wooden floor and a full set of instructions.
The backhead details is rather good too.
That’s all I plan to cover in this first instalment as all the donor shays haven’t arrived yet and there are some current projects in front of these to get completed.
Until then research will look into a new style bunker and gathering the other bits needed to complete them.
15/12/24 – As mentioned above there are still two 1920’s locos with no ones name on them if you wanted to get in on this rebuild and upgrade program.
The next instalment of this saga will look at the trucks of the engines that need their gauge changing.
There was a time when we’d be at a narrow gauge show every month and the whole show packing circus worked to a routine. We do a lot less now and the 7mm NGA in June was our last.
I’m well out of practice!
I’d forgotten the disruption to normal operations a show causes particularly as I am taking the test track/demo layout. Like any flat surface it quickly becomes a shelf! It first, and only other, outing was to the Trent Valley Group Modelling event in January. I promised then I do a load of upgrades but only completed some, like connectors on the wires instead of chock blocks this week.
In the original plan there would have been a lot more track on it than just the NG7-14 circuit its got so far. Maybe, I’ll add that as I haul it back into the model room.
There’s also been some frantic activity to get the development chassis for Lilla presentable for the show.
It would be fair to say at the beginning of the week I could have done without the show but now I can’t wait and am looking forward to it.
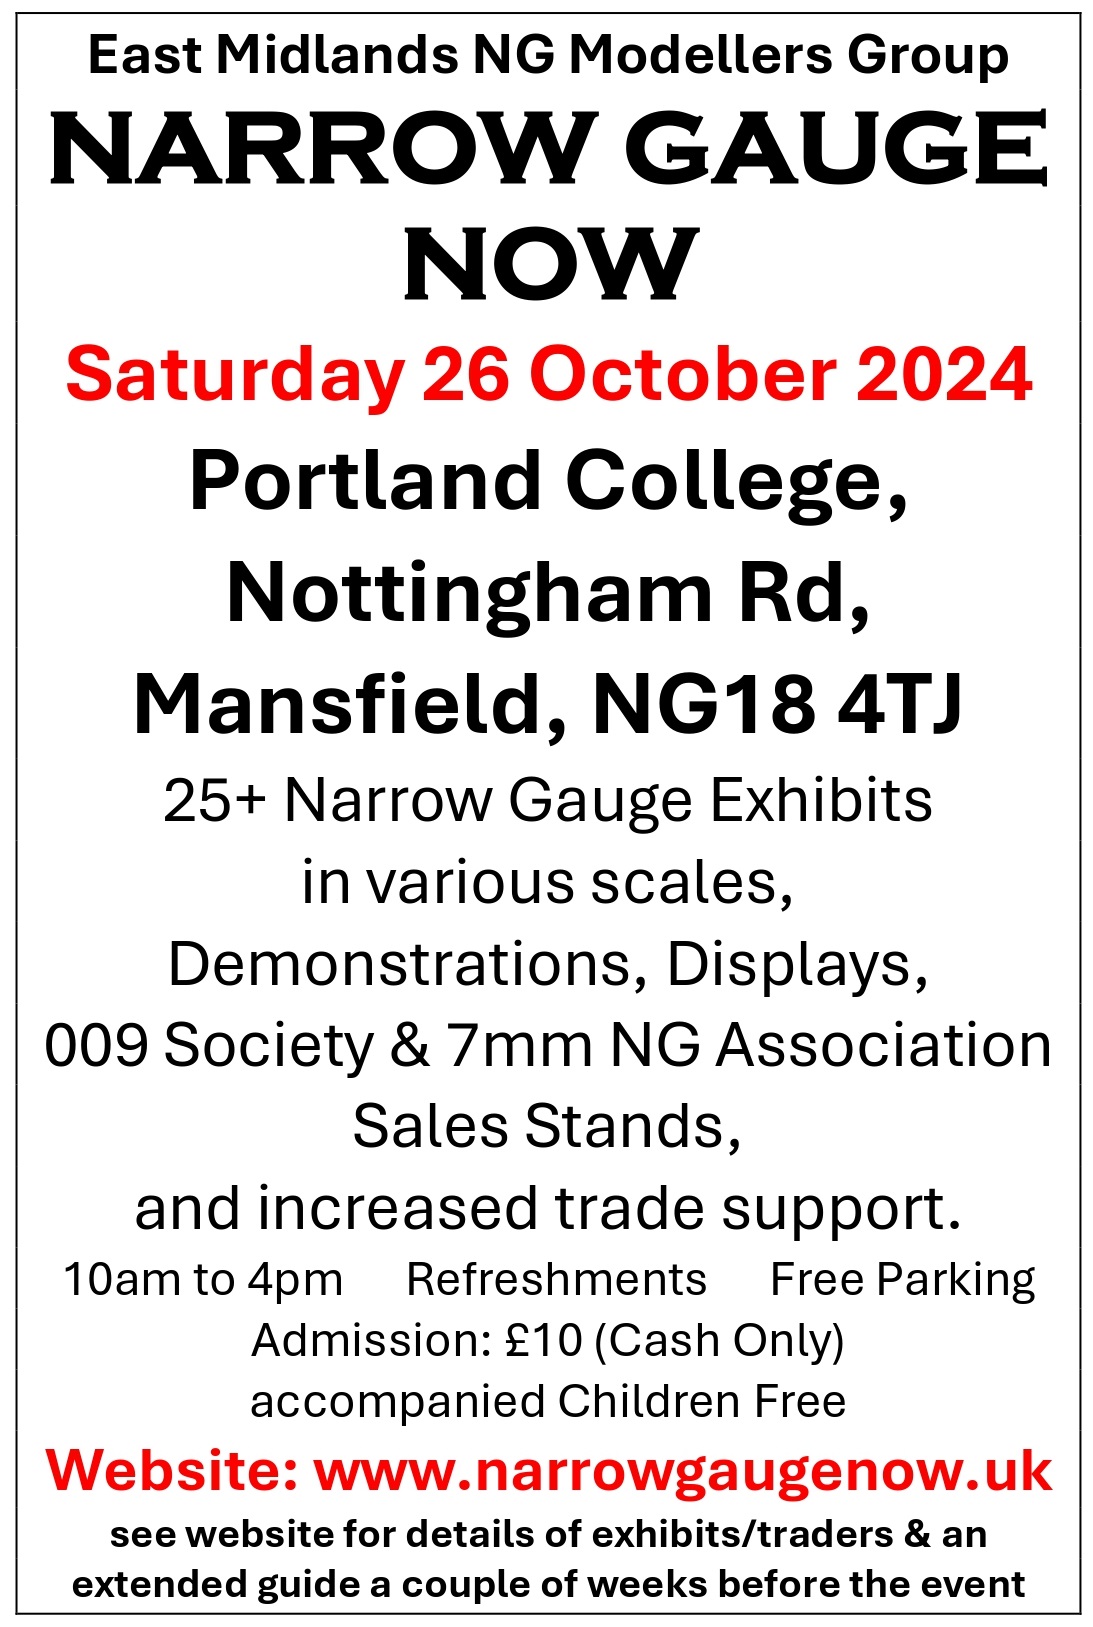
Its short notice with the show being tomorrow but the poster is below
There have been times when I wished I hadn’t but in a saga that has gone on for too long finally we may be getting there!
For a long while I have wanted to wheels to suit specific narrow gauge models as these are my speciality. They are poorly provided for by the wheel manufacturers although some progress was made when Alan Gibson Ltd was still run by Alan and the turned parts produced by the other two Alan’s in the Alan triumvirate. Tyres weren’t a problem and Mr G produced injection moulded centres for several loco’s.
The likely sales quantities always made it difficult to justify the tooling for injection moulded centres but Mr G always did his best to help.
Time moves on inexorably.
Alan G retired and sold the business.
The Alans of AHB closed up the shop
3D printing matured and gave us an alternative method for the centres
If only I could get the tyres now. Initial optimism was frustrated by deliveries taking over a year and needing nagging to get a burst of activity leaving me with a bunch of kit designs with no wheels and for a long while nowhere to go so they stalled.
A breakthrough was made back in May when, at a model “do” in Wales, I was introduced to a machine shop probably best described and a CNC machine enthusiast and collector looking to keep them busy. The second spur was Bachmann with their NG7 Hunslet and my need to regauge them. This resulted in my new CNC friend producing axle and bearings to match. The economical quantities means it makes sense to adopt these as a standard.
This lead me to wonder if he could do tyres for me. I figured it would be more expensive than my previous source and result in my having to buy them in larger quantities than I really need but actually getting them trumps cheaper but not getting them.
He wasn’t fazed when asked so it lead to some learning time with my CAD system to work up a spec then to get some samples and onwards to the first two diameters delivered.
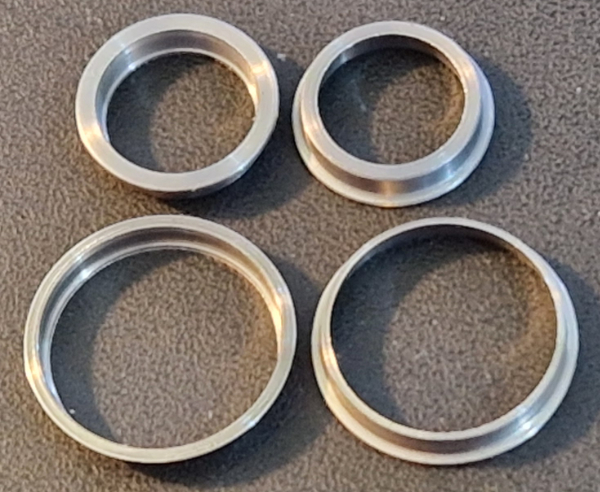
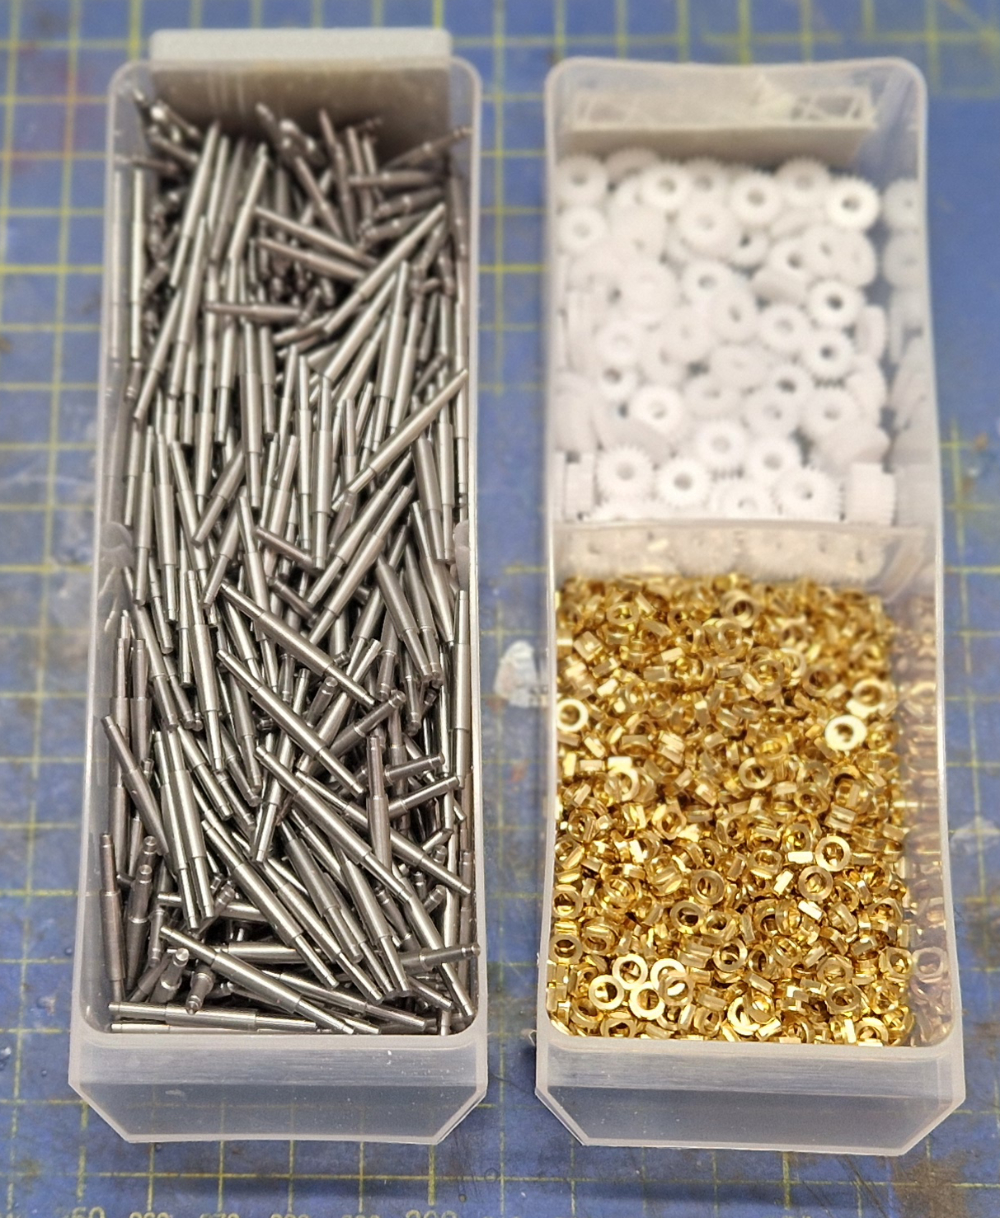
The first two diameters arrived today in two different materials
The smaller tyre is sized for the NG7 Hunslet and some of my wagons and are mild steel.
The larger tyre suits Lilla, and a bunch of other engines, and is produced in Stainless steel.
The two materials have their pro’s and con’s. Mild steel is cheaper, takes to blackening, paint and so on but is prone to rust untreated. Stainless is more expensive but doesn’t have the rusting issue but lives up to its name if you try to colour it.
A simplification would be to say blackened mild steel for wagon wheels and stainless for loco wheels. The result of that might be that, over time, some of the diameters produced will be produced in both.
These two tyres plus the axles and bearings will be available from my website in due course. The tyres will initially expand to around ten diameters in the range of 9 t0 20mm covering a list of prototypes. The cost of production isn’t insignificant so it’ll take awhile to add them all. If anyone wants a specific diameter I’d be happy to discuss getting that produced.
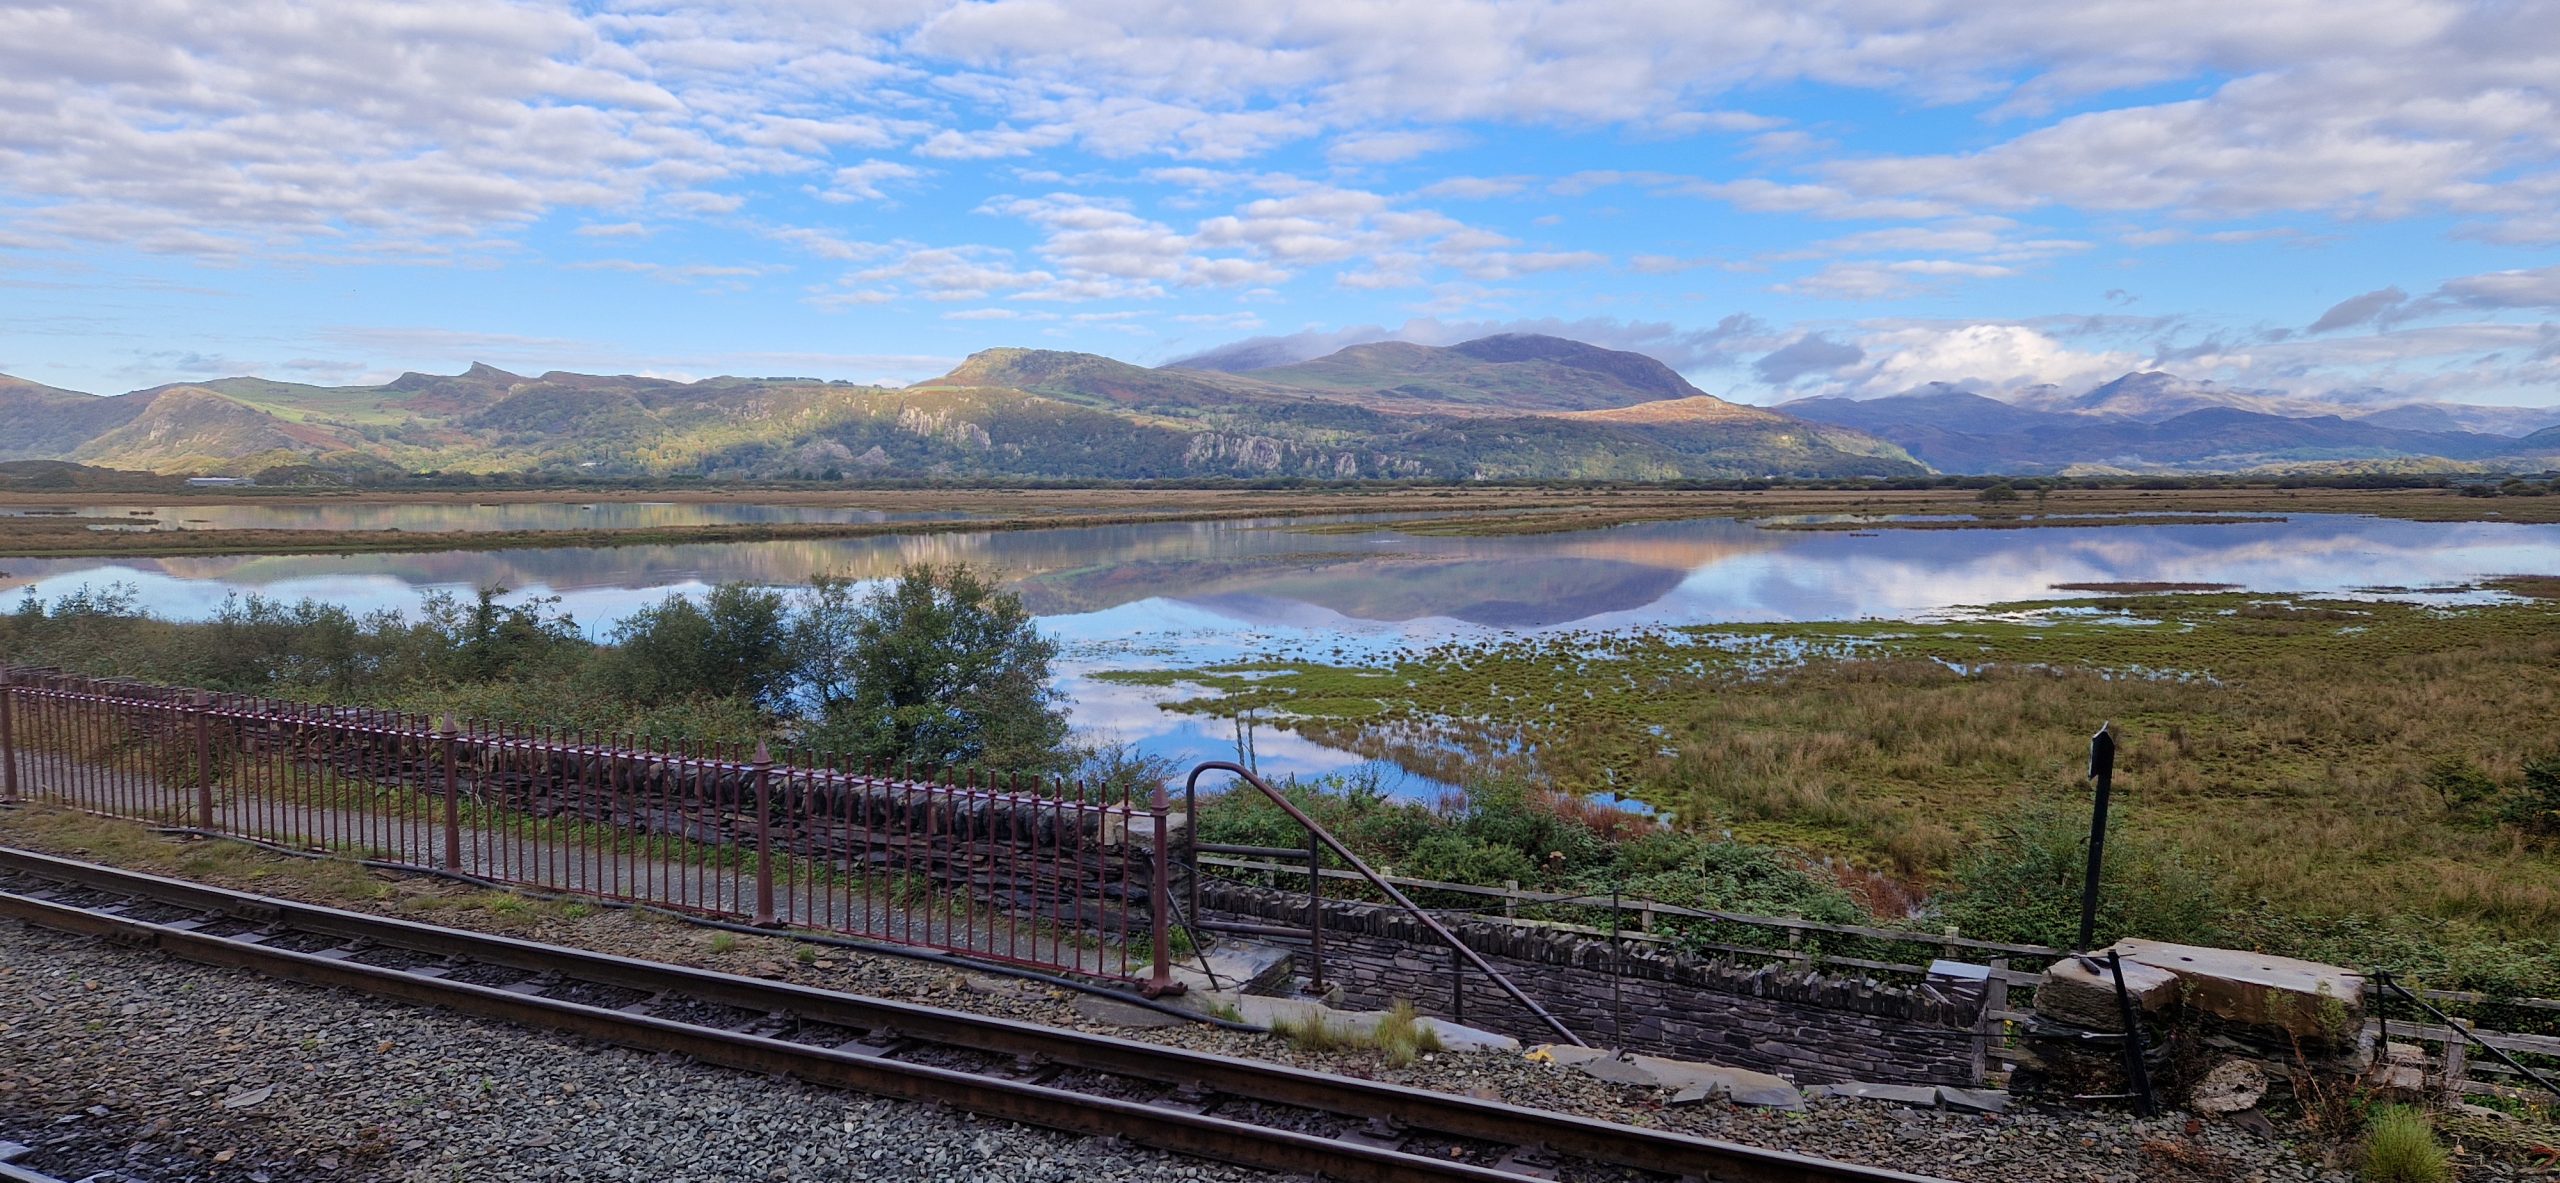
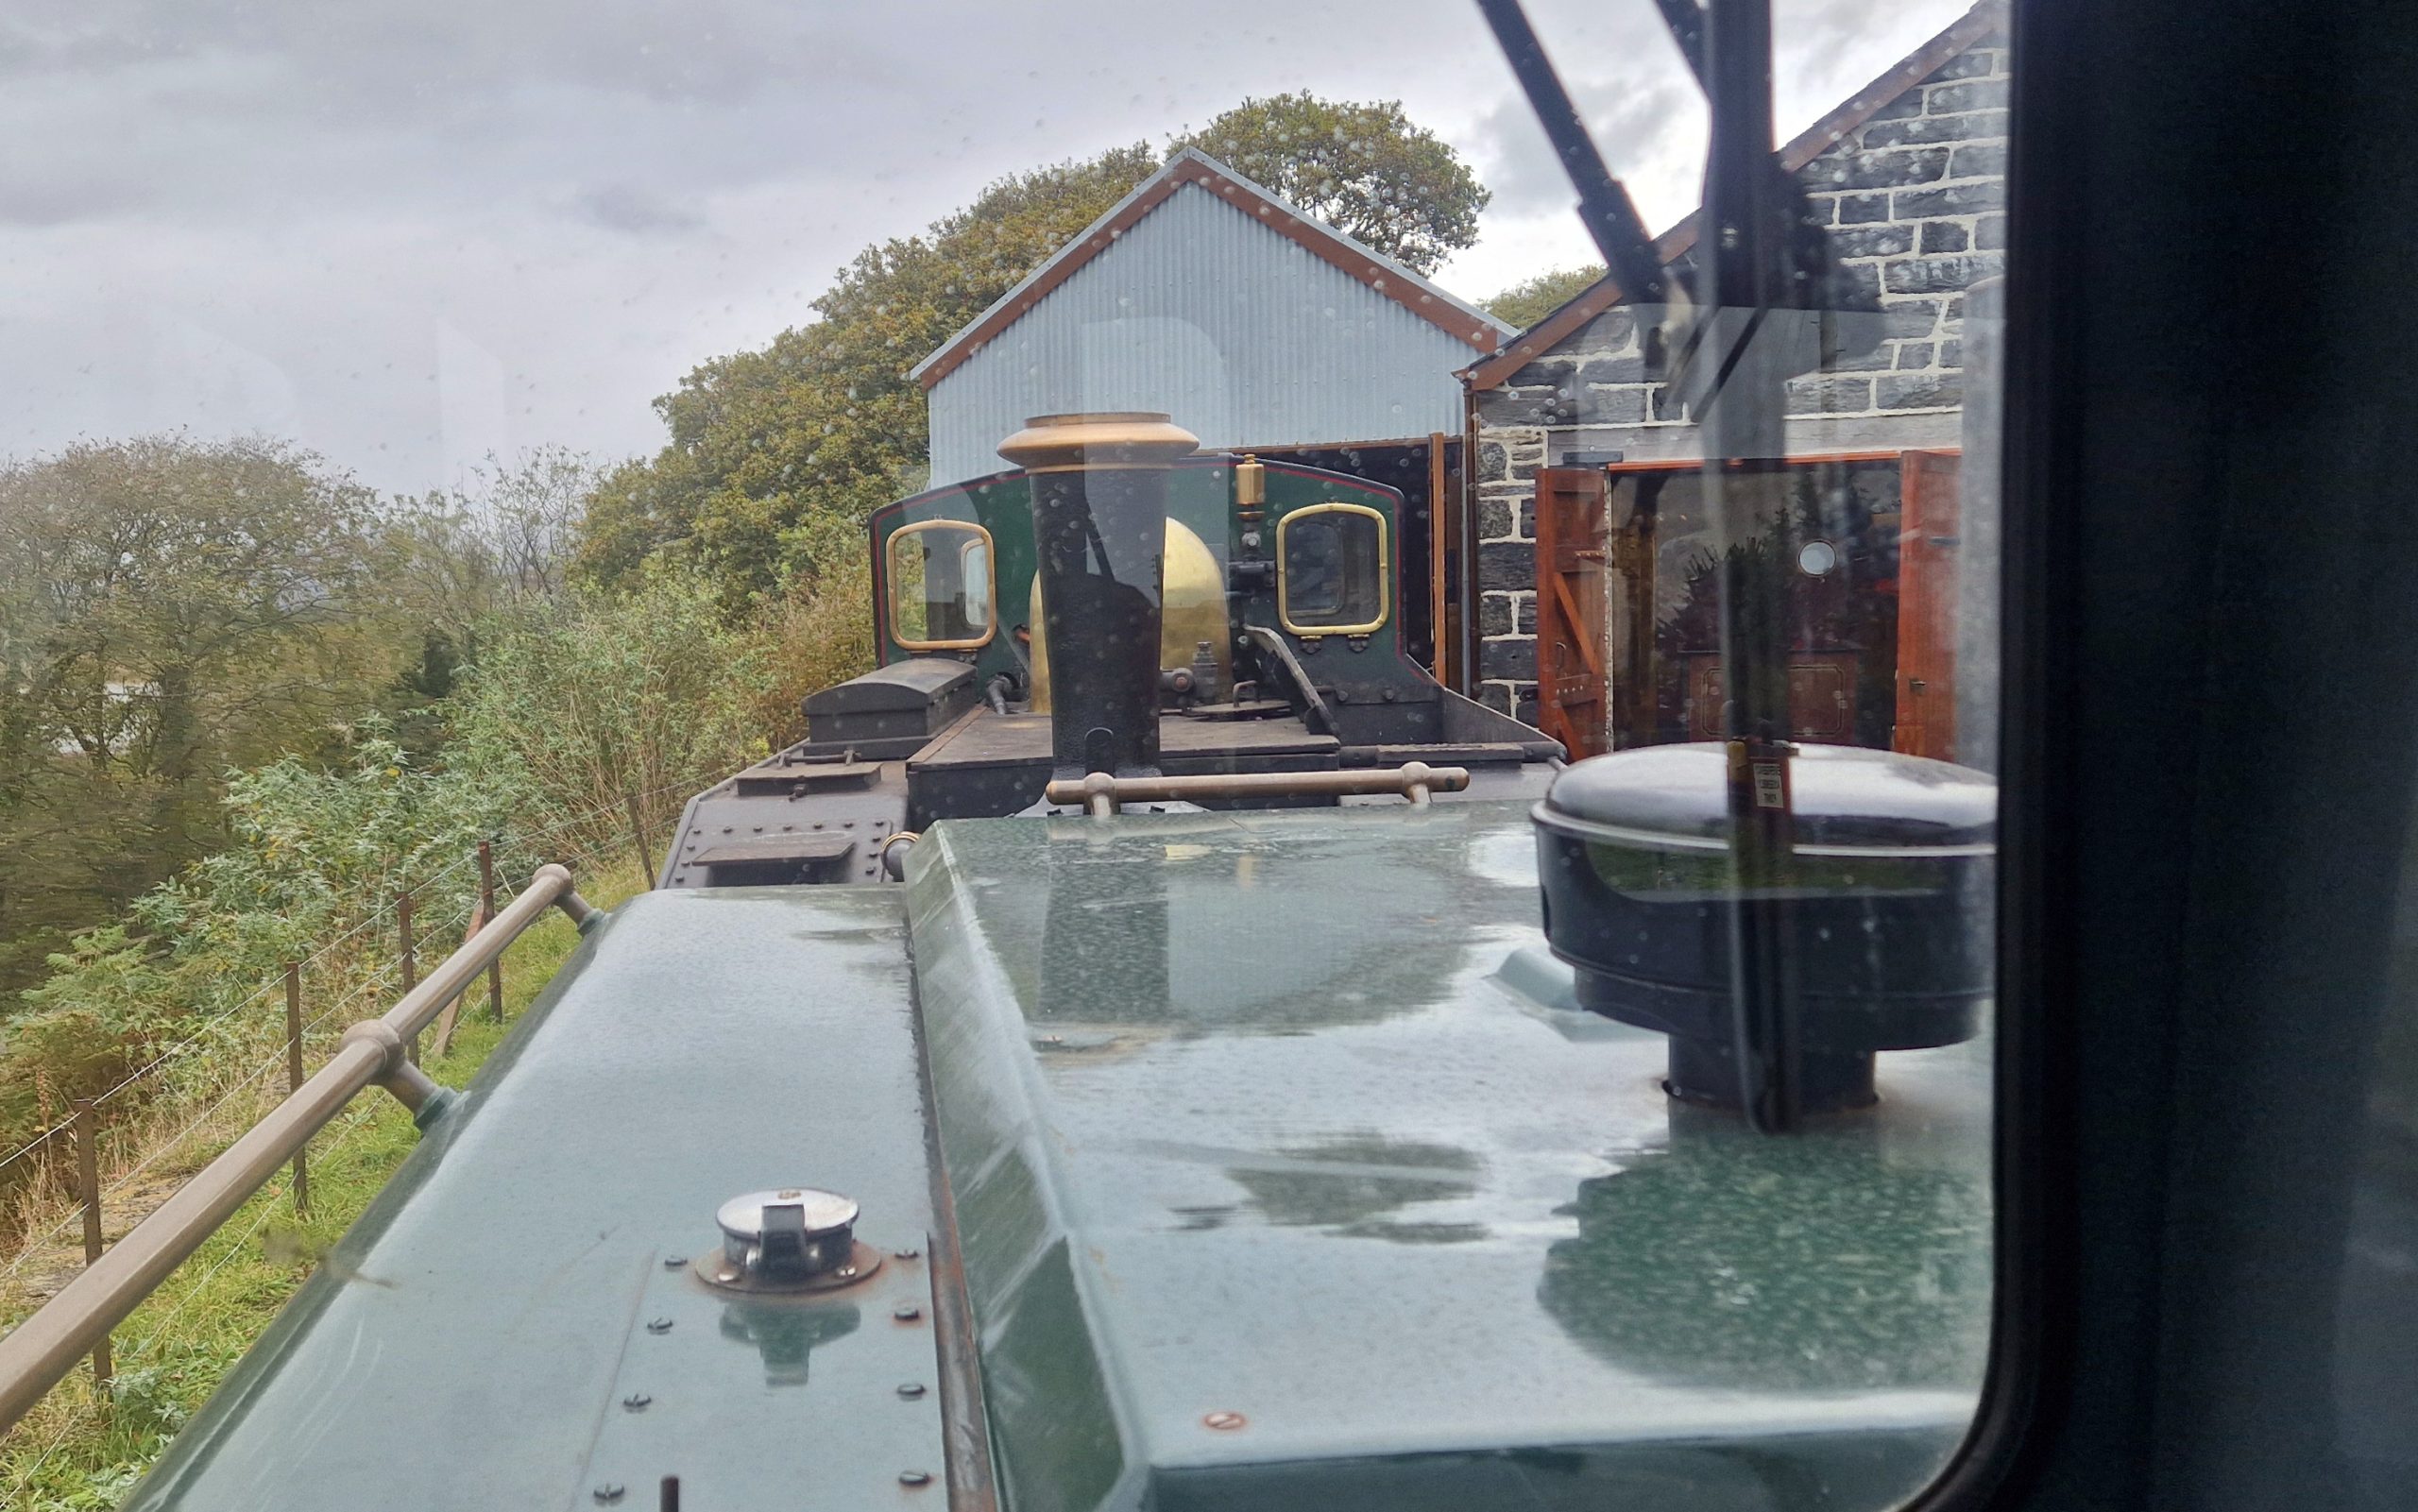
If anyone ever wonders why I regularly run off to Wales to play with steam engines then have a look at this view. This was around 10am on Saturday 19th October 2024. I’d just backed double Fairlie James Spooner onto its set of carriages in 20 road at Boston Lodge and about to set off ECS to Porthmadog when I looked up the Glaslyn Valley towards Snowdon.
It didn’t last, it pelted it down during the loco servicing turnround at 14:00 (ish)
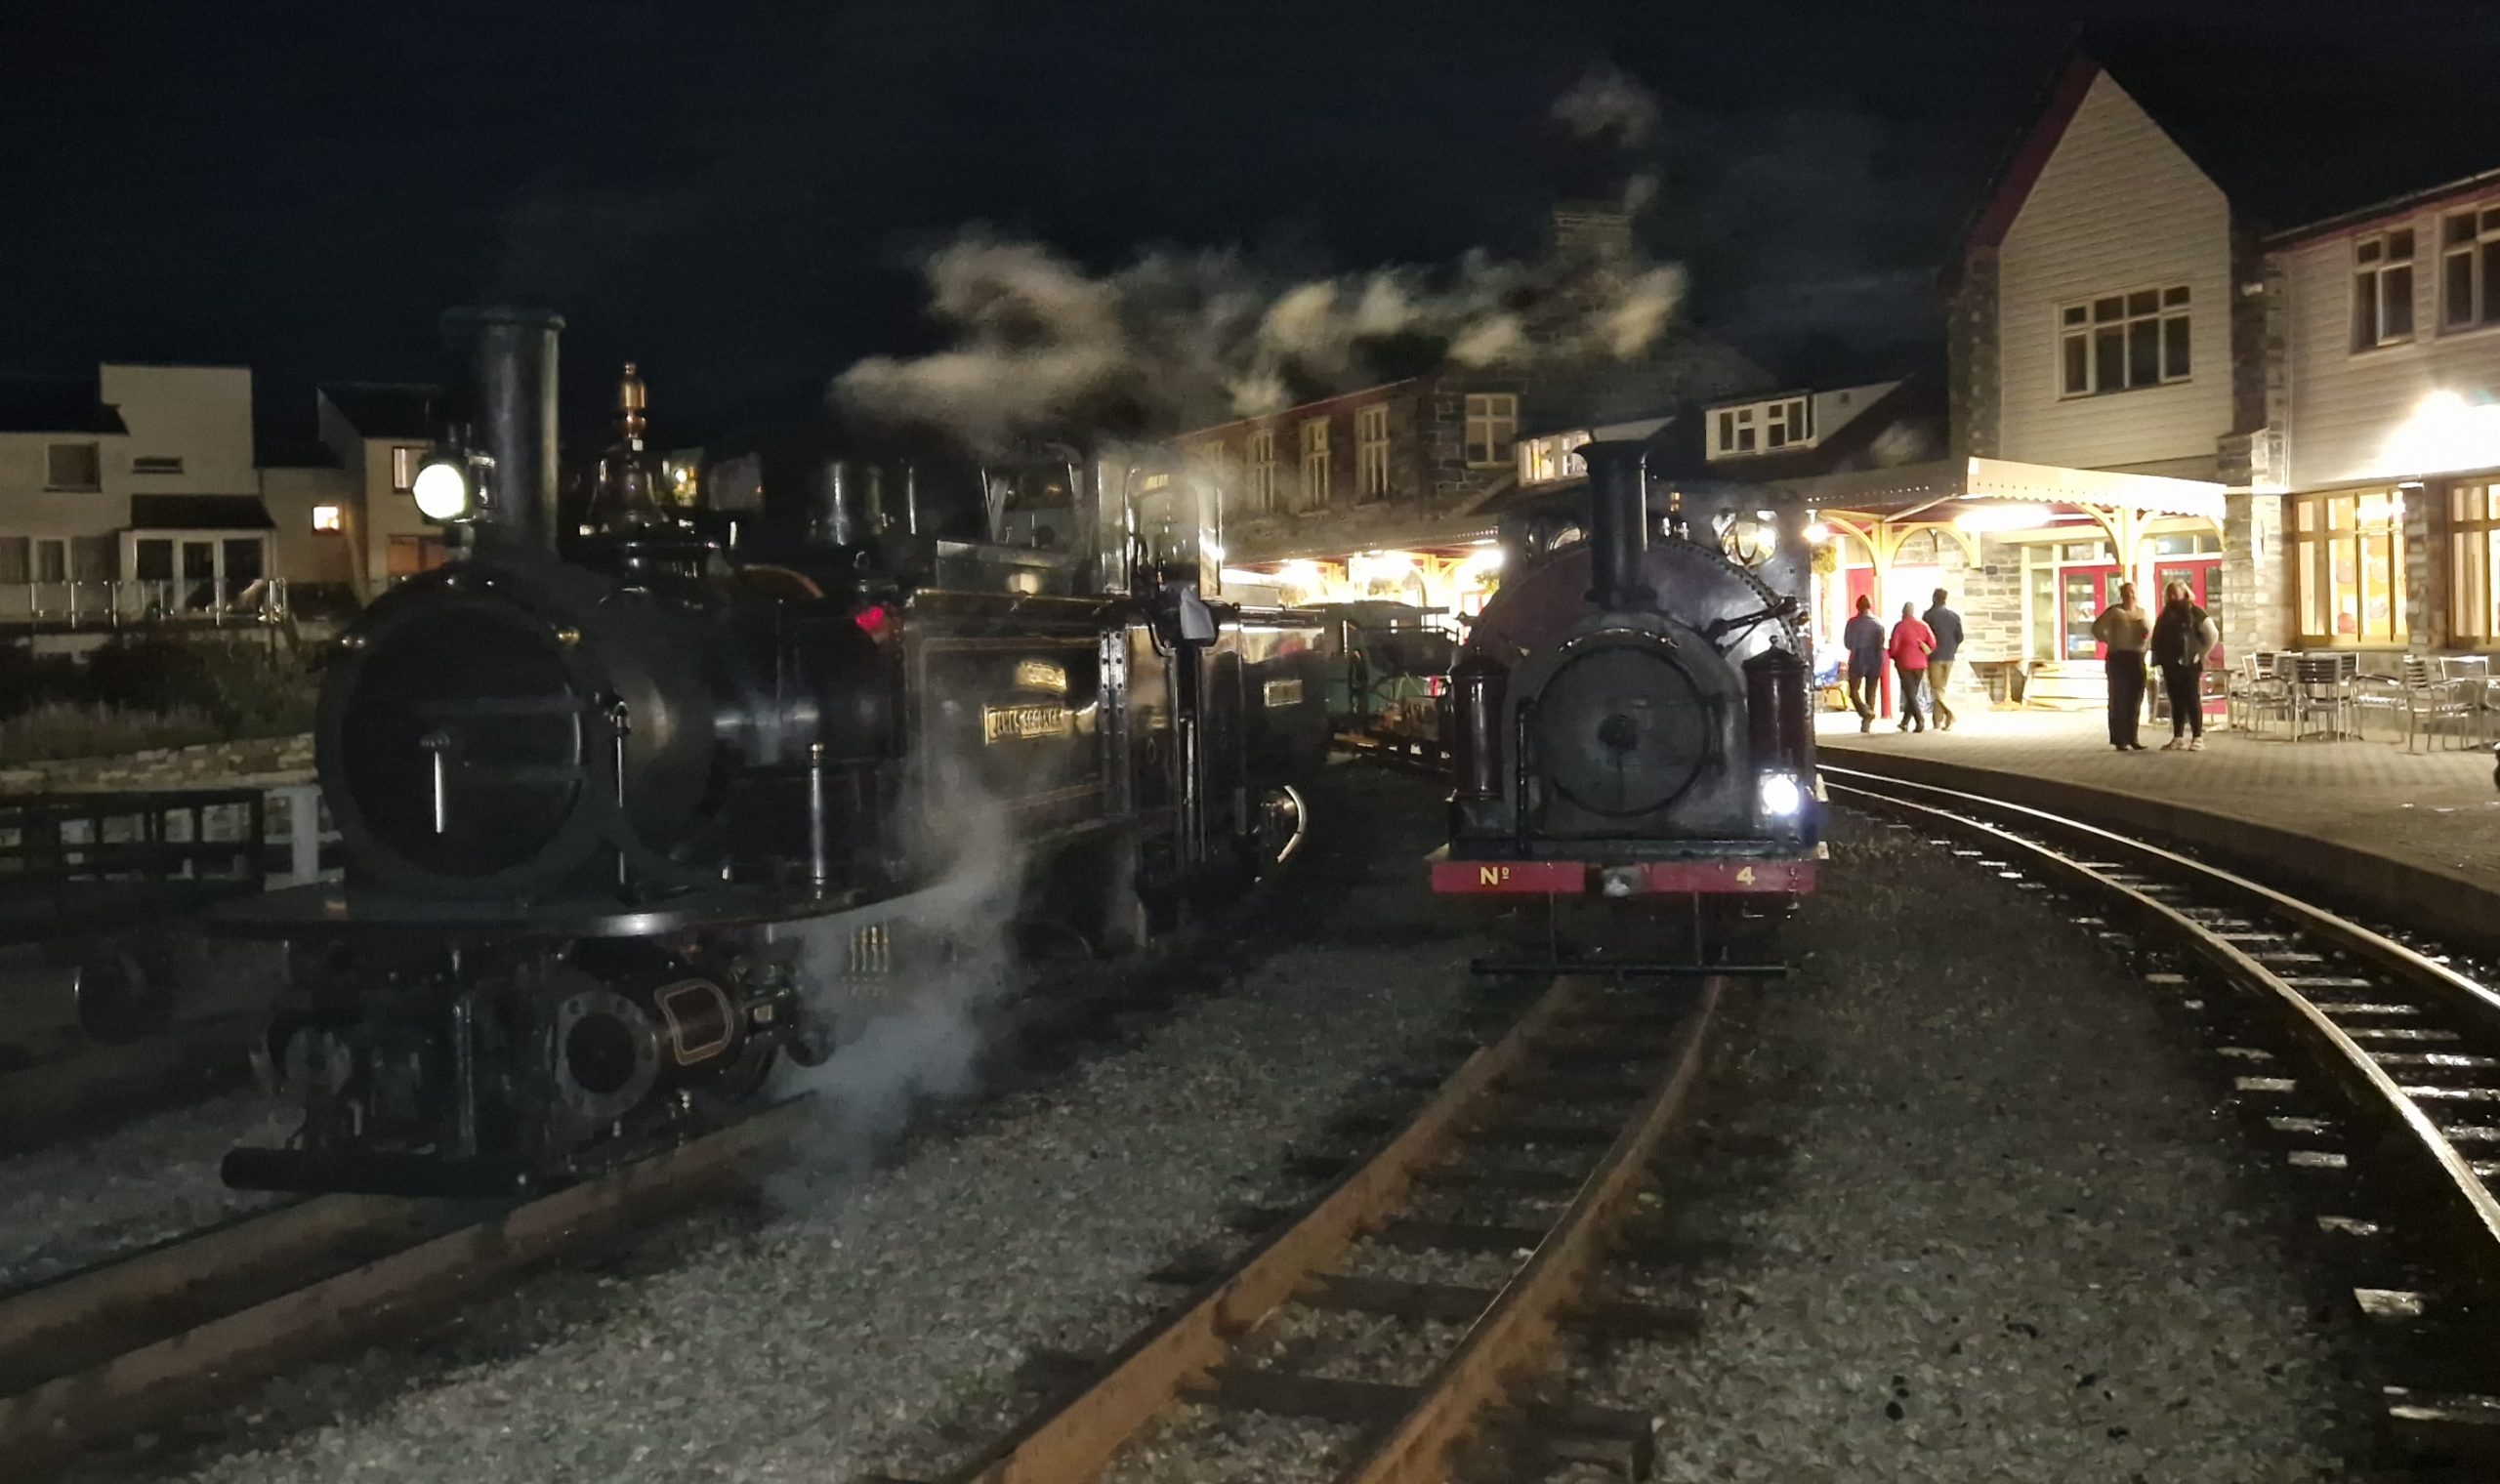
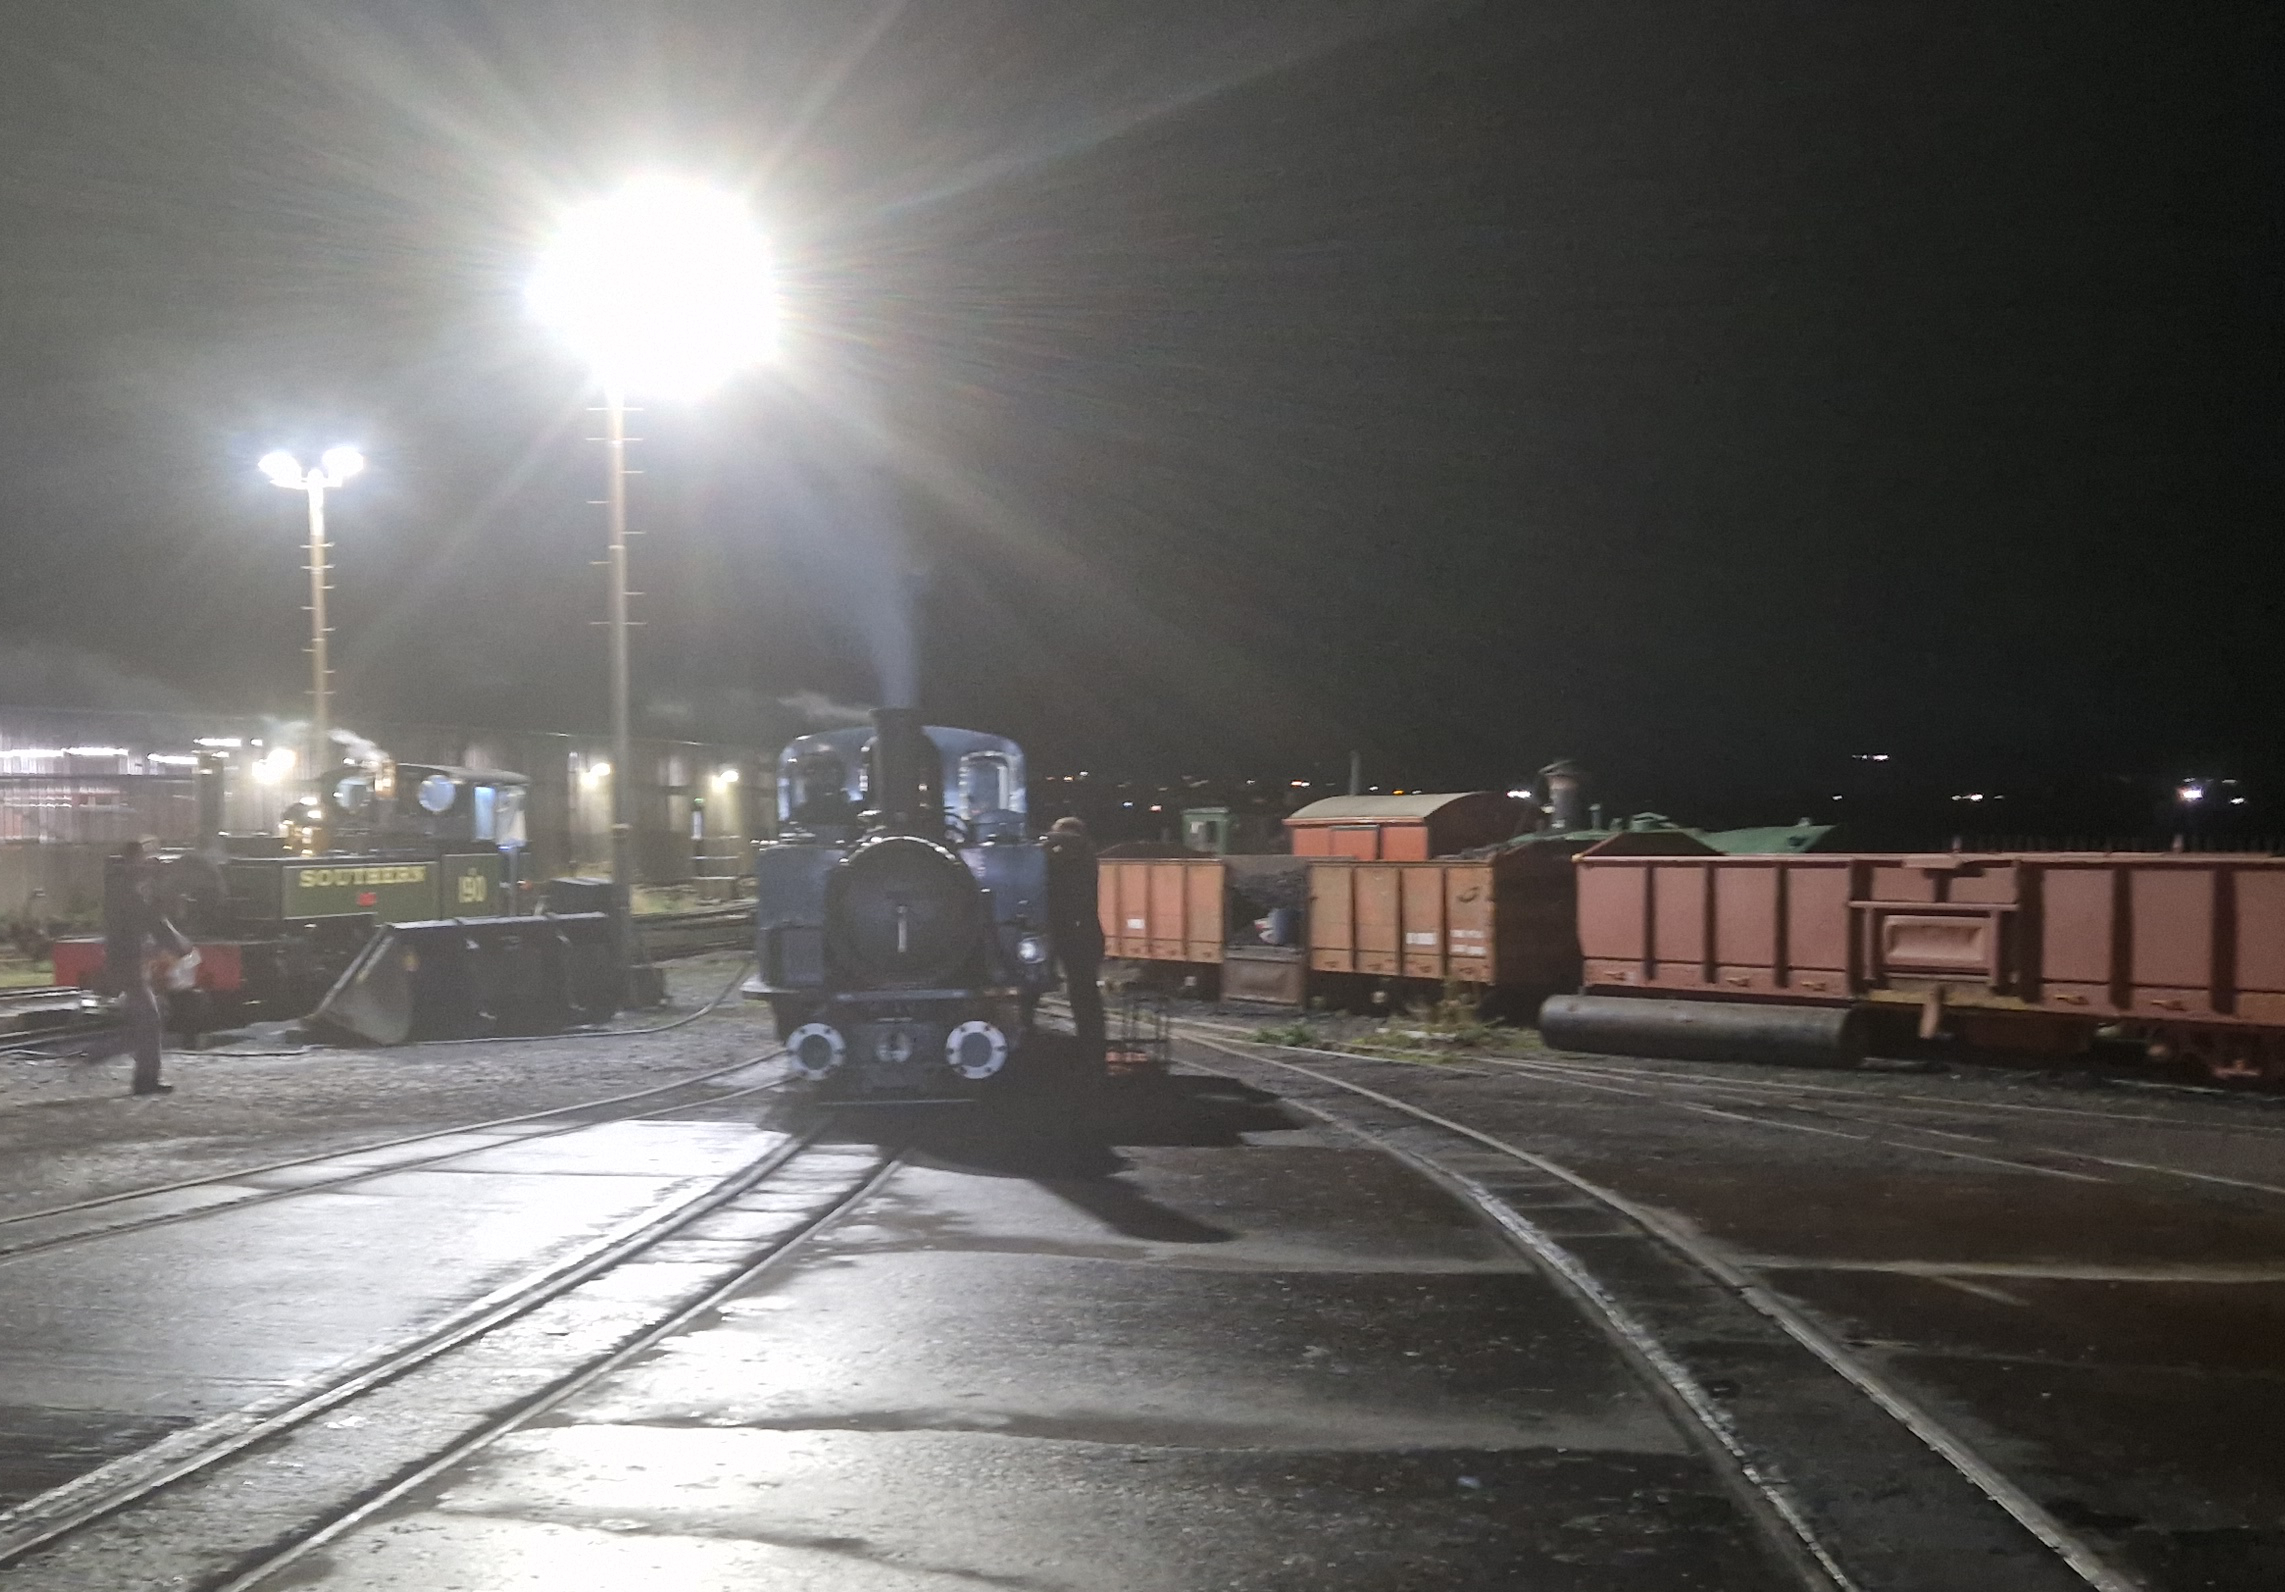
My Bygones Roster explored both unreasonable ends of the days. Friday on David Lloyd George we did a run to Blaenau with a Palmerston on the front with the Victorian Set and the boat (as far as TyB) on the back. It then involved Minffordd Shuttles and posing in the dark for photographers. Official book off 23:00 (aka Pub shut!) but part of the posing made the engine disposal ready and its was just HBF’d* in to the shed.
Got a pint at 22:35!
The late finish and what came on Sunday meant I was more of a spectator for Saturday but I did visit Boston Lodge for a bit of model research. More of that another time.
Sunday morning was unpleasant! Woken at 03:00 by rain hammering on the roof, up at 04:00, book on at 05:00 to prep James Spooner.
Sunday’s job was to provide the anti-gravity for the morning run of the gravity train. Leaving Harbour Station sidings at 08:00 we took the gravity train to just shy of the summit by the power station.
An interesting bit of working is then that the Single Line token is held by the person in charge of the gravity train whist the loco proceeds to Tan-y-Griseau without it. Once we phone in to report clear of the section the gravity train driver is given it with which to proceed downhill.
The second unusual bit of this diagram is that the passenger train with Lyd on it that went to Blaenau ahead of us (07:40 off Port) does a shuttle run down to TyG to meet us and we put James Spooner on the Blaenau end and top and tail the train back to Blaenau. We then return to Porthmadog with 22 coaches worth of engine on five diddy coaches. The payback for the 05:00 start is we’re done by midday and someone else gets the engine and is grateful we put its roof on during prep as the afternoon was soggy.
Over the week I drove all three double engines, JS more than once. Bygones was DLG’s last days for this season as its the first in for its winter maintenance. Its put away in the erecting shop on Sunday night and was off its bogies and in bits by Monday night.
Wednesdays job was a shuntathon leaving virtually no truck at Boston Lodge unturned. The aim was to put the displays and the vintage toys away in the old loco shed whilst removing all the tat we hid in there over the weekend. In putting Princess back in at the far end of 3 road an old friend was briefly out in the rain.
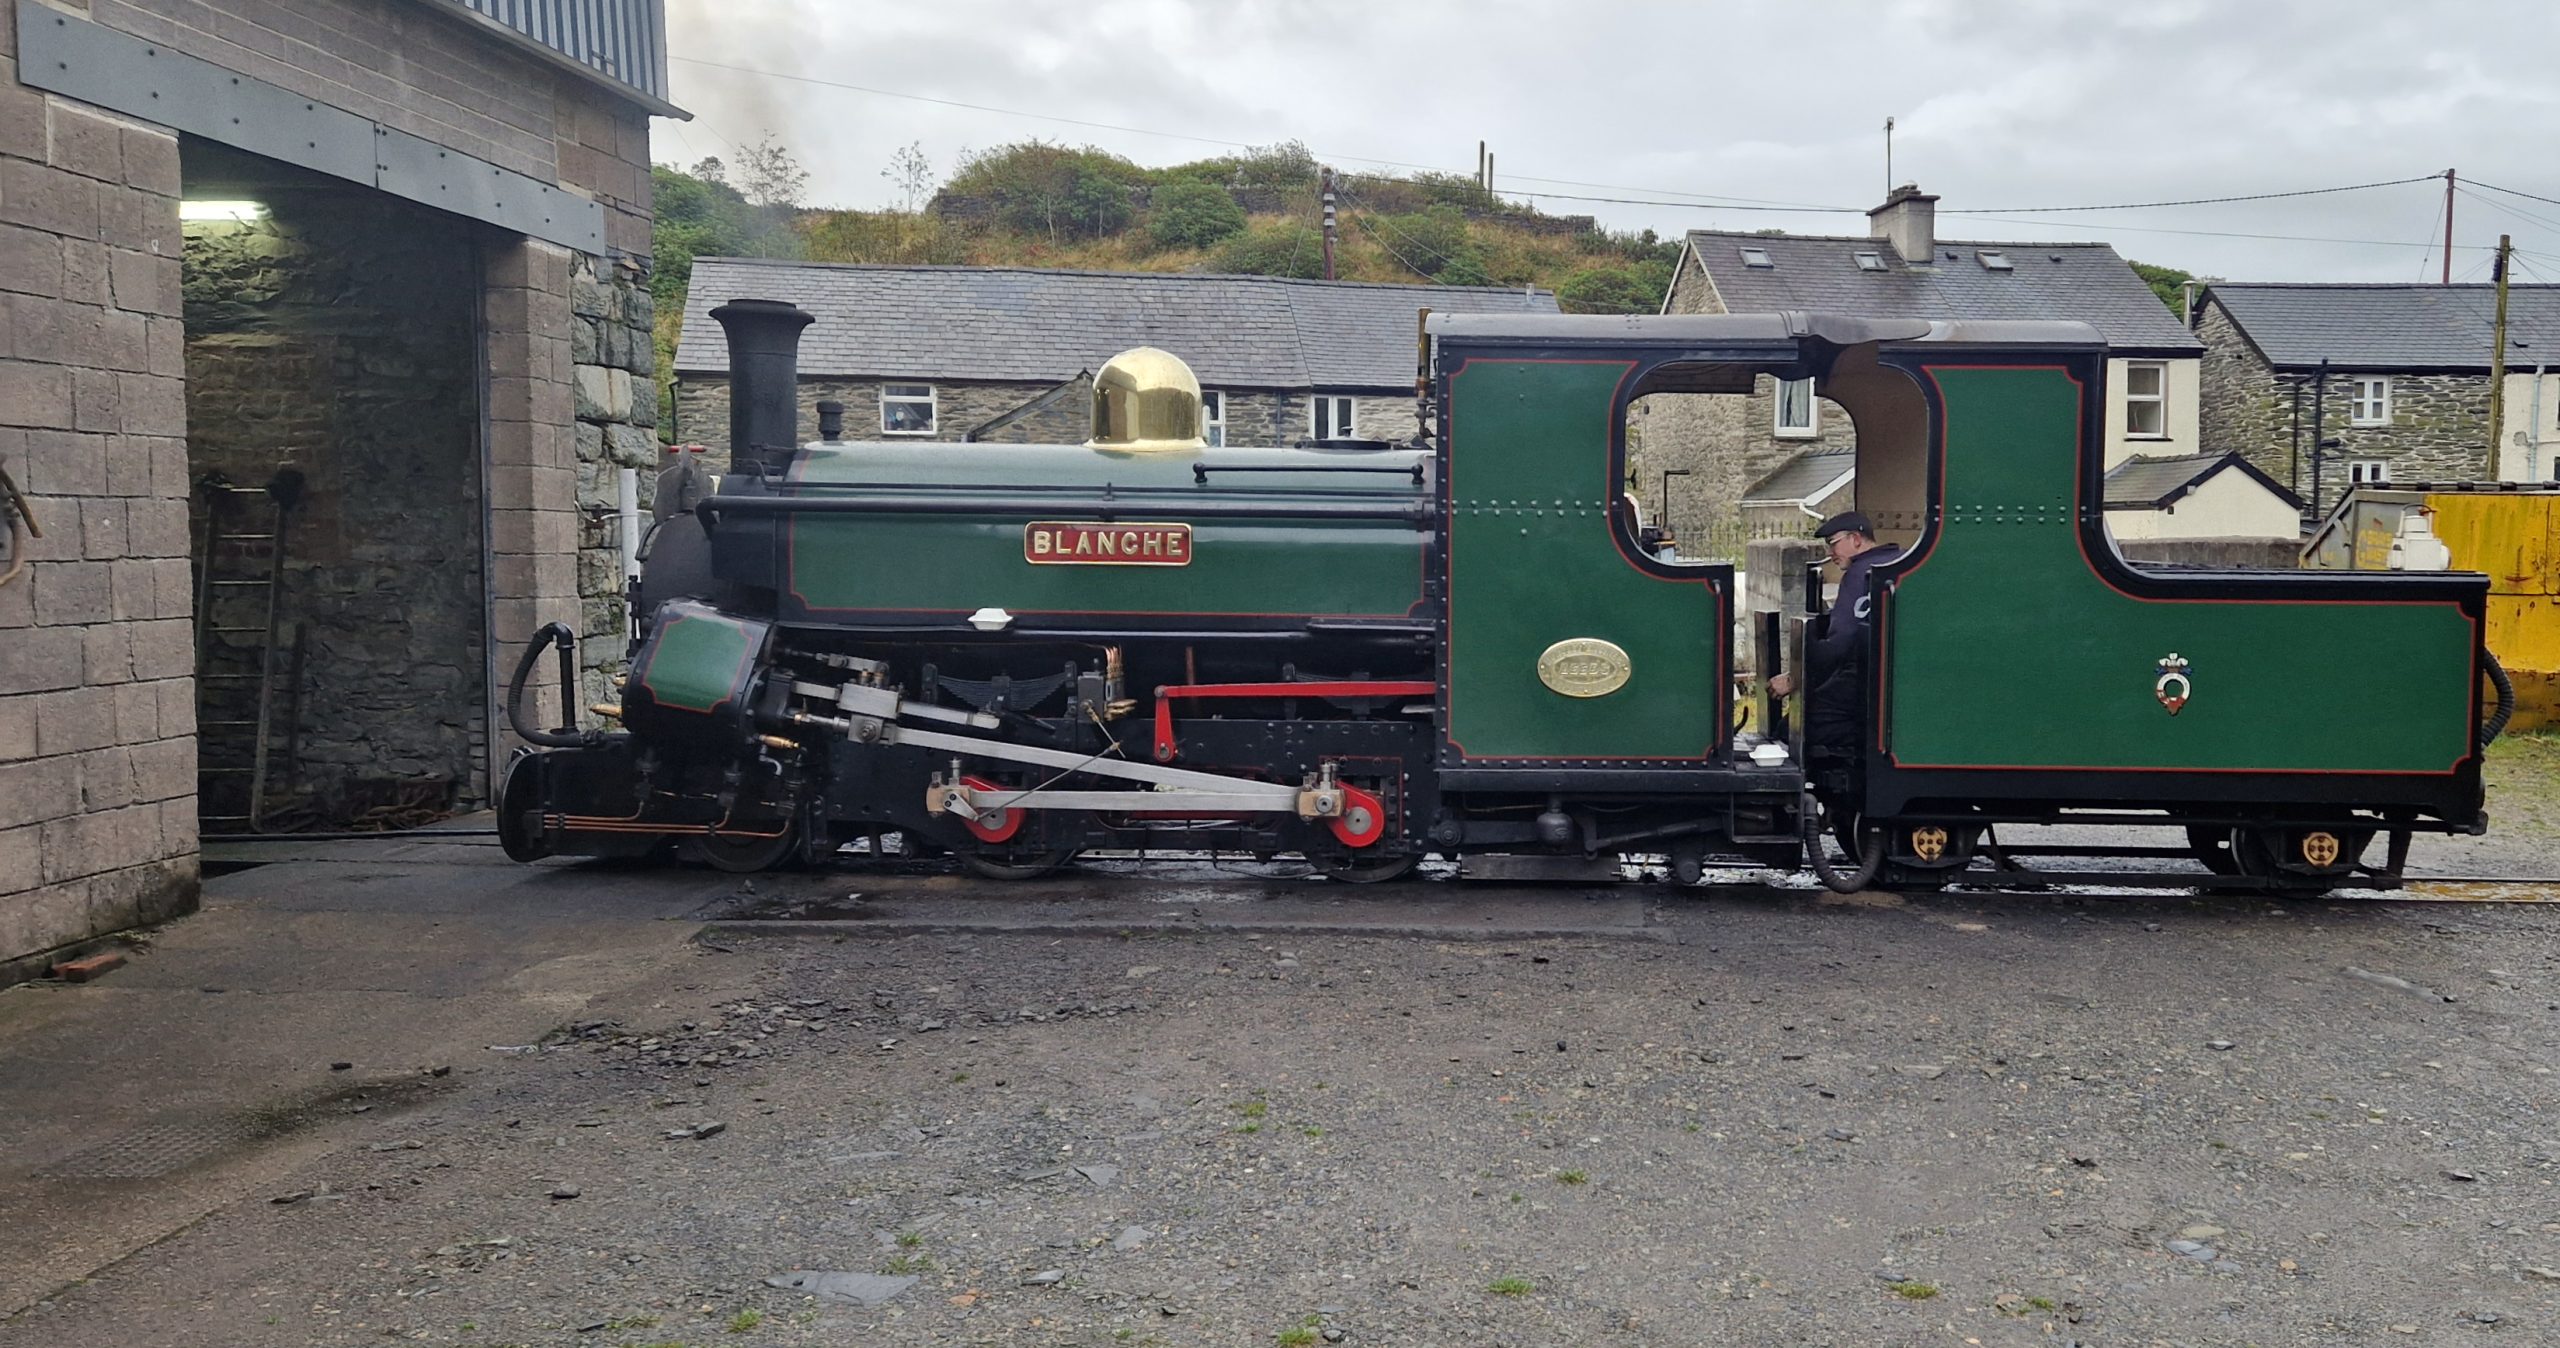
I did get a day out with the other woman on Tuesday on the Quarryman service starting from BlaenauWhilst it was a day out and I was the rostered driver I didn’t drive Blanche at all during the day. A combination of a fireman who should very soon be a trainee driver and a trainee fireman at the stage where he needs and element of “get on with it, sink or swim” meant I spent the trip as trainer from my seat in the tender.
I get a lot of satisfaction out of seeing them progress and helping them on the way. It can be slightly self defeating as I have a bit of a track record of having firemen with me as regulars, training them up for them to leave me to go on to driving leaving me to find a new one to train up.
Its not like I am short of Blanche driving having done over 1000 miles since the Covid year
(* HBF, Hook off, book off &, well you can probably work the last bit out)
Its been awhile since I did a blog post but things have been progressing with the NG7-14 version of the Bachmann Quarry Hunslet locomotives. I was hoping to be doing a post that ended with a 14mm gauge loco running but the conversion is taking a bit longer than I had hoped but for good reasons.
Axles, Bearings and Gears
We’ve started with the gathering of parts and since the last blog post the bearings have been changed from castings to machined parts.
Whilst the big gain for this project of using CNC machined parts is consistency of manufacture price also comes into it. As a rule of thumb if you are having something made by CNC machining the more you have the less they cost each. As an example lets take the axles
100 off = £1.50 each
200 off = £0.90 each
500 off = £0.50 each
An order for five hundred was a “no brainer” and these and the associated bearings will now form a standard in upcoming new kits and old kit upgrades. [nearly added “going forward” but that’s management speak for padding low content sentences]. That’s the first bit of the good element of things taking a little longer.
If I were converting just one or two loco’s to 14mm gauge I’d probably wing it but with a quantity to do and the same parts now standard across my future range the making some tools to aid the production make a lot of sense and that is what is taking a bit of time now for a pay off in the long run.
Its got a lot to do with the repetitive consistency I keep going on about but with the second tool that’s going to get a mention its about not breaking drills and taps.
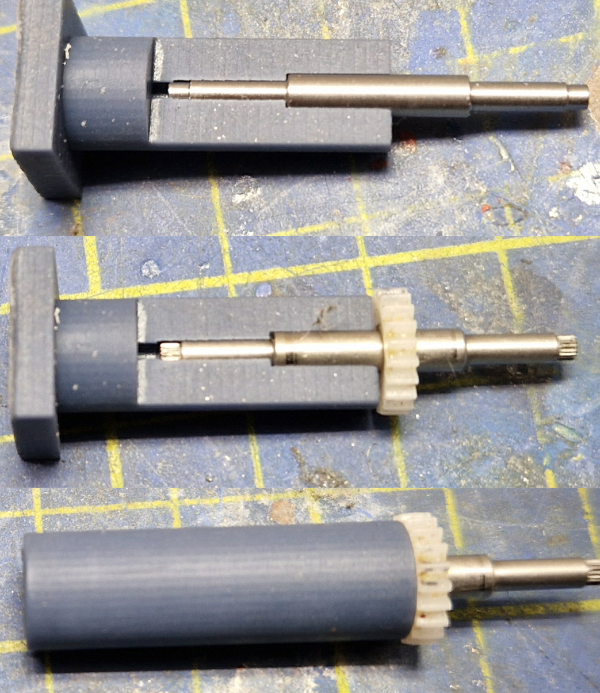
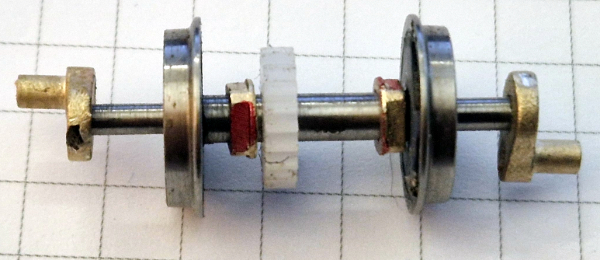
The first tool is about getting the gear on the axle in the right place. This is a printed tool and I first produced a sectioned one so as to be able to see what goes on inside.
Hopefully you can see that the axle is stopped in position by a shoulder in the bore and then the gear is pressed on as far as the flat end placing the gear on the axle. The pressing is done using my desktop lathe to ensure it all goes together true.
Cranks & Crankpins
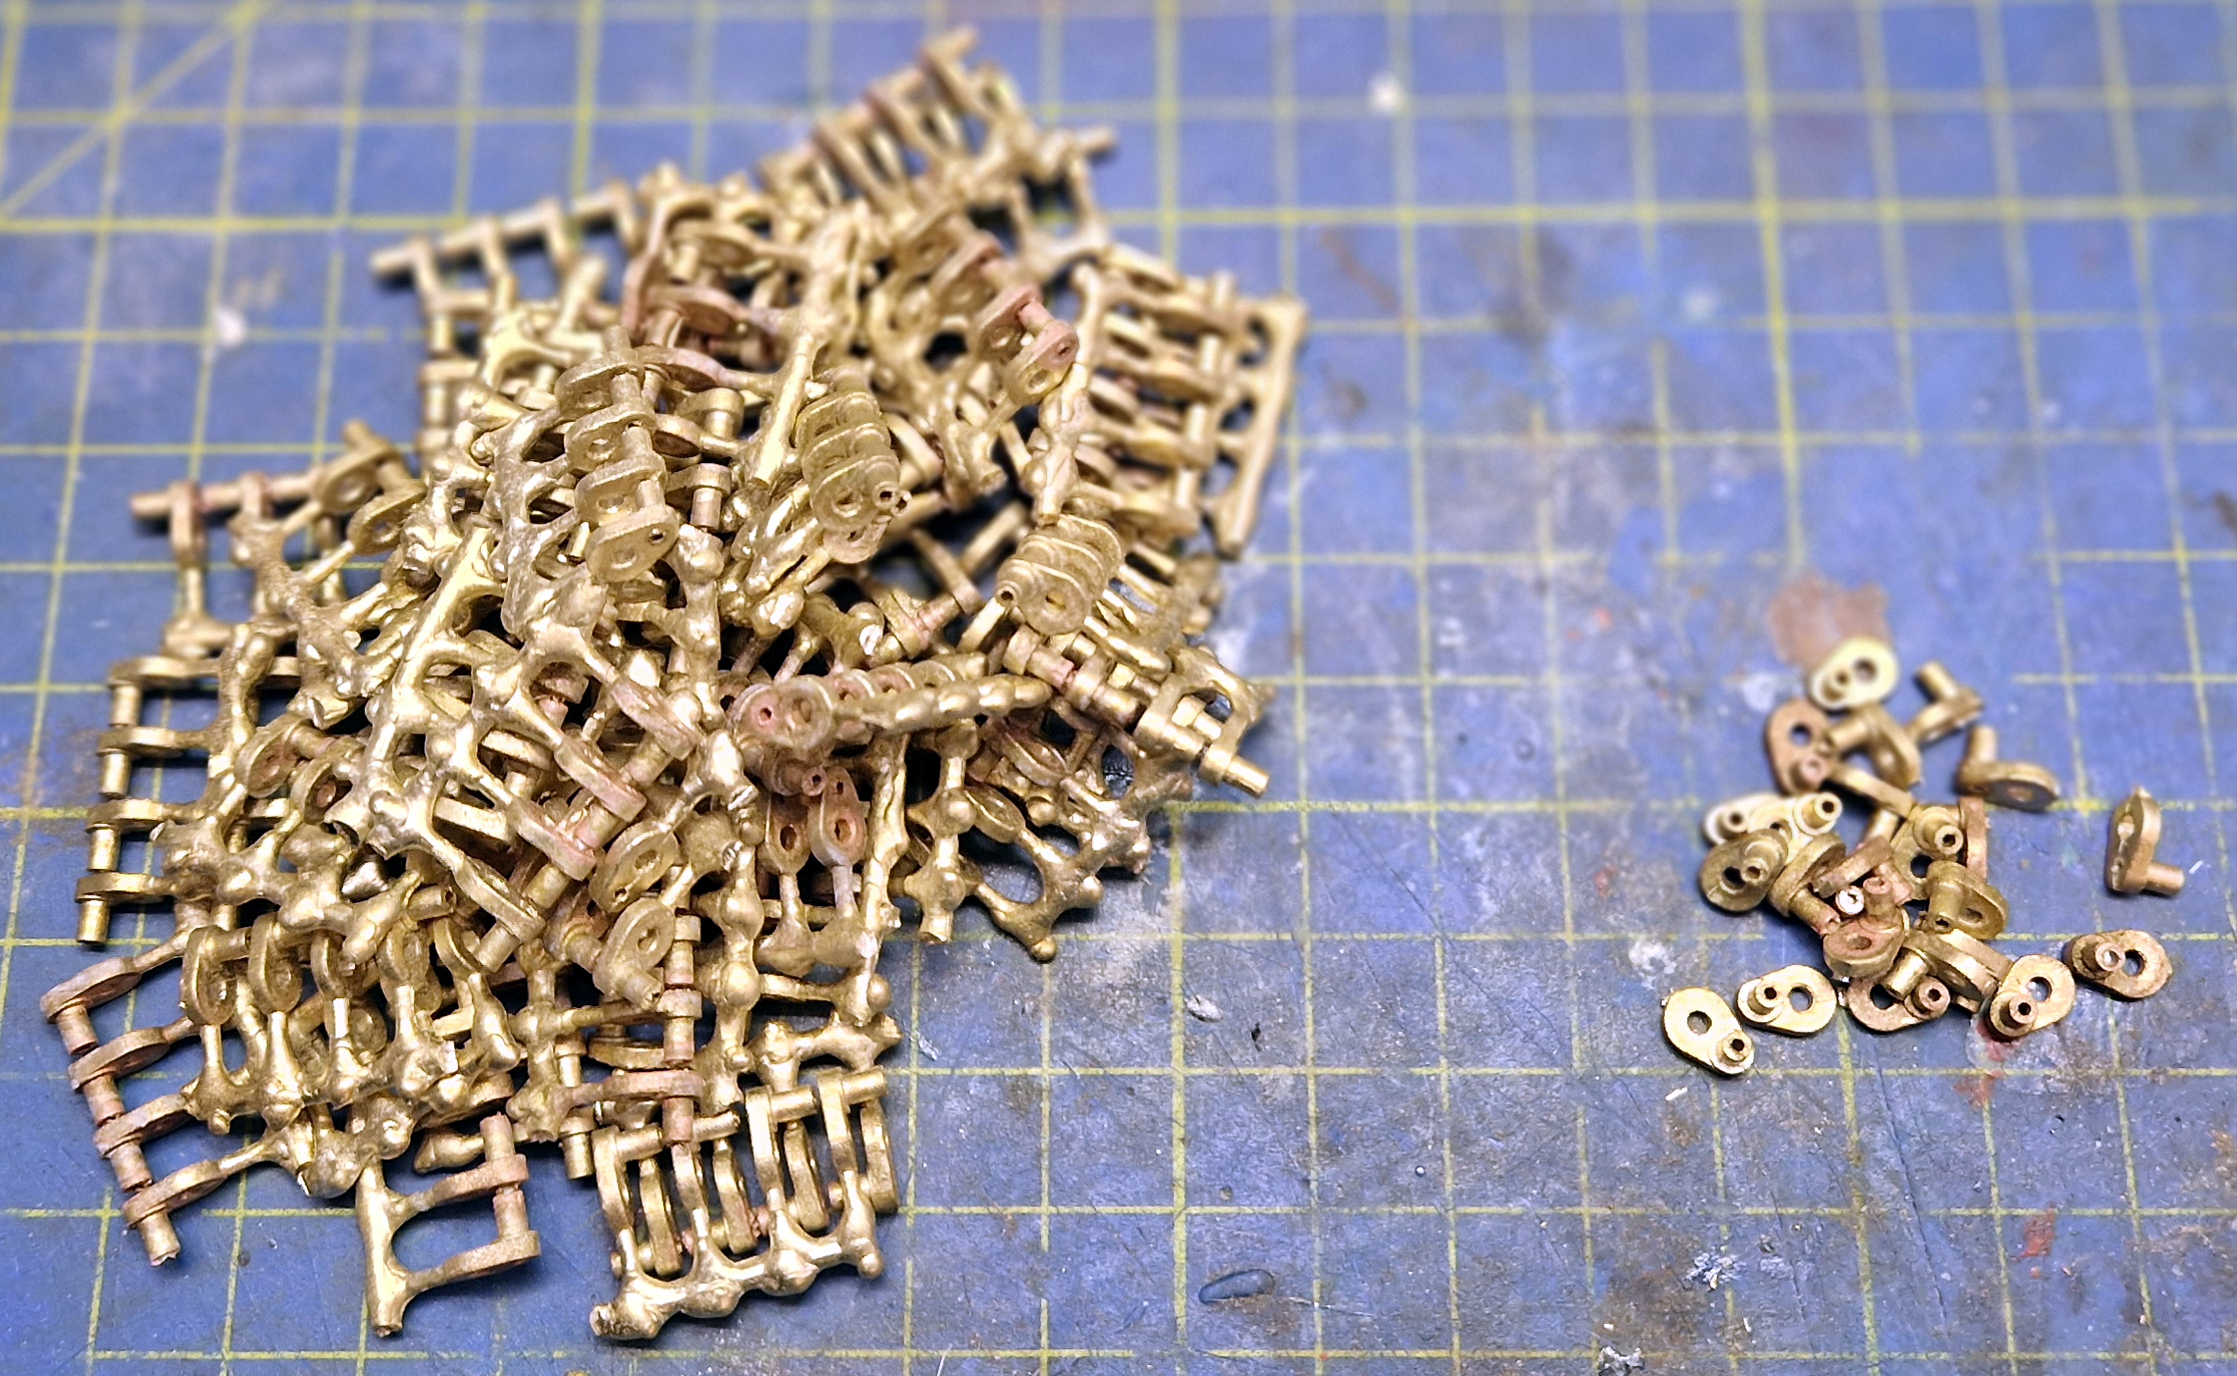
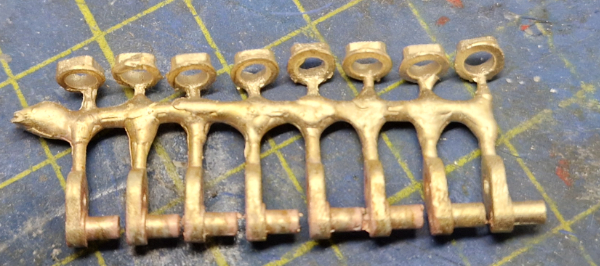
Next we come to the cranks. These are castings and they come on a sprue of four. Each needs the following actions
Separate from the sprue
Ream the axle hole
Tidy the casting sprue stub
Drill the crankpin hole
Tap the crank pin hole
Shorten half the cranks (leading axle)
I mentioned winging it if there were only a few to do but that most likely wouldn’t ensure the ream hole was perpendicular to the crank, would most likely snap several drills and the expensive tap. Filing each casting stub would be pretty tedious too.
Some tools are needed.
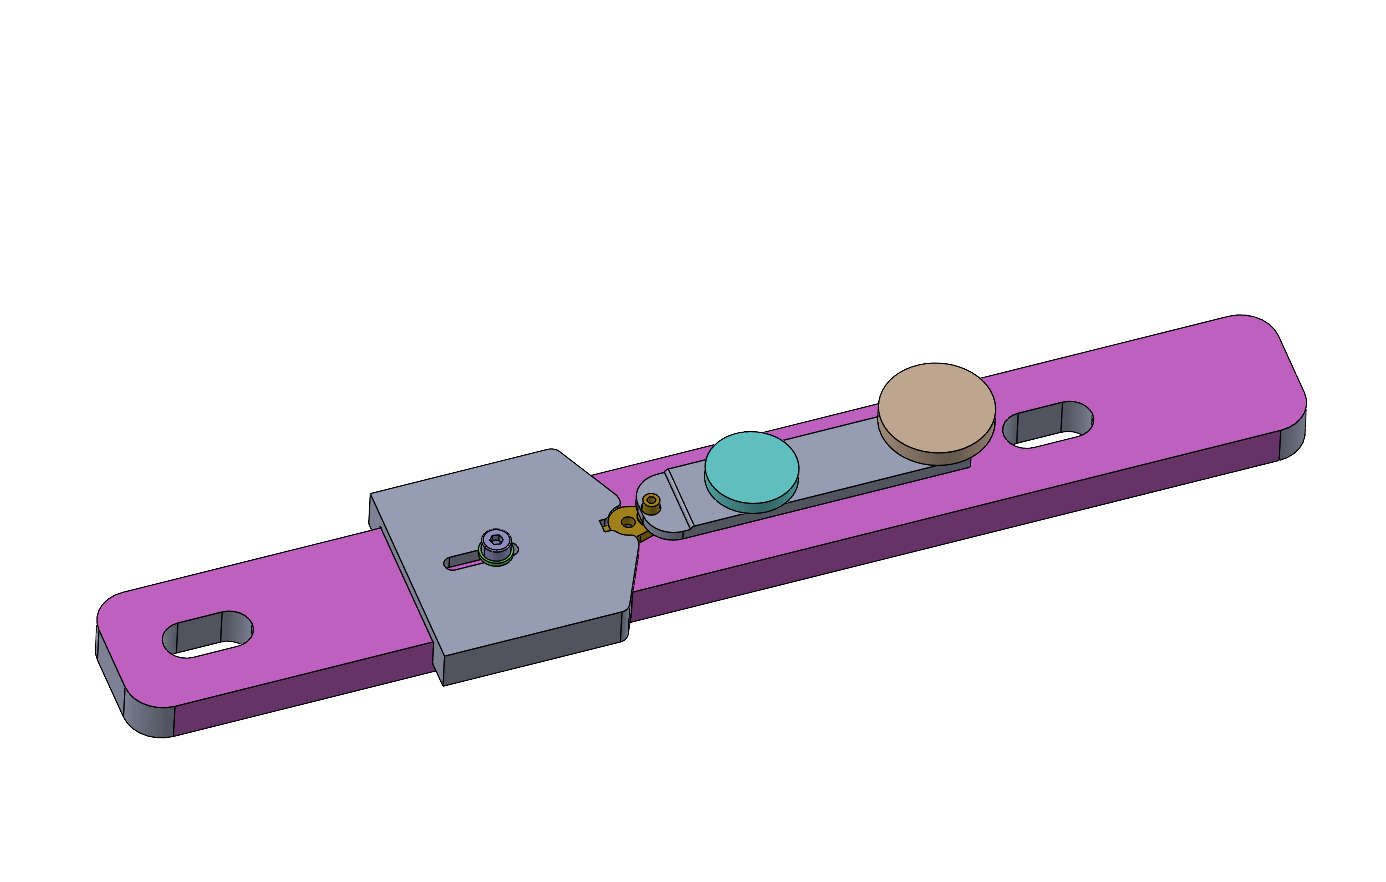
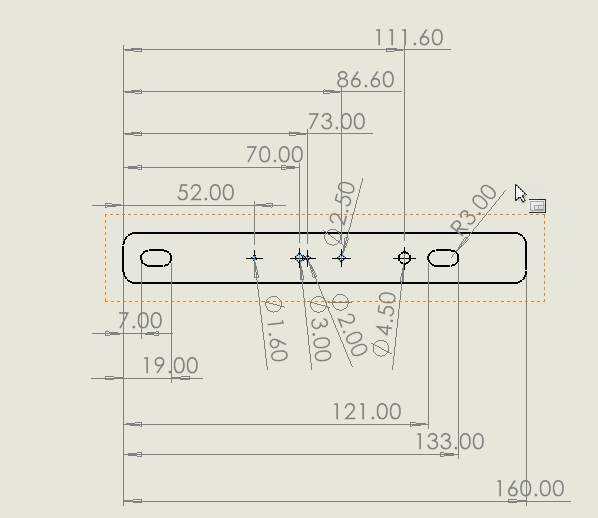
First up is a holding fixture to hold the crankpin casting whilst it gets drilled, reamed and tapped. Out with the CAD.
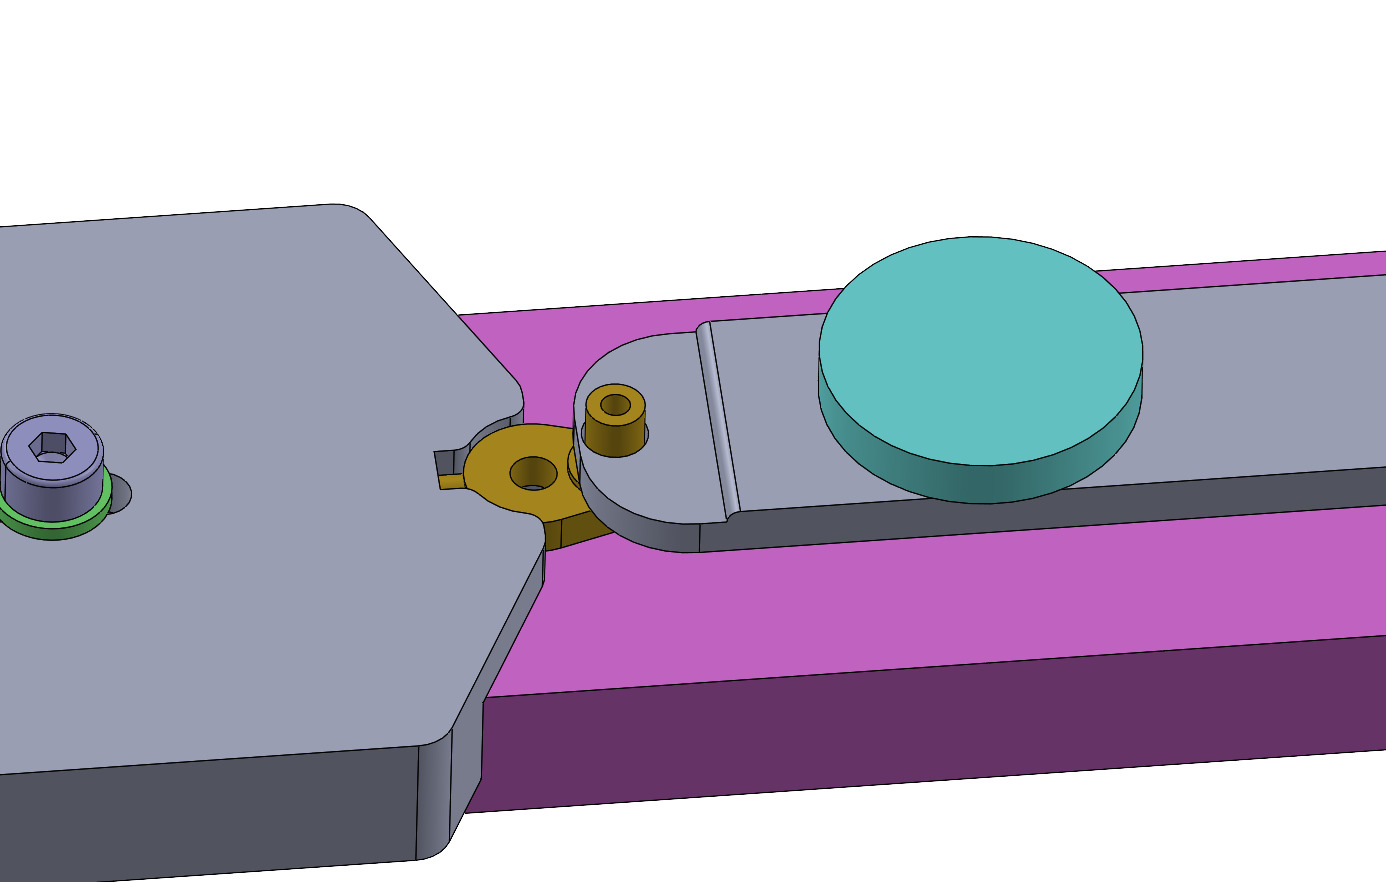
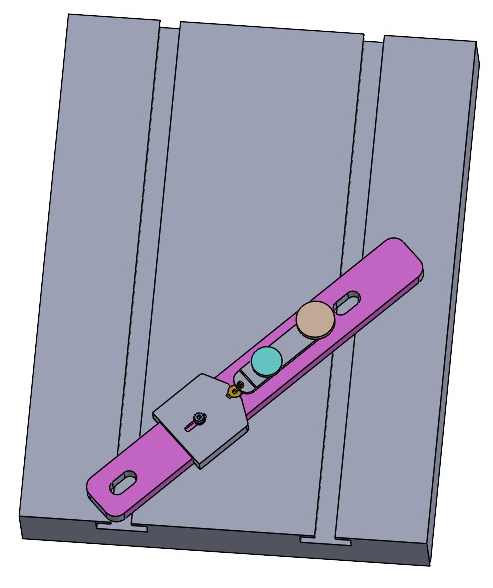
This is what I came up with. The violet bit is the base. The left hand grey bit holds the crank central and the bits on the right mimic a tool makers clamp to hold it down
The idea is that this clamps to the bed of either my mini drill or tapping fixture thus
Time to get the old tools out. This is where the two workshop confusion starts. I have a downstairs workshop where the heavier engineering tools, the big lathe, 3D printers etc live and the upstairs model room where the small electric trains and the associated tools live.
This picture represents an incursion of downstairs tools upstairs and will probably lead to cries of “where’s my – – – – – – – “ * when I can’t find something.
*insert name of missing thing
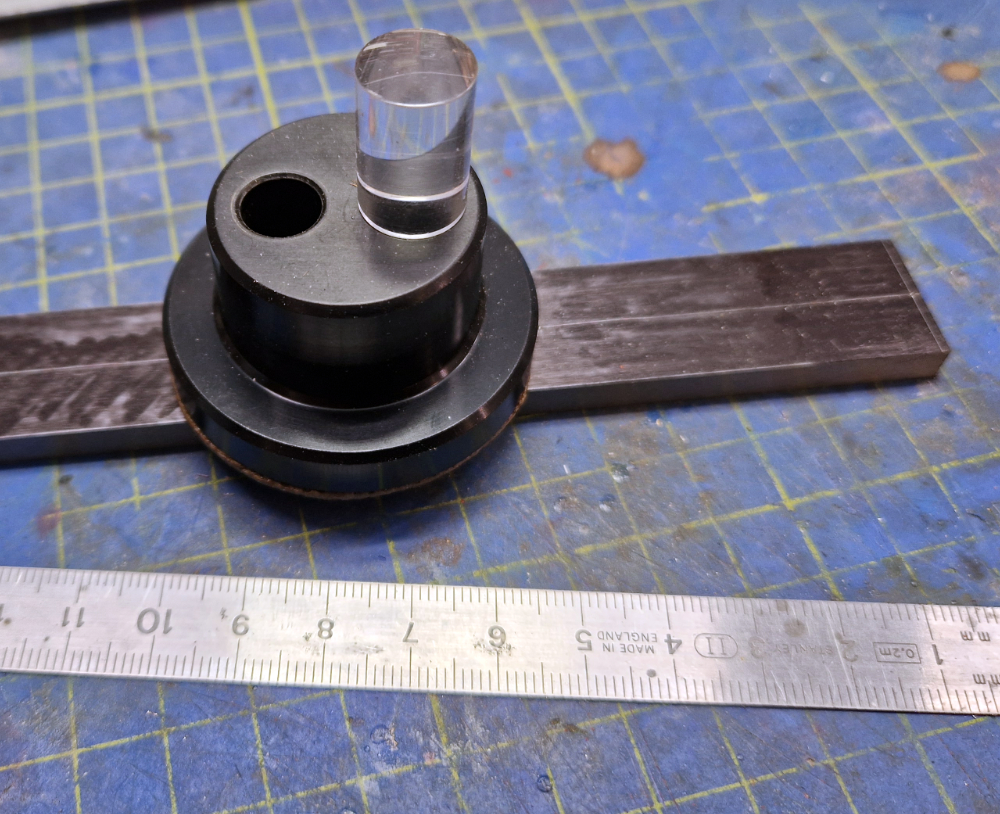
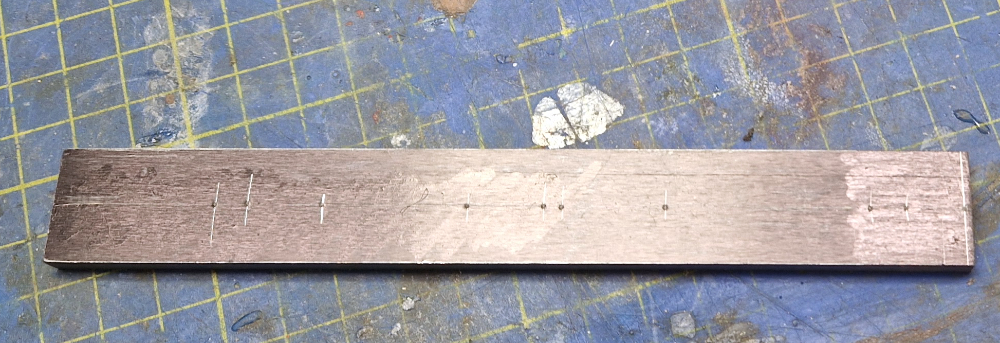
What we have here are odd leg callipers to mark the centreline, dividers to strike off the hole positions, an optical centre punch to punch the hole positions and a bit of ground gauge plate as the victim.
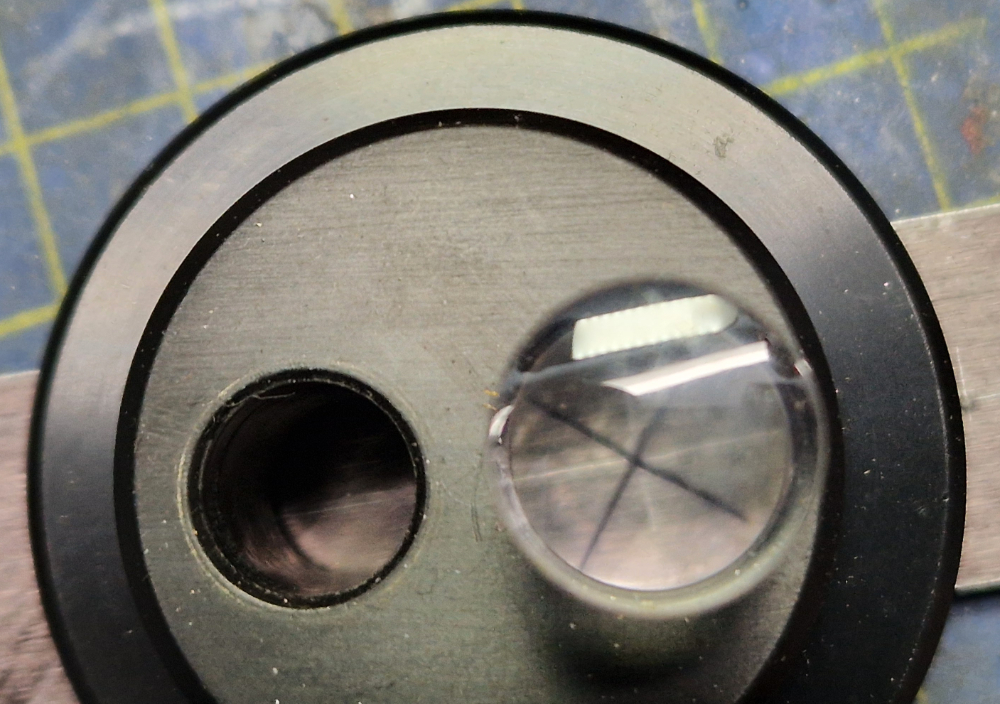
The optical centre punch is one of those expensive, hard to justify at the time, used once in a blue moon tools that once you’ve stumped up circa seventy quid you wonder how you ever managed without it.
With a magnifying lens in the base you can line the cross hairs up on the scribe lines and then, holding tight, swap the lens for the punch and give it a clout.
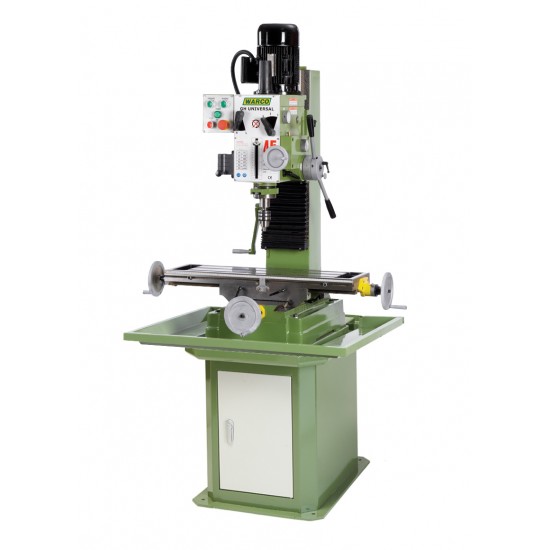
Of course the posh way to mark it out would be to put it in the mill, find the centreline and then use the Digital Read Out to move to each position and drill the hole. My desktop mill can’t do that.
Anyone got one of these they don’t want or would like to store in my workshop?
So this episode closes with the base of the universal crankpin processing tool pop marked and ready for drilling and all the parts for the new wheelsets to hand.
More in the next thrilling episode of, “why do I take these jobs on”
Since then Bachmann have revealed colour samples and sent out some review models to the press and they’re well on their way to the UK. The ship has gone the pretty way (the not getting shot at long way round) and thus the delivery will be a couple of weeks later than originally anticipated. They’ll be here toward the end of June.
I’ve been lucky enough to have the loan of one of these.
When the models were first announced it took under twenty minutes for the first “are you going to be regauging them to 14mm?” request arrived.
The answer is yes and the design is well on the way to being sorted.
The plan is to do the conversion with completely new axles so that the originals don’t have to be cannibalised for parts.
The design has been done for some weeks now but test parts are now starting to arrive.
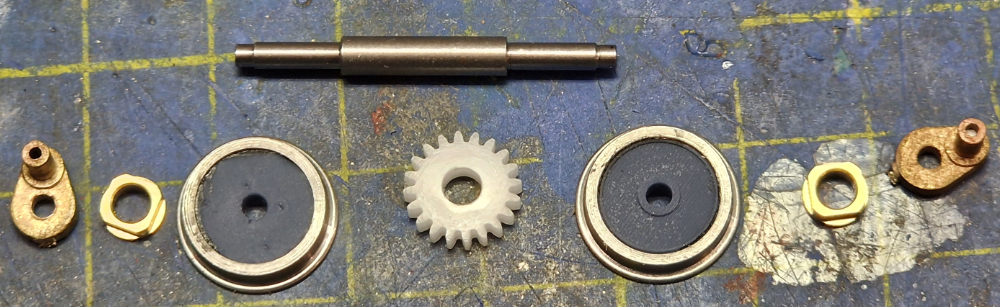
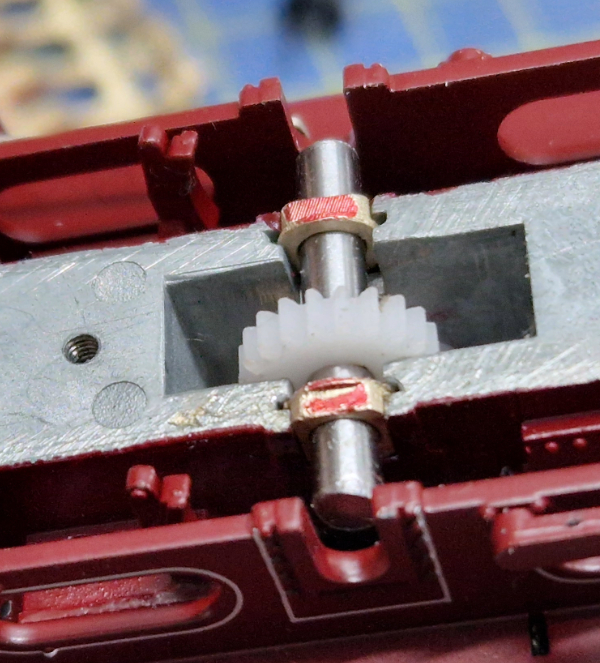
Here we have castings for the bearings and flycranks. The cranks will be the ones we use but we now have an alternative machined option for the bearing. The sample gears have also arrived so it was possible to check the bearing fit and the gear mesh in one go.
All fitted well and worked when power was applied so I’m happy with that bit of the job.
A very timely find has been a CNC machine shop that can do the small stuff us modellers want and at a reasonable price.
They are currently doing some wagon bearings for me but have already quoted for the axles. I’d gone down the castings route for the bearings thinking they’d be difficult or expensive to machine. The new CNC man seemed to take the other stuff in his stride so I thought it worth an ask. I fully expected to be told no either directly or with a price that meant no. Instead I got, yeah, i can do that and at a reasonable price.
I’ve now got as far as a fully mocked up axle that runs in the loco.
The CNC prices fully demonstrate the unit price being cheaper the more you have and, as a result, several projects currently in development are likely to use the same axles and bearings. They could become the new standard.
The engine and three wagons I had loan of are to be a draw prize at this coming Saturdays (8th June 2024) 7mm Narrow Gauge Association Exhibition in Burton upon Trent so I’ve had to leave it at 16.5mm gauge and put it back in its box nicely run in.
At least for now I am only supplying converted locos rather than a kit for you to convert yours. That might come later but for now i need control of the conversion to make sure it all works reliably. If you are interested in an NG7-14 (014) loco or stock get in touch. The e-mail is info<at>ngtrains,com [you need to change the <at> to @]
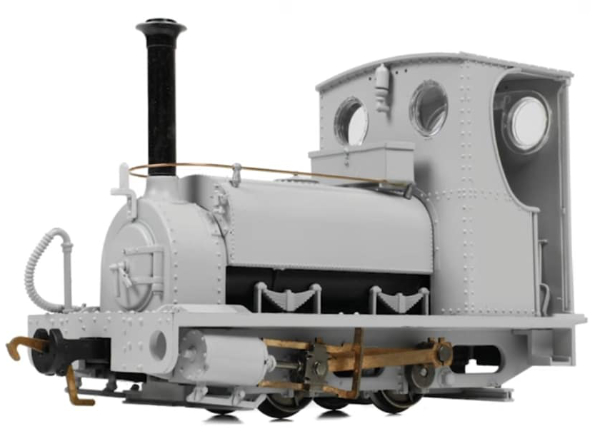
At lastI can stop biting my tongue! Bachmann Europe have announced today (13/04/24) a complete narrow gauge range in 7mm scale to run on 16.5mm gauge track. The initial range consists of three locomotives, truthfully three variants of the same loco, three wagons, crew, buildings and a new coupling system.
I’ve known about this for in excess of two years having been warned it was coming. The mystery is why its taken so long. I suspect it was initially going to be announced around two and a half years ago but the Lionheart L&B announcement stole their thunder.
Doing it Right
Well at least different. The Lionheart launch left so much to be desired. Three years from announcement to delivery, incompatible couplings and promises not kept. However this isn’t about Lionheart its about these excellent new models.
The doing it right stretches to Next18 DCC compatibility with sound fitted versions from the off. A new chopper coupling system that fits in an NEM pocket with an alternative supplied. All manner of accessories for the loco and a supporting range of buildings and people.
Initially there are three loco’s, well loco styles. They are actually all versions of the standard (dangerous use of the word standard there) small quarry Hunslet.
There is the mother of the design. Cabless with the chopped ends to the frames. This was to allow them to be hauled up and down the quarry inclines without them running aground. This would include Velinhelli, Rough Pup, Cloister and Maid Marian and others (there is a frame profile variance that exclude others if you want to be really picky
Then there is cabless but with the full depth frames intended for use in the port and not go up the inclines. Inevitably they did which I assume involved some graunching on the ground.
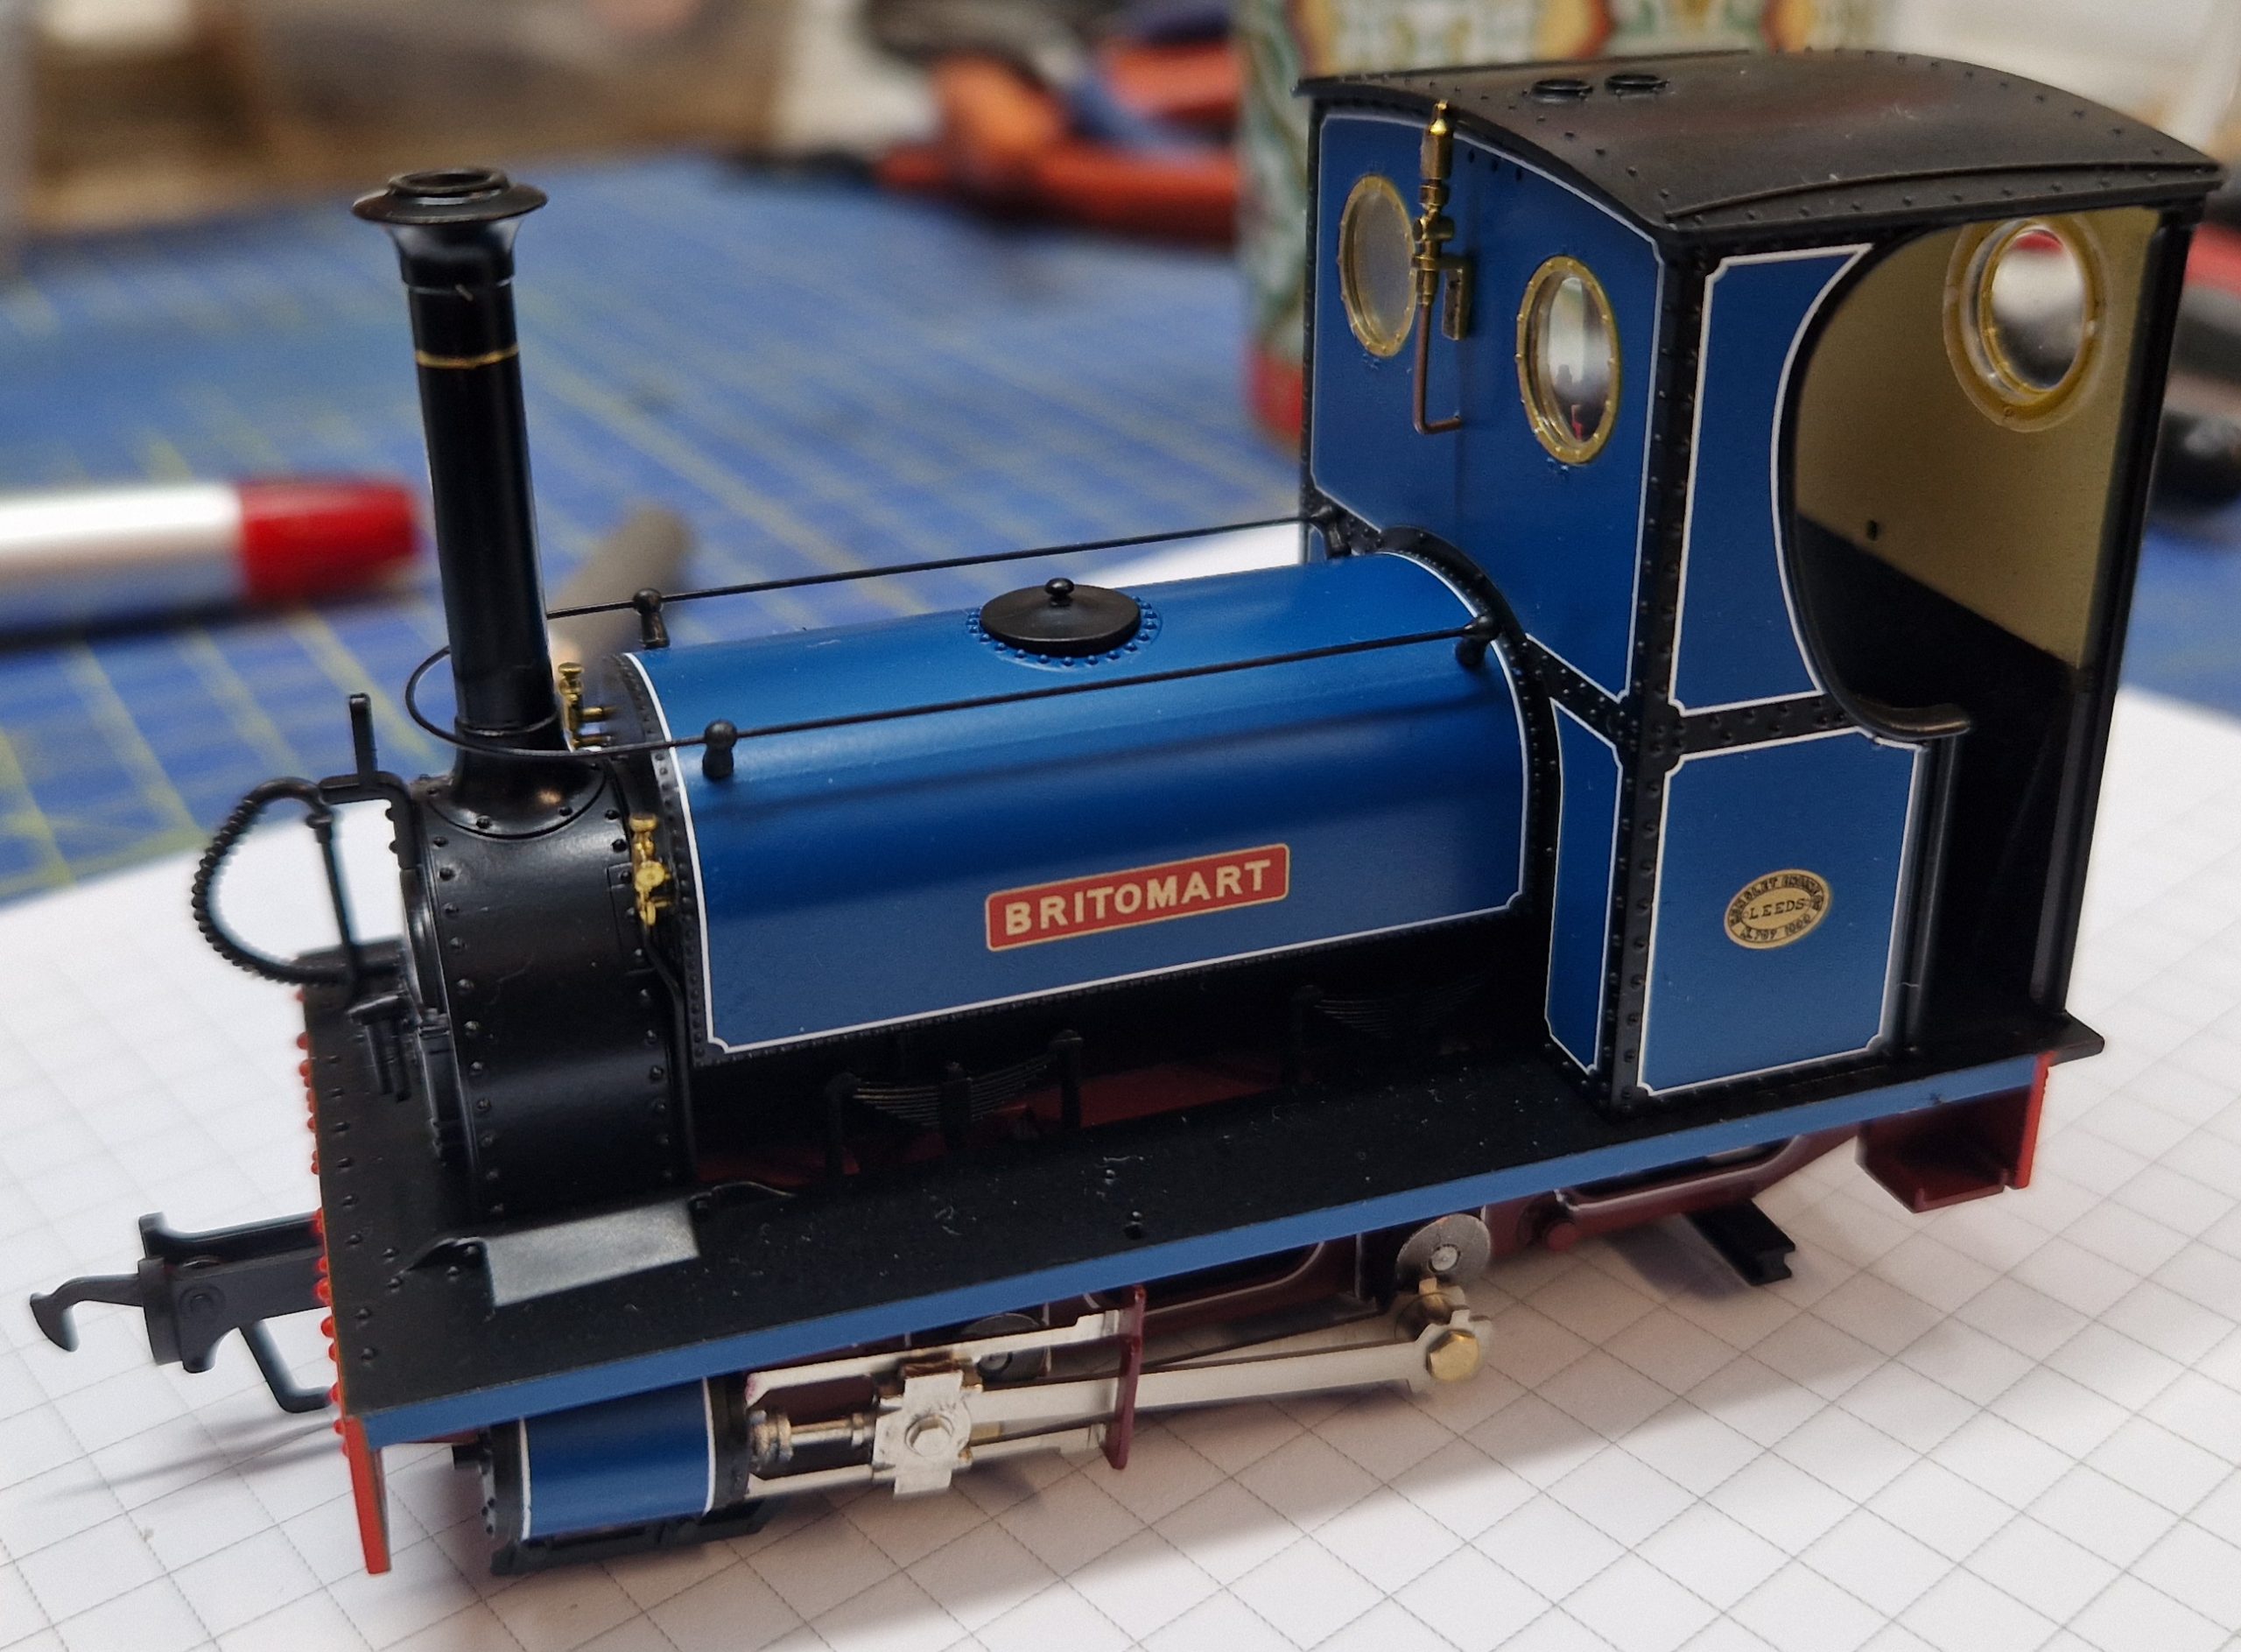
Then we get the cabbed version which represents the engines built for Pen-yr-Orsedd Quarry, Britomart, Sybil, and Una
Irish Mail was delivered to Dinorwic with a cab but it didn’t last long
There were other variants with, for example, rounded corners to the cab and the slightly larger Port Class engines and large quarry class. There is a whole book on the subject
The Scale Naming Conundrum
Bachmann have chosen to call the range NG7.
There is already a load of online fuss of the “what’s wrong with 0-16.5, 0n30 etc and mostly it’s a load of drivel. Bachmann chose 0n30 for their American narrow gauge range to 1:48 scale and its wrong. The correct notation should be 0n2 ½ but this isn’t the place for a lecture on NMRA naming standards.
What Bachmann are doing here is not introducing a loco but a complete range and they need it to stand out so NG7 works for that. I like it and can see it being adopted with possibly some additional delineation.
How about NG7 as the scale and -16.5 as the gauge? Then we could have: –
NG7-21 for the three footists
NG7-17.52 for the 2’ 6”ers
NG7-16.5 for the GVT and near enough modellers
NG7-14 for the two foot modellers
NG7-09 for the near enough 15” ers
And of course NG7-12.85 for those following the true path and model these the correct 1’ 10 ½” gauge.
Re-gauging Info
Truth is until I get my sticky mits on one we won’t know how easy or not it is to regauge to NG7-14 (I like it and I’m going to use, more so if it winds people up). My source tells me that its probable that the die cast chassis doesn’t allow for the narrower gauge so it will involve either a new chassis or an attack with as milling machine.
All I can really say at the moment is that I’ll be investigating it as soon as I have one and the scars from doing way too many Lionheart L&B loco’s have healed. Two enquires have already landed.
What does is mean for the Agenoria Range?
Well, it probably means that sales of the SL1 and SL3 kits for variants of the Alice class will drop significantly. These kits will continue to be available but won’t see any development in the foreseeable future.
However, Bachmann have got you hooked on quarry modelling you will realise that there were lots of other engines. In the Agenoria Range there is
Jubilee 1897
Dinorwic Port class
Penrhyn Port class
Penrhyn Large Quarry class
Lilla
These are already getting some work to upgrade them to multimedia kits with ease of assembly a key requirement. Other models are in development such as Glyder, a Barclay copy of an Orenstein and Koppel that in its second career worked in the quarries.
 This weekend is our local show. Its also one of the largest and a fixture in the exhibition calendar. For years now I have had a stand doing modelmaking demo with a bit of sales thrown in. Its evolved over the years to now have a standard spot [stand 116] on the top floor forming a narrow gauge enclave with the 7mm Narrow Gauge Association and the 009 Society.
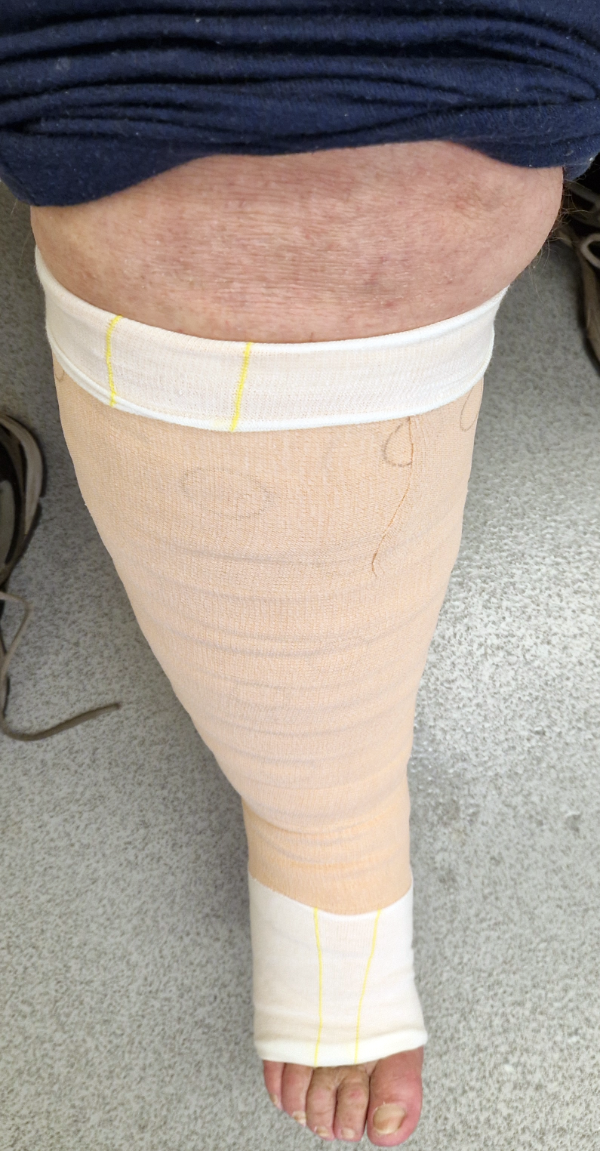 If you’ve read the previous two posts you’ll know about my wonky leg. I’m typing this just back from todays visit to the coven of nurses to have the compression dressings changed.
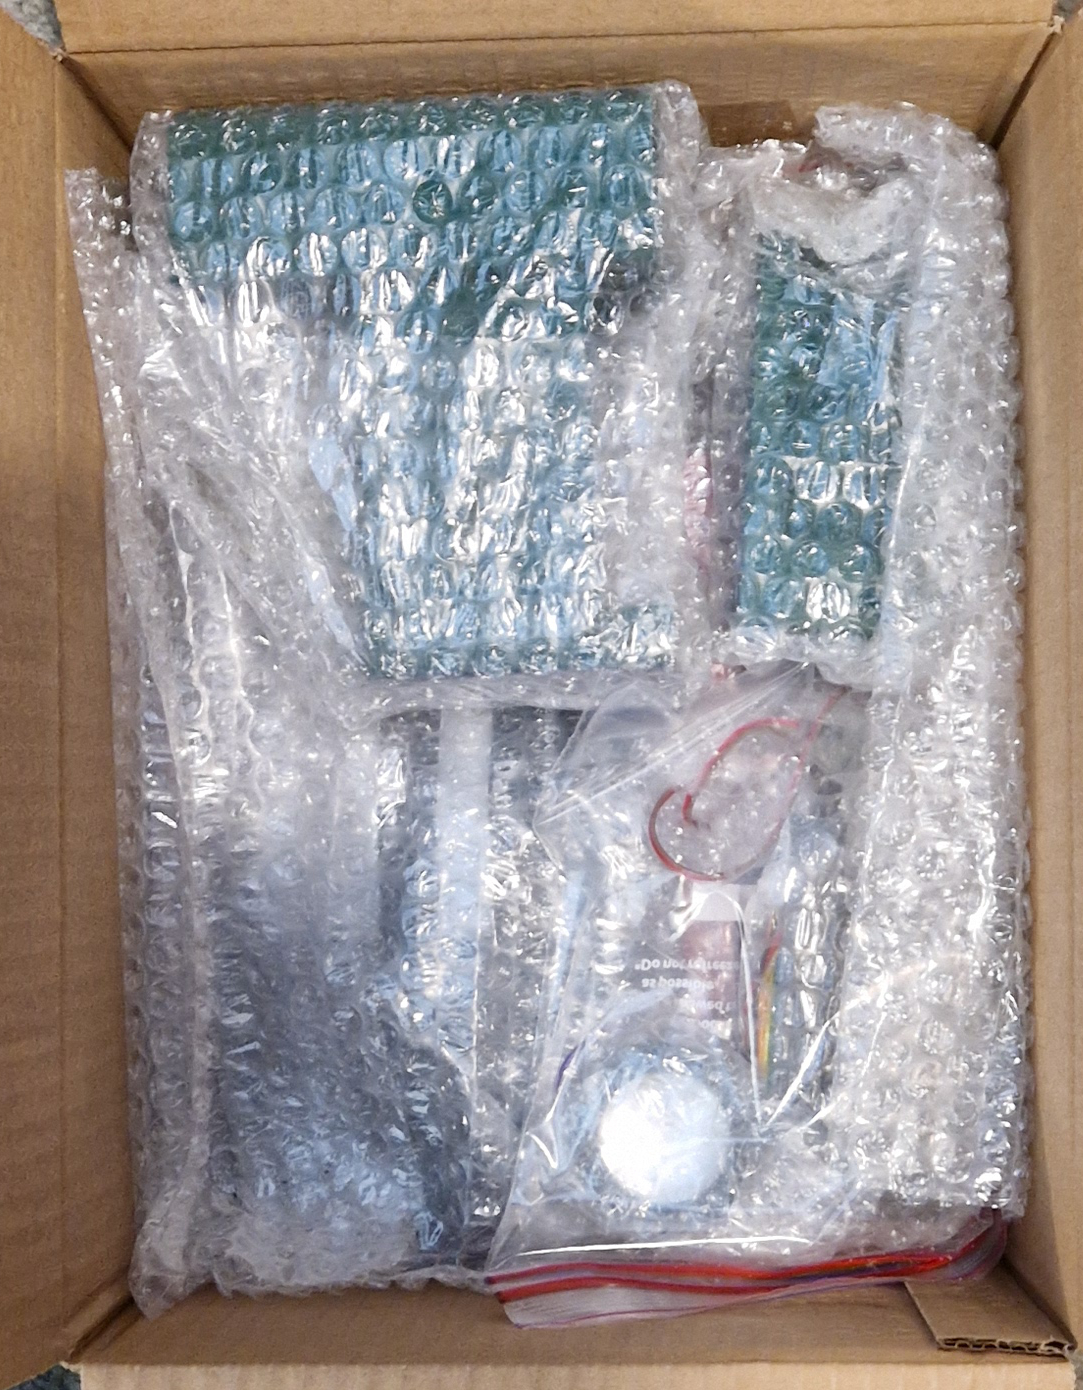 I usually cart all my soldering and metalworking kit along to the show causing disruption in the workshop before and after the event.