Murder Of a Garratt Pt3 – Colour Me Red
 It’s been way too long since I reported progress with the Garratt and a long time since there was anything to report. Just as the first lockdown was looming as Covid got away from London our local hospital had a policy of no admissions & no surgery as it prepared for what was to come. I made the strategically dodgy move of winding up in hospital as an emergency admission and two days later having surgery on the grounds it was the quickest way to get rid of me.
The result was that I missed the impact of most of the first Covid lockdown as I was being otherwise unable to go out. Recovery has taken a long time with all manner of side effects and a real blow to my mental health at the turn of last year. Being a one man band, Self Employed, Sole Trader I was cunningly positioned to avoid any of the various help schemes offered. As I was able to very slowly return to work in a limited fashion priority had to be given to business recovery, filling orders and making the retail stock.
 It has taken ages to get to the point where I have the combination of the time, ability and desire to build models and if my heart isn’t in it the results won’t be what I want to achieve.
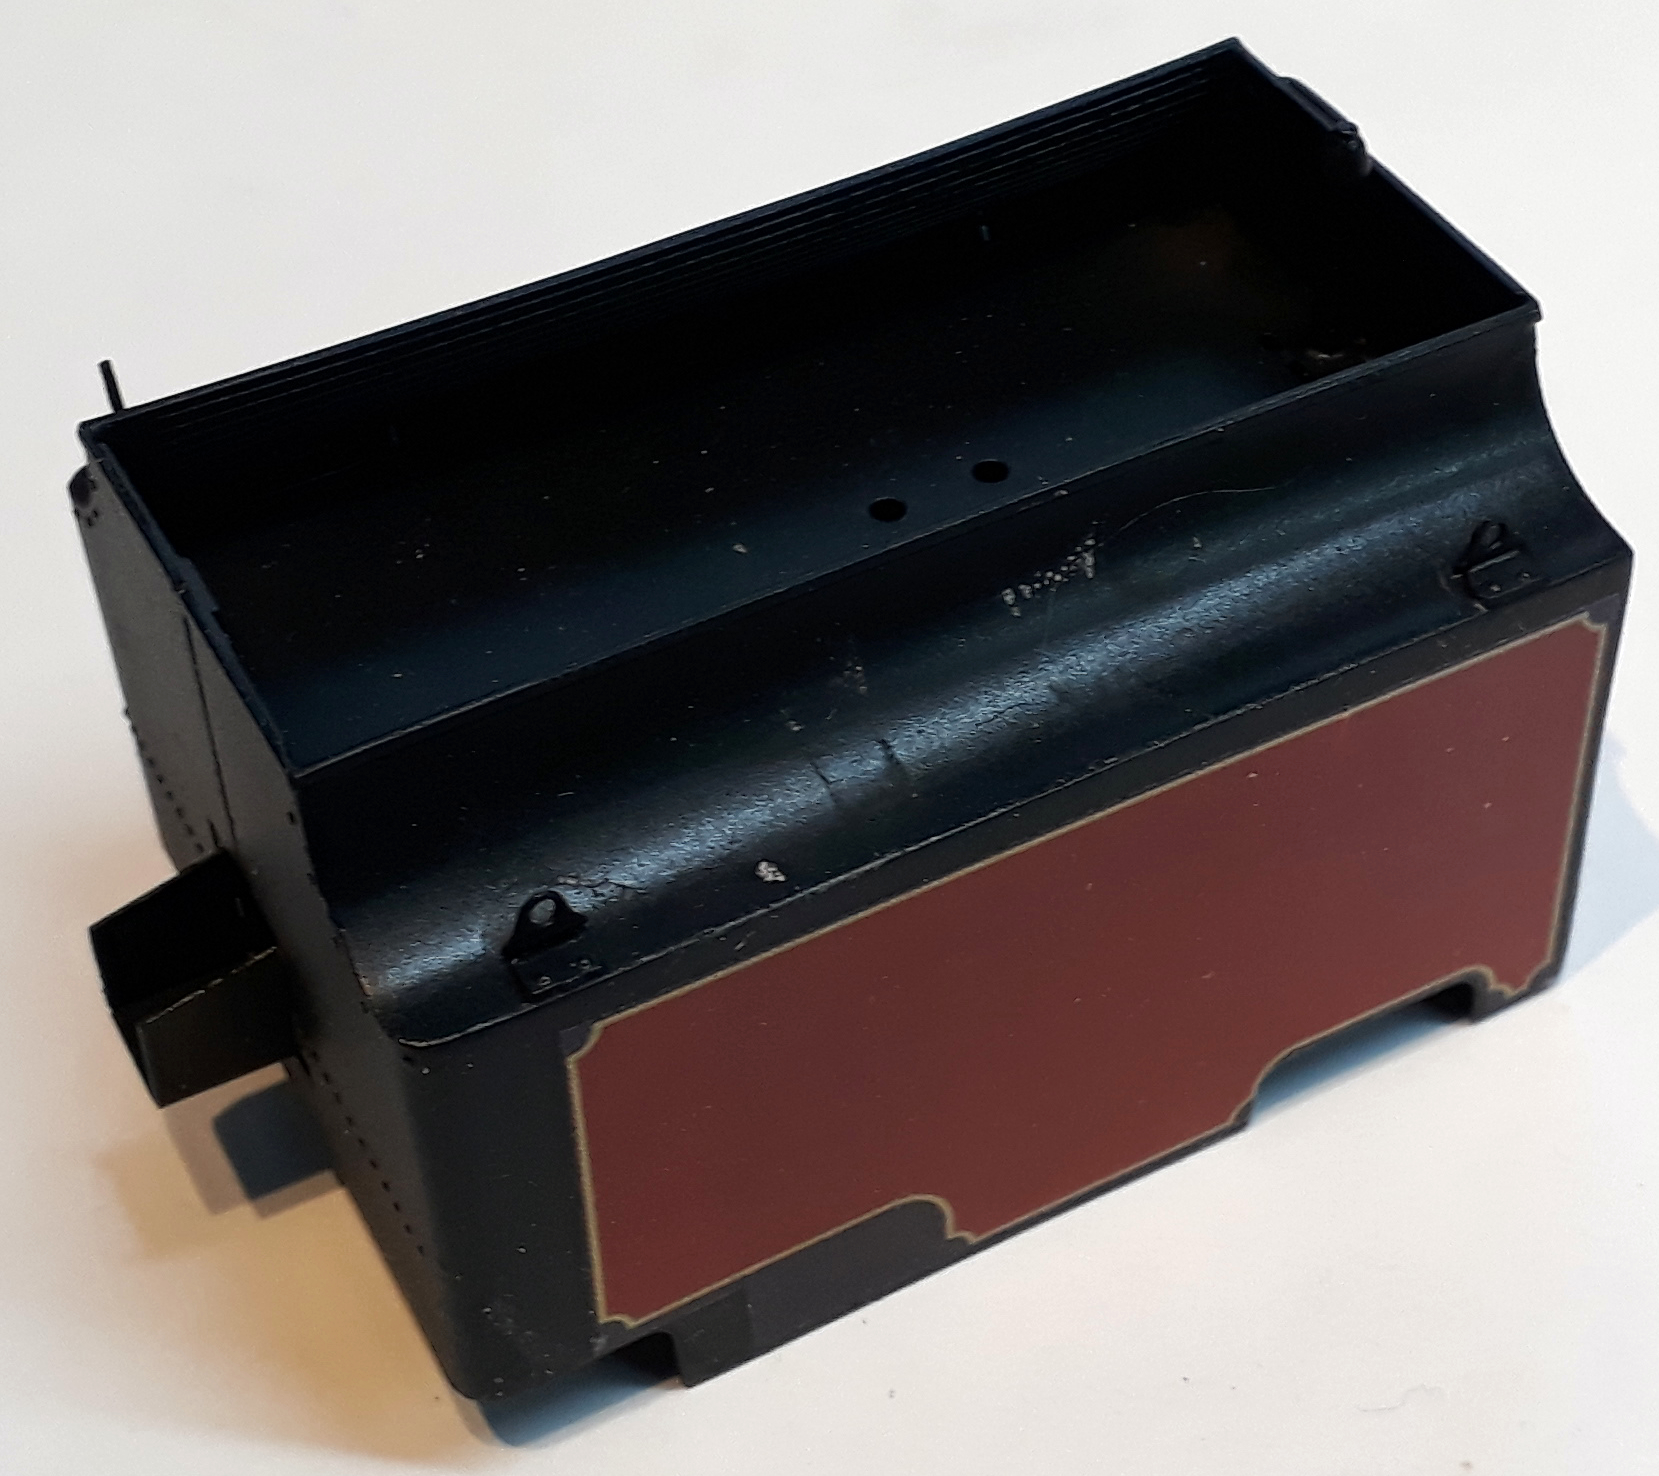
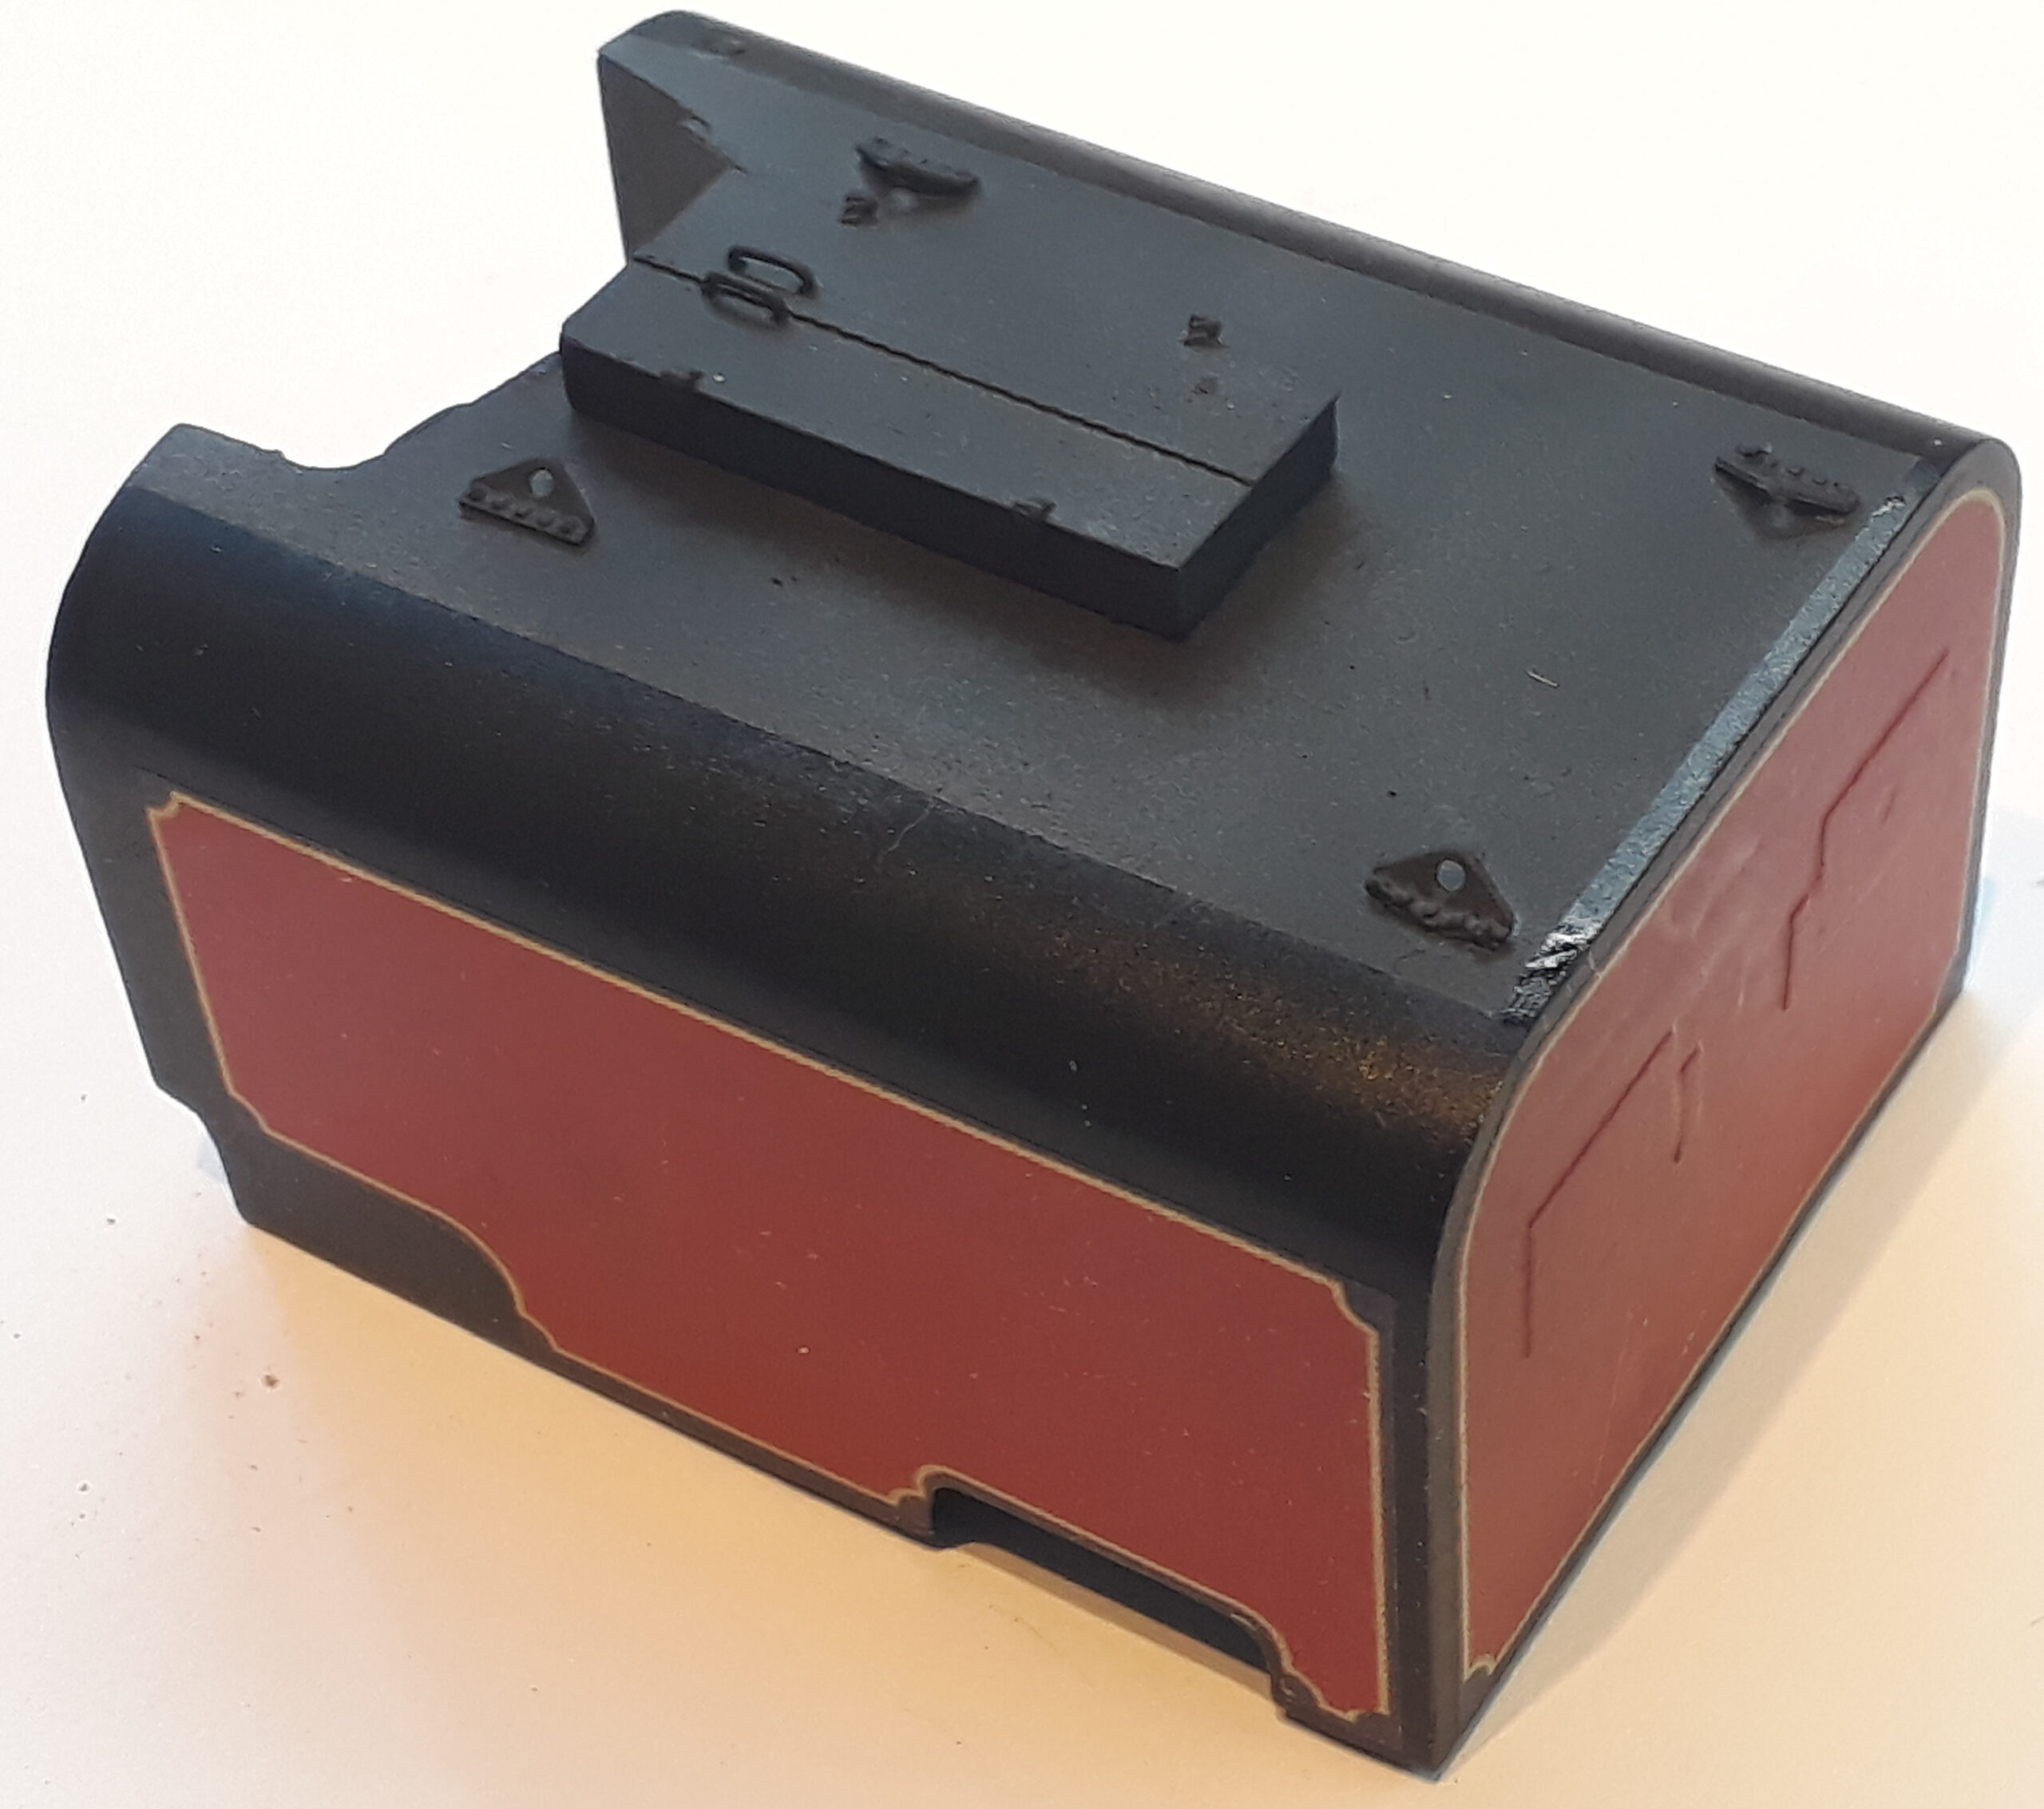
Anyway, enough of that. We left the saga with the tanks having their livery and lining applied by decal and I am really pleased with the way that they came out. The front tank has had the trough style water filler added as a 3D print.
There are decals for parts of the cab but the boiler is going to need painting but what colour?
For a start I am not a fan of the “it must be the right colour because the label on the bottle says it’s #138 red” idea. Believe me, paint colours don’t always work when scaled. I have a Blanche model painted with paint from the same tin that painted the real one and its doesn’t look right because the volume of it isn’t the same and therefore the way it reacts with the light is different.
There is colour matching to do that starts and continues…..
- Mr Decal man please do me the decals to match 138 red
- Decals Arrive: Colour is close but not 100%
- Match the boiler paint to the decals
- Get sneaky with the boiler paint
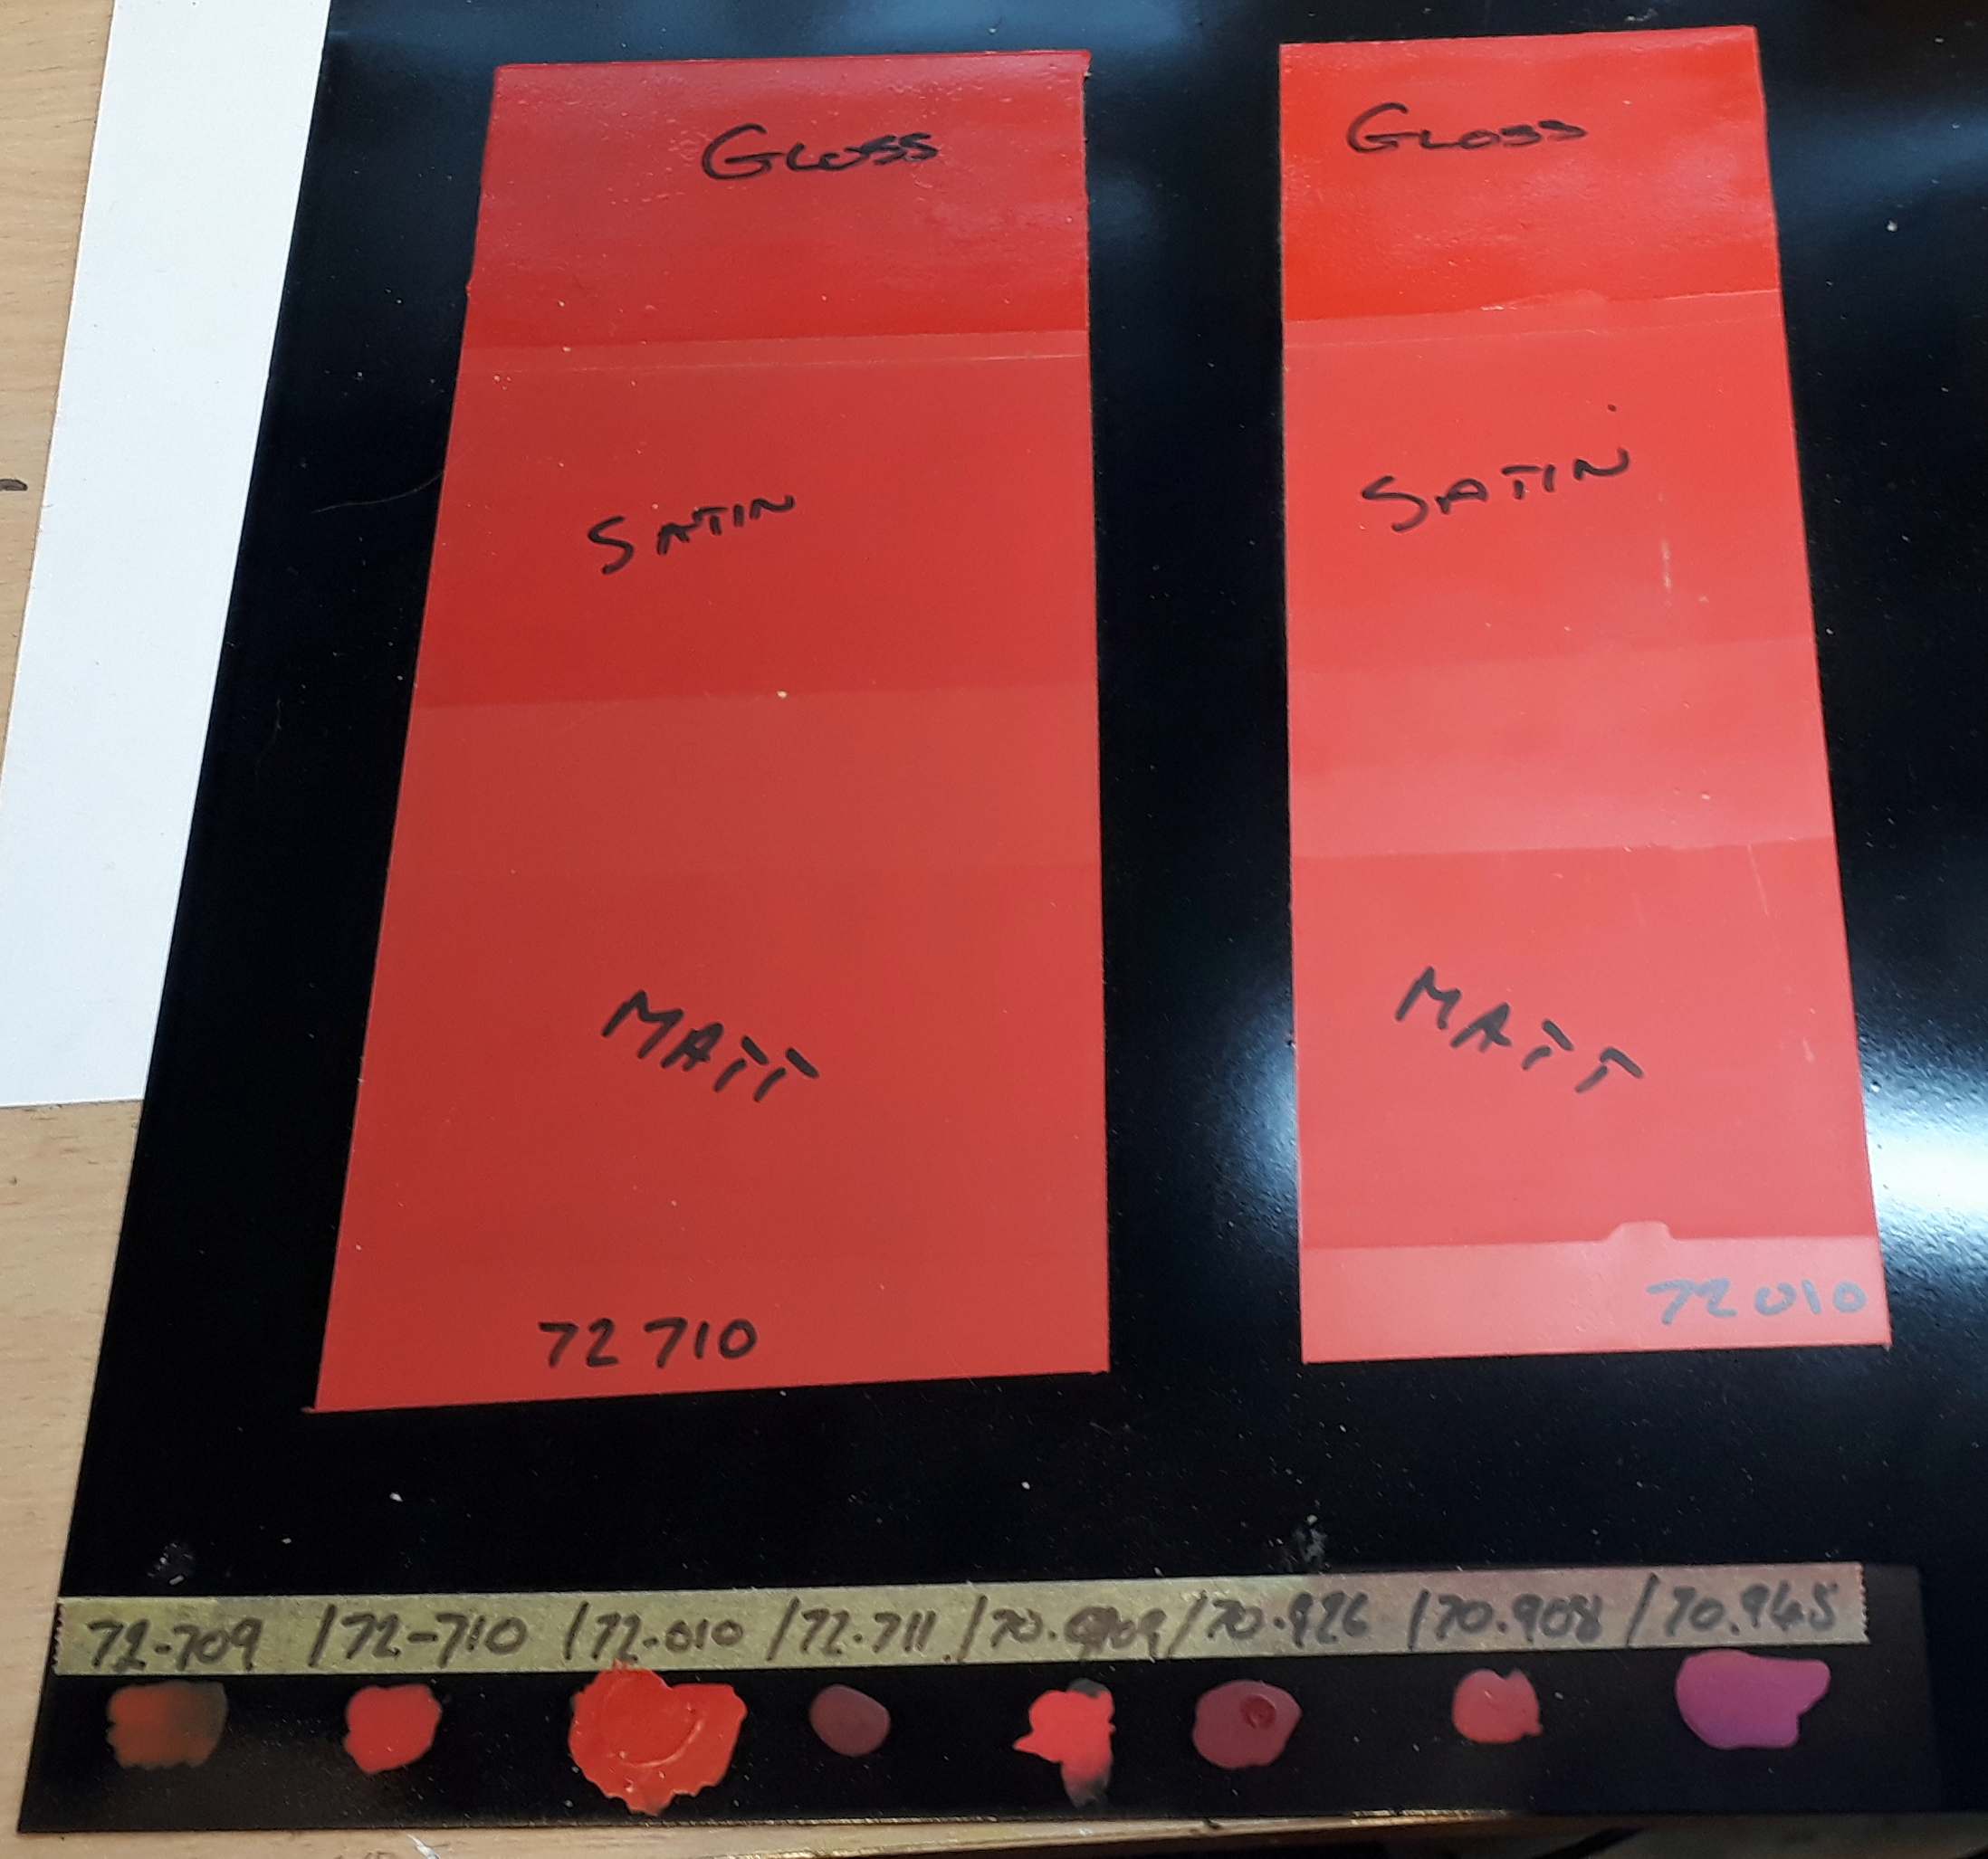 As I am trying to paint this as much as possible with acrylic paints I got a collection of reds and sprayed them on a test piece and then also over sprayed them with assorted varnishes.
Here’s the test plate with the paint splodges from each of the reds I had along the bottom. The larger panels are then painted with the two closest matches before applying the various varnishes.
I am trying to use acrylics as much as possible, and certainly for spraying, for health reasons and to avoid the pong of oil based paints. At first I hated acrylic paints but then with practice, watching a lot of You Tube videos and the purchase of decent paints and matching products I am now converted.
Go on, admit it, you’re thinking WTF aren’t you?
 This is another demonstration of a pet peeve of mine. When I do modelling demonstrations of soldering kits at exhibitions I regularly hear people say, “I wish I could solder like that”. Well, once upon a time neither could I. I practiced, I learnt and I left a few pretty poor models along the way that ended up never being finished and in the bin.
Practice is the only way
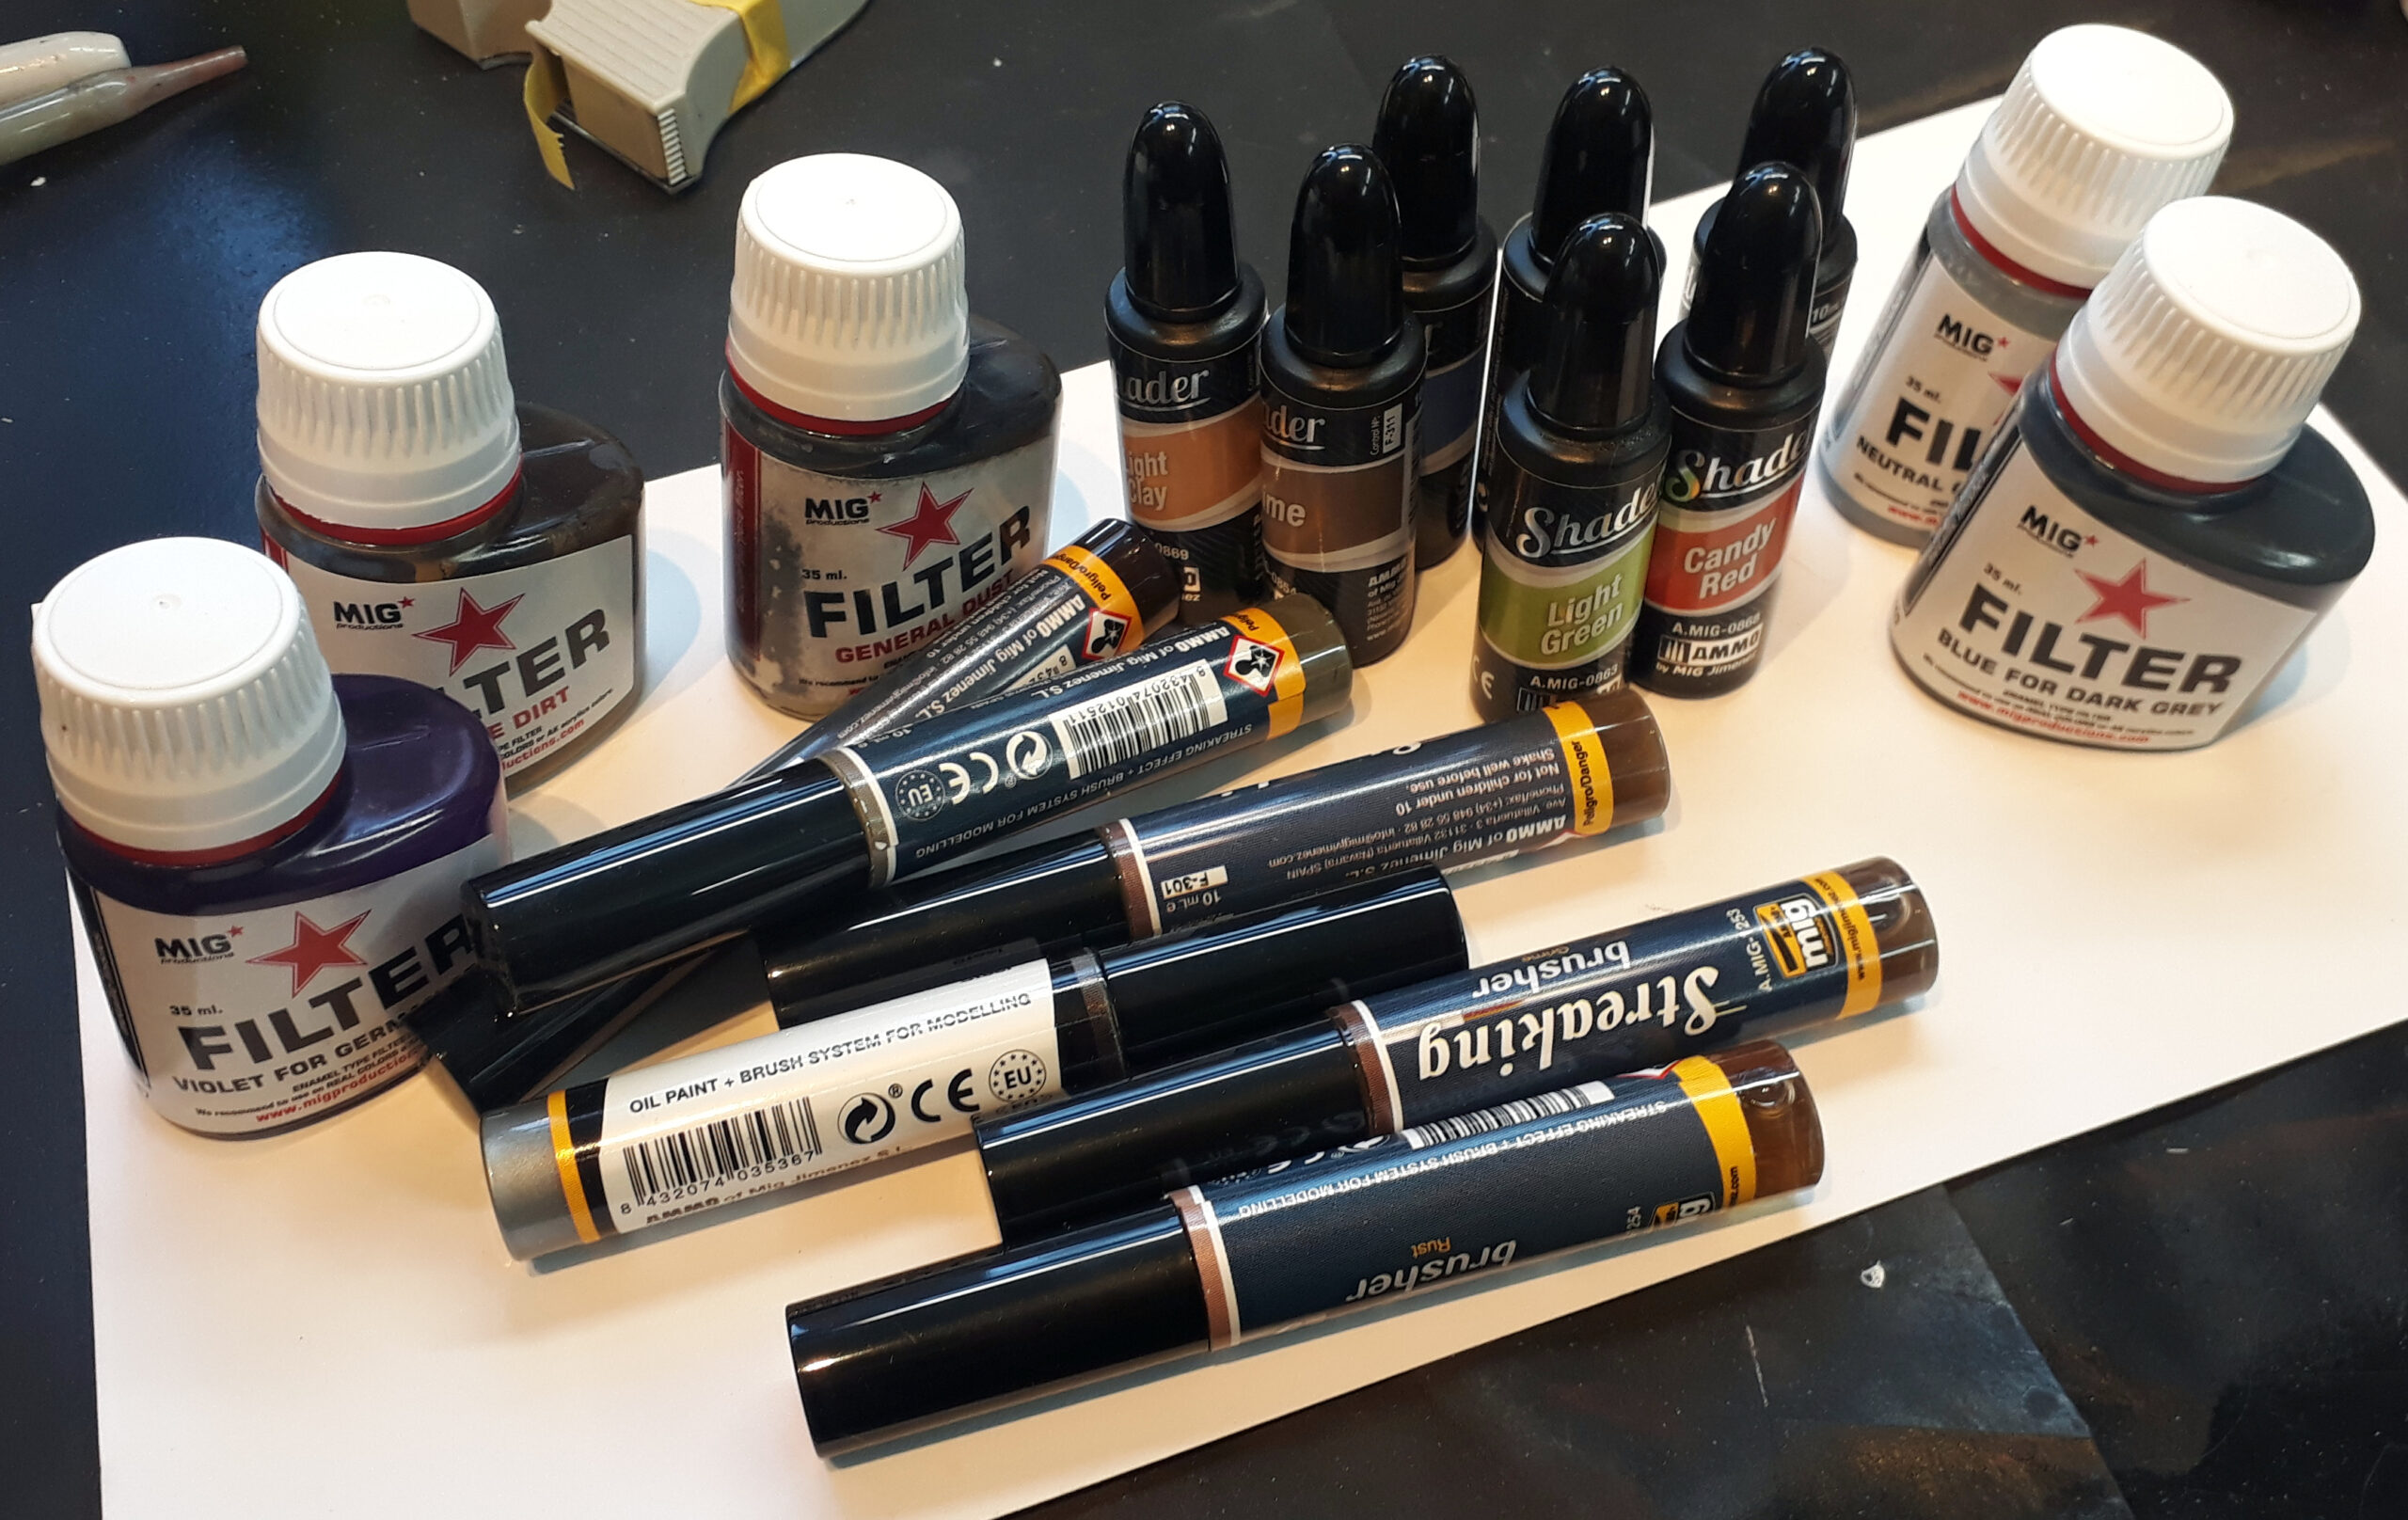
When it comes to spraying I have been watching lots of videos by military modellers and learning from them. I’ve learnt about different primers, pre-shaders, washes, filters, pin washes and lots more. There’s loads but have a look at Nightshift
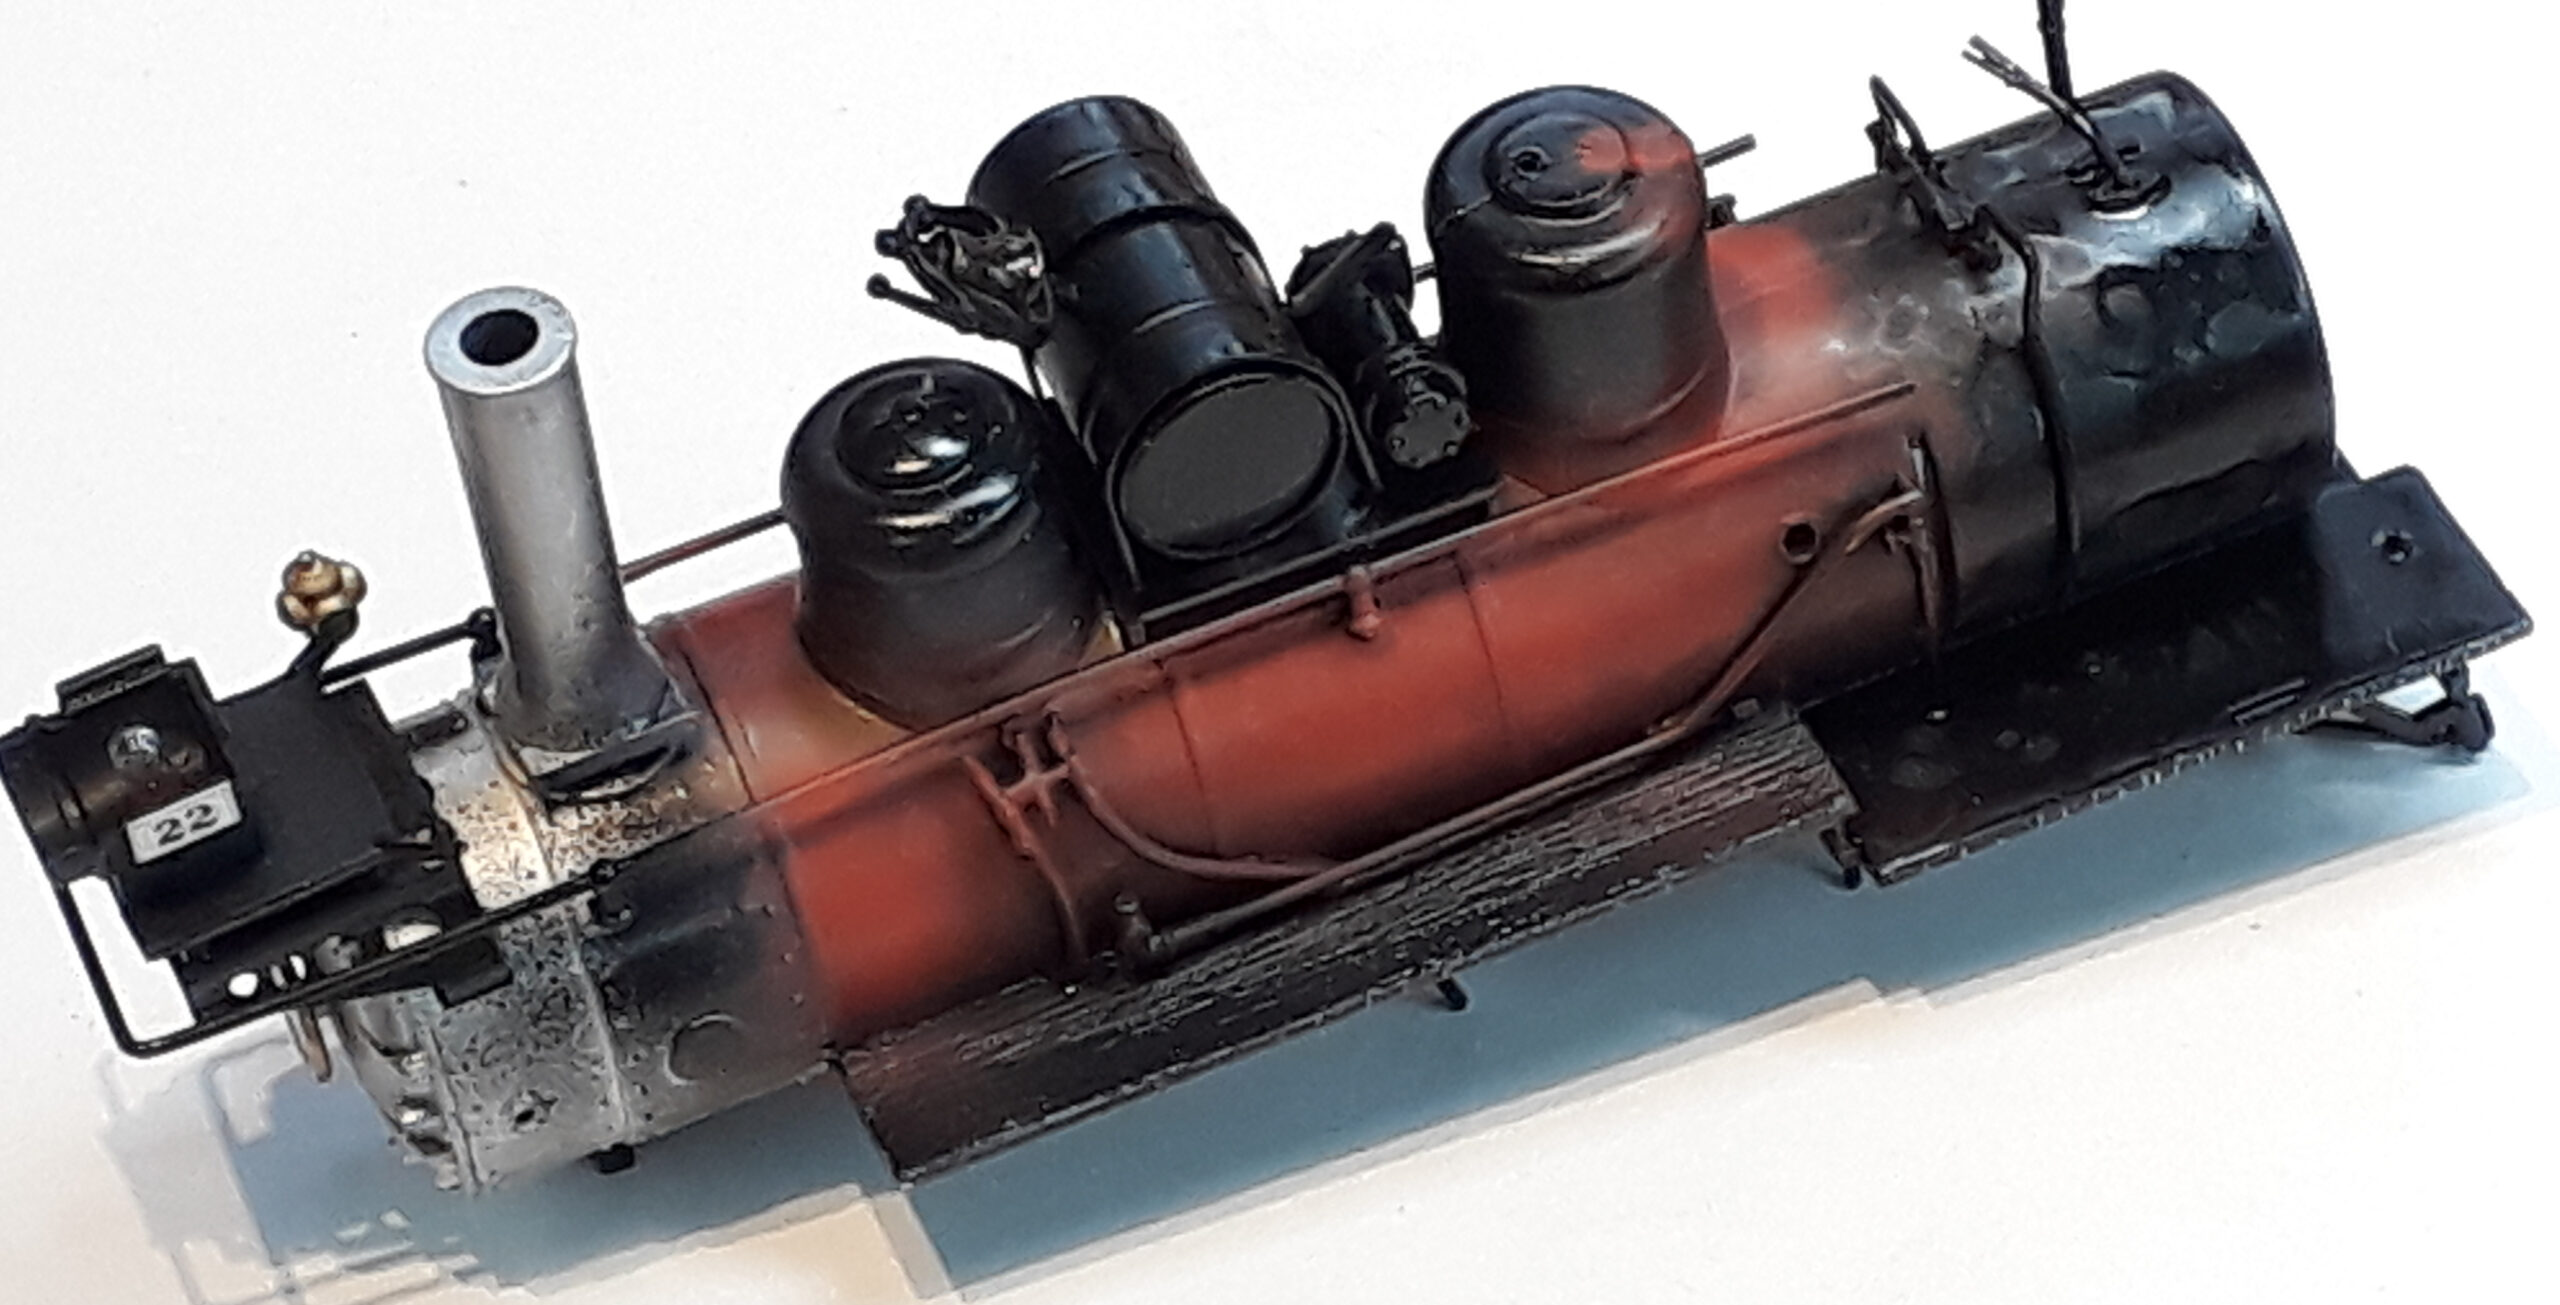
So, what’s this wrong boiler all about? This 0n30 Mogul has valiantly given its boiler to experiments with pre-shading prior to the body colour going on. The only time the red on the boiler was uniform from end to end was the day it came out of the paint shop. Actually, I’d argue that probably not even then as the light plays differently on the different bits.
 Given the boiler starts with a black base in a paint that is resistant to stripping that will be our base. Around the firebox and under all the plumbing will get a waft of black primer, a band of brown just behind the smokebox and white in between. They will be faded into each other. The idea is that when the body colour is sprayed on the pre-shading will result in subtle changes to the red.
So, what’s this wrong boiler all about? This 0n30 Mogul has valiantly given its boiler to experiments with pre-shading prior to the body colour going on. The only time the red on the boiler was uniform from end to end was the day it came out of the paint shop. Actually, I’d argue that probably not even then as the light plays differently on the different bits.
 Given the boiler starts with a black base in a paint that is resistant to stripping that will be our base. Around the firebox and under all the plumbing will get a waft of black primer, a band brown just behind the smokebox and white in between. They will be faded into each other. The idea is that when the body colour is sprayed on the pre-shading will result in subtle changes to the red.
Further weathering will them be done with an assortment of products to add the patina of grime on a cared for but hard working engine.
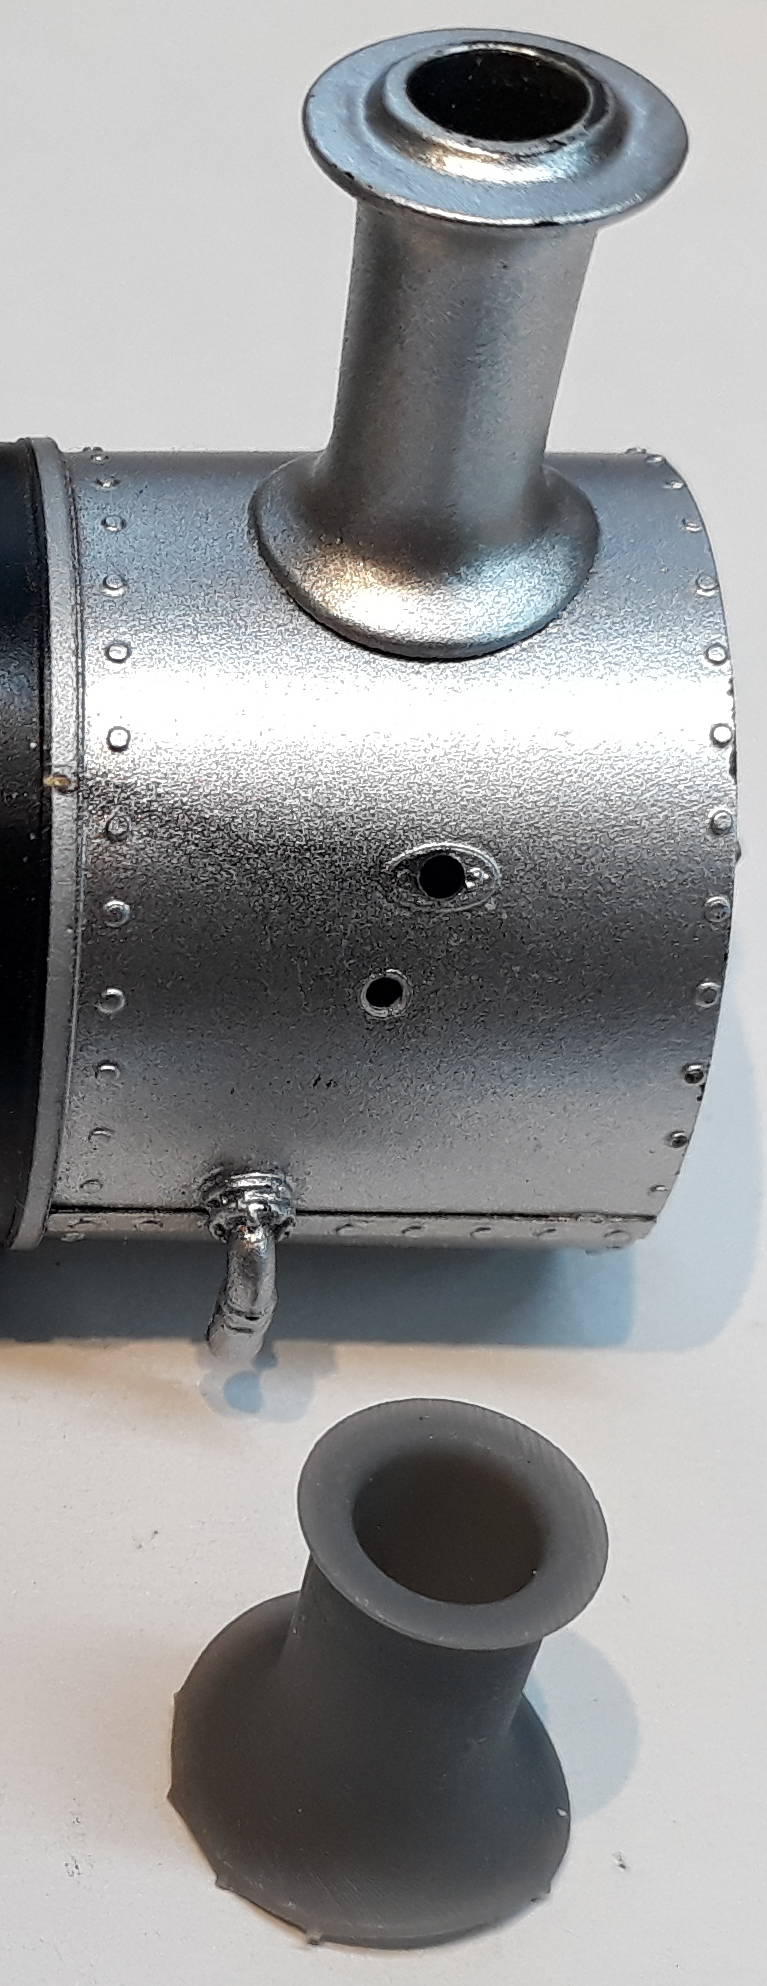 I am not going to reveal any more on the painting until its completed now. Two reasons: I don’t want to spoil what I hope will be the big reveal and it might just end up in the paint stripper!
Lots of other bits and bobs have progressed. The chimney on the loco is wrong so I have a 3D printed replacement ready to go on.
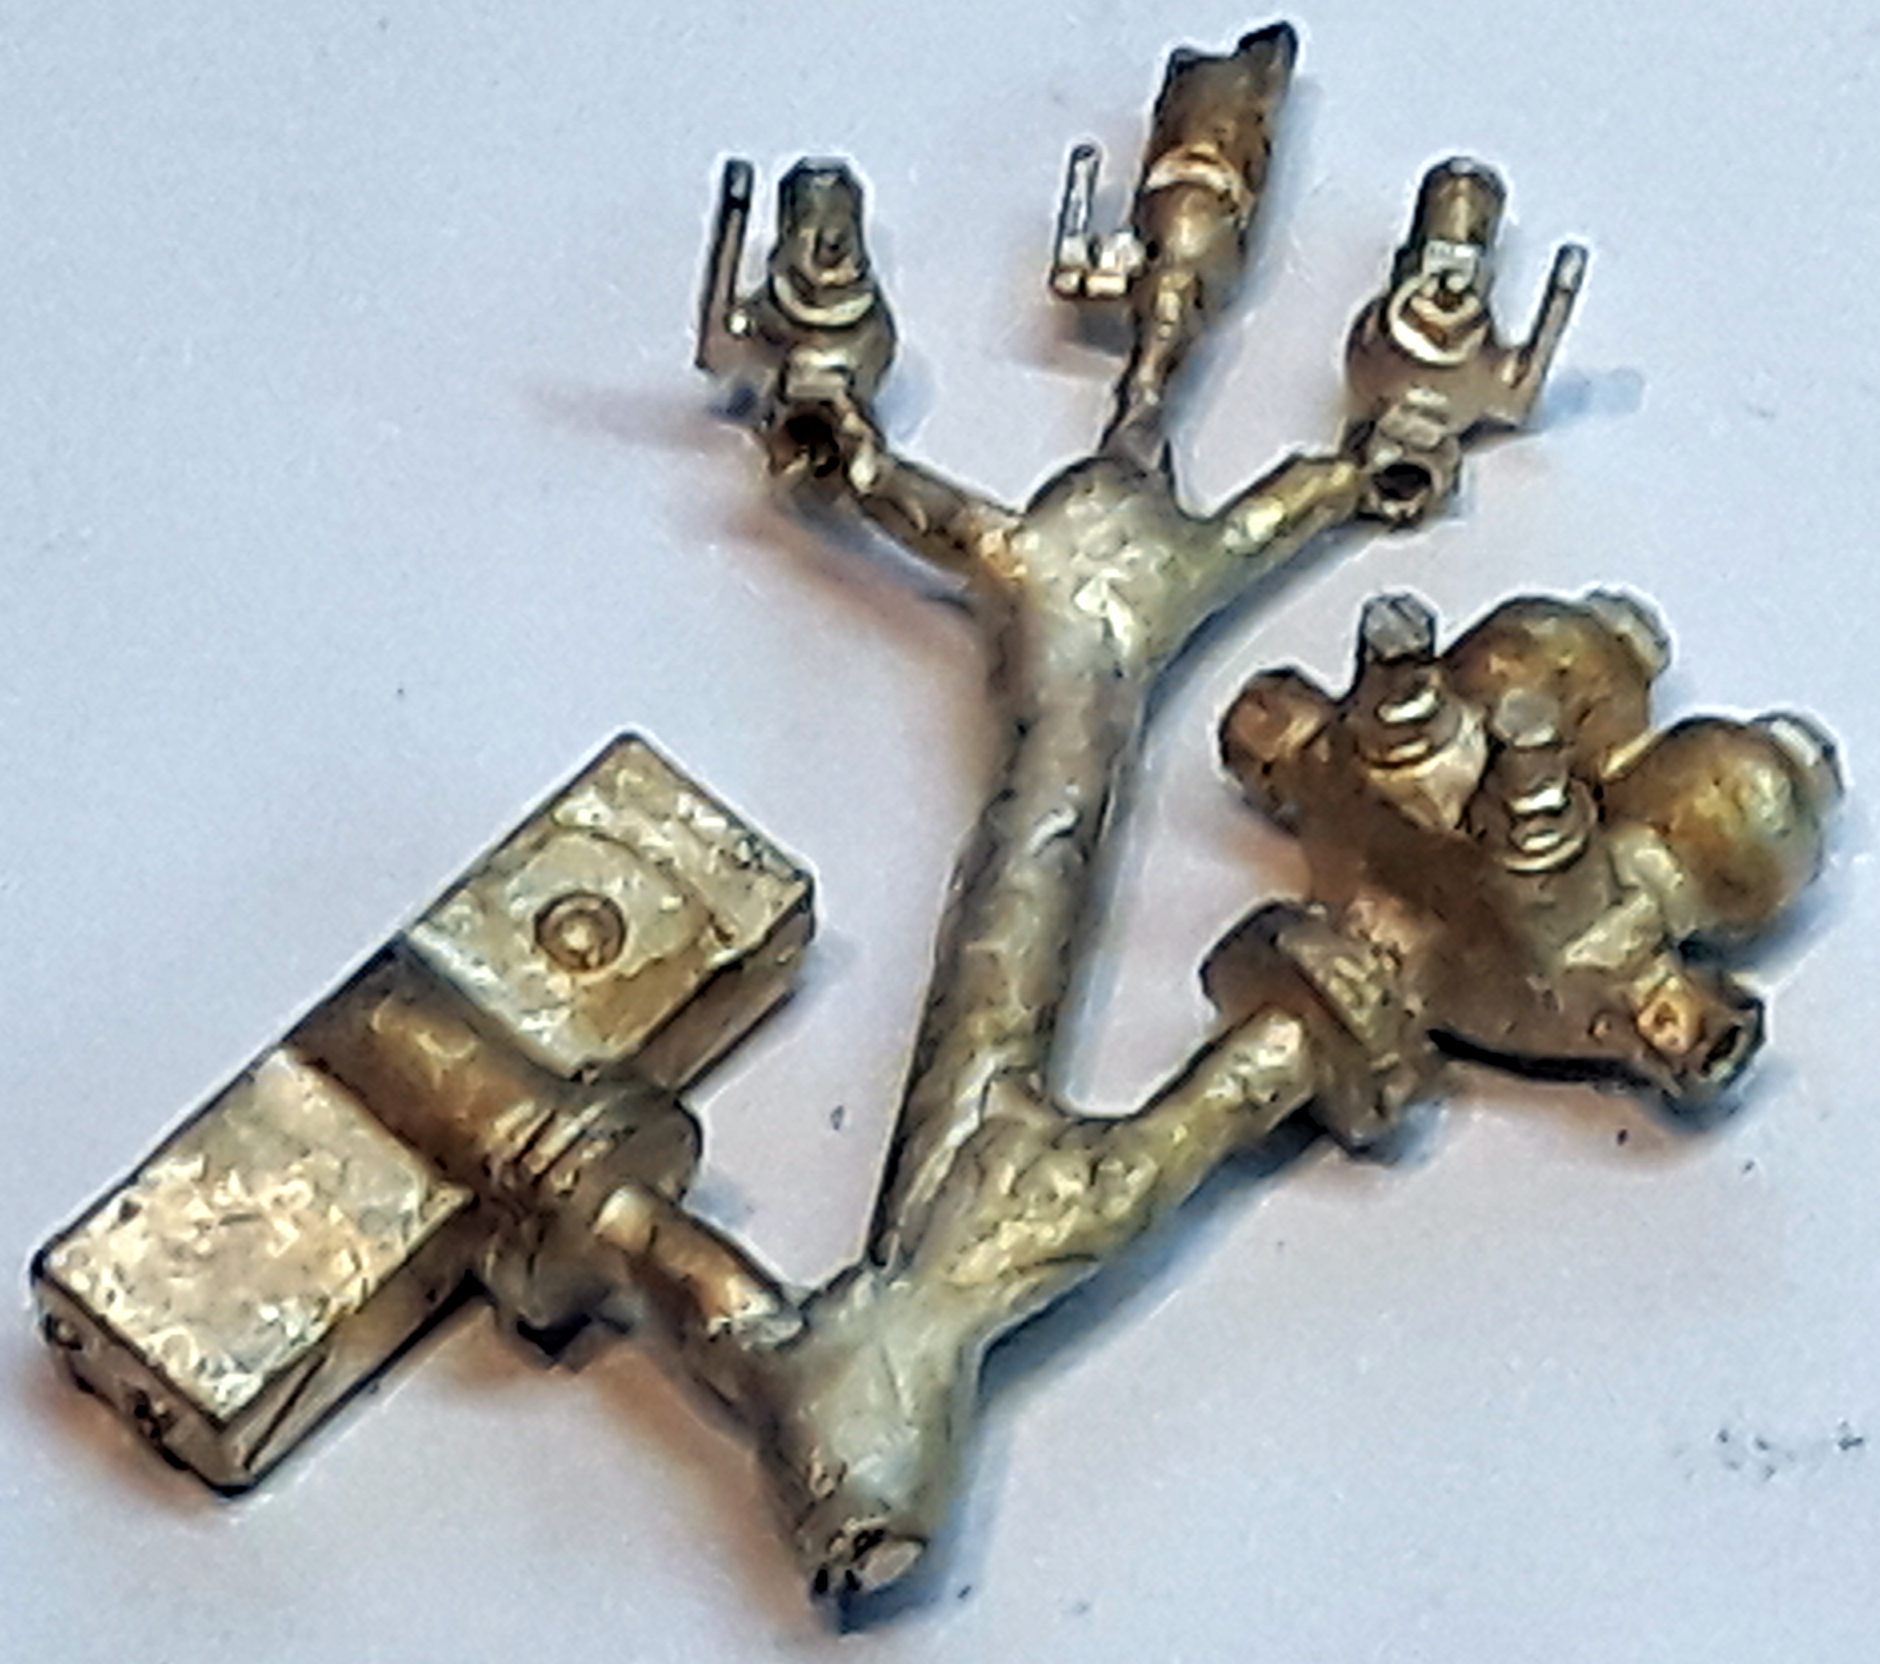 After a lot of delay and misunderstanding with the caster I finally got castings for the manifold, top feed, whistle and other valves. These are being prepared for fitting with pipes being made up now in copper wire
Not sure that I can put what I want to say into the right words here but I’ll give it a punt. If I am not in the mood I can’t do a model justice. Mentally , I can find all manner of other things to do to avoid the thing I can’t really face. Then, the really daft thing is that I’ll do something that undoes the mental block and I end up cracking on with it wondering what the heck was stopping me. I am full on with this Garratt now but aware that there are a number of other projects all vying for my attention.
What I have learnt from the little mental health event earlier this year is that I can’t carry on like this and so this is probably the last loco rebuild I do commercially.
The next instalment should follow shortly and it may well be the final part
 |
 |
