Saturday is Too Soon. Can we move to about next Wednesday?
This is one of those posts you can look at in two ways. You could be properly despondent about it or you could take the optimistic outlook of how far you’ve come with it. With a promised Saturday delivery the former is the one I chose and its taken me some time to even think of the second version let alone adopt it.
What has prompted this outbreak of gloom?
The Garratt has turned into a never ending saga. Nothing has gone horribly wrong (until tonight, more of that in a moment) but it just seems to go on forever. I keep ticking off jobs but the end doesn’t seem to get any closer. There have been some tasks on it that I really haven’t looked forward to and there are some that I’ve had to think about and try a couple of things before I’ve got it right.
Better do a progress update
 Well, this isn’t the disaster that prompted the current gloom but the masking tape used whilst I was painting the boiler bands lifted the paint on the firebox as it was removed.
This was despite doing all the usual things like using decent model masking tape, (can’t recall if this was Tamiya or MIG), desensitising it by sticking it to glass a couple of times to reduce the tack before using it on the models.
That was definitely a “put the kettle on” moment and pause for a think.
Must have been in a philosophical mood that day because I told myself `it obviously wasn’t stuck properly and that its better it did it now rather than at the end’. Yes, I surprised myself with that one!
 Anyway, time to set about fixing it. The edge of the red paint was cut back to where it was stuck and then feathered in with Tcut. The black was then abraded and wafted with brown acrylic primer using a mask held away from the model so as the spray had a soft edge.
When that had dried the same soft edge spray was done with the body colour red. This was put in my warm cabinet and left to harden.
I then touched up the chrome bands and left them to dry.
Up to this point it has all been done with acrylic paints but now some early weathering was done with black enamel as a pin wash around the bands to pick out a line between them and the boiler. Other areas got the wash treatment with the black applied around details, allowed to dry a bit and then wiped away with a brush just damp with thinners. The leaves a black shadow around details. I think I got away with that one – still on track for Saturday!
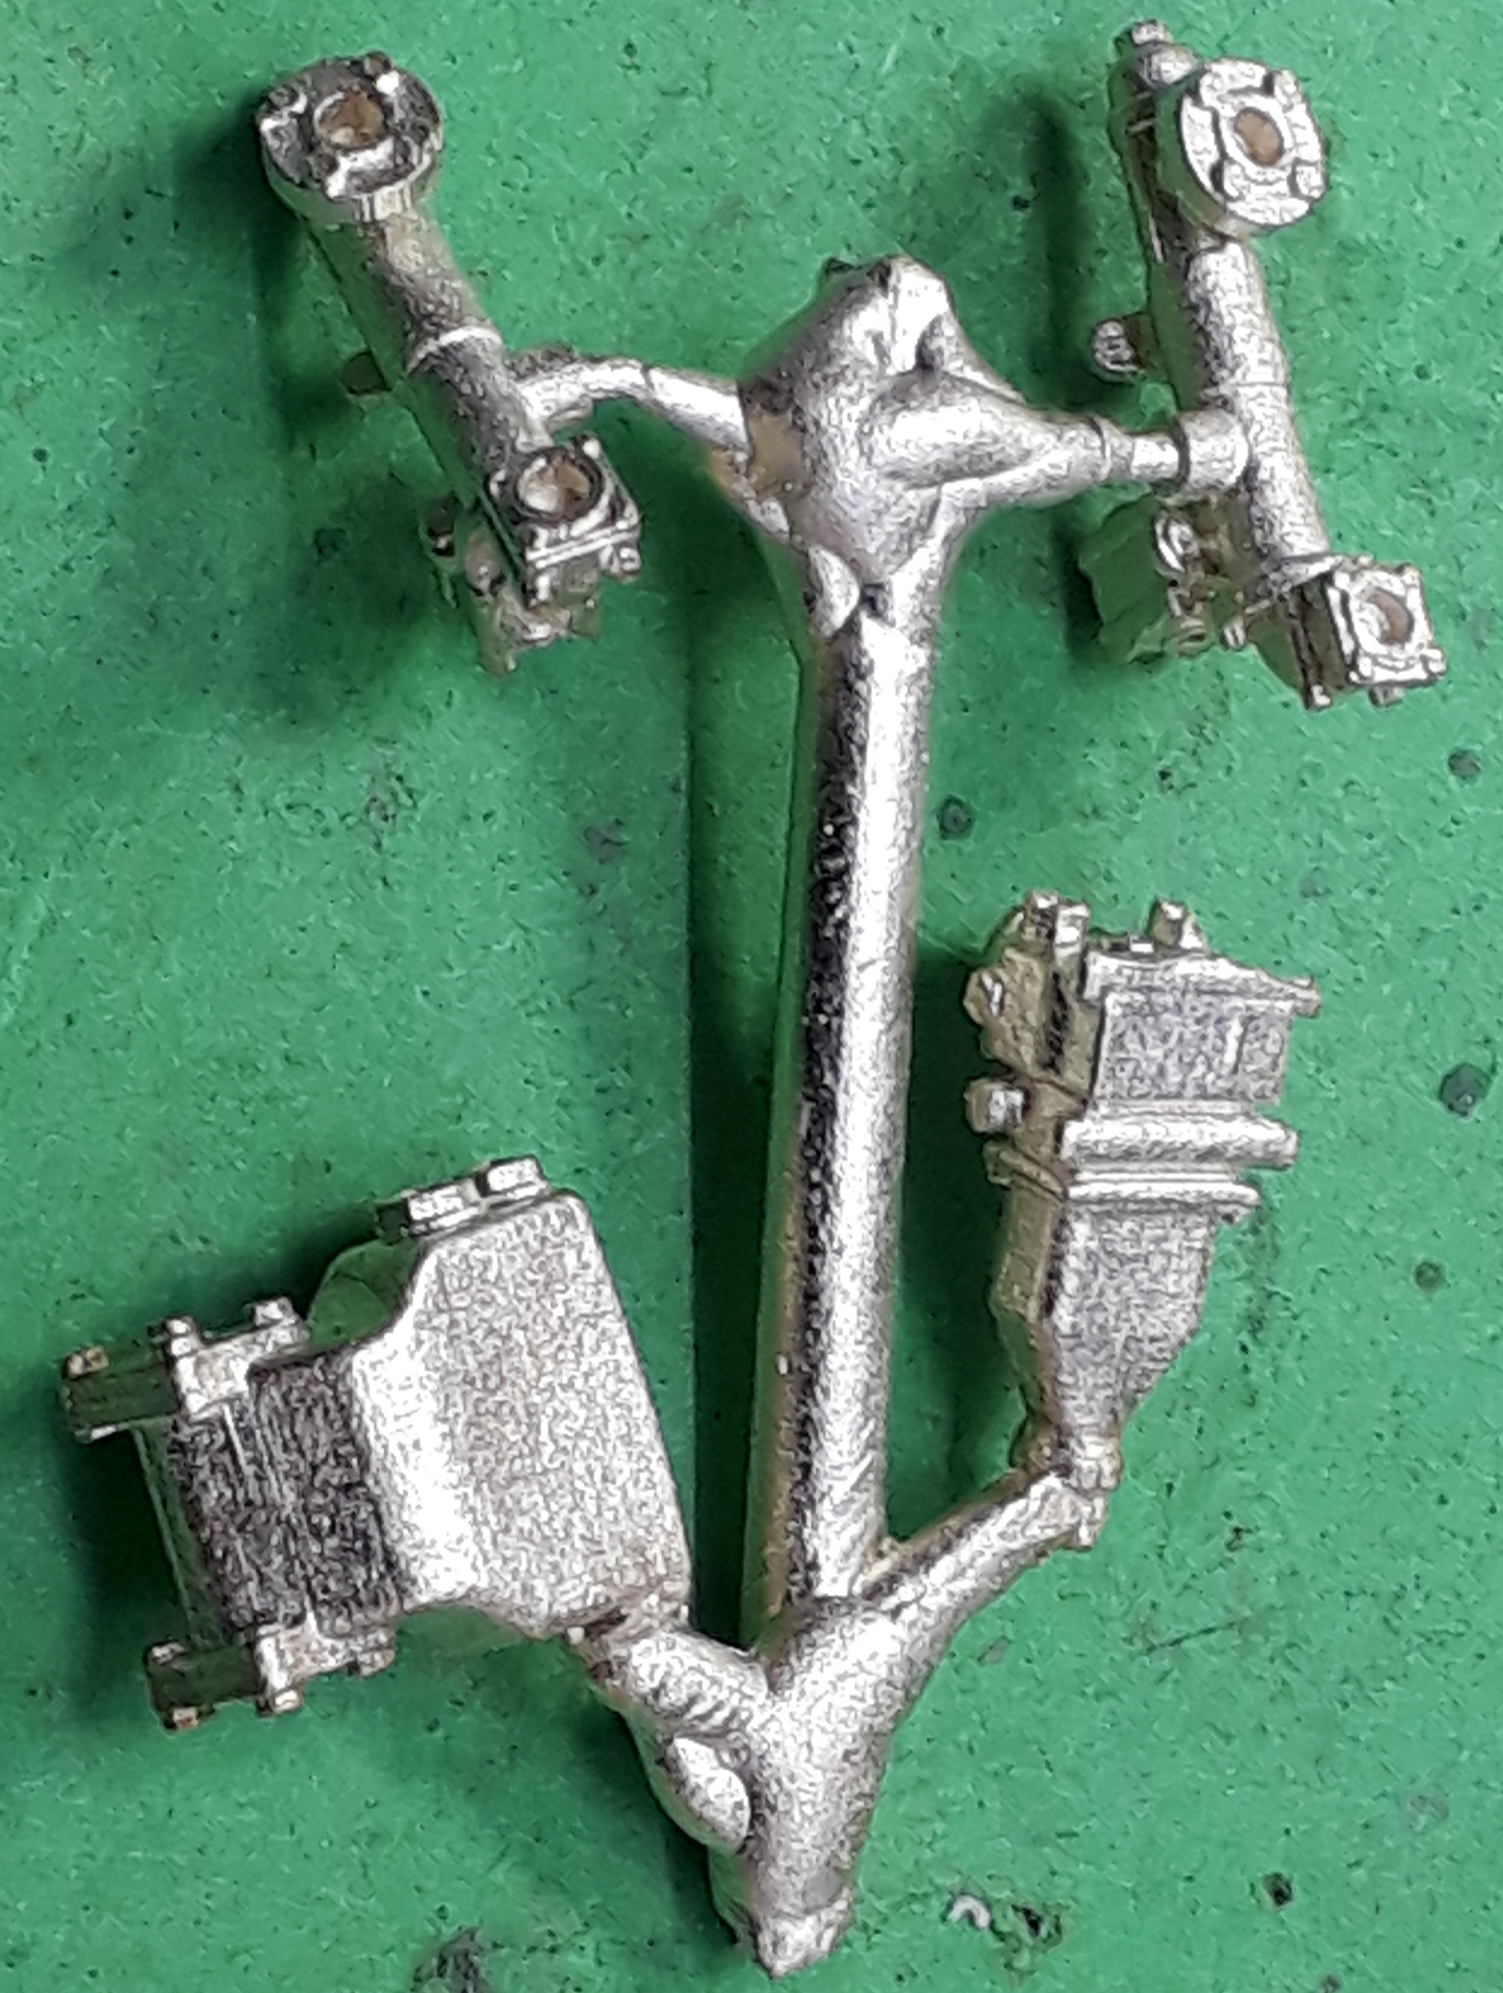 Next slight
 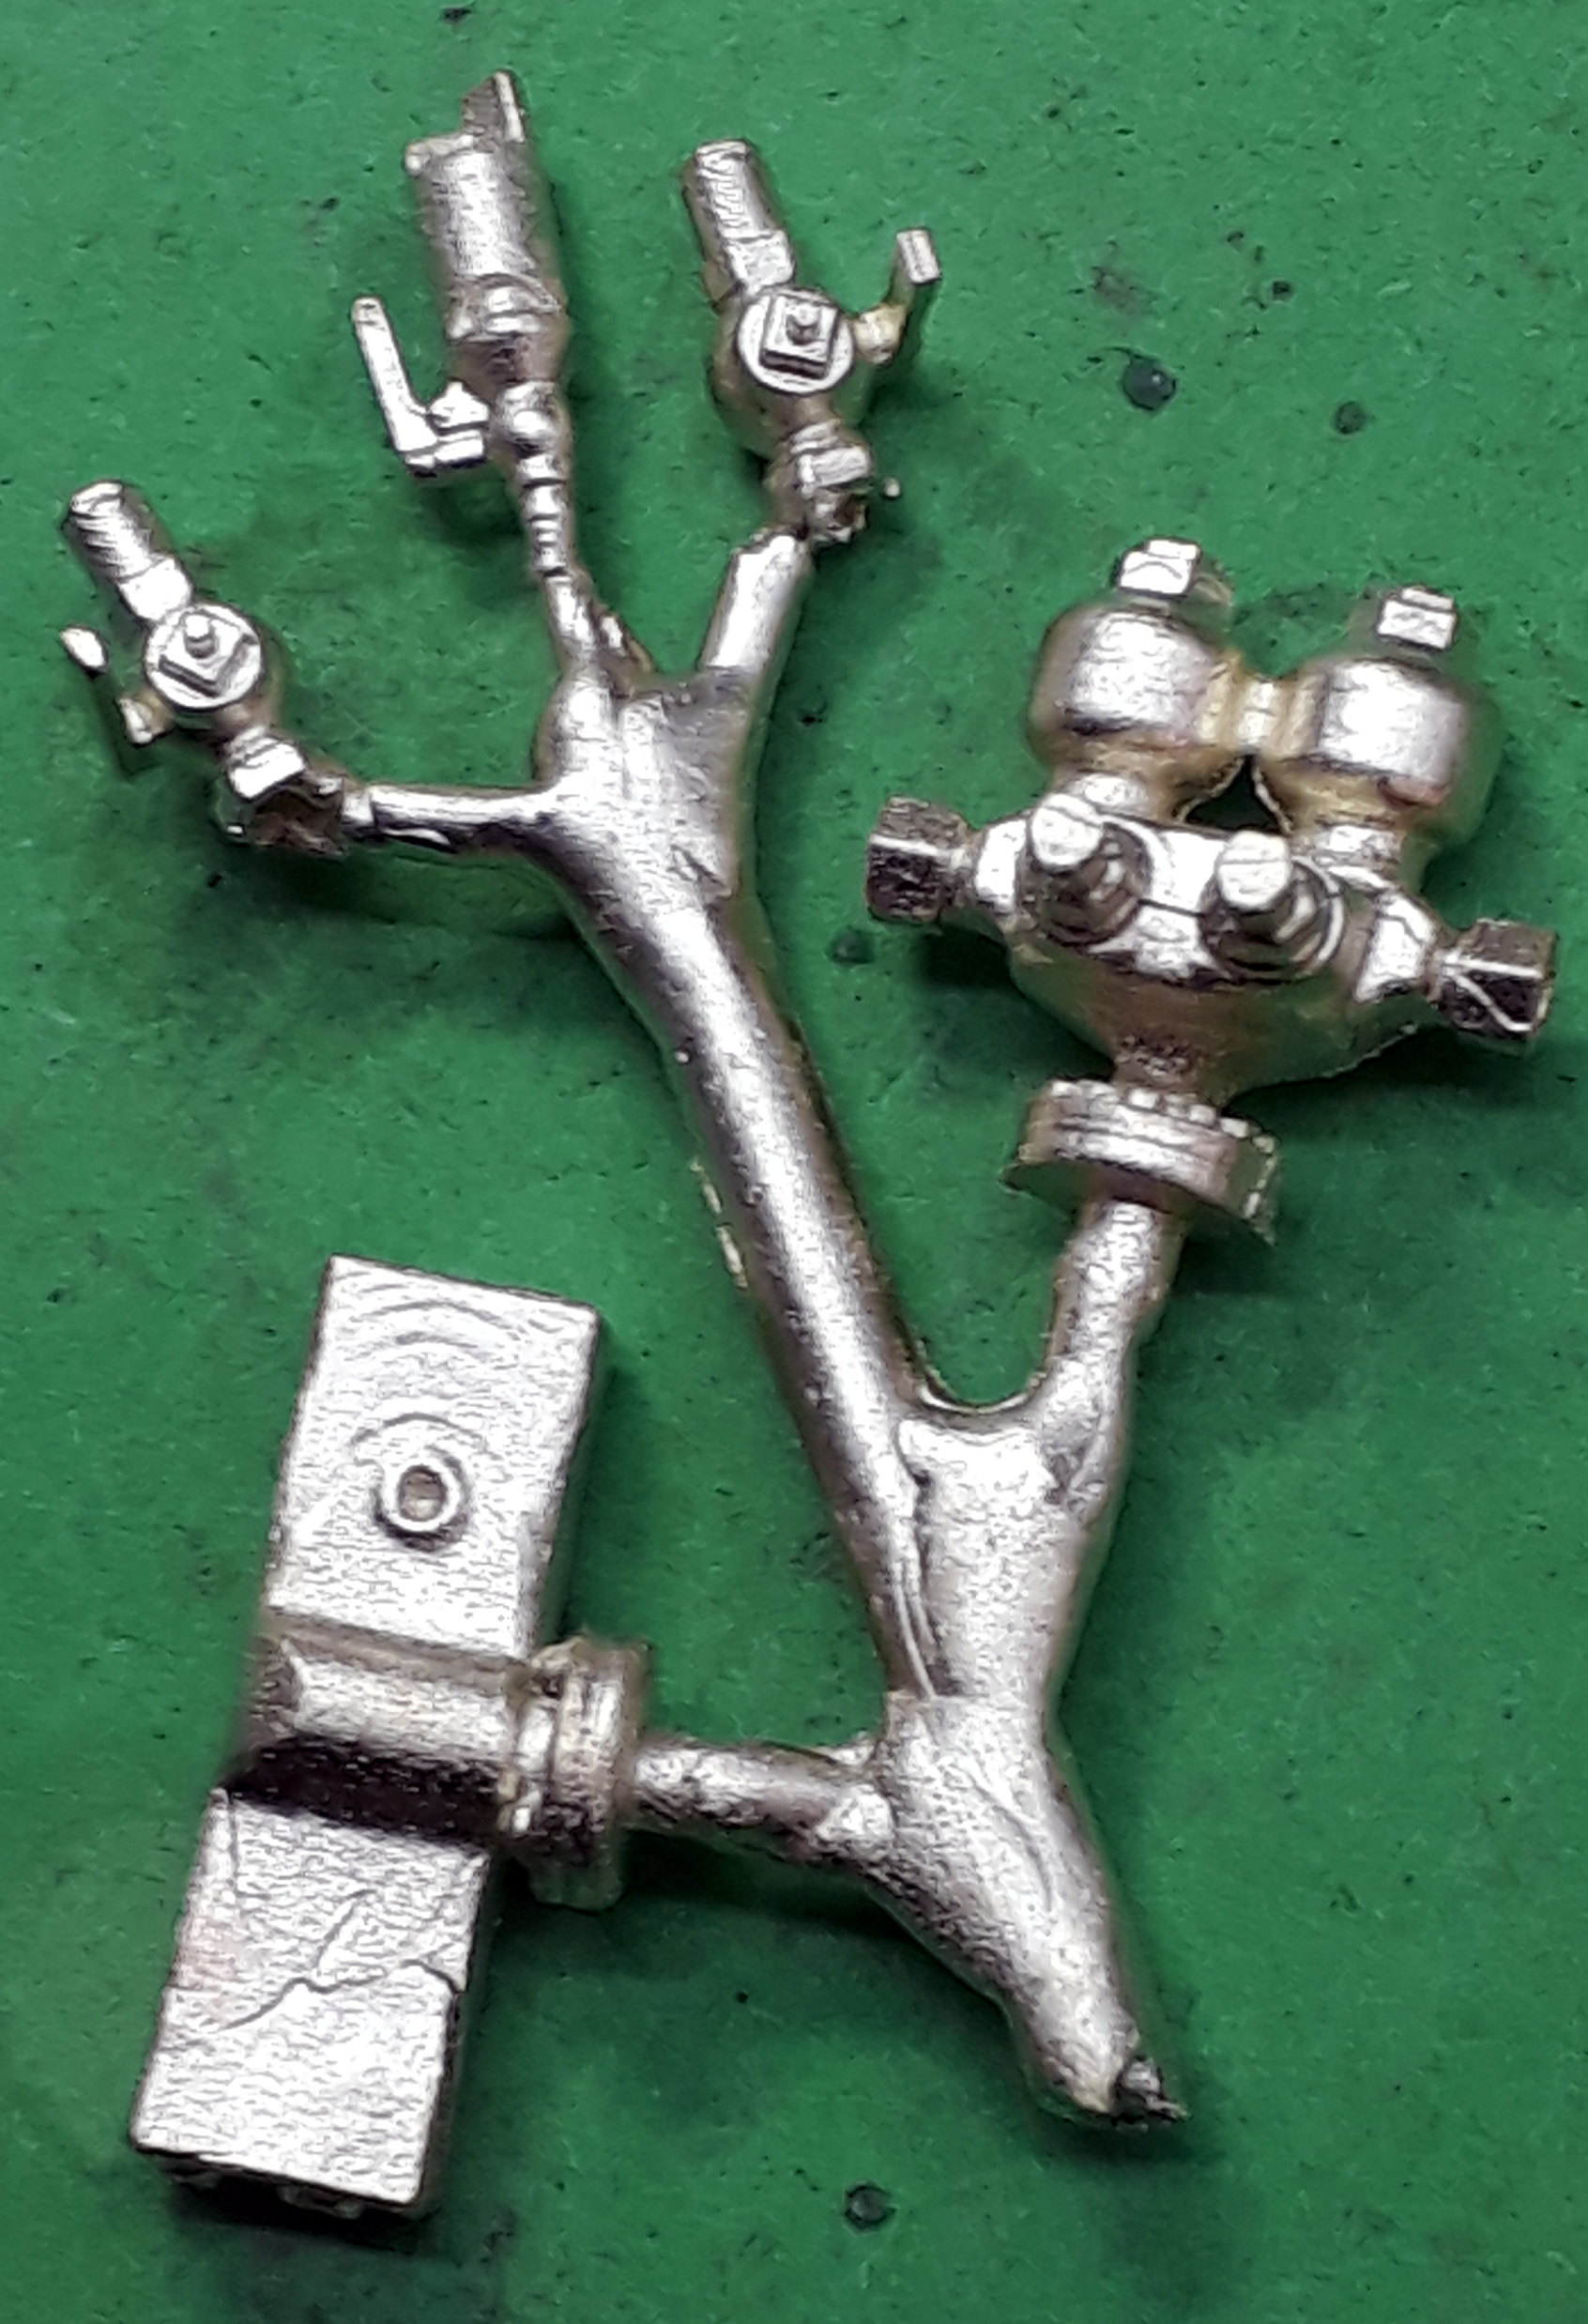 panic was the `put something in a safe place’ problem. I mastered some new parts for this as 3D prints and then had them cast in brass. Could I find them could I heck as like. My nearly tame caster came to the rescue and new castings arrived in just a couple of days and even their arrival hasn’t prompted the originals to appear.
This allowed progress with the pipework which on the original model was a bit underfed.
New injectors, top feed, manifold, ejector and water manifold allowed new piping to be made up with copper wire.
 These two pictures show the underframe plumbing with onward connections to the bodywork.
These were modelled on a mix of the plumbing on 130, 138 and 143 as they are in Wales.
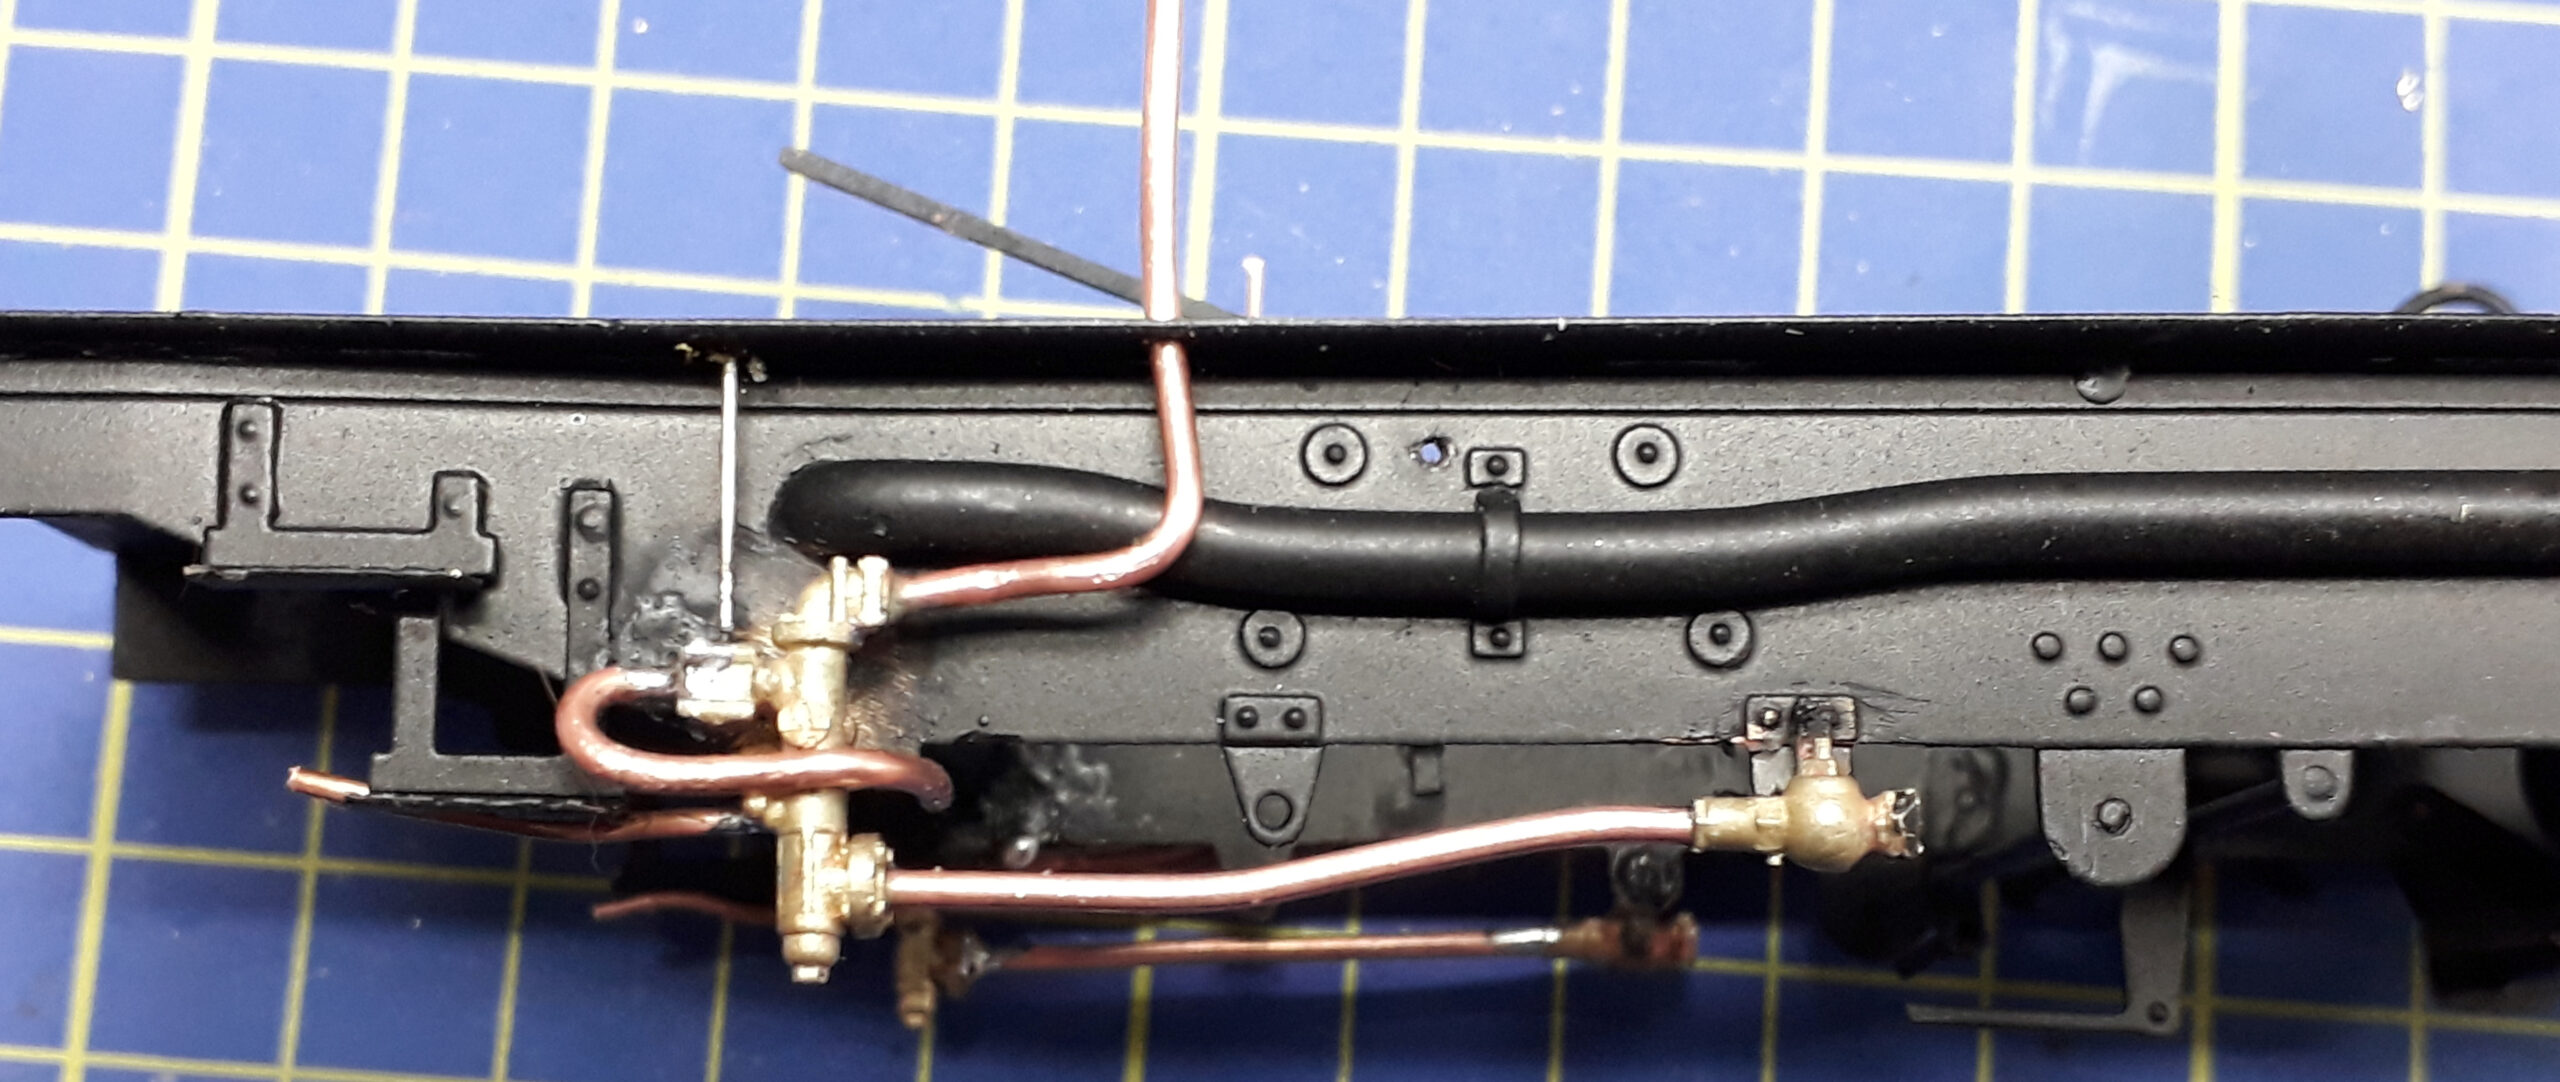 I have to say that I am pretty pleased with the outcome and we’re still on course for Saturday
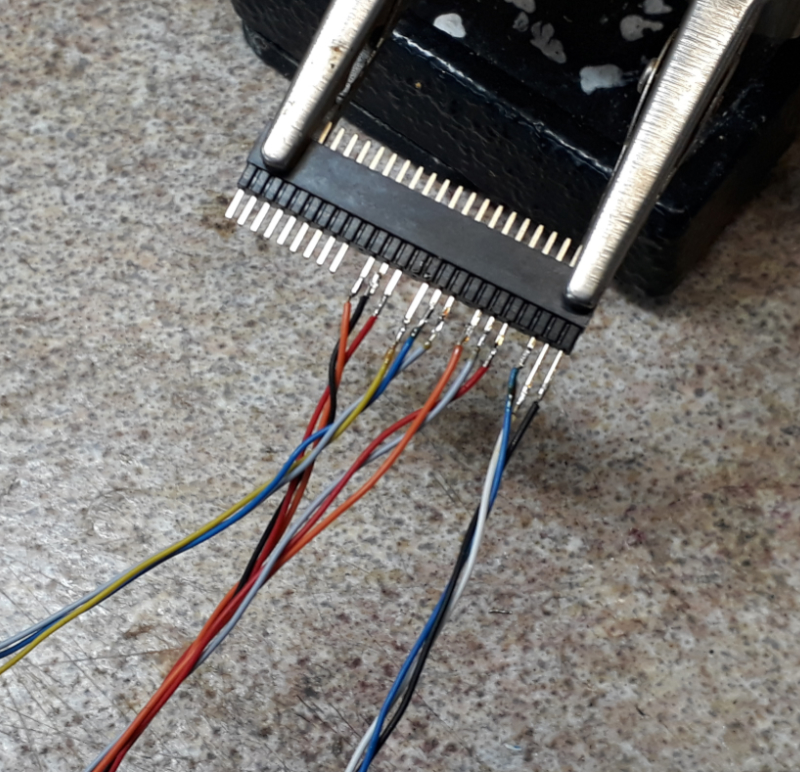 Next it was on to the wiring and some fiddly soldering. To connect the trucks to the main cradle there isn’t much space so I am using a smaller connector than I normally would and these have a bit of a habit of falling apart as you solder them causing at the very least some muttering under ones breath.
The loco is getting a Lais Adaptor board and a ZIMO MX645 Plux22 decoder installed along with a large keep alive.
The loco is getting a new style ashpan so this was configured to make a housing for the electrickery. From underneath it presents a clean looking install
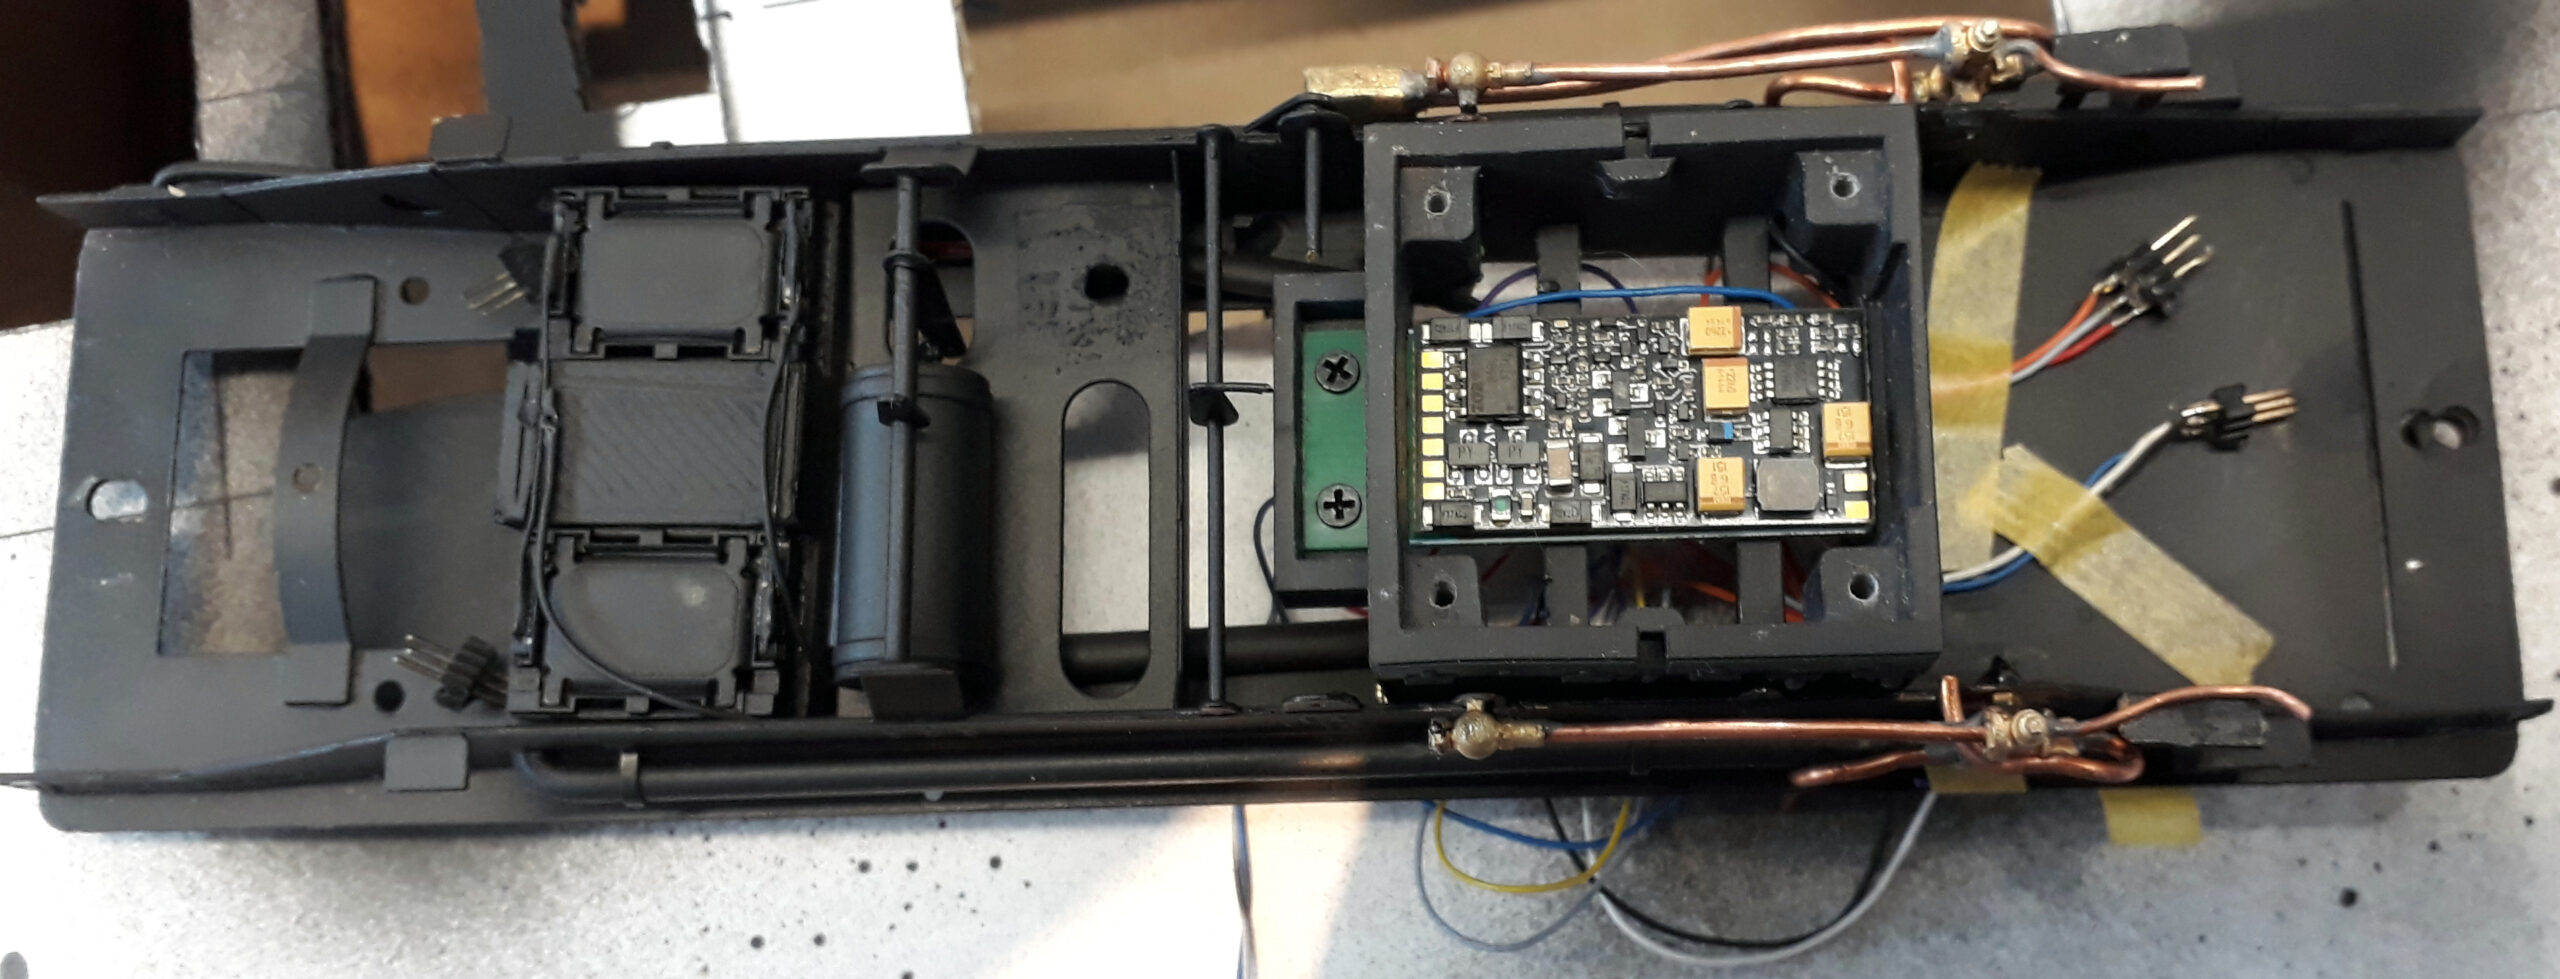
From above though its a bit of a rats nest but it will tidy up and allow spare wires if any reconfiguration is needed
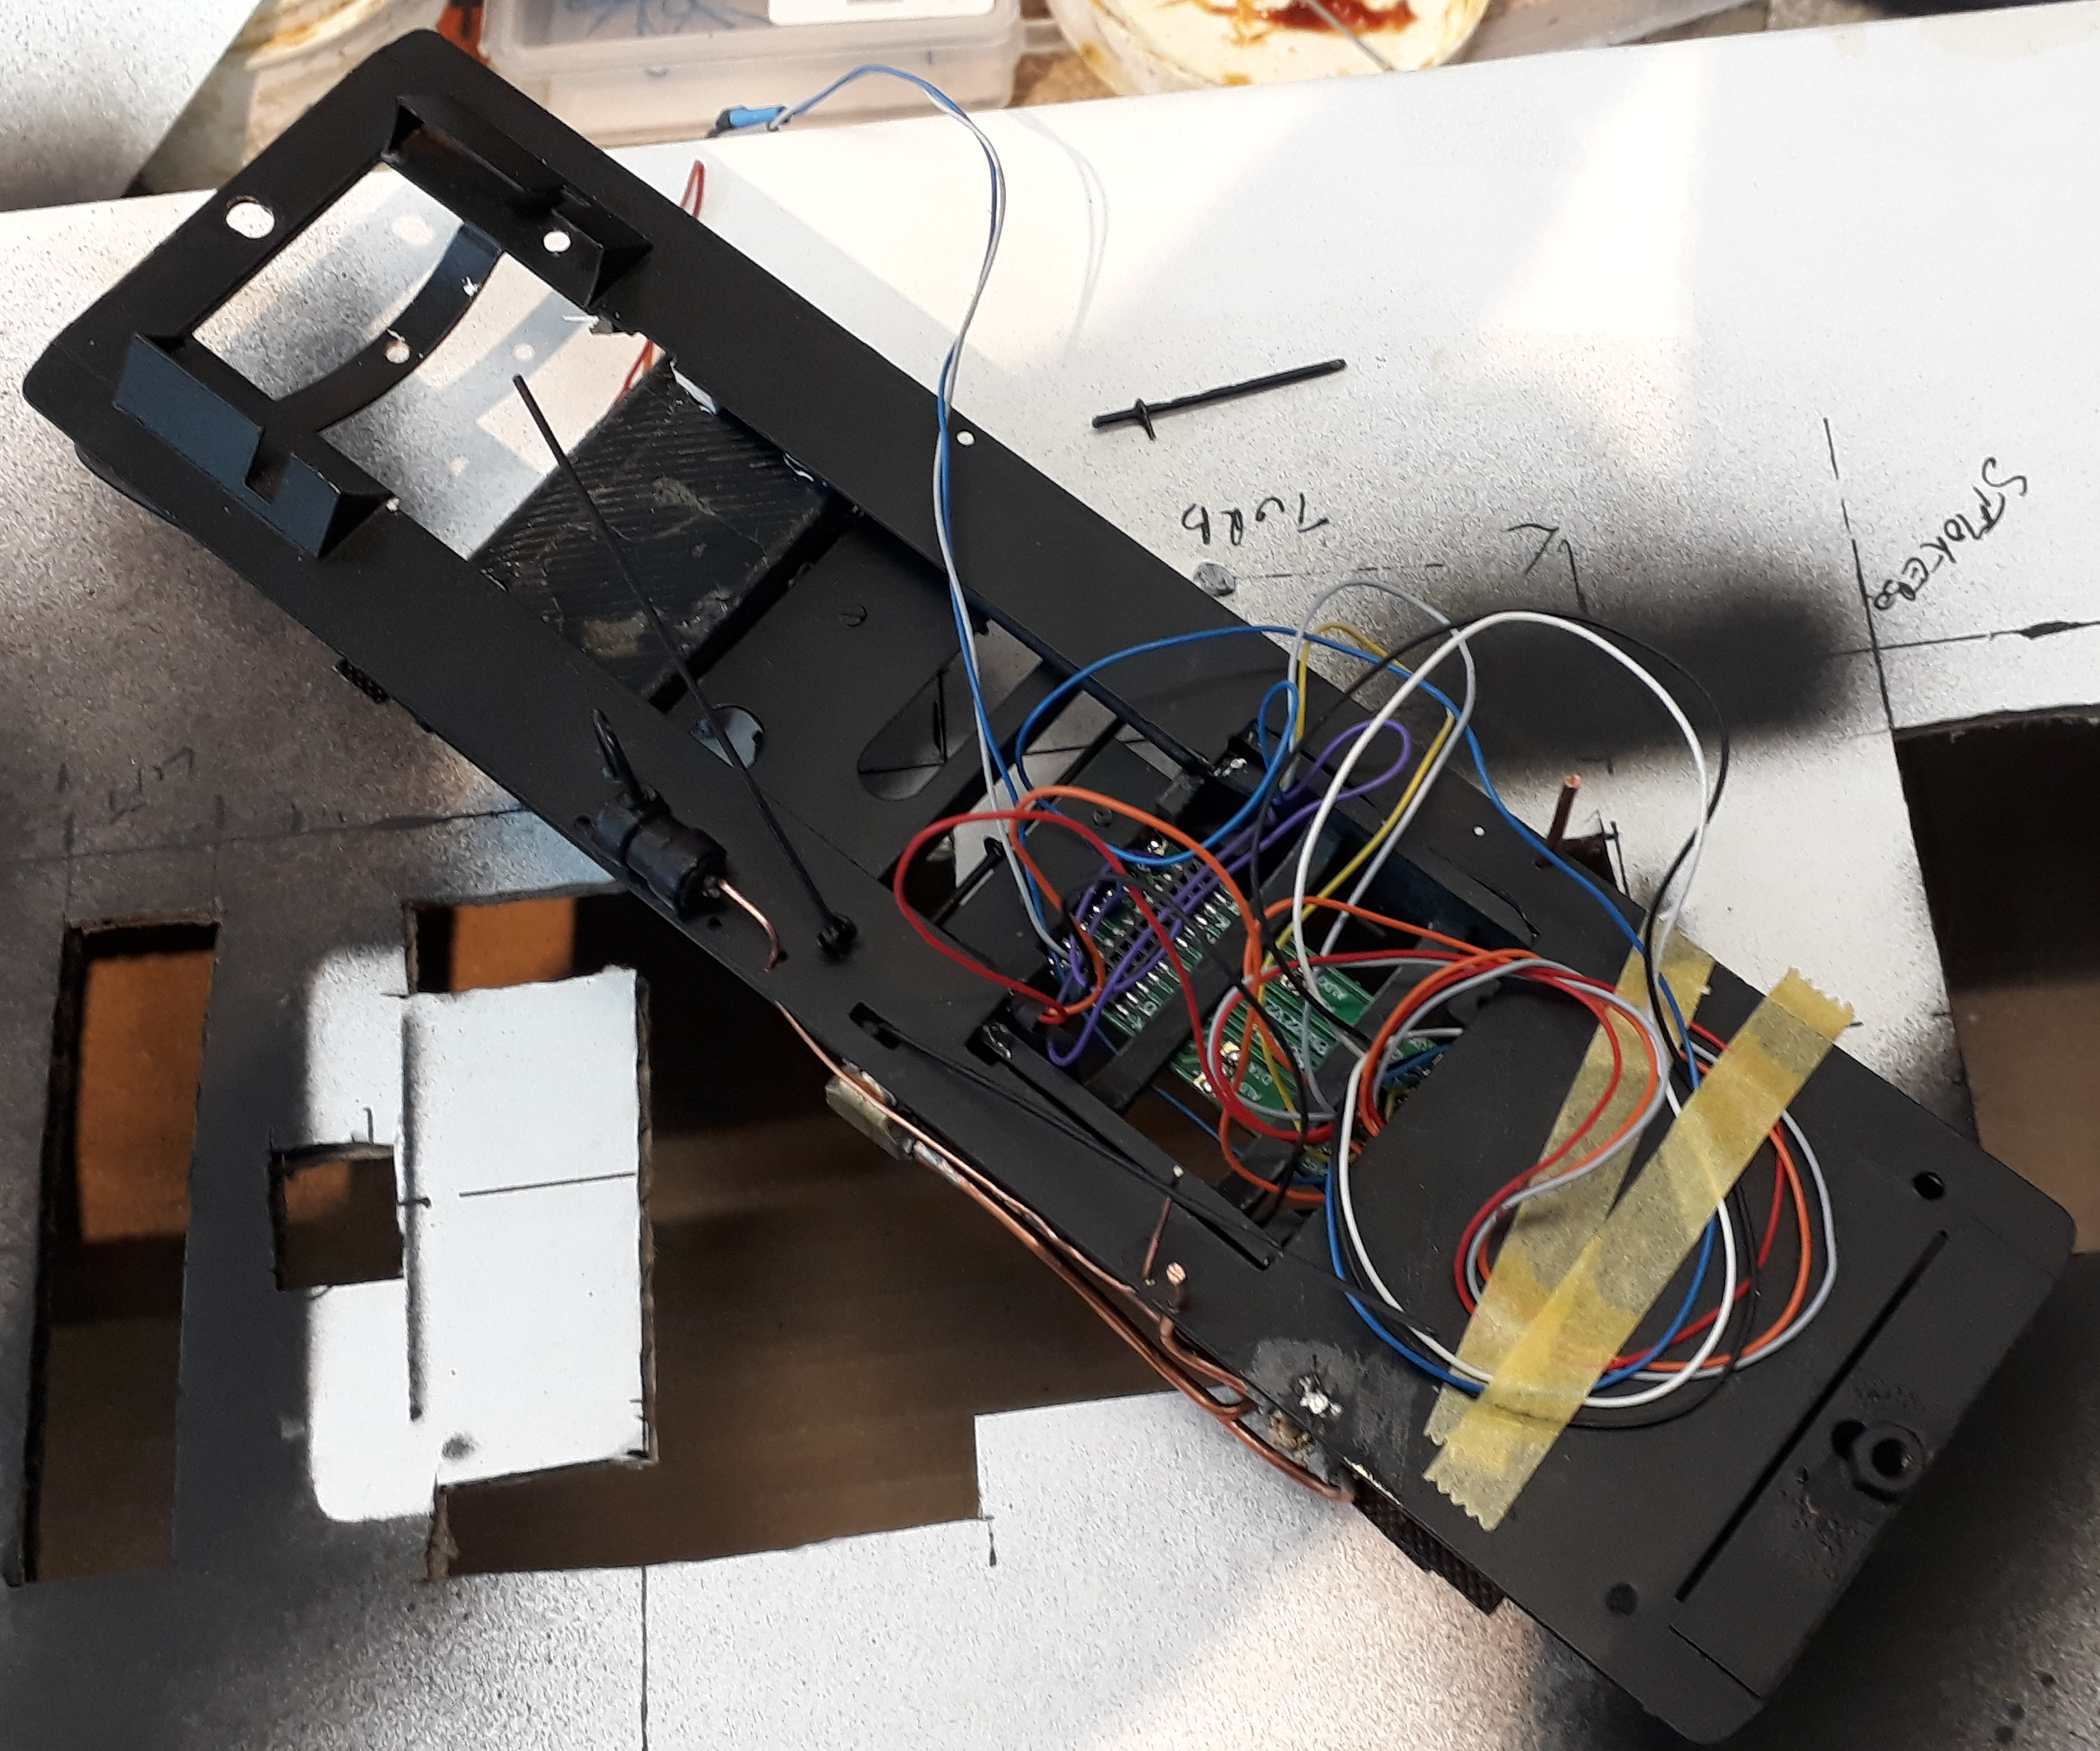
Earlier today it all got connected up, powered up and tested. Much to my surprise both trucks went the same way and there weren’t any short circuits. Getting that far with the electronics was troublesome and required some ingenuity because I usually use my laptop for this stuff bit its currently away for attention. Still on course for Saturday.
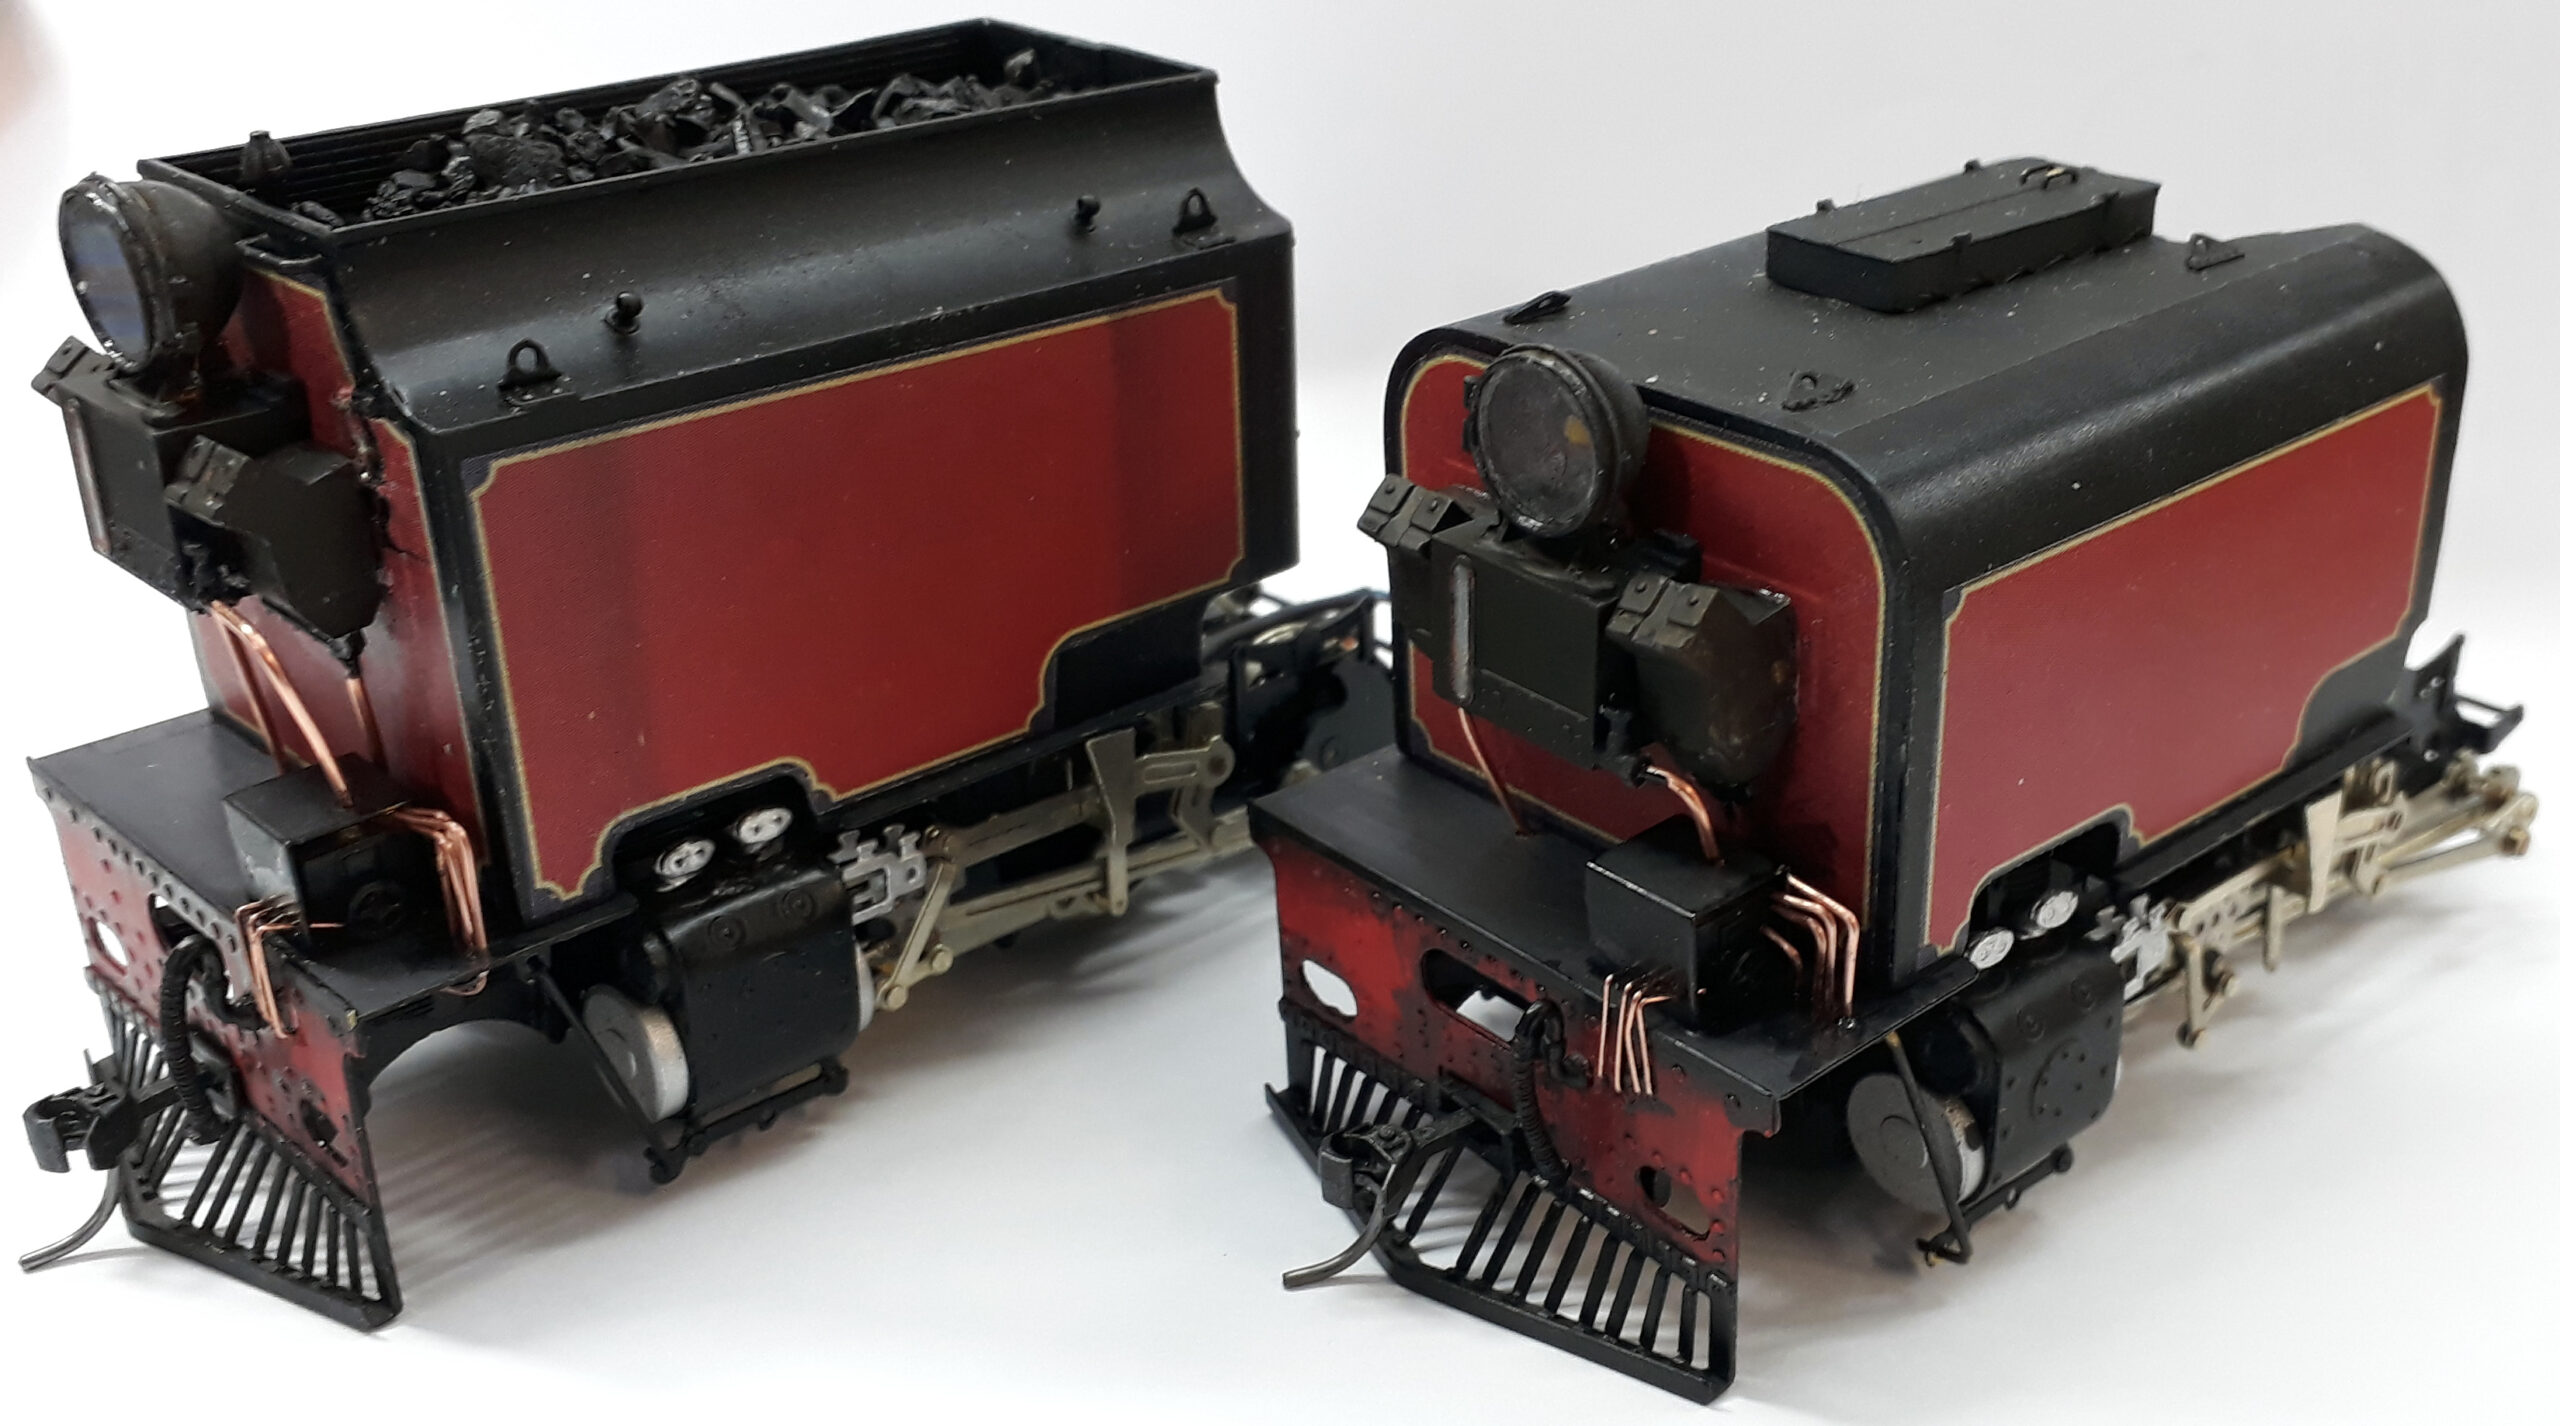 With the wiring proven through the bogies they could now be assembled having their bodies fitted and the the detailing that connects the top and bottom added.
The headlights are my products and they sit on new oil reservoirs that are my 3D prints.
Additional copper pipes have been added, lenses added and coal to the rear and a new water filler to the front.
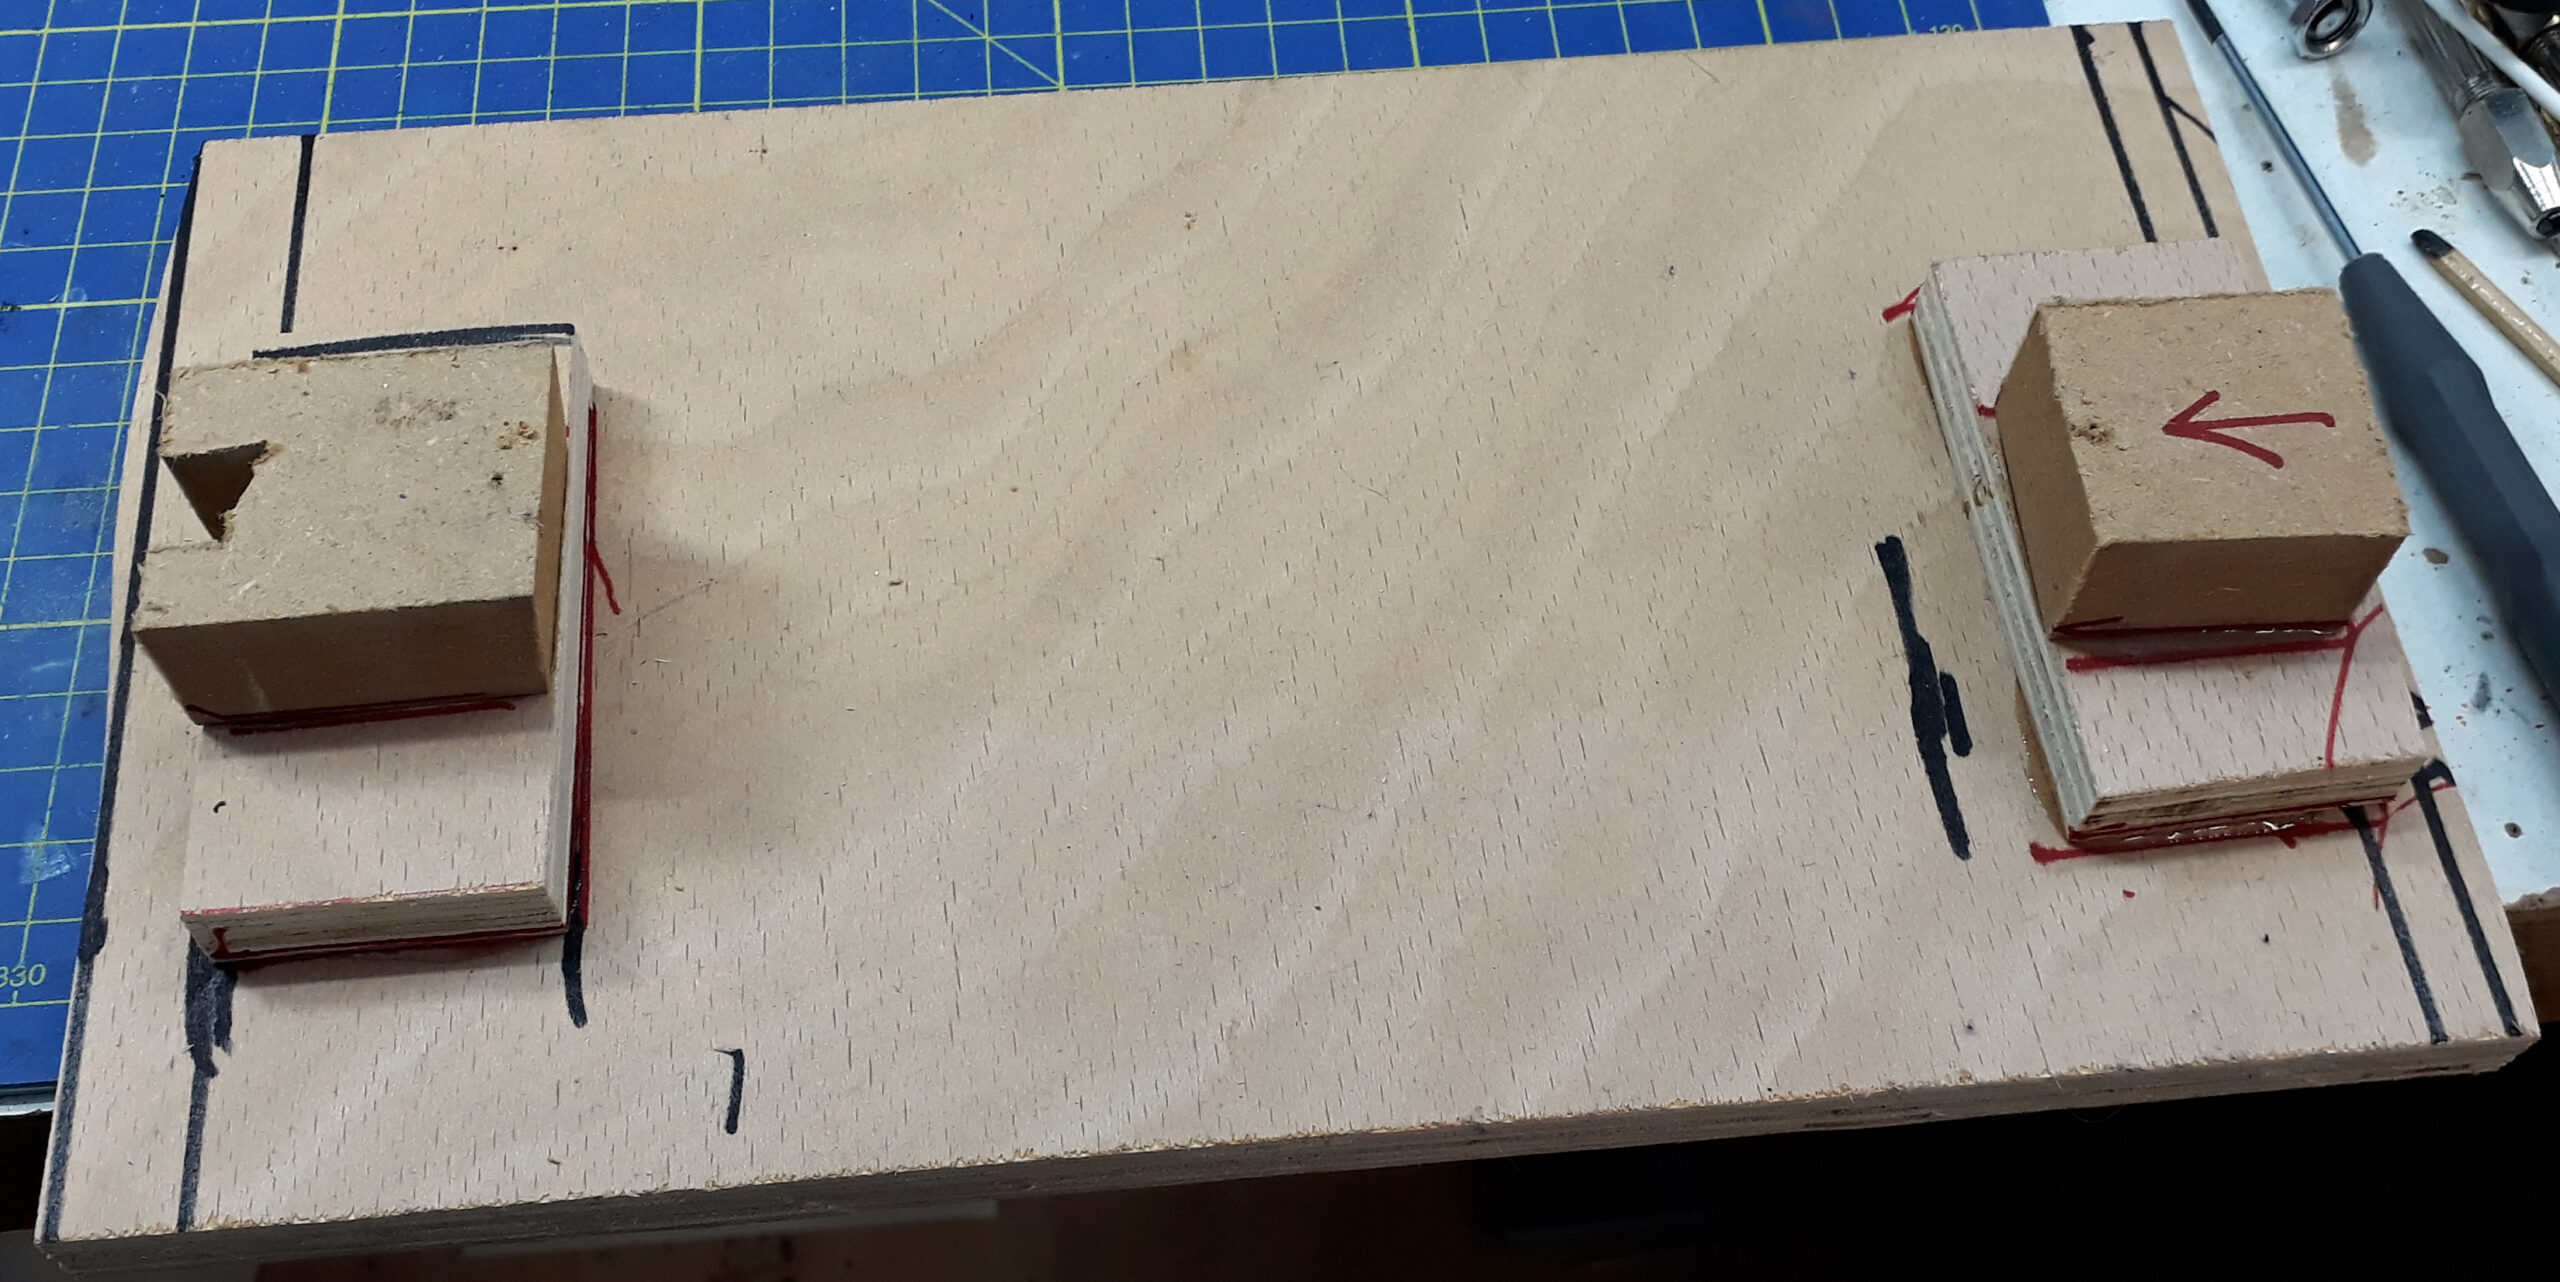 They have both had additional weight added. The loco superstructure has also had lead added so I hope its home layout is strong! Actually the weight of the boiler section and the protruding pipes on the cradle made me realise I needed away to hold them whilst I worked on it so I made a fixture glued together with 5 minute epoxy as I haven’t time to wait for wood glue.
This hold the loco thus……..
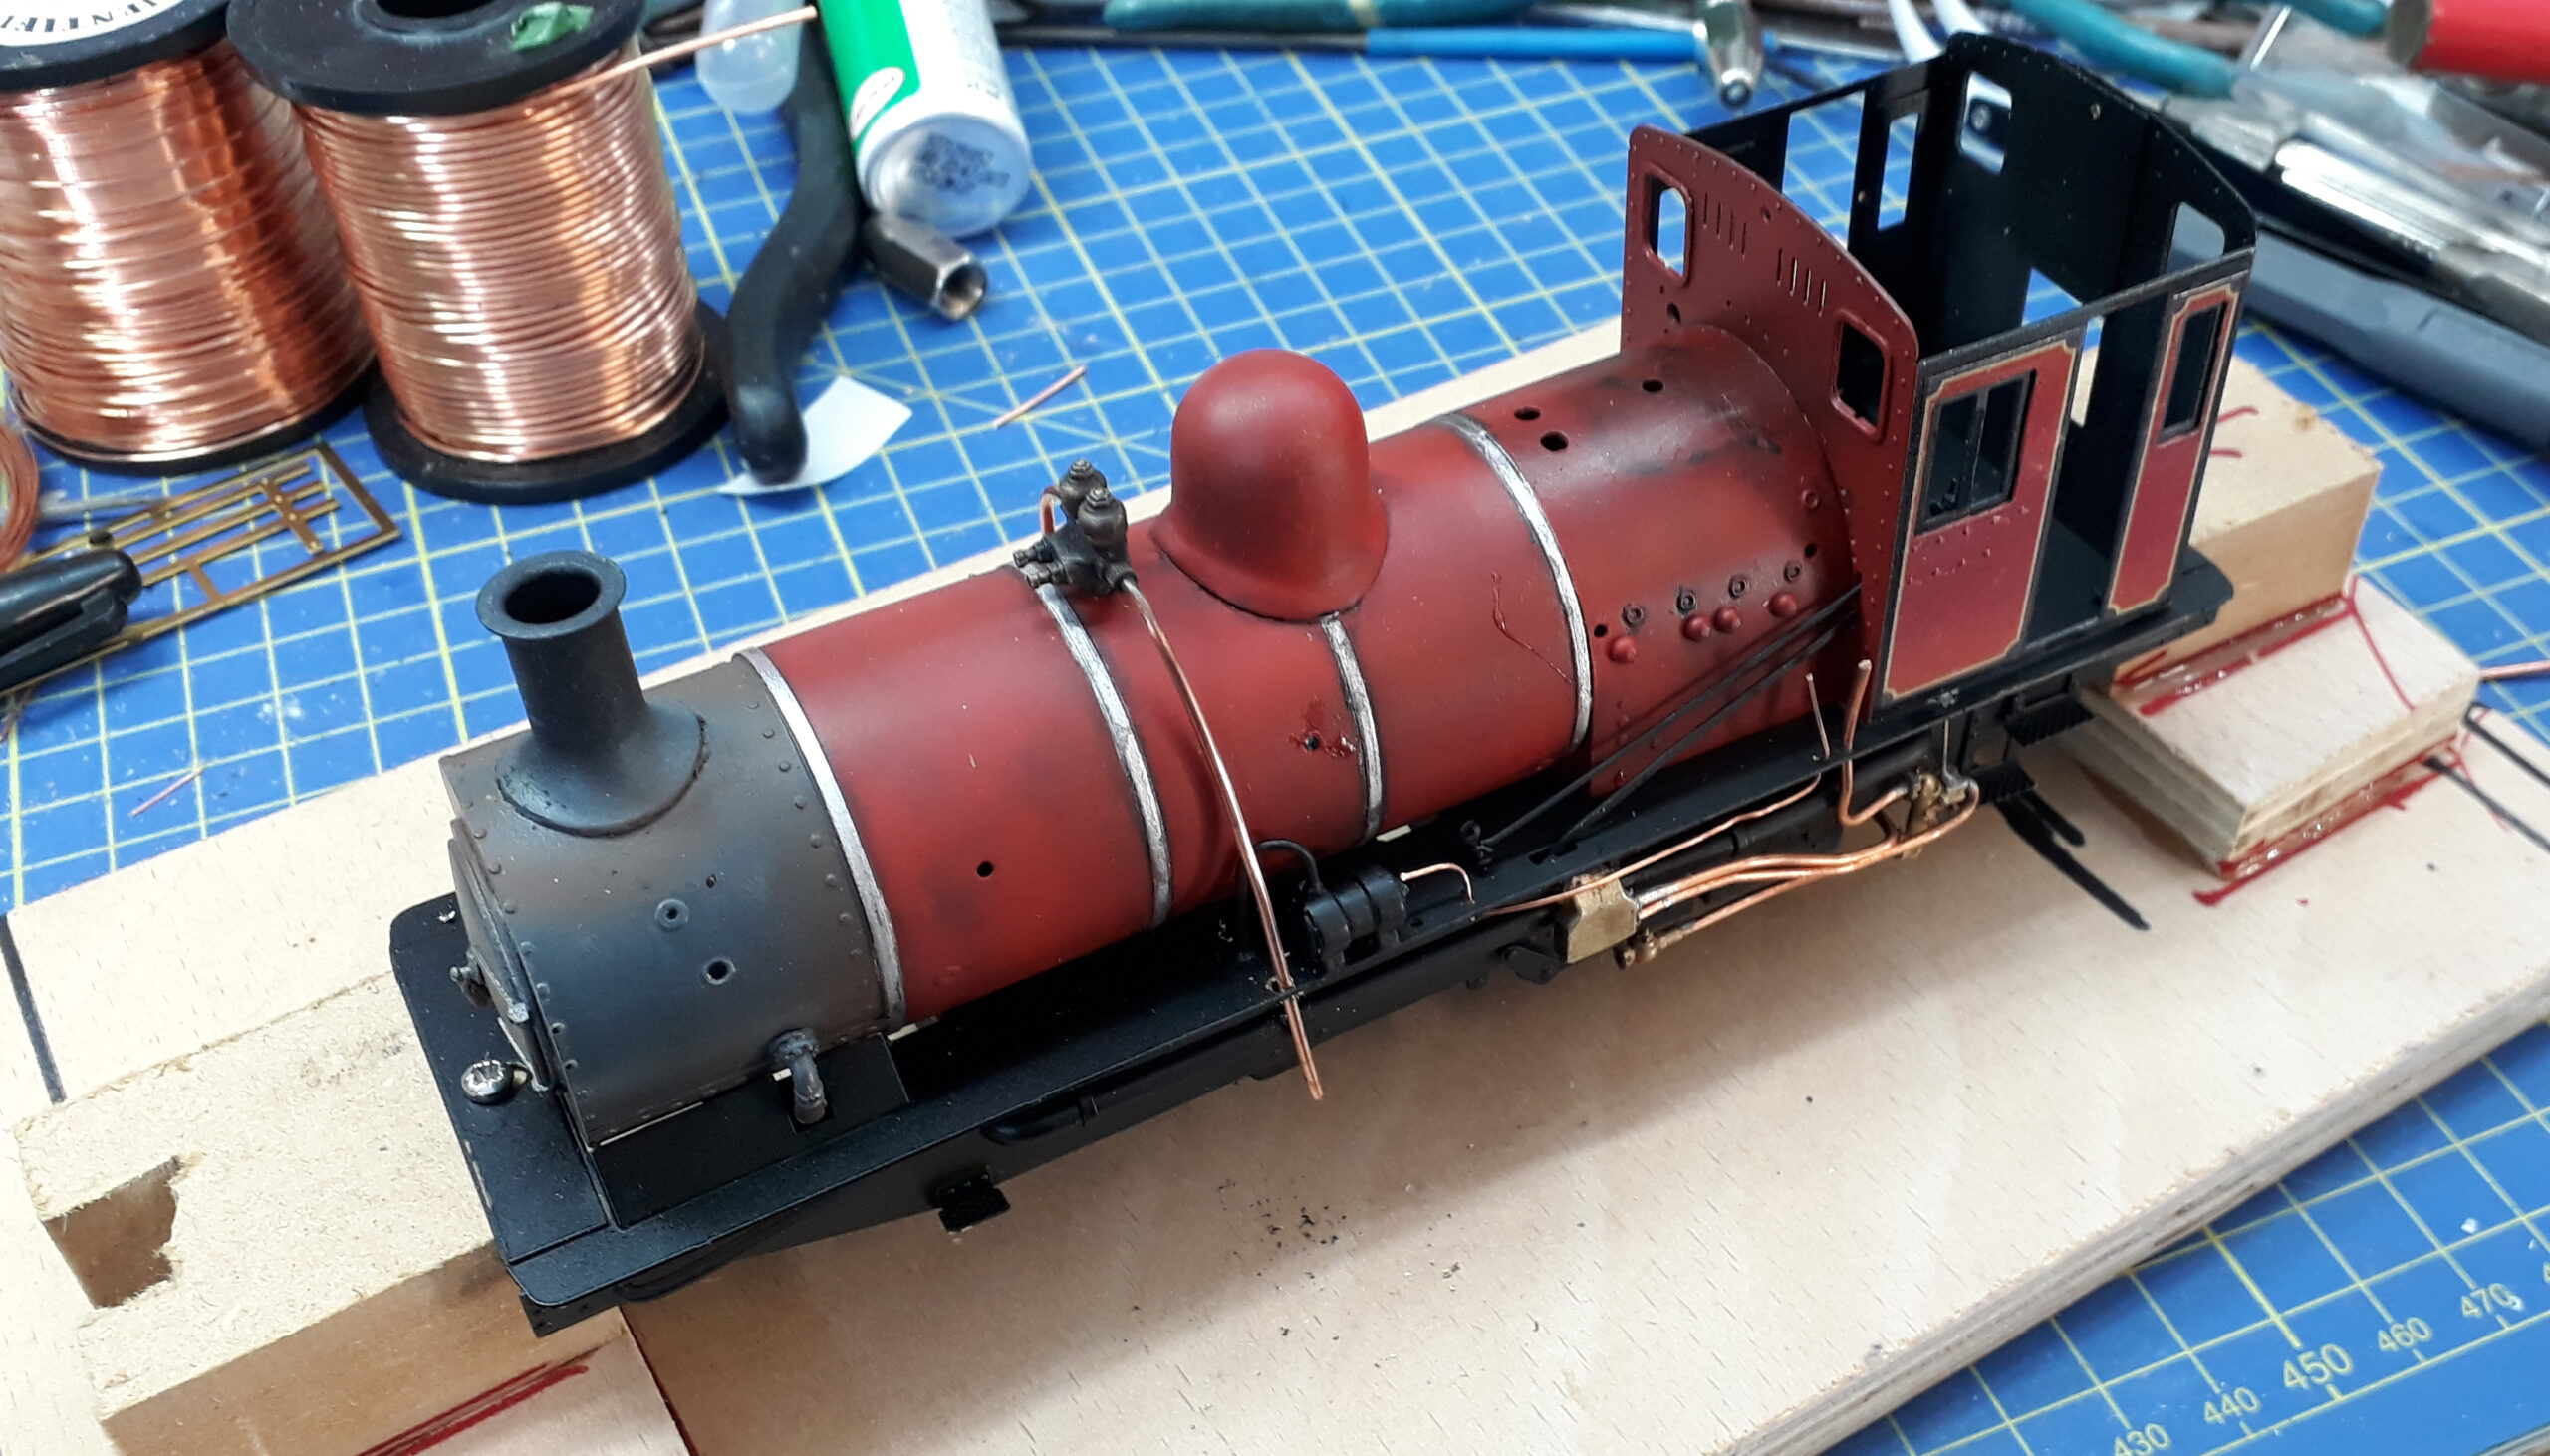
Its at this point it started to cause me to question my sanity
So what’s happened?
Trying to do two many things at the same time instead of letting them dry/set/cure I’ve just touched the painted and partially weathered boiler with a finger contaminated with muck from another task. To sort it properly I need to let it set up to do something about it. This also bought the realisation that Saturday was probably unrealistic both because of the wait times needed between operations but also because I had everything else to prep for the show on Saturday too.
After some thought the options are: –
- Press on, meet the deadline whilst unhappy with the finish which will now be rushed at the closing stages or
- With the new owners permission delay delivery for a couple of weeks to ensure its done and done right.
Its with its new shedmaster for a decision now. I am still having palpitations about as delivery equals a significant payday but I now can’t be sure it’ll be done for Saturday and I certainly won’t be happy with the finish.

Addendum to the original post. Done properly rather than to a deadline has been selected.
 |
 |
