Harp Switchstand Kit
 Our kit for the typical US Harp Switchstand was first introduced in 2014 following difficulties with supplies of a previous model that we used to buy in.
Ours was mastered using 3d printing technology and 3D computer aided design. Back in 2014 we did the CAD in house but then had to go to a printing bureaux to turn that CAD into a physical brass master. This was then used to make a mould that then produced the waxes for mass production of the brass castings.
In 2020 we experienced difficulties with the original caster. Lots of our castings arrived with defects and it was very difficult to get any sort of consistency. The whole Covid situation made it difficult to do anything about so when the stock sold out the product was withdrawn.
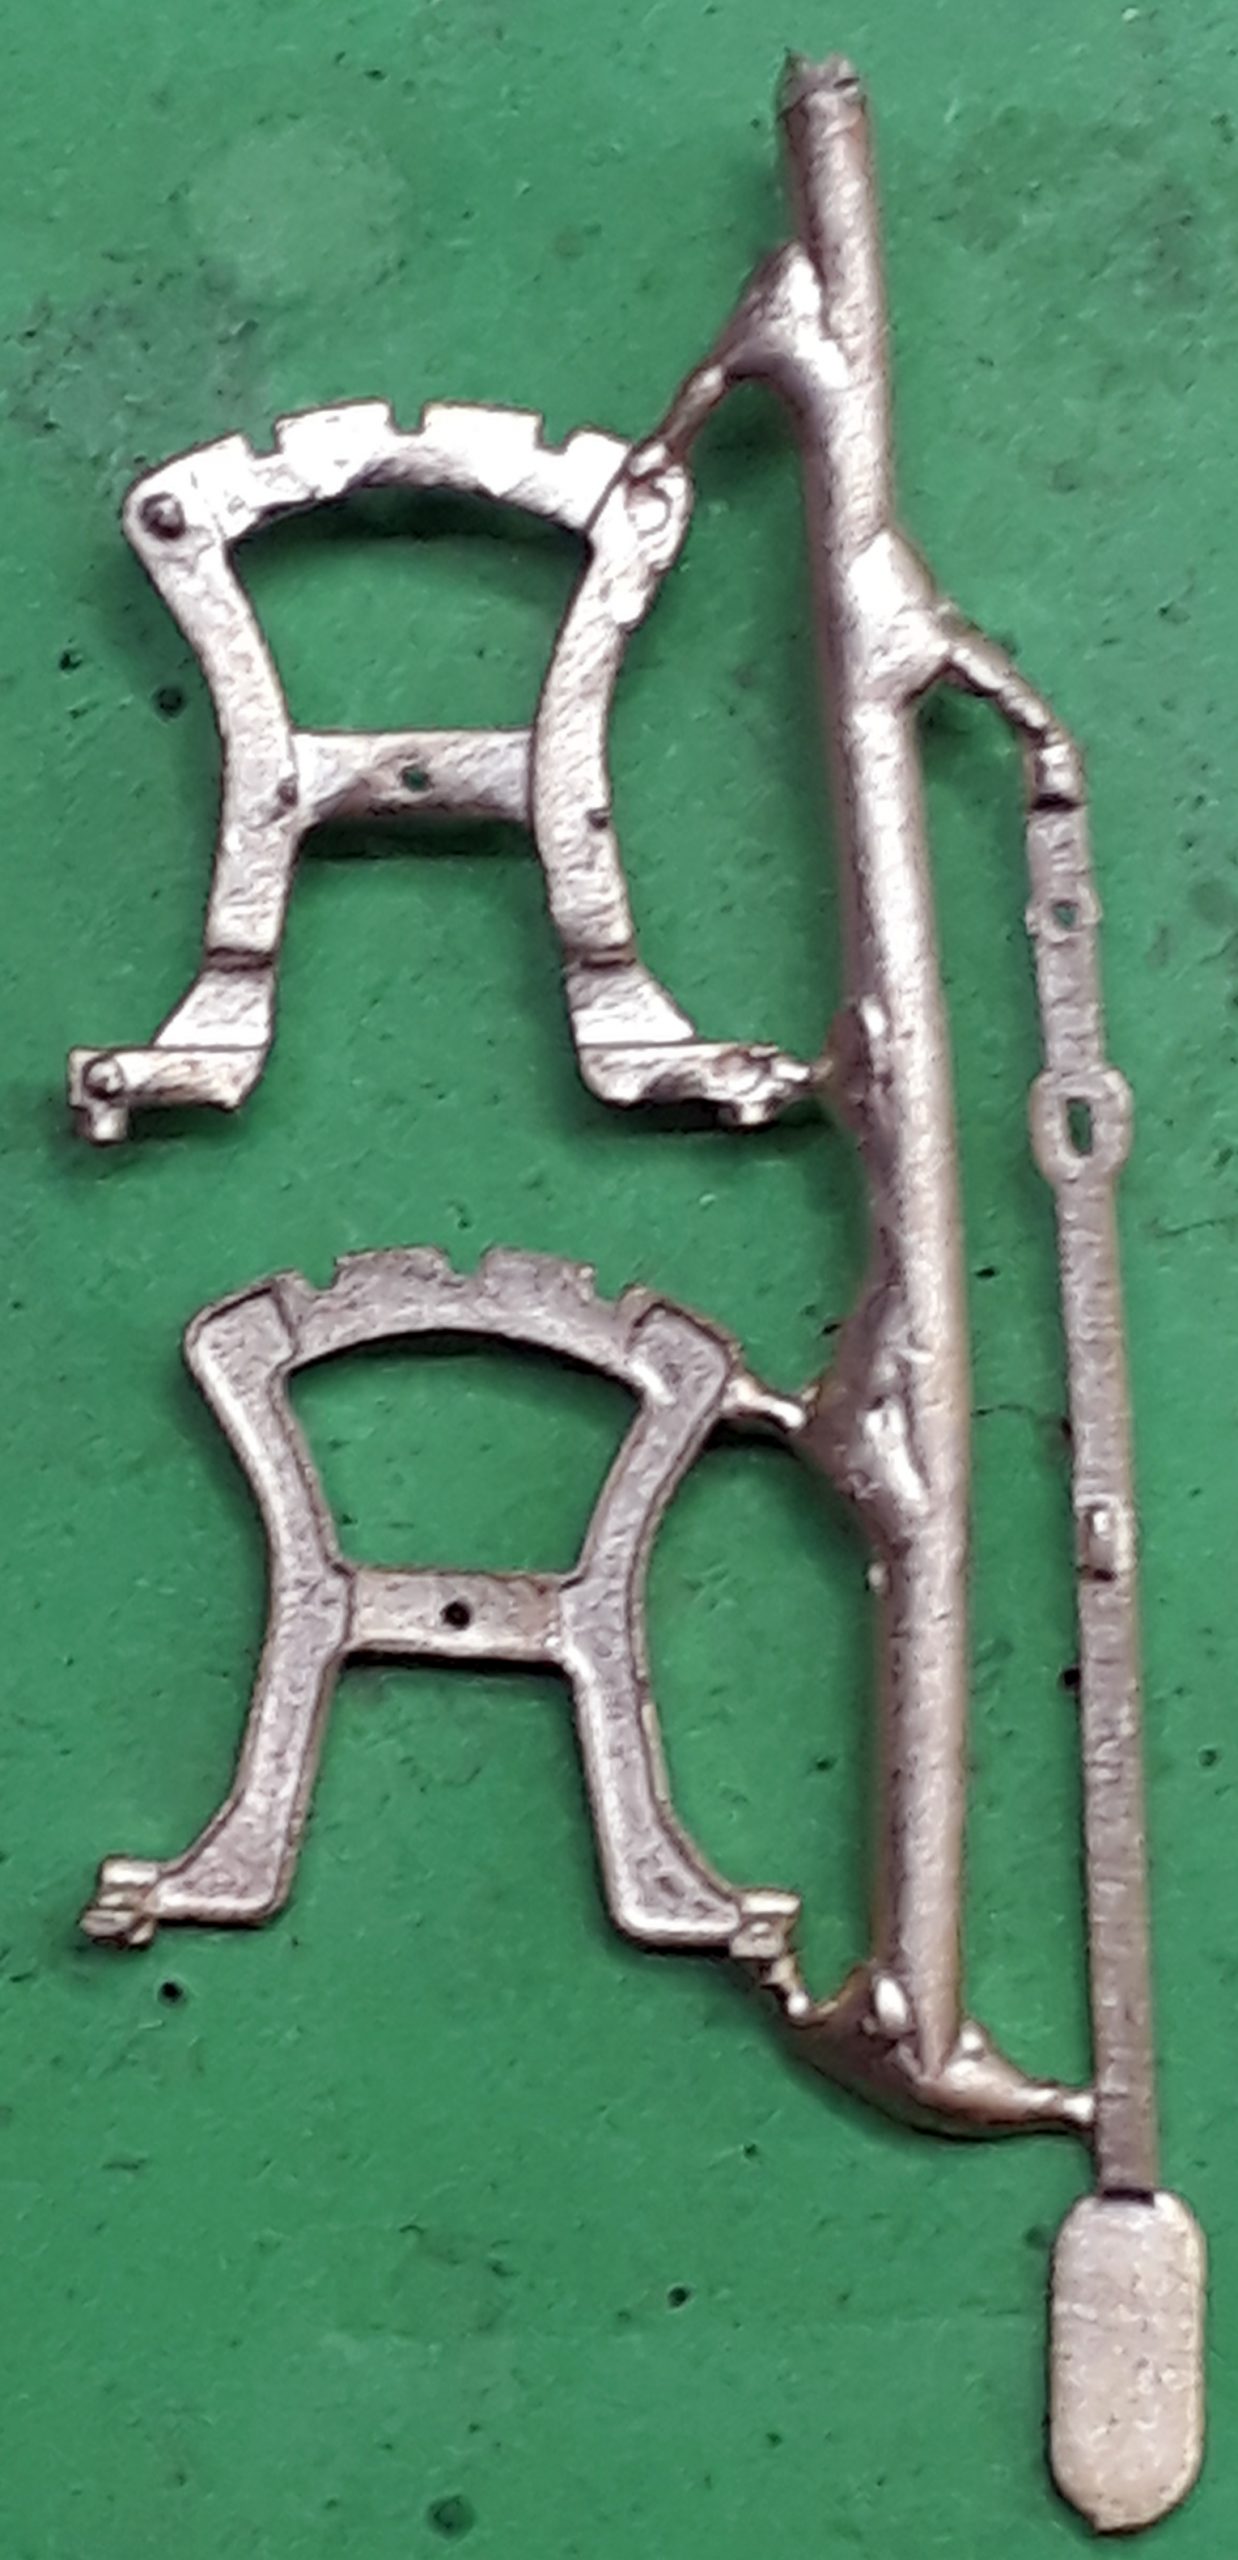 Fast forward to 2022. We have the latest SolidWorks 3D CAD, our own in house high resolution 3D printer and a new caster who has pride in producing quality work. The quality of the brass he uses, whilst more expensive, is more suited to our models.
I am very happy with the new supply of castings. I ordered 25, got 25 good ones and 2 that were a bit iffy. The iffy ones, whilst not saleable, have been used in testing the build and will eventually end up on my layout The Brymston Railroad.
 The original kit came with this graphic of how to use it. The new version will get the same plus a link to this page and here I plan on sharing hints and tips on their use.
Building and Using the Harp Switchstand
 First thing to do is cut the parts of the casting sprue. This is best done with a piercing saw on a jewellers cutting block as pictured.
A word on the cutting board. aka Bench Peg. You can buy one from Cooksongold for about six quid but it is possibly a bit small for our general modelling needs. Mine is just a piece of 3/4″ plywood I cut myself. [Actually its made from an offcut of Mk3 coach floor from the days when I built real trains dating it to the early 80’s]. As you can see its had a hard life.
Second tip is to buy quality blades for your piercing saw. Unless you happen to enjoy the sound of blades going ping and then the faff of changing them this simple step will repay you many times over. I use the Vallorbe ones from Cooksongold.
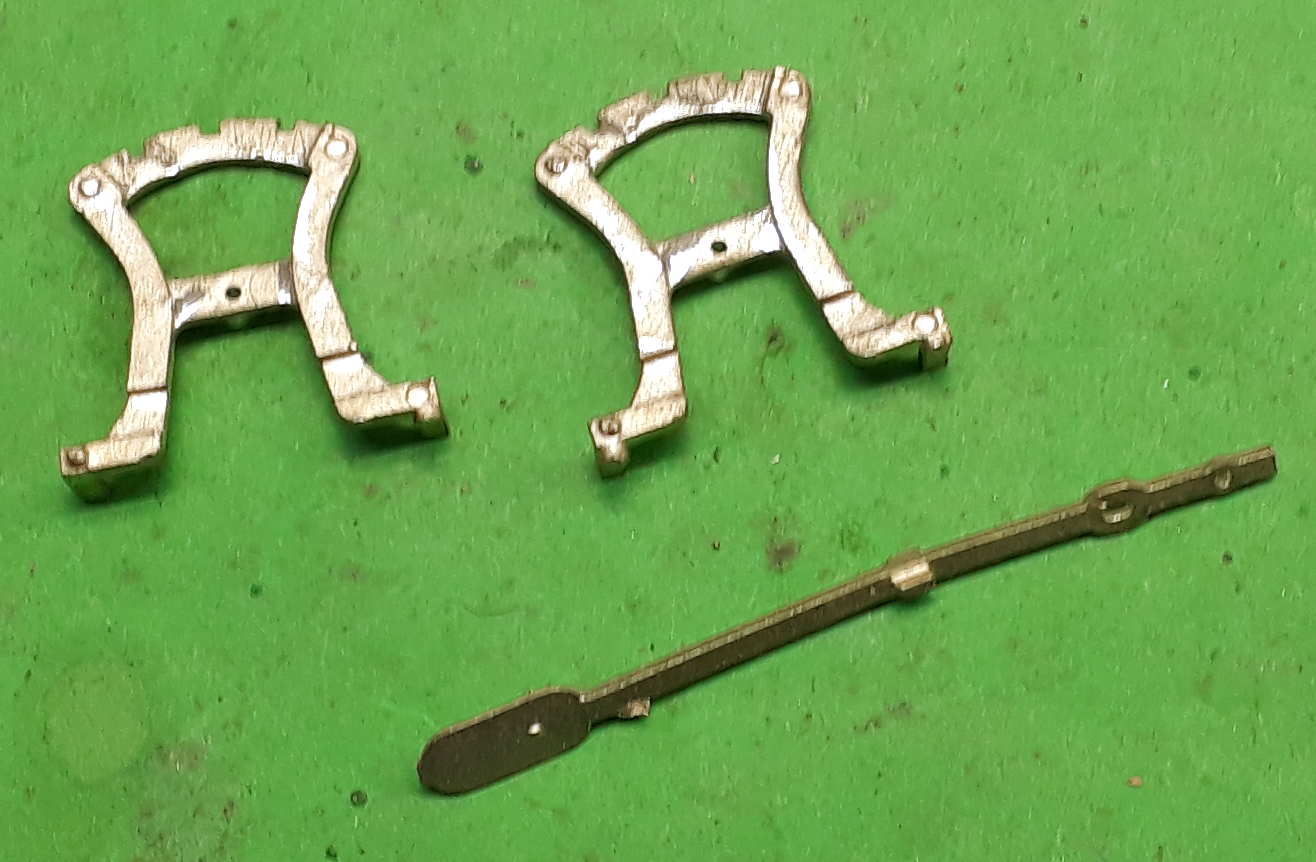 With the parts cut out you now need to clean them up a bit. File off and smooth the small printing pips on the castings [the prints were too fragile to do this as the print stage] and file down the small bosses that locate in the holes on the opposite parts.
A little bending will be required to get the two body parts to sit against each other as an inevitability of the casting process is that the sideframes will have a slight bow in them. I hold the sideframes together with four mini wooden pegs starting with two holding the top corners together, checking the fit, adding a third at the bottom of one leg, checking the fit, adding one of the other leg and checking again. When happy some flux on each corner and a dap of solder holds it all together.
Decision Time
The switchstand can be built up to be the driver or driven. By that I mean you can either use the harp switchstand to actually change and lock your turnouts or, if they’re driven by a point motor have it just linked to the tie bar so it moves with the point.
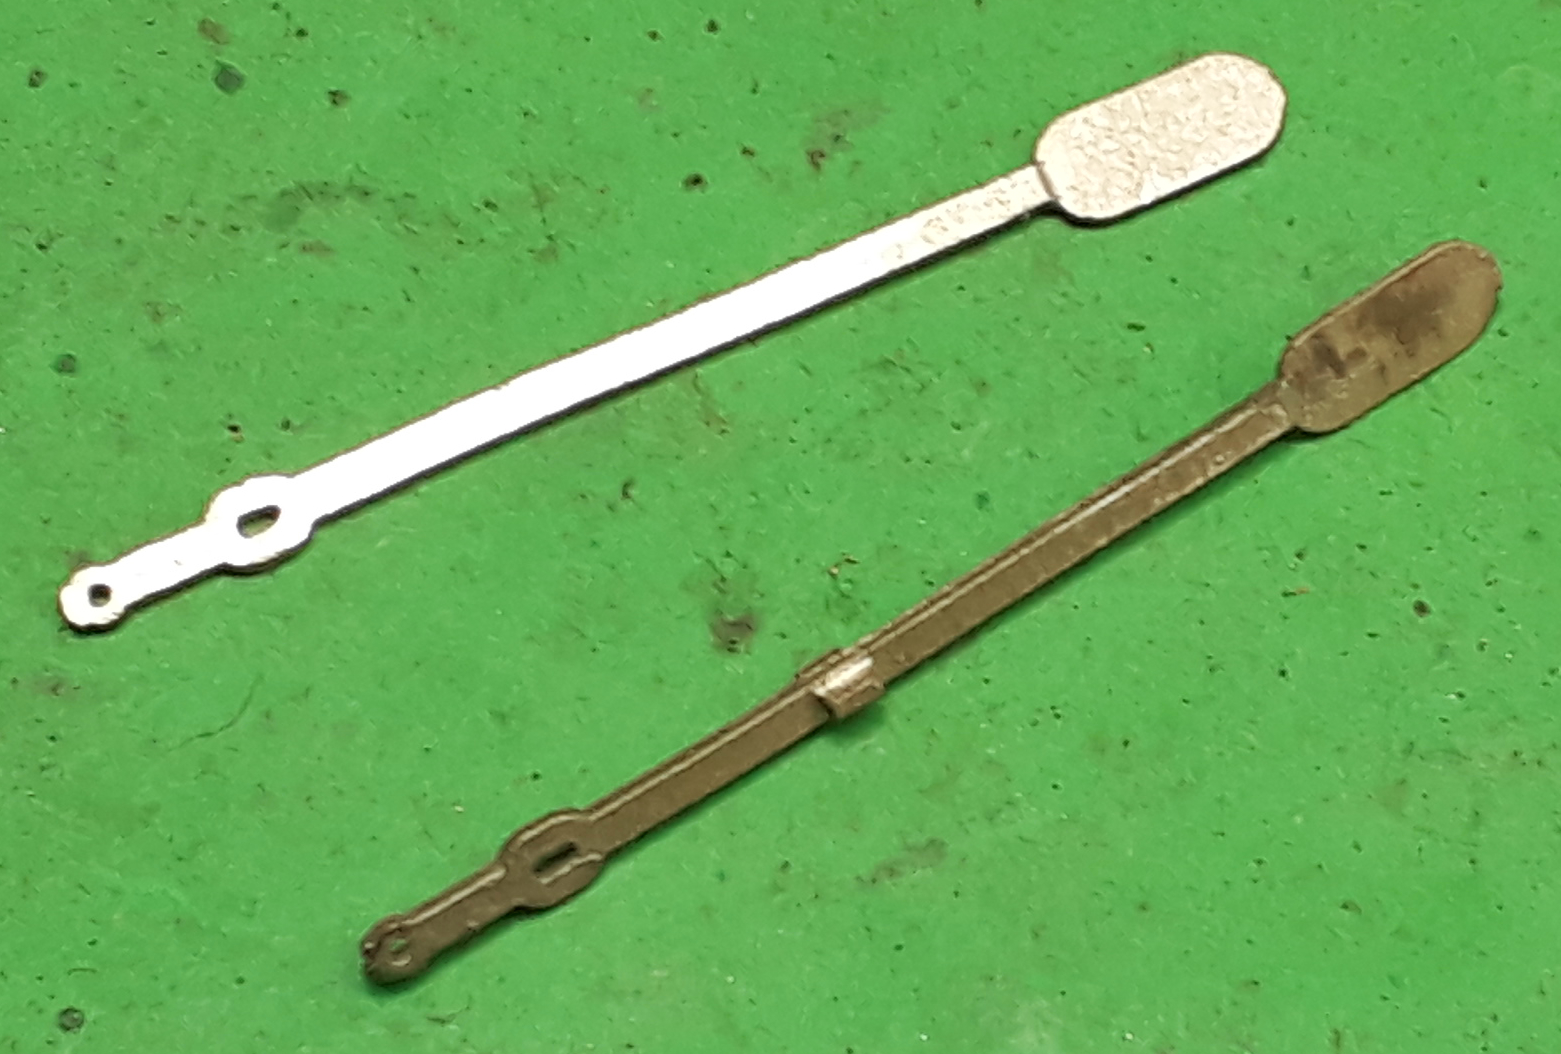 If you are going for `driving’ just clean up the handle and make sure the locking block on the handle fit in the slots on the harp. Note that the pivot hole is elongated. To change the point you lift the handle so the blocks come clear of the slots, move it to the new position and push it into the slot.
You may need to include a crank to alter the throw and you need to make sure that the operating rod applies a little down force to hold the handle in the latches. I’ll come back to that when I add the installation section.
 For a driven version file the blocks off the handle so it can’t latch.
Here are two built up. Driven on the left and driving on the right.
Once cleaned up with files and fine abrasives these two have been for a bath in my ultrasonic cleaner and then a swim in chemical blackening solution.
I will add installation examples when I have finished painting these.
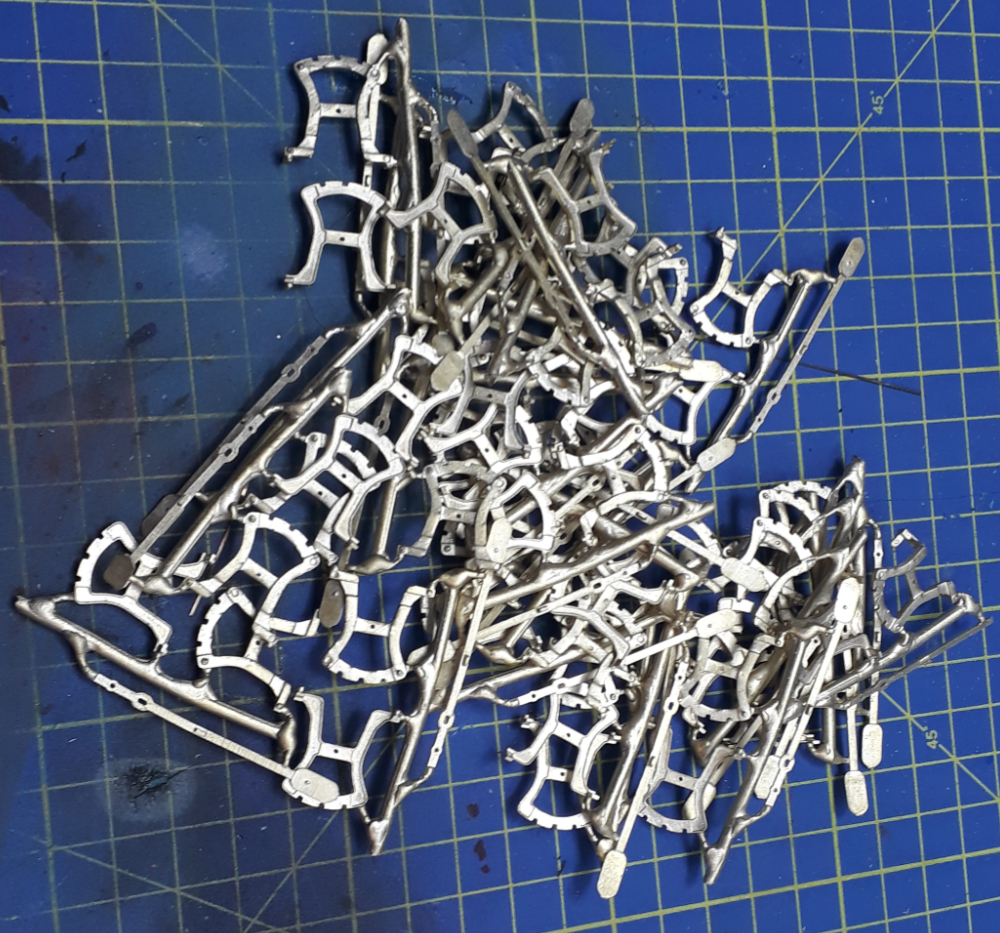
This is how they land with me!
