 Meet Elizabeth. No longer an anonymous model the engine has a name and number. With the exception of two small jobs I’ll mention at the end she’s done.
 These pictures are about the fifth set I have taken in the last two days. Why? I’m sure you’ve all done the thing where you finish a model, post a picture of it and as soon as you see the picture you see some glaring mistake? Here I’ve tried to get ahead of that game by regularly photographing the model and studying the picture, which end up larger than life on screen, to inform any further works.
Hopefully, each round refines the model so that there is less to do in the next iteration. Whilst I can see some things I’d do a bit different or change I think I’ve reached the stage where I am calling this one done. All the work today has been small refinements to the finish.
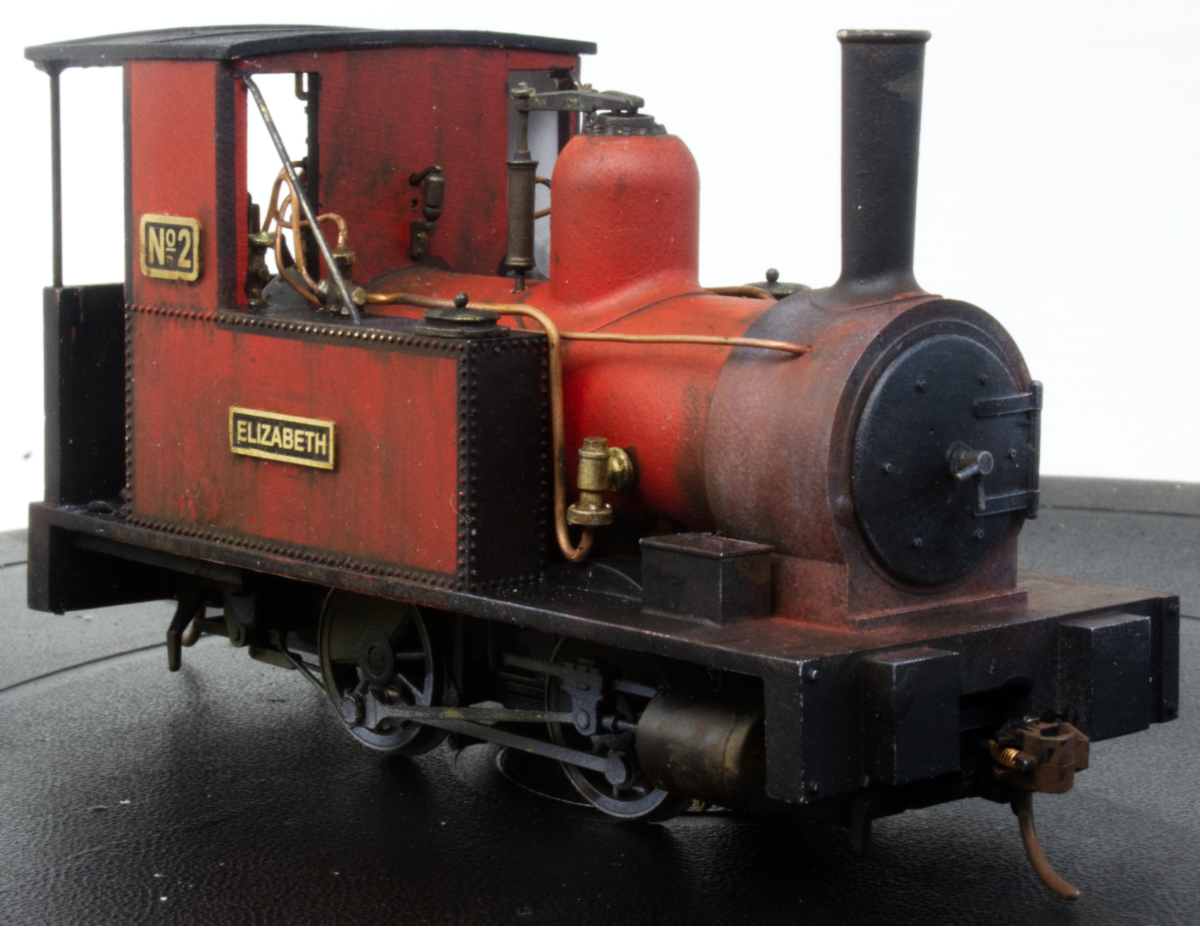 All the initial painting was doing by spraying acrylics with a lot of masking to get the borders and panels done. The detail parts were then added along with the driver. After that it was down to weathering, washes and powders. Having done the base colours in acrylic and having allowed it to harden fully the weathering has mostly been done with enamels.
I have been using some products by MIG called oil brushers. They’re a bit like eyelash makeup in that they come in a thin tube with a brush fastened to the lid. The brush is used to dot the paint on the model, lightly, typically around raised details. Its then left to dry for a bit and then is drawn down the model using a brush with white spirit on it. You can make it look like the grime has been washed down the sides by rain. There are lots of variables to play with here. You can vary the time you allow it to dry before working it and then you can remove more or less of it with the spirit. For an all over grime you can flood it with spirit to create an all over wash, draw it with a brush to streak it or by brushing spirit on and the wiping the brush on a tissue repeatedly remove it.
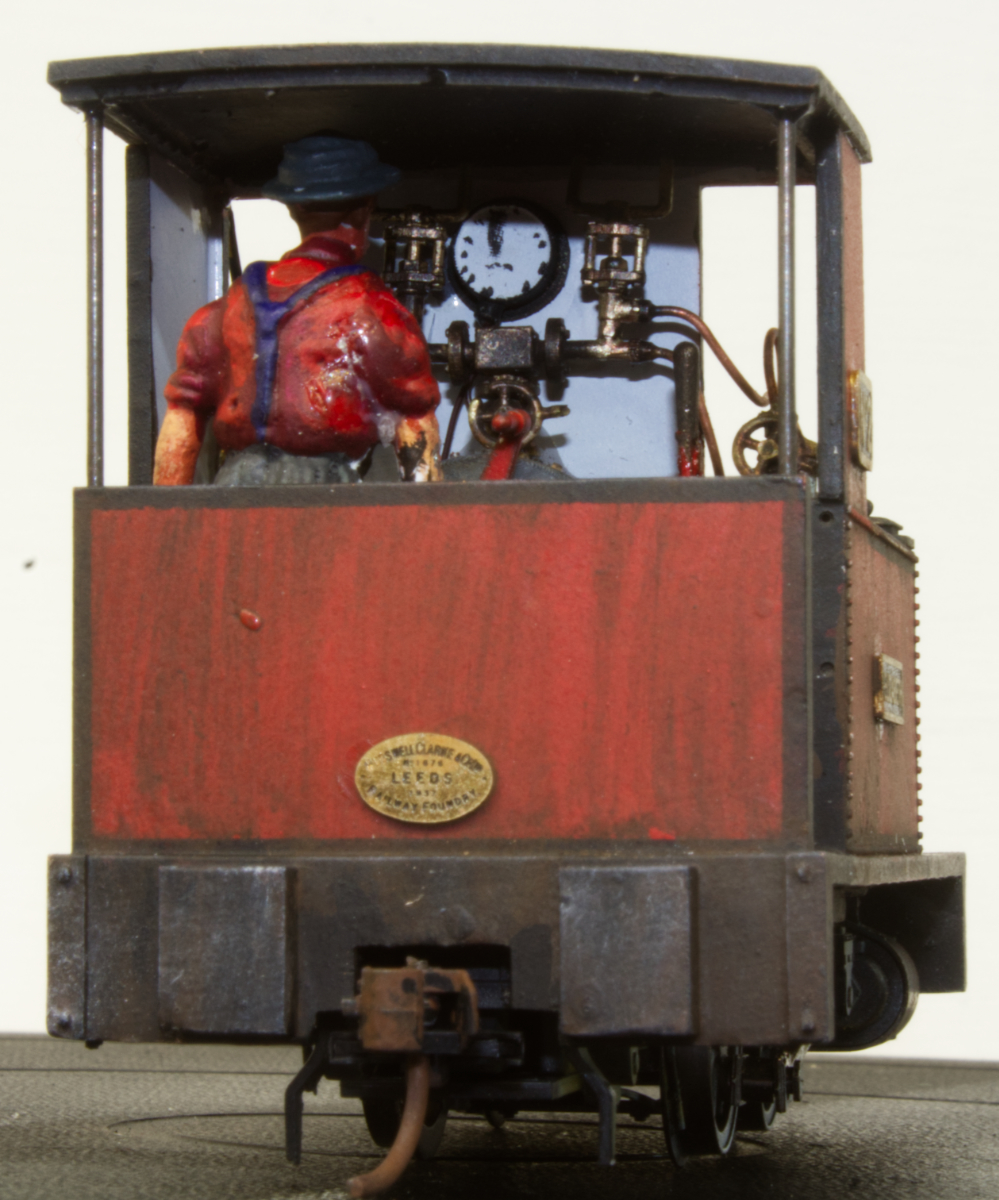 This was followed up with pin washes. Here some mucky colour is added to a mixing tray and a mixed with spirit to form thin washes of different colour density. A fine brush then adds this to the model along join lines and seams. Being thin it runs into the joins highlighting them. Again, leave it to dry for awhile and then tidy it up with spirit on a brush.
The final touch was to use some weathering powders. If you want to stick with the makeup analogy these are the blushers. With a fairly big bristly brush these are mixed on the pigment pot lid and then the brush is worked on an edge to removes most of the pigment before brushing it on to the model. The rusts and browns blend the earlier weathering whilst the white, used very sparingly, is flicked along edges to highlight them.
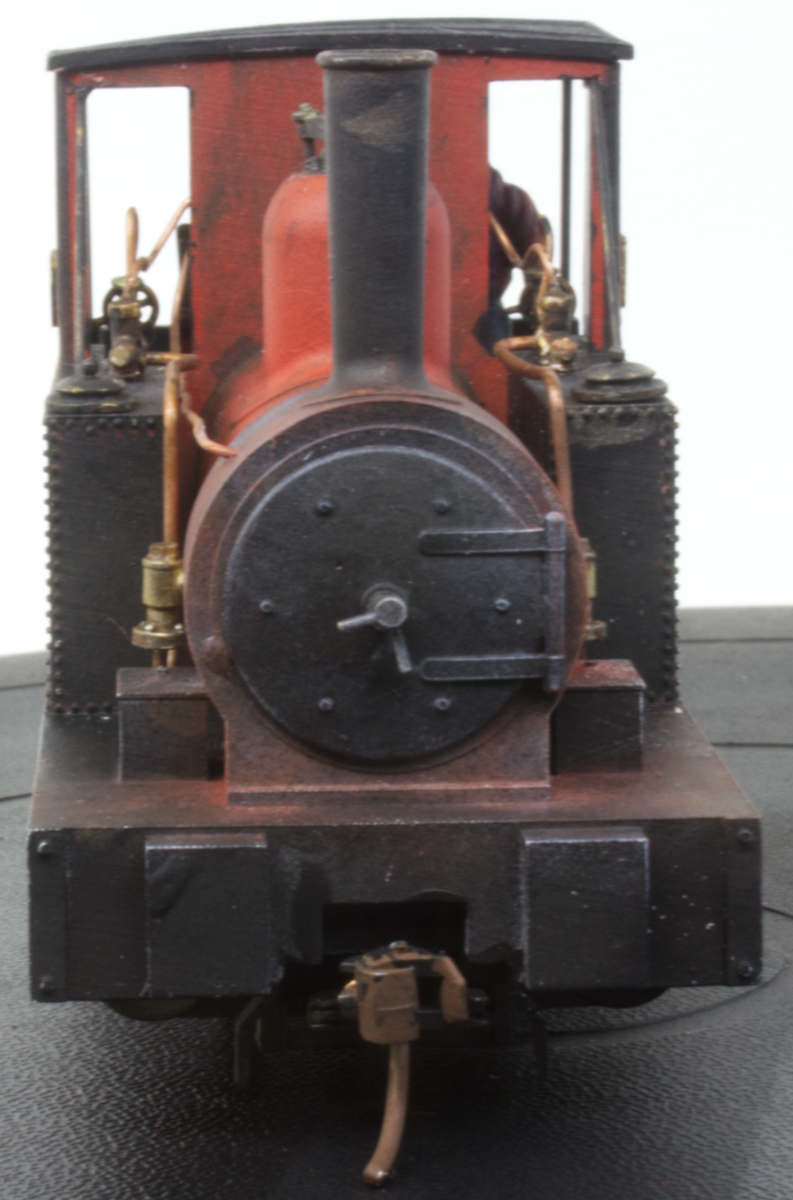 The trick is knowing when to stop. I can see more that I would do to this but at the risk of it all going horribly wrong. The final thing was to give it a very light coat of Dullcote wafted on from a distance to seal it all.
I mentioned things still to do. This is another advantage of photographing your own work as I noticed it needs it wheels cleaning after the painting and the trip arms of the Kadee couplings need setting up.
With that done its time for an orgy of bubble wrap and it can go off to its new home and I can have a major work bench tidy. It starts a job clear but rapidly fills with stuff until I’m working in a six inch square!

A general arrangement drawing with full detailed dimensions of the Bagnall Nile Delta 2-4-0T is available from the Bagnall Archive in Stafford.
The massive comprehensive history book of Bagnall by Allan C Baker contains 2 pictures and an extensive explanation of how and why these 35 engines were built.
I am building one in 7/8 scale.
>>I am building one in 7/8 scale. << Now that i would like to see